


Spooky Halloween Arrangement!
Wooden flowers are permanent, hypoallergenic, and...terrifying? Yes, we usually think of our product as something beautiful for more tender occasions. But what can we say? The creepy crawly frights of Halloween have inspired us to get in touch with our inner haunts. Keep reading to learn how to make a spooky Halloween arrangement!
Here is what I used for the base:
- A large glass vase (this one I had in my house already)
- 2" skulls from Amazon
- Fairy lights!
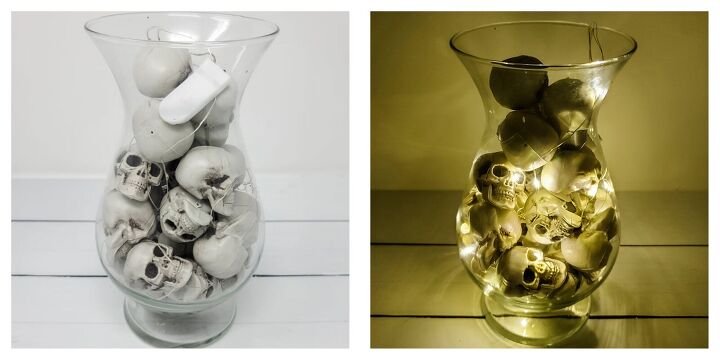
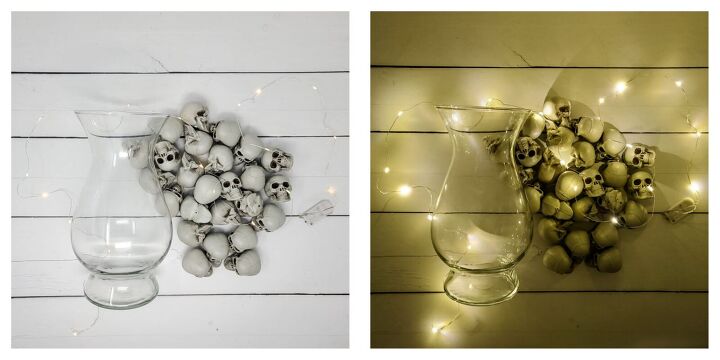
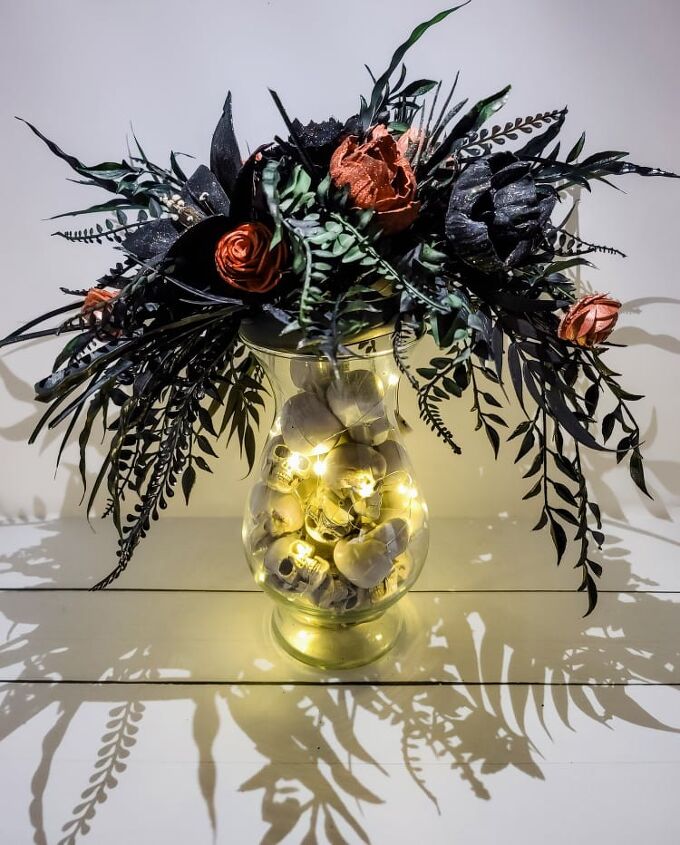
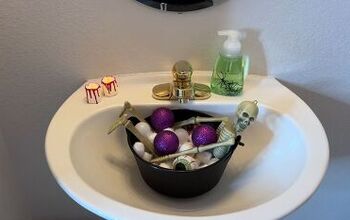
To build the vase base, I started by putting the end of the fairy lights at the bottom and adding in a few skulls. Then I continued to thread the fairy lights into the vase while adding a few skulls at a time until the vase was full! You want to be sure the battery pack for the fairy lights is accessible at the top so you can turn the lights on and off.
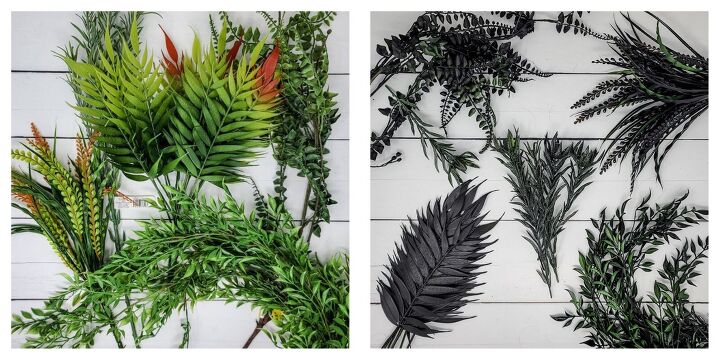
I had some shiny plastic greenery from craft stores that I knew I wouldn't be using in my more natural looking arrangements. To spookify them, I used three different types of black spray paint - one matte, one glossy and one glitter blast. It is harder to tell in photographs but between the different finishes and the different styles and shapes of greenery, this brought a lot of texture to the arrangement.
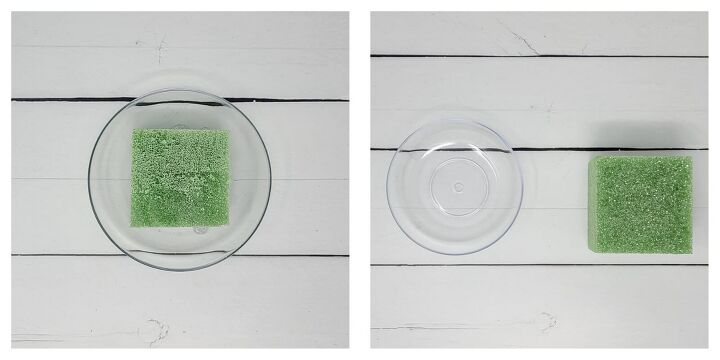
Lomey dishes are a fantastic way to create an arrangement in a clear glass vase. All of your mechanics are near the lip of the vase so you don't need to worry about covering floral stems and you have an empty container to add things (like skulls, glass beads, sand...pretty much anything to).
To get my lomey dish ready, I cut down a block of floral foam from the dollar store to fit and hot glued it into the dish.
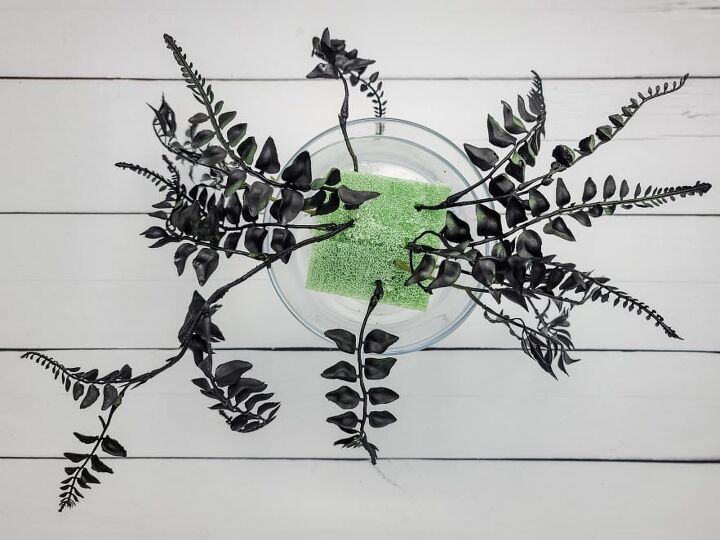
Set your prepped lomey dish onto your glass vase to start. While adding greenery (and later, flowers) you want to be able to see how they hang and fit to your overall arrangement shape.
I started by adding in any hanging greenery to ensure it framed the vase the way I wanted to and then set my outermost boundaries to start developing the shape.
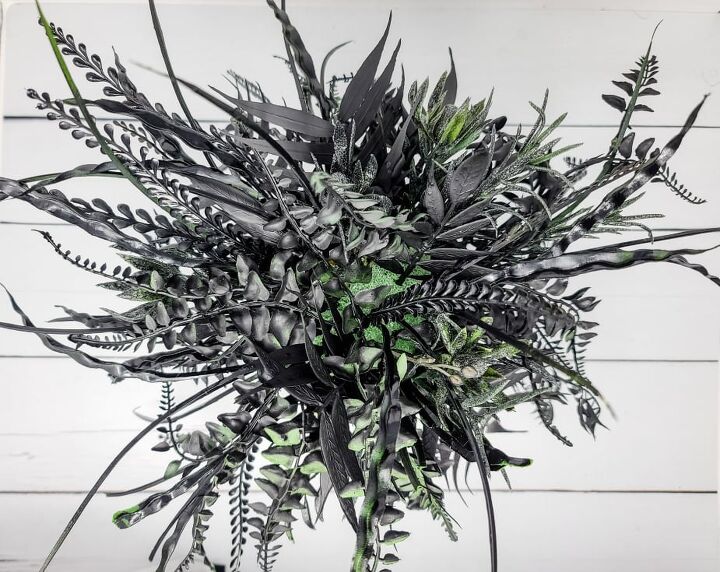
Since this is a spooky arrangement, I didn't try to hold to any hard and fast arranging rules. I kept alternating the greenery I was using to make sure the different textures were throughout the arrangement but I also wanted it to have an organic and asymmetric vibe. Keep adding greenery until the shape looks good to you!
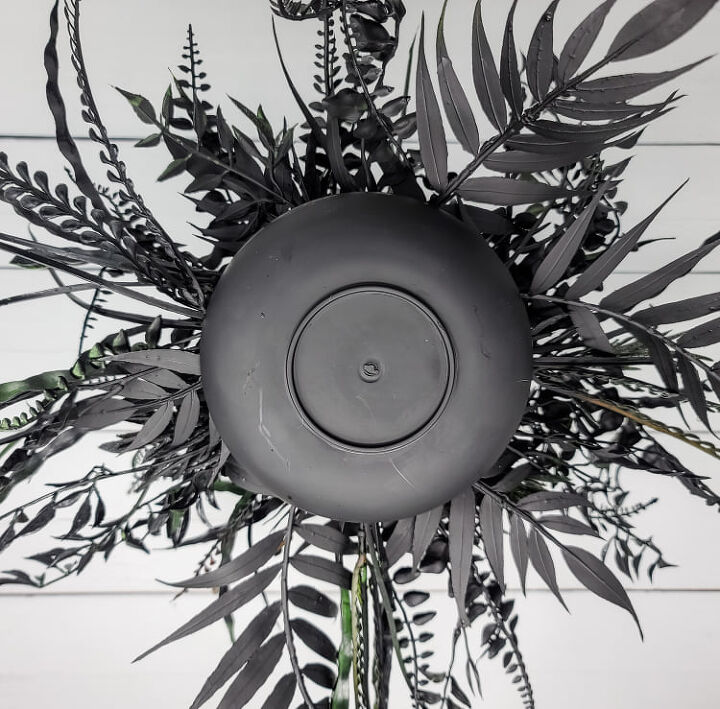
Ok. So I probably should have done this step from the beginning (before even adding foam to the lomey dish). When I set the base with the black greenery into the vase base to see how things were coming along, I saw that it was very obvious there was foam in the dish and it would be nearly impossible to hide it. Better late than never though!
Since the greenery is all black, it did not impact anything by spraying the bottom of the lomey dish later in the process.
While your lomey dish is on your vase, take a look at it from all angles to see if there are any areas you may want to fill in or remove anything from. If you are doing an asymmetric look, there is a good chance that your dish can be slightly off balance. If that occurs and you want to secure it in place, use a small amount of modeling glue on opposite sides of the vase and pop your lomey dish back in.
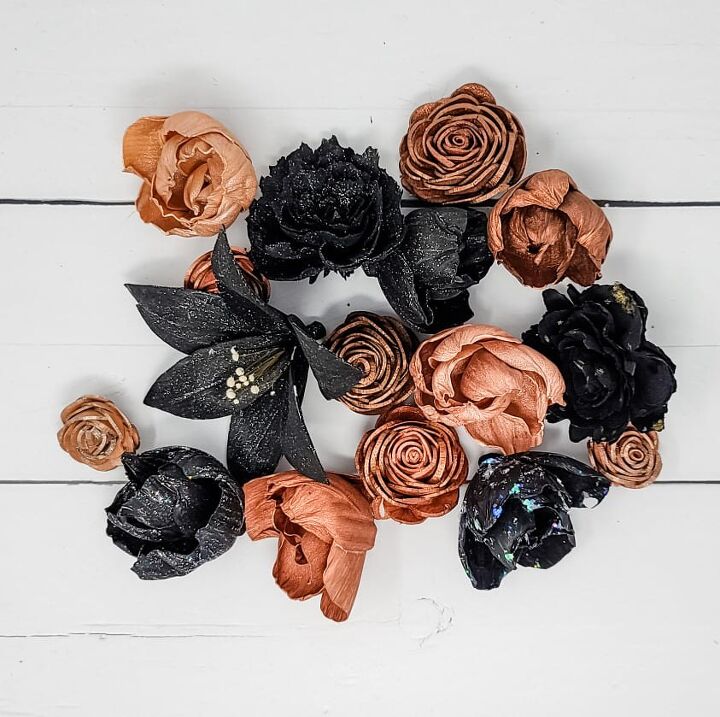
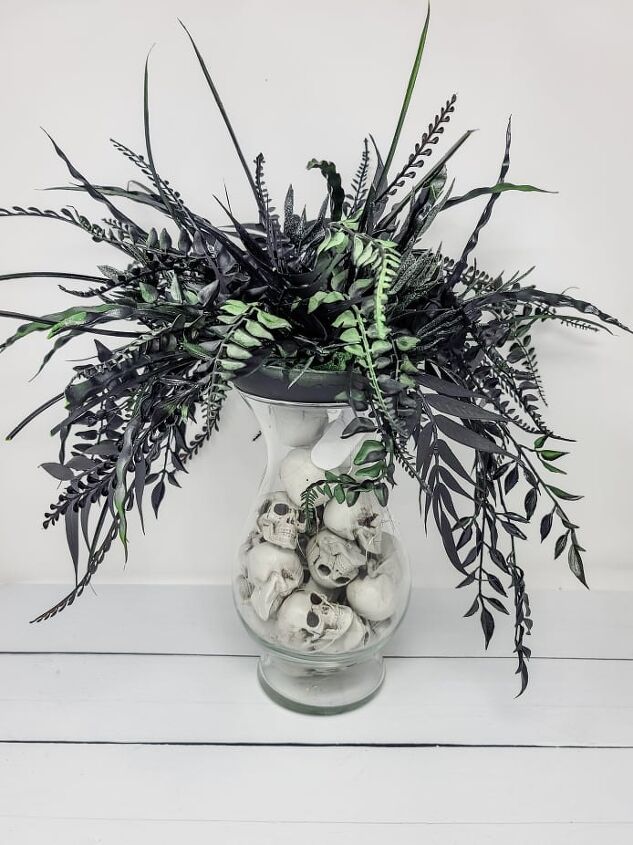
Black and metallic flowers just felt right to carry on the spooky theme! These were flowers that I had around from when we did our special effects paint blog so while most of the black flowers had different types of glitter and glaze on them, that just helps to show variation and separate the flowers from the black greenery.
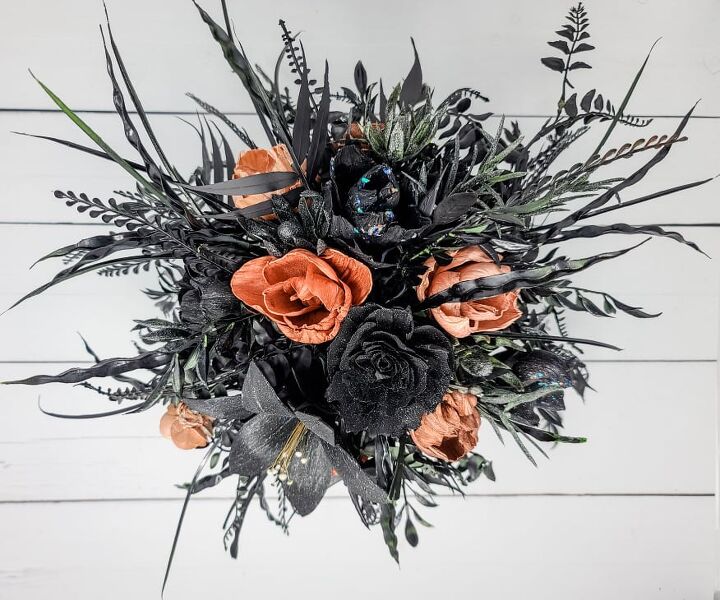
I started by adding in the large lily as my focal flower and then alternated between the black and metallic flowers. Since almost everything was black, it was important to ensure the metallic flowers were evenly distributed throughout. I did also have some of the smaller metallic flowers kind of hanging over the edge with the greenery to help connect the top of the arrangement with the spooky vase base that I created!

And there you have it! This arrangement would go perfectly alongside fake spider webs, plastic bats and, of course, a big, big bowl of candy.
Enjoy – and happy Halloween!!
Resources for this project:
See all materials


Comments
Join the conversation
-
Love it!
-
Great idea!!


Frequently asked questions
Have a question about this project?
What's a lomey dish? Looks good.
what size f vase did you use?