


Spooky Halloween Centerpiece!
Halloween snuck up on me a bit this year but I knew I wanted to create something creepy and elegant (is that a thing?) for my table. I ran out to a few craft stores to buy supplies and realized that there weren't many greenery and filler options left in the color story I was aiming for. So I did what any crafter would do - I made my own!
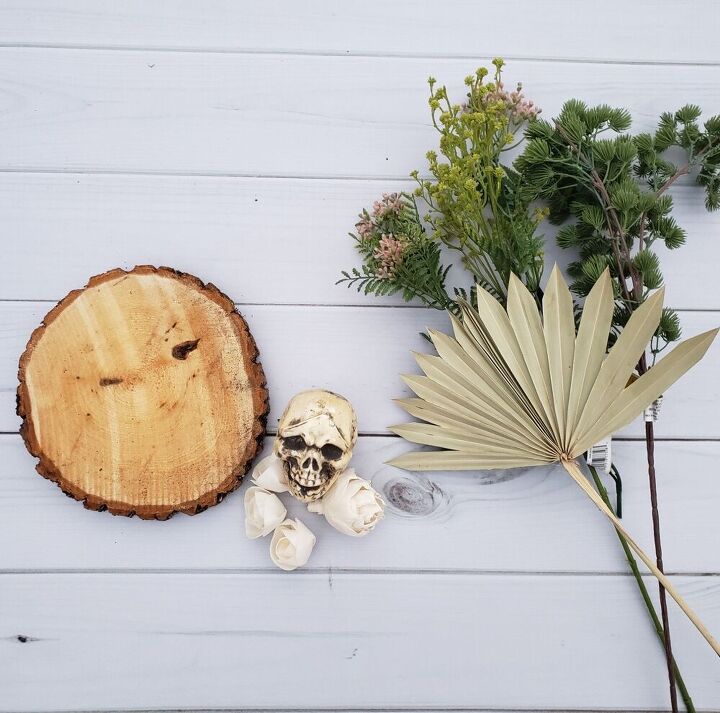
Here is what I used for this piece:
- Wood slice
- Foam skull
- Various dried and faux greenery/fillers
- Wood flowers from Oh You're Lovely
- Black spray paint
- Gold spray paint
- Small piece of foam
- Wire clippers
I love greenery and filler. So much so that I can't help but buy a few things from craft stores when they are on sale. So much so that friends sometimes mail me fillers to play with. So much so that I may be running out of room in my studio.
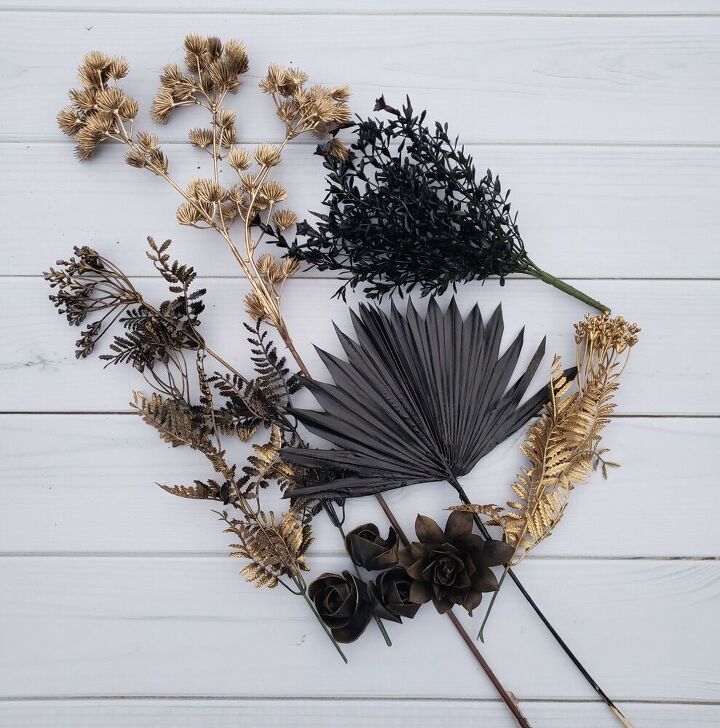
But. Not all greenery and fillers are equal. That's where spray paint comes in!
Instead of buying items specifically made for Halloween decor, I bought a can of black spray paint and a can of gold and ransacked my own filler collection! The ones I chose had interesting shapes but I didn't love the coloring for my everyday type projects (which made them perfect for my Halloween centerpiece).
I gave the pieces a liberal spray of the paint - some all black, some all gold and some black with a spritz of gold overlay. I also used spray paint to change the look of my wood flowers.
Once they are dry, you are ready to go!
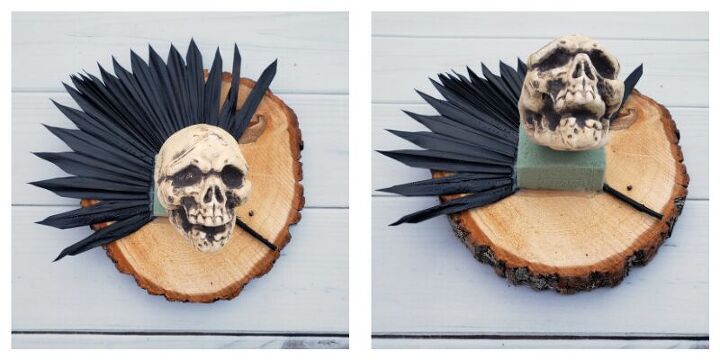
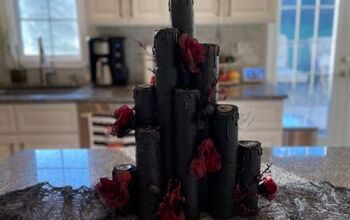
I wanted this piece to have more dimension and height to it. To do so, I cut a small piece of foam to glue down onto the board. I glued a 3" piece of floral wire into the foam skull and simply slid the other end of the wire into the foam!
One thing to note - Since the dried palm leaf was the largest, I did glue it down first and built the foam block and skull on top of that.
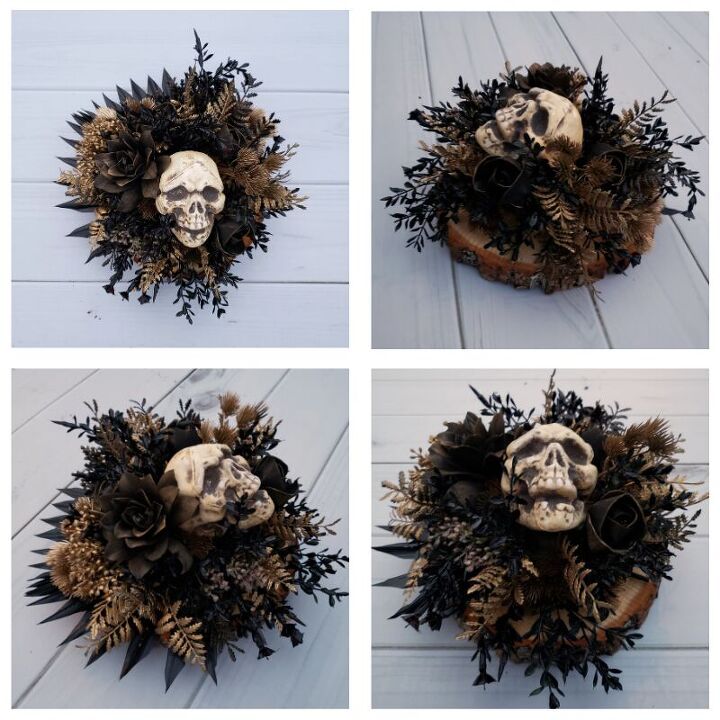
Here comes the really fun and easy part - add your fillers and flowers! Since you have a foam block glued onto the wood slice, you just need to cut your fillers down to size and start inserting them into the foam! I alternated black and gold but didn't spend too much time thinking about placement. Just make sure you're layering them in such a way that the end result covers all of the green from that foam block!
This spooky fella will be a great addition to my dining room table for Halloween 
Resources for this project:
See all materials


Frequently asked questions
Have a question about this project?