


Spooky Mason Jar

by
Dorinda
9 Materials
1 Hour
Medium
Working with only things I had around the house, I made a mason jar luminary. Not having modge podge, I used Elmer's glue, but have to admit it wasn't very easy to do. Thank goodness I have small hands. lol I marked this project at medium challenge because of how hard it was to get pumpkin paper into the jar.
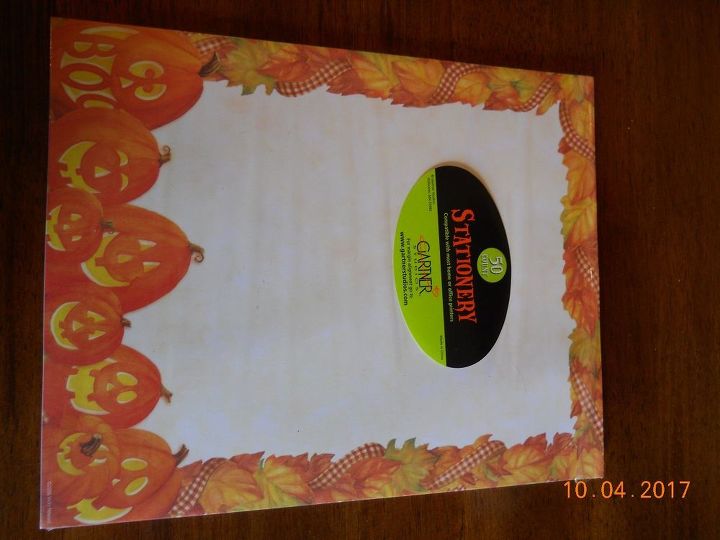
I had purchased this designer paper from a tag/yard/garage sale a while back, and thought it would be perfect for this project.
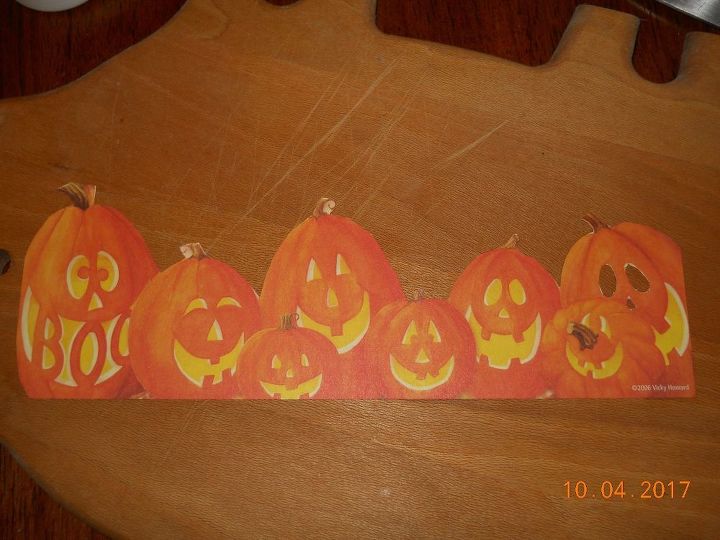
I cut the pumpkins out, then took a knife and started cutting out the eyes, noses, and mouths of the pumpkins.
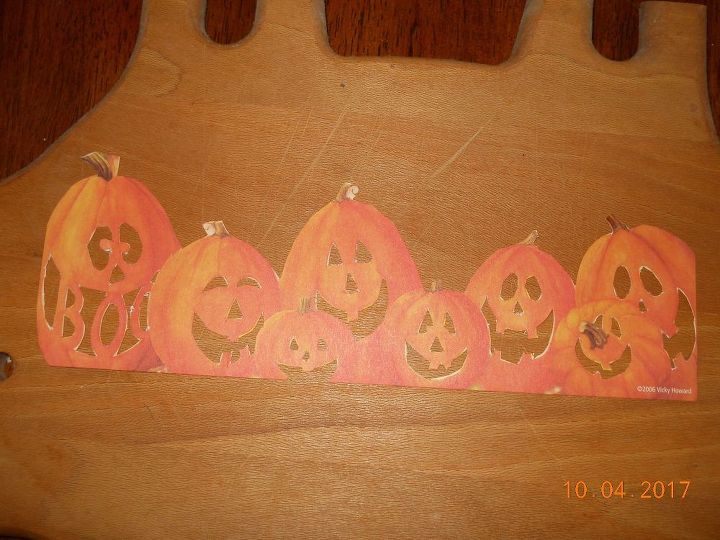
Here is what it looked like after I got them all cut out. I might have goofed a couple times and cut off a couple teeth, but that's ok, if I hadn't told you, you wouldn't have known. lol
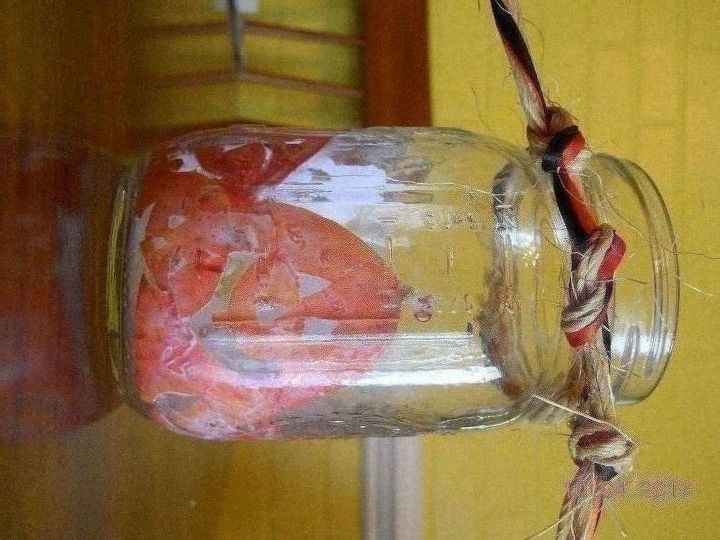
Next thing I did was to put Elmer's glue to the front side of the pumpkins, then took a pint mason jar and put the pumpkins on the inside of the jar. This wasn't easy at all, the paper kept sticking to itself, plus to the jar where I didn't want it. I worked with it until I got it in the places I wanted. I then took some twine and some 1/8 inch orange and black ribbons, twisted together, and tied to the top of the jar. The pumpkins aren't dry yet in this picture.
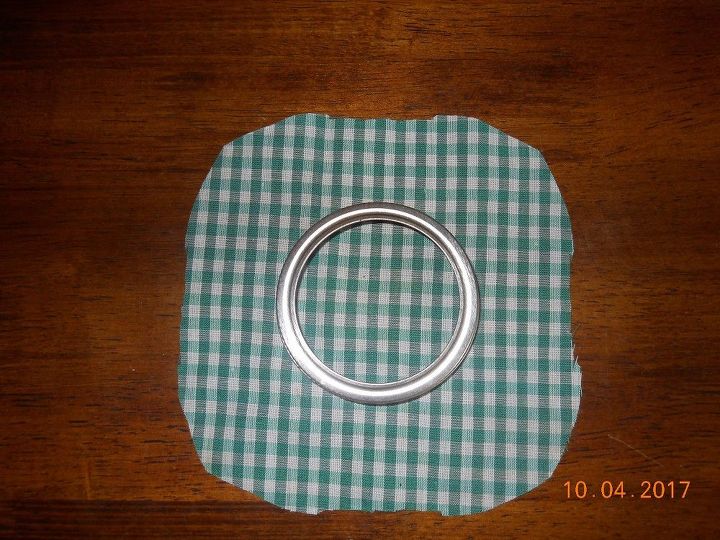
Next thing I did was to find this little piece of green gingham material. I rounded the ends a little, but didn't make it round for a reason which I will explain below.
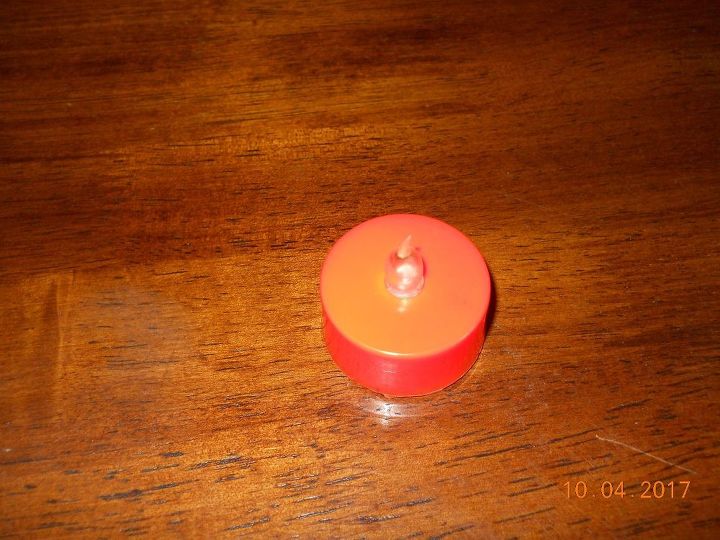
I had some orange battery operated tea lights, and thought it would do well in the jar. I was afraid a white one would show too much.
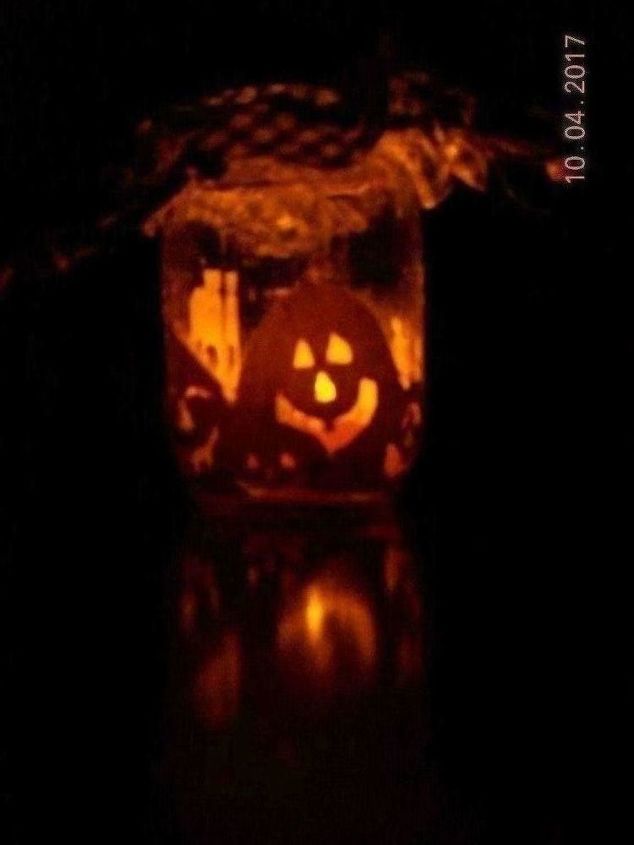
Here is what it looks like lit up. The material hides the knot in the middle of the twine.
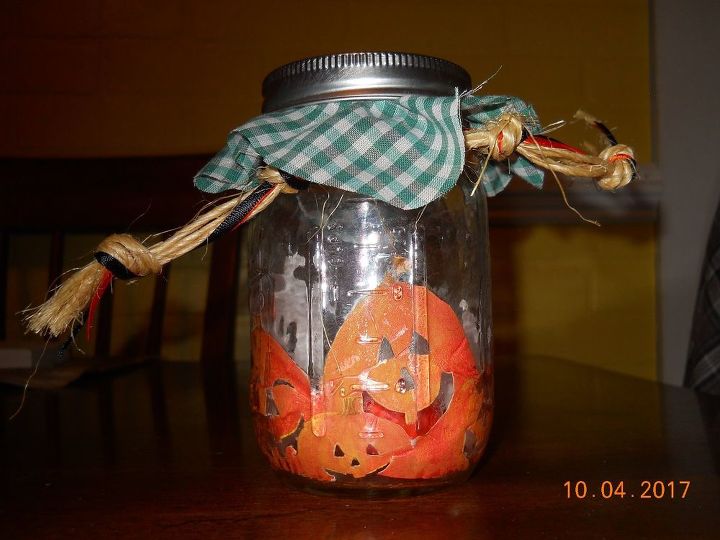
Here is what it looks like during the day.
Comments
Join the conversation
3 comments
-
Not sure why the picture of the gingham material didn't show.
-
Oh how lovely!!


Frequently asked questions
Have a question about this project?