


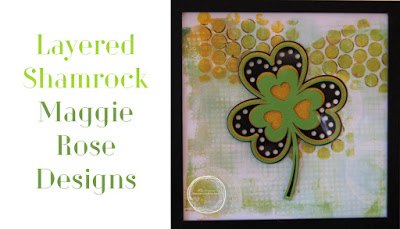
St. Patrick's Day: Layered Shamrock

Using a free cut file from one of my favorite designers, I made a layered Shamrock to add some St. Patrick's day fun to my decor.
Supplies:
- Layered Shamrock Cut File ( You'll need to sign up at Maggie's site to get the password to download for FREE!) Trust me, you want to do this as she has some gorgeous files in addition to this one.
- Cutting Machine ( Her files work for Cricut or Silhouette) I used my Cricut Explore Air 2
- Four Sheets Contrasting Scrapbook Paper
- Foam tape / Dots
- Shadowbox Frame
- Background Paper
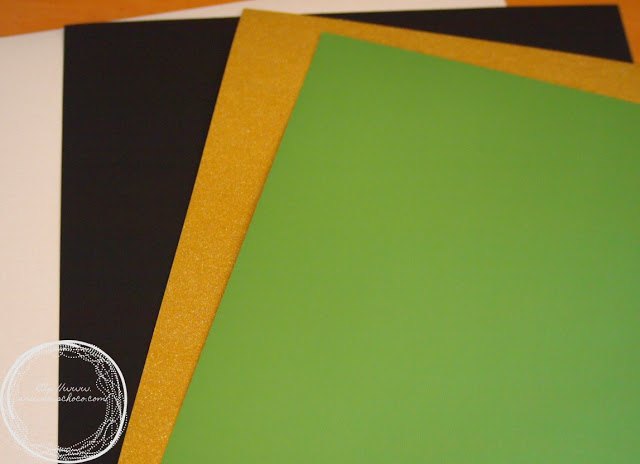
I alternated my papers based on how I wanted the layers to appear, using white glitter, black, gold glitter, and green. All of my papers are Recollections from Michaels.
Once you've downloaded the design and imported into your design software (eg Cricut Design Space), re-size as desired and then cut each layer.
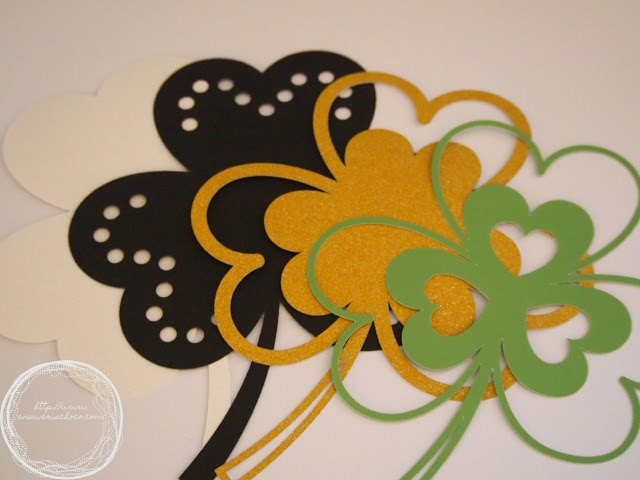
You can see the beauty of each layer as a standalone. I assembled the Shamrock using foam squares.
HINT: I start with the top layer and work backwards because the top layer is usually the most intricate and you want to ensure you don't place your foam squares or dots where they'll show.
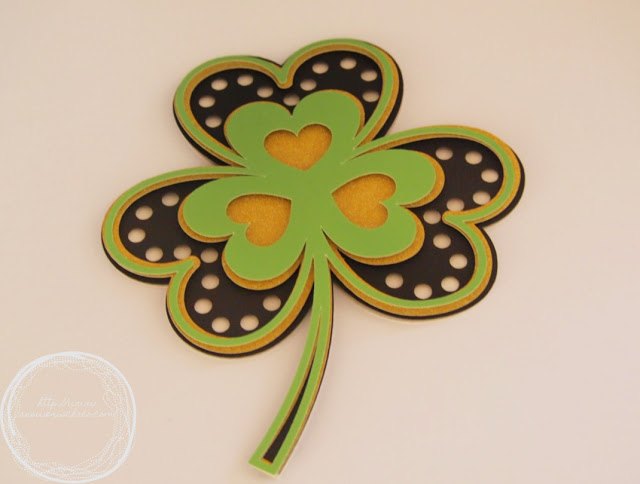
I love how all of the layers work together!
I knew I was going to frame this like I'd done with the Layered Floral Heart. I used a 12x12 Shadowbox Frame from Michaels. But first, I needed to decide what I wanted for the background!
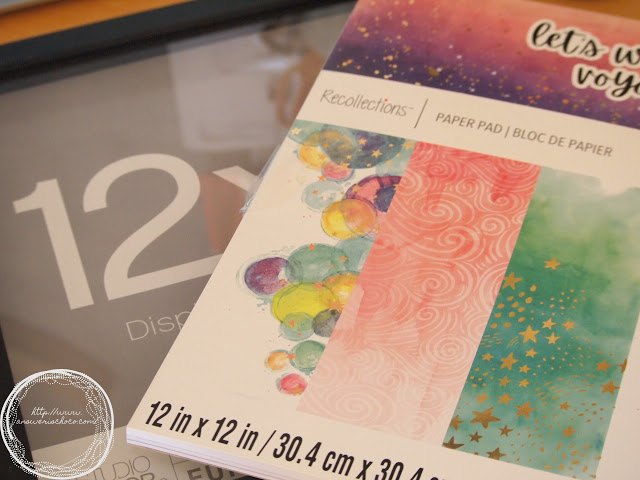
I love these shadowbox frames from Michaels and always buy them when they're buy one get one pack free! The 12x12s come two to a pack and the 8x8s come 3 to a pack. The cost reflected for this project is the cost of the frame.
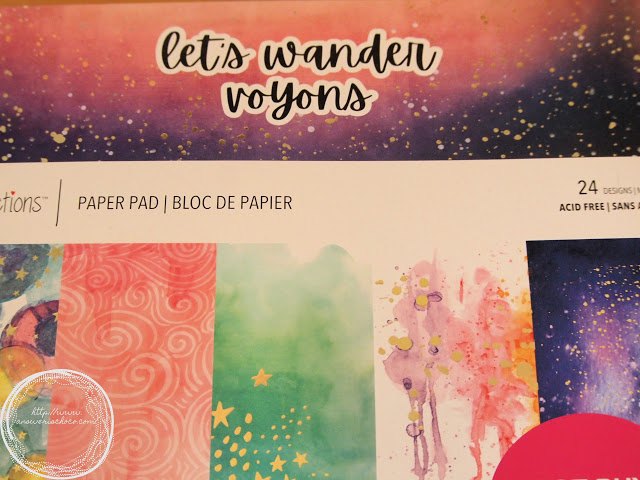
Michaels got me again with their "Buy One Get Two Free" Hot Buy Paper Stacks. I have zero willpower when it comes to these. I loved this one called "Let's Wander" (in my house...it's COVID!) which I love with its watercolor and foiled papers. I chose this one.
I thought the greens and golds went perfectly with the papers I used for the Shamrock.
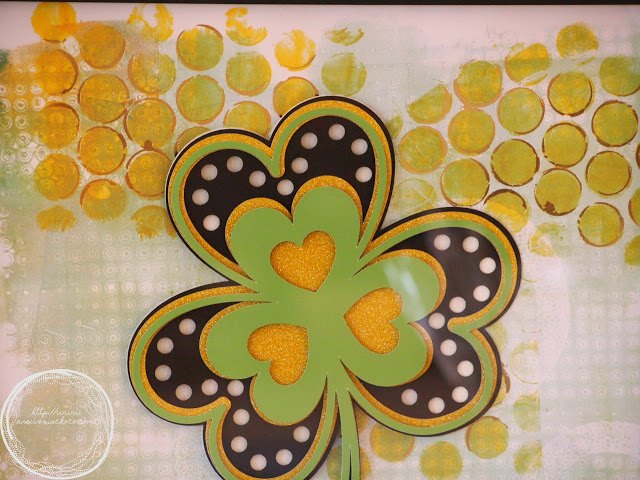
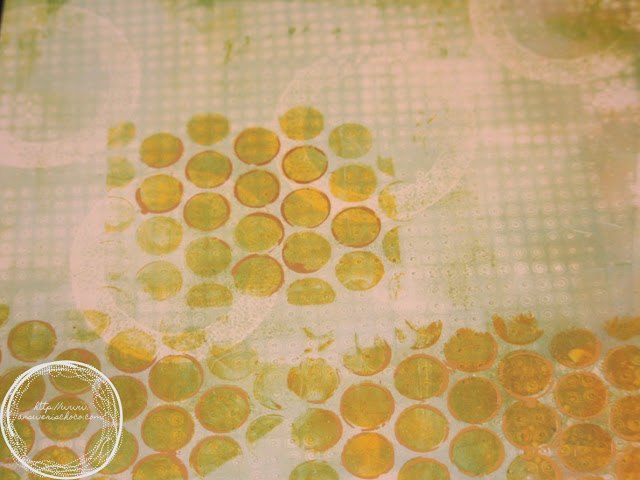
Taped it down to the background paper and then assembled it together in the frame.
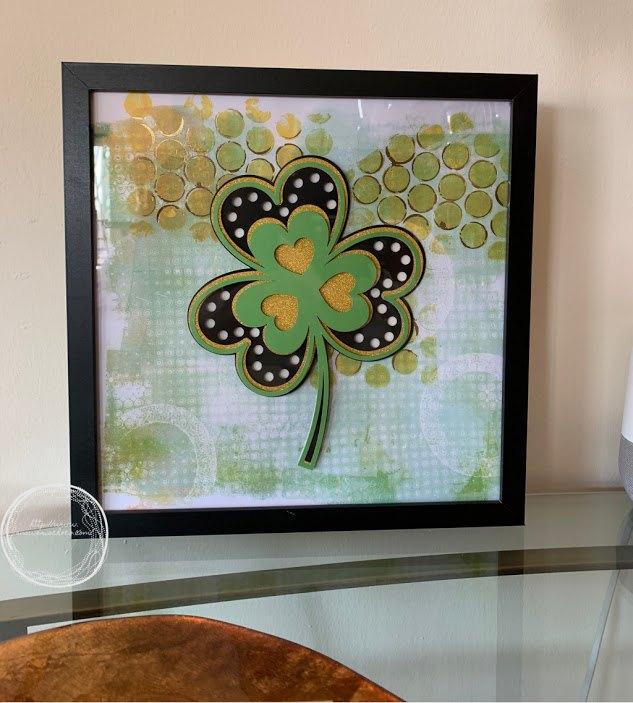
I'm so SO happy with how it turned out and it's all because it started with a FABULOUS design from a talented designer! Thank you Maggie!
Comments
Join the conversation
-
Thanks for sharing!
-
Love how this came out!


Frequently asked questions
Have a question about this project?