


Toilet Paper Spider Decoration
5 Materials
$5
1 Hour
Easy
Learn how to make a toilet paper spider craft this Halloween. This fun project is perfect for little ones. Plus, it’s always handy to have an extra roll of toilet paper hanging around! Read on for instructions for this spooky decoration.
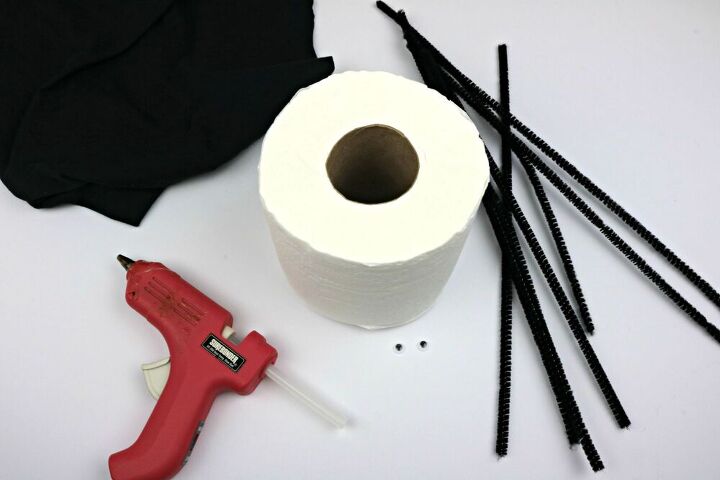
Supplies
8 Black pipe cleaners
17×17 piece of black fabric or napkin
2 small googly eyes
Hot glue gun and glue stick
Roll of toilet paper
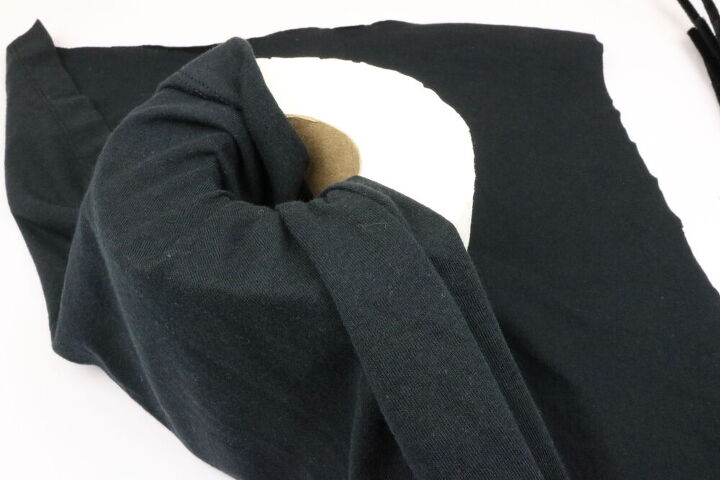
- Lay fabric flat and place roll of toilet paper in the center.
- Start tucking the fabric into the center of the roll of toilet paper. As you go try to make small pleats so that it is not all bunched in one area.
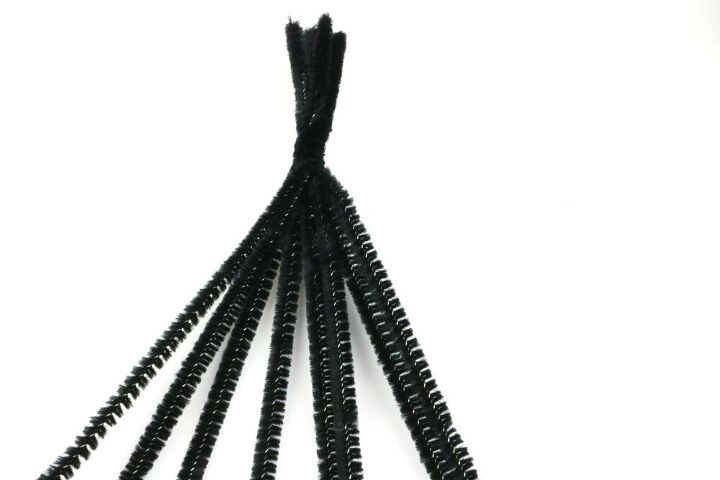
- Gather the pipe cleaners and make sure all the ends are the same length. When you have them all together, twist them together about an inch and a half from the end.

- Take that twisted end push it down into the toilet paper tube. Space them so you have four pipe cleaners to each side.
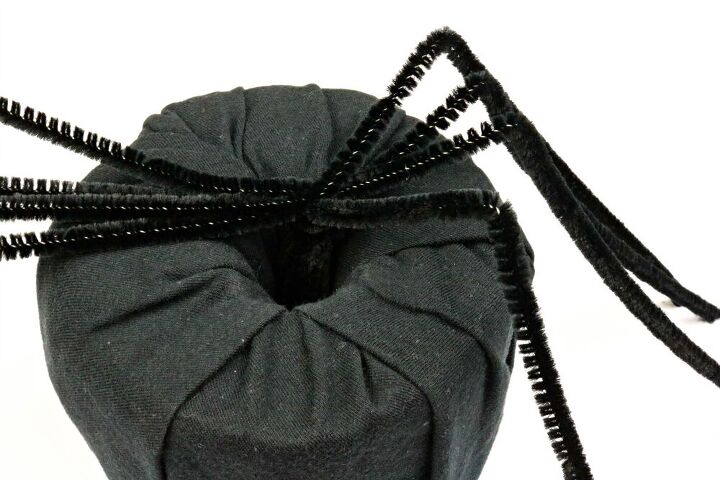
- Just at the outer edge of the toilet paper roll, bind each of the pipe cleaners to start forming the legs. You may have to bind/move them around a little to get them spaced just right.
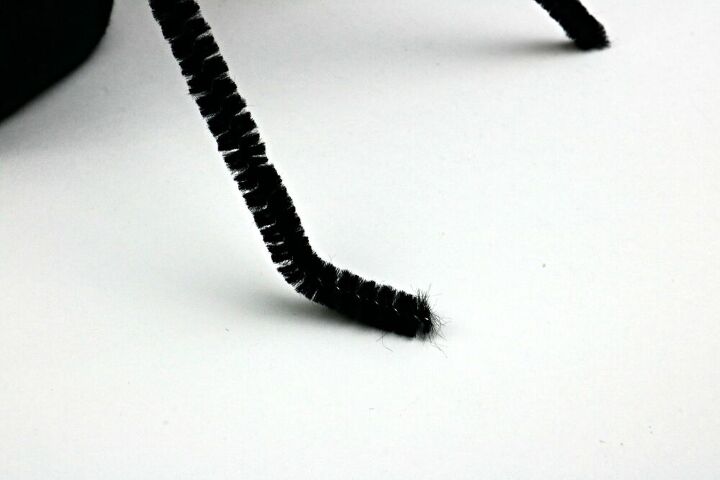
- At the bottom of each pipe cleaner give it about a half-inch bend to make a foot.
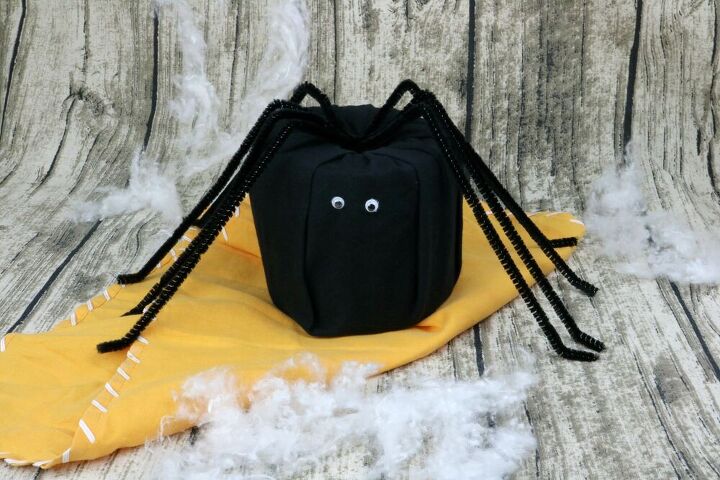
- Using the hot glue gun, glue the eyes in place in the upper center of the front of the roll. You want the legs to be to each side.
Resources for this project:
See all materials


Any price and availability information displayed on [relevant Amazon Site(s), as applicable] at the time of purchase will apply to the purchase of this product.
Hometalk may collect a small share of sales from the links on this page.More info

Want more details about this and other DIY projects? Check out my blog post!


Frequently asked questions
Have a question about this project?