


Upcycled Easter Mantel and Stained Wood Sign
Today I am sharing my last project for my upcycled Easter Mantel. I made an Easter sign decoration from some old fence pieces. As a side note I have a lot more wood. We had a blizzard here a few weeks ago and it blew down one whole side of our fence. So if you have any ideas for some other ways to use up this wood feel free to send them my way.

Here is a shot of the completed mantel.
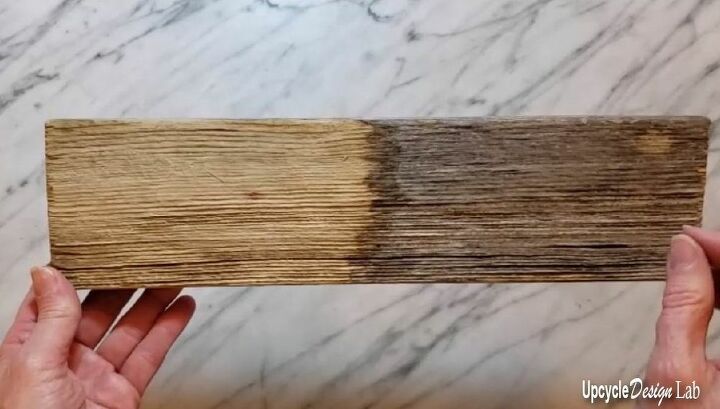
To make the wood sign the first step was to cut, bleach and sand the wood pieces. This picture shows the wood before and after bleaching.
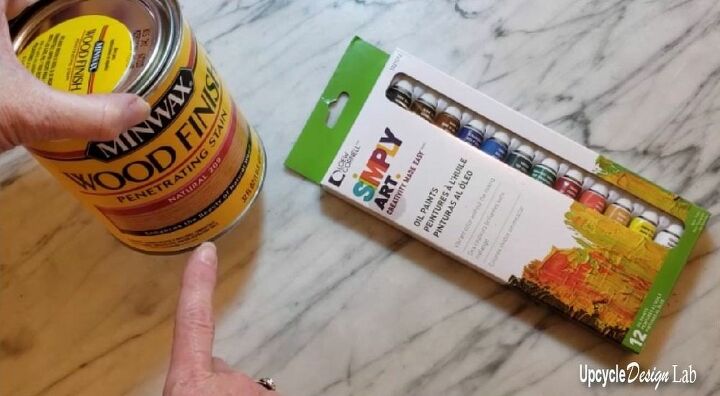
I think that I saw this idea from another hometalker. Sorry I don't really remember but you can make all different colors of stain with natural color stain and oil based paints.
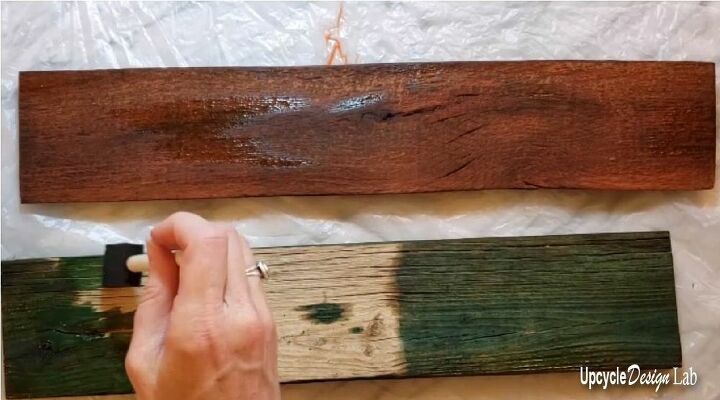
So I mixed up a few colors and stained my wood pieces.
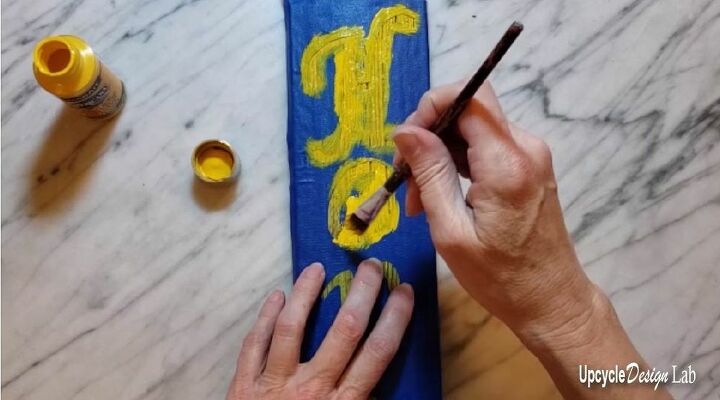
The next step was to paint a stenciled word on to each board. I made some custom stencils with painters tape and parchment paper. Then I used some acrylic craft paint to make the letters.
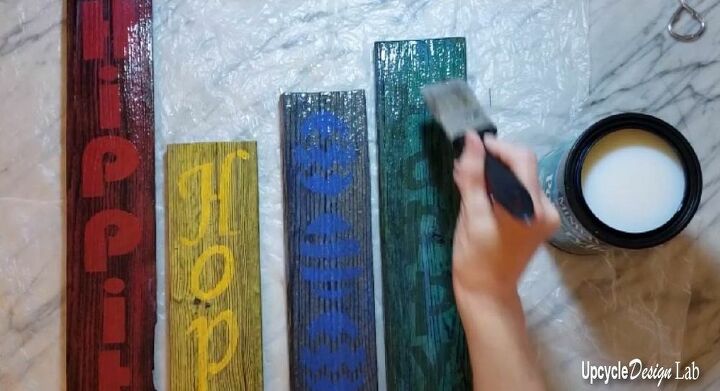
The last step was to put on a coat of minwax polycrylic clear gloss finish.

You can find all the details in the attached video.
Thanks for taking a look at my project. If you would like more upcycling project DIY's or Green Product Reviews please subscribe to my Upcycle Design Lab blog here.
Happy Upcycling,
Cindy


Frequently asked questions
Have a question about this project?