


Christmas Stockings And Free Pattern
Welcome to Cloches & Lavender where I share crafts, DIY's and decorating ideas.
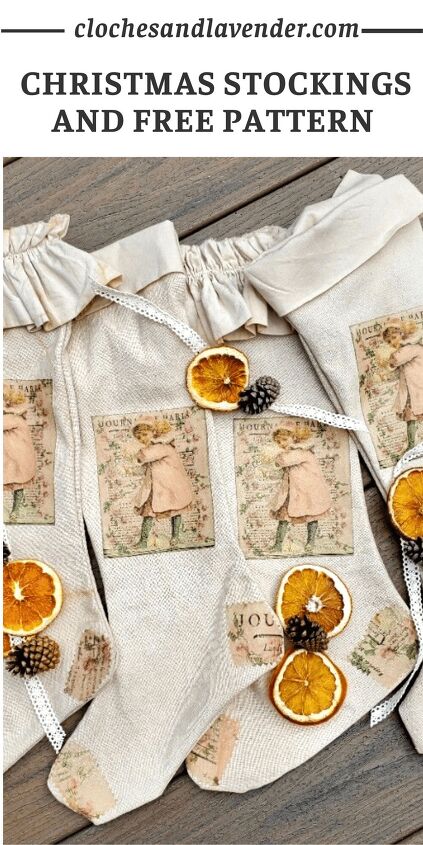
Let’s talk about Christmas stockings and free pattern. I’m sharing inspiration for Christmas stockings.
Additionally, these stockings are easy and budget friendly.
It was time for us to update our Christmas stockings this year. Because I enjoy making pieces for my home décor myself, I came up with a plan.
After giving this project some thought, I remembered having an old tablecloth, that unfortunately shrank. This is when I began thinking it may work for the base of my stockings.
So, I am going to share a tutorial for how to make Christmas stockings and free pattern too!
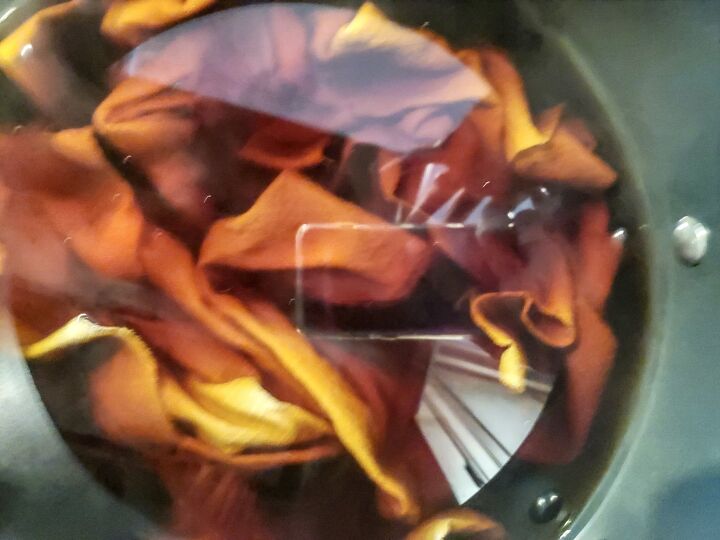
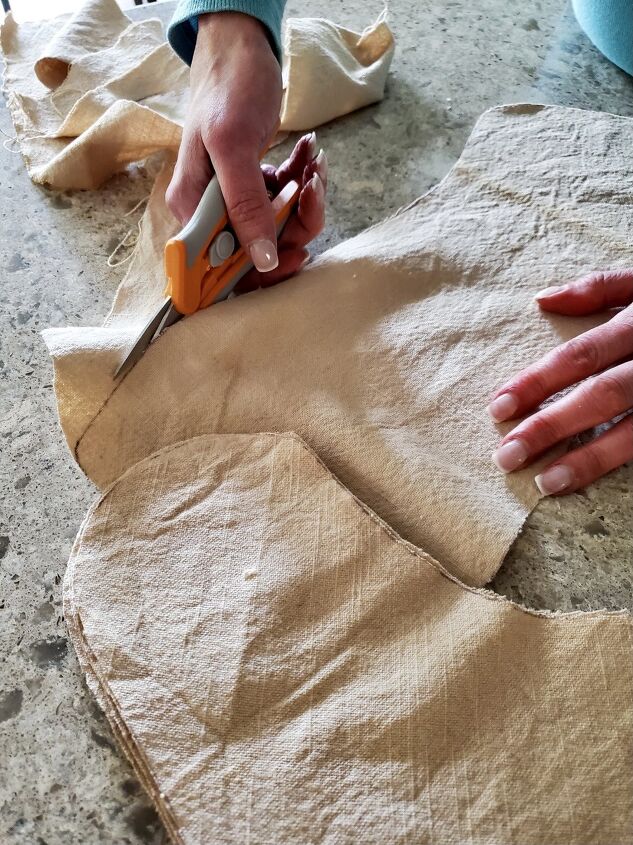
First thing, I cut square pieces for my stockings. Because I enjoy old, time worn pieces, I decided I am going to tea stain the tablecloth pieces for this DIY.
How To Make Tea Stain To Add Age To The Holiday DIY
Step 1
Items Needed For Tea Staining:
- pot of water
- tea bags
For the most part, tea staining fabric is easy for this Christmas project. Add water to a large pot for this project because there are eight pieces for four stockings. Begin heating the water on the stove. Next, add tea bags to the water and stir with a wooden spoon to get the tea in the water. Let the water get warm, not boiling. After the water is warm, turn the flame off. Now, begin adding your fabric pieces to the pot. Stir the fabric in the tea mixture moving the pieces around. Additionally try to move the pieces for the stockings around to evenly coat.
After a few moments move the pot near the sink. Generally, doing this allows less mess when removing the fabric for this Christmas craft. Next remove one piece at a time and squeeze well to remove the excess tea water.
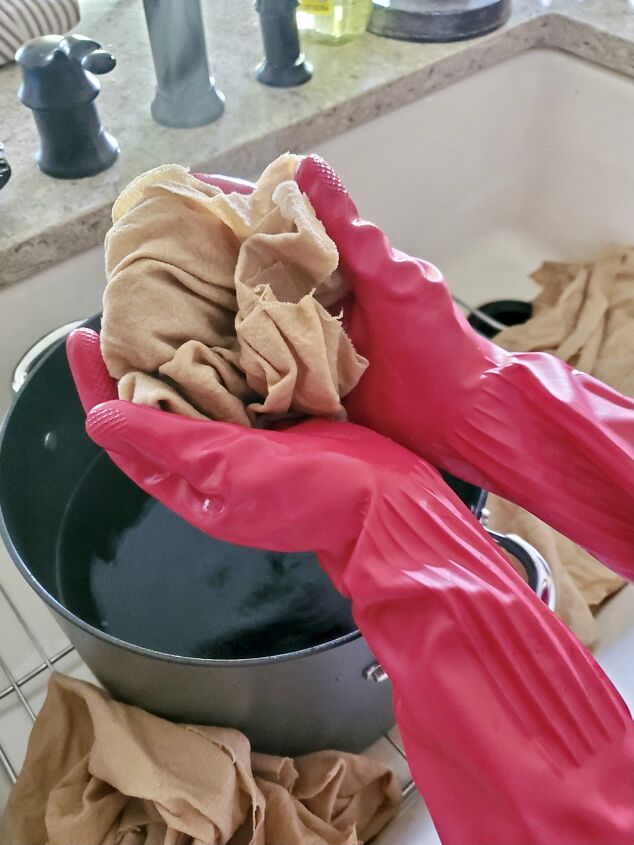
Next hang to dry. By the way, these will not take too long to dry.
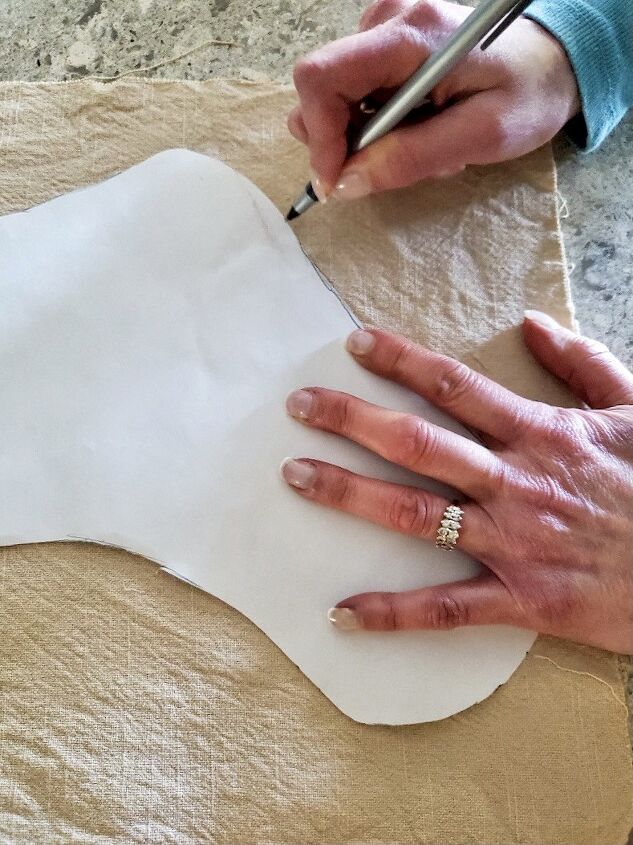
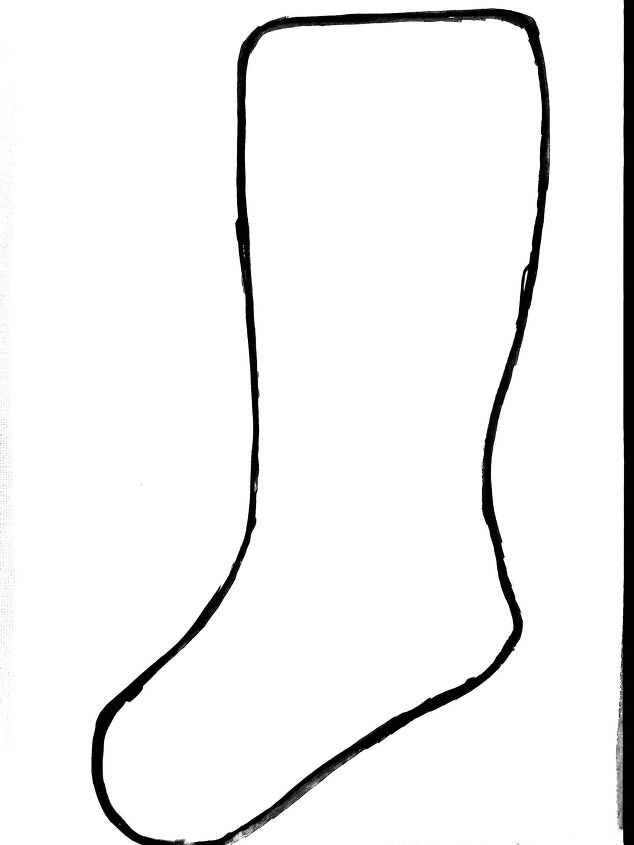
Draw Out The Stocking Pattern Or Use The Free Pattern
Here, if you are not using the free pattern, draw out your own stocking on a piece of paper. If you are using the free pattern, take it to a copy center for a larger size. This will not cost much money because you only need one copy.
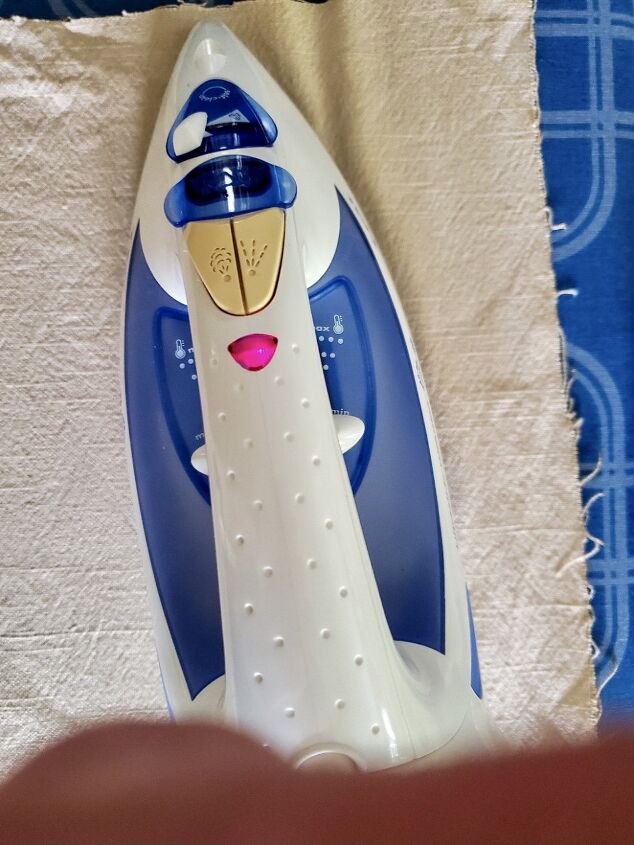
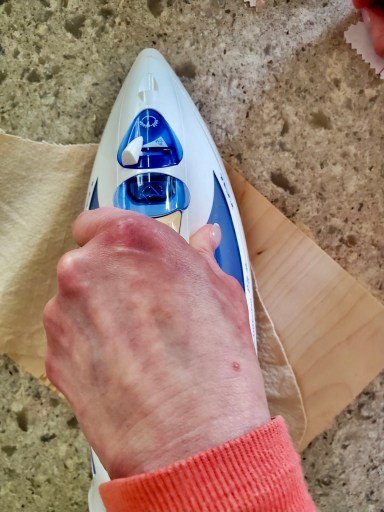
Iron The Fabric Squares Before Tracing The Stockings
Because the squares were squeezed getting the excess water out they were wrinkled. So, I ironed them with a hot iron and no steam to take the wrinkles out.
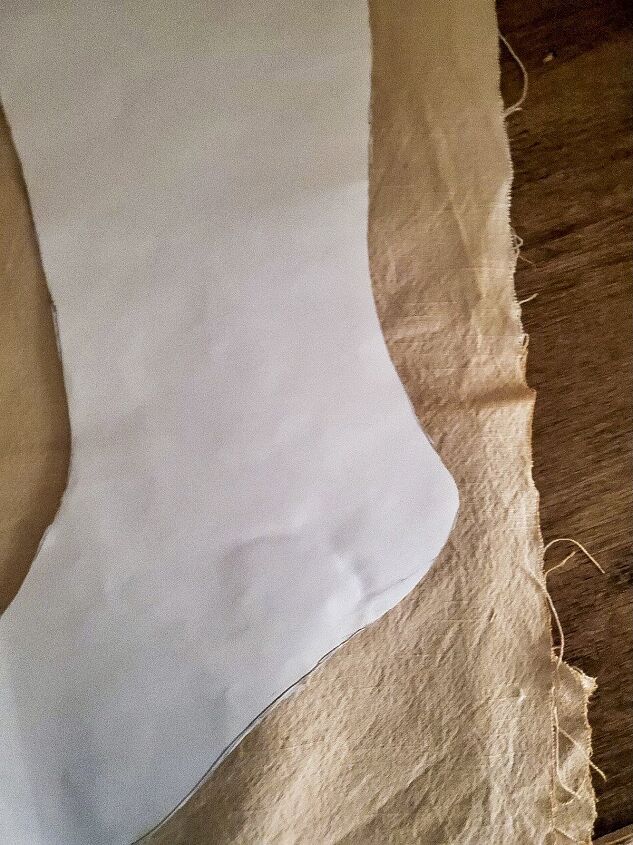
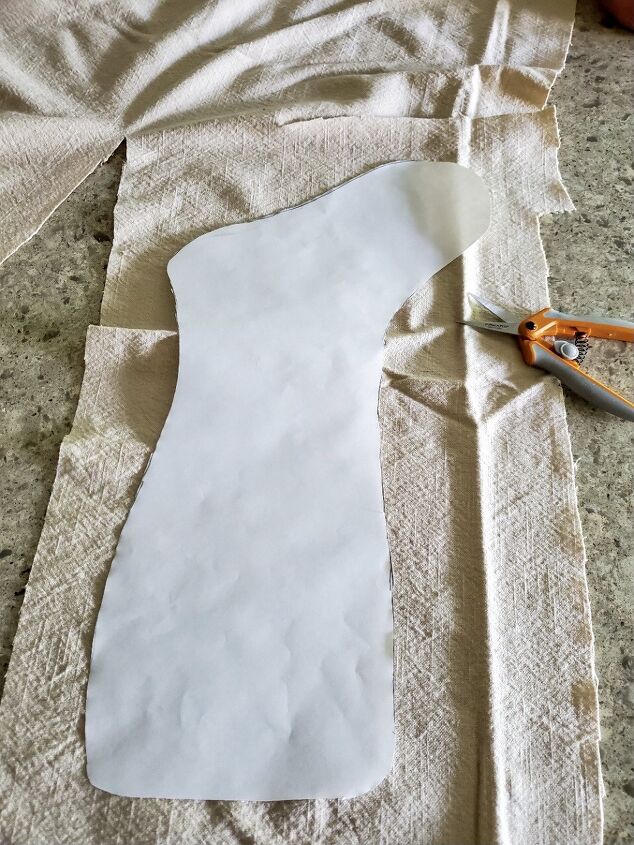
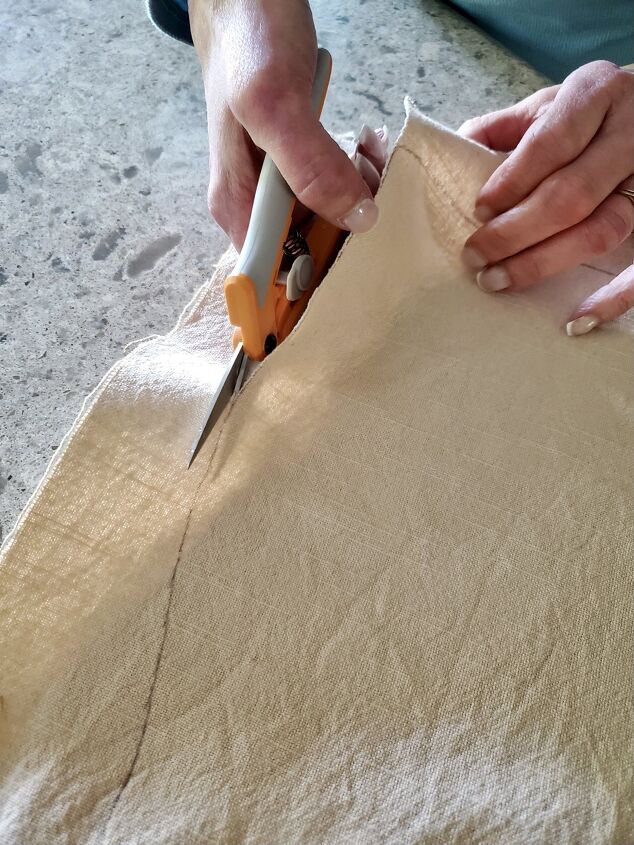
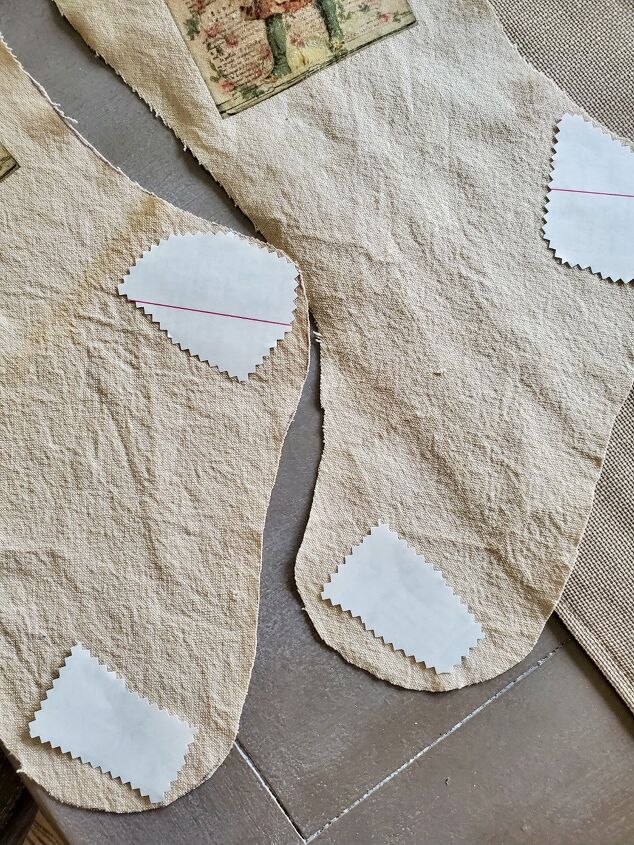
After you have your pattern, trace it onto each piece of fabric to make a front and back for your stockings. I suggest using a pen to trace the pattern because it works best.
Now, using a good pair of scissors cut your fabric. By the way if you are making four stockings you will have eight pieces.
Preparing The Iron To Add The Images For The Homemade
Stockings
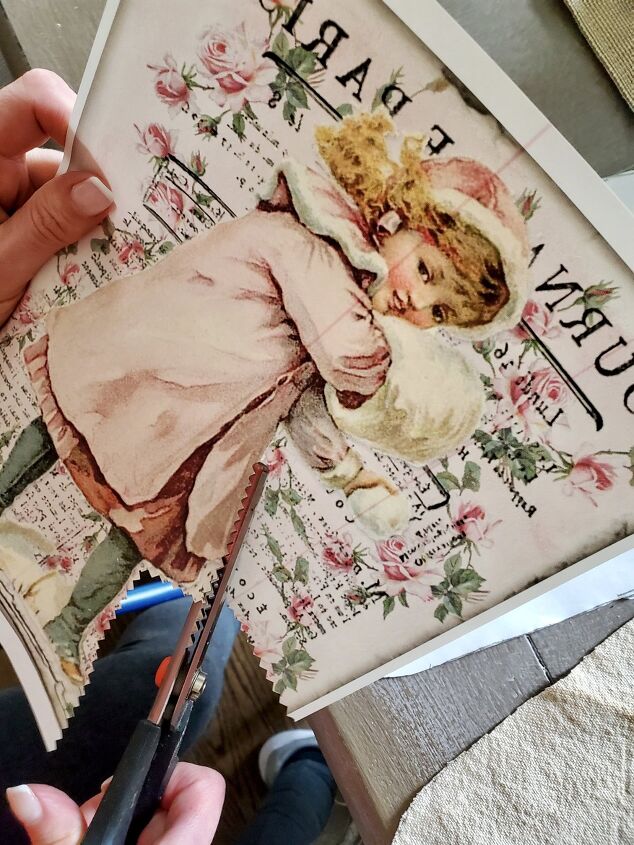
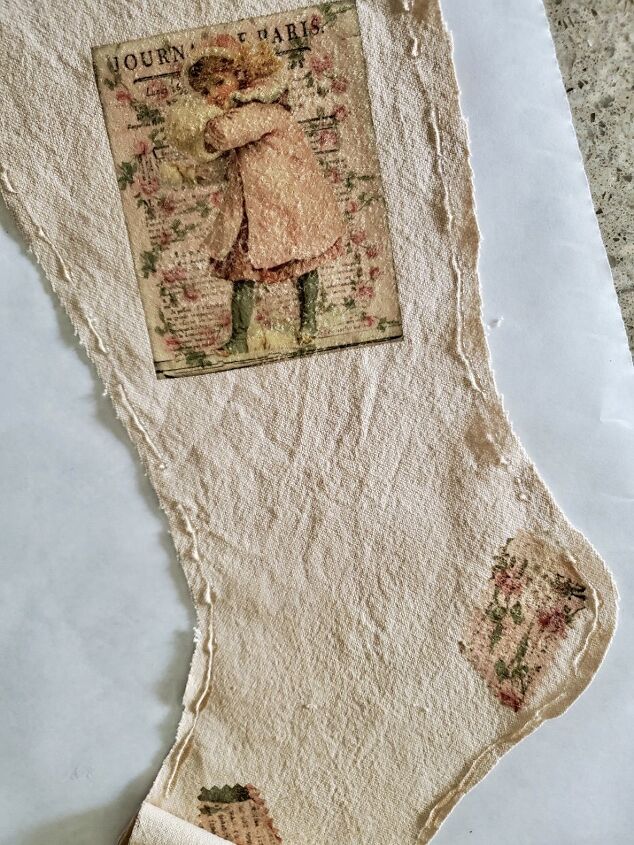
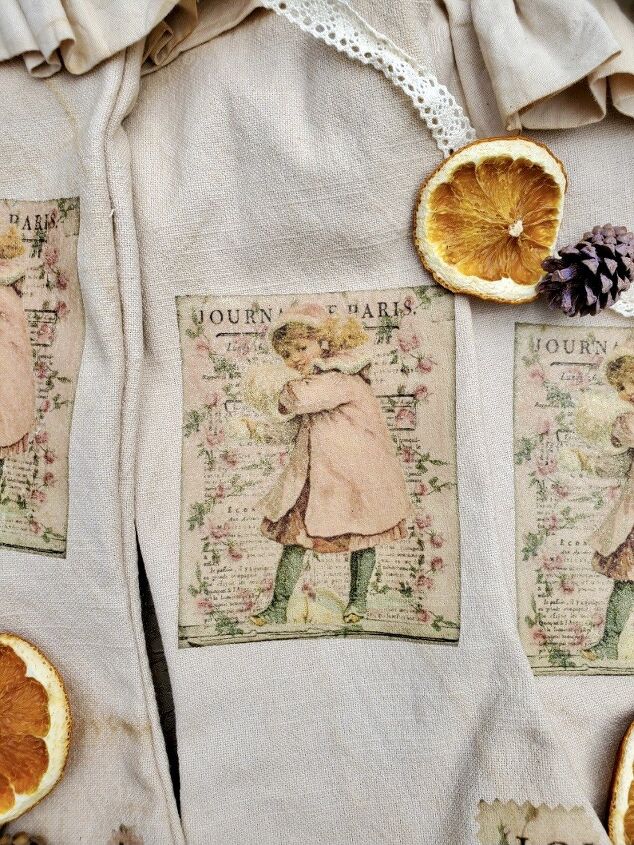
Incidentally, if you are going to add images to your homemade stockings as I did, now is the time to do this step. To add images to these it’s very easy. As a rule, I use Jolee’s Boutique Easy Image Iron Transfer paper in white especially for light color fabrics. This is also available for darker colors.
Because the transfers will be getting ironed on the stockings, they need to be printed in reverse. The best place to buy transfers is Etsy. They are inexpensive and have a great variety. When you purchase these tell the shop owner to send them in reverse. They are very accommodating. I share shops I buy these from on my blog so make sure to visit.
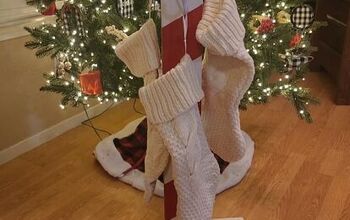
Below, you will notice I have a piece of wood under my stocking to iron my image. The wood keeps it stiff and allows it to be pressed on as the instructions on the package state.
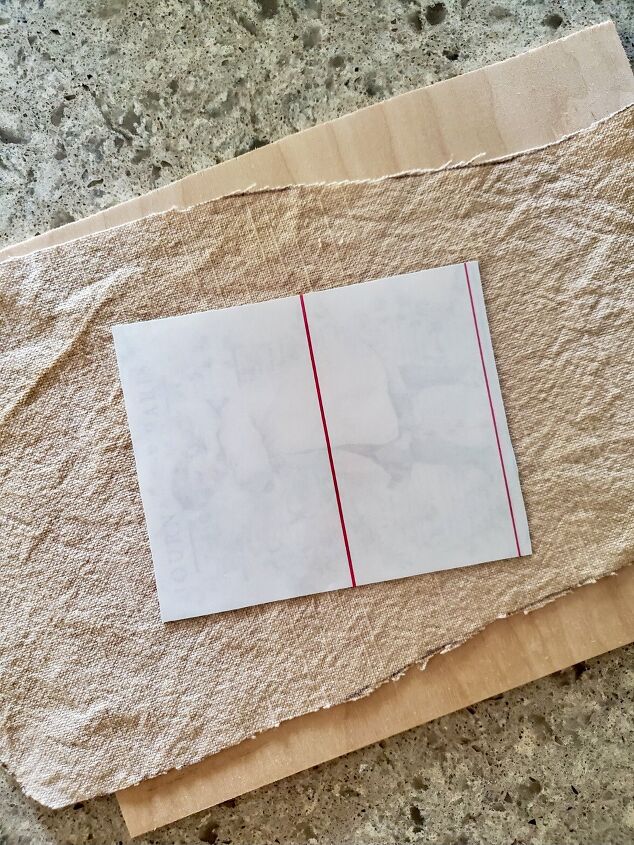
Incidentally, I printed my images 4×6 which is a perfect fit for my Christmas stockings free pattern.
Ironing The Images On The Stockings
Now, when ironing the images, it’s important to use a piece of wood underneath the fabric as I mention above. This is important because the fabric needs to be smooth. Also, set the iron on high with NO steam.
First, go over the fabric where you want the image, to lightly add heat. Next place your image face down and press the iron firmly. This is important, because this is when the ink transfers to your Christmas stocking. It’s also necessary to press and move the iron. I suggest counting to 60. You also will notice the ink pulling from the paper. Look at the packaging for instructions for your specific fabric.
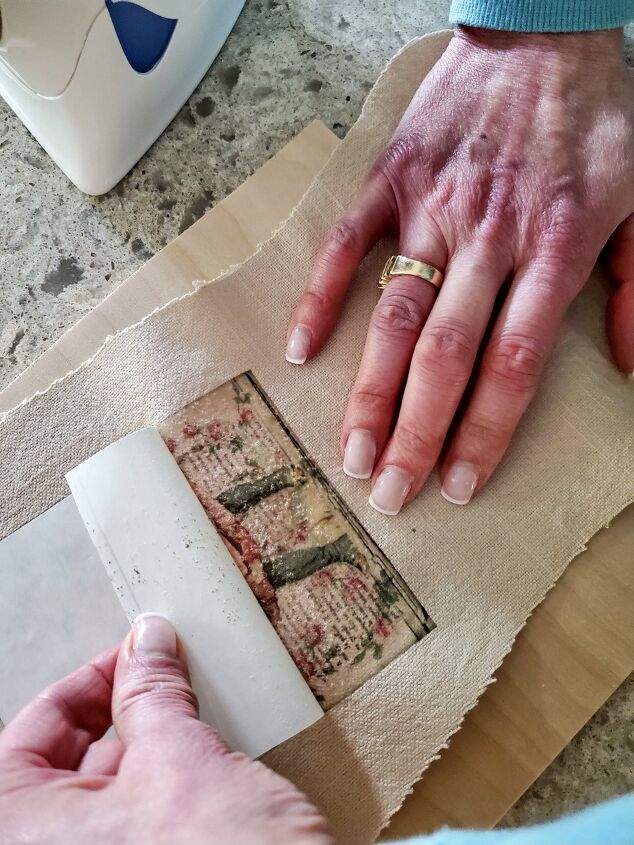
After you finish ironing, carefully begin to remove the backing.
Putting the Stockings Together And Adding The Top Trim
Step 1
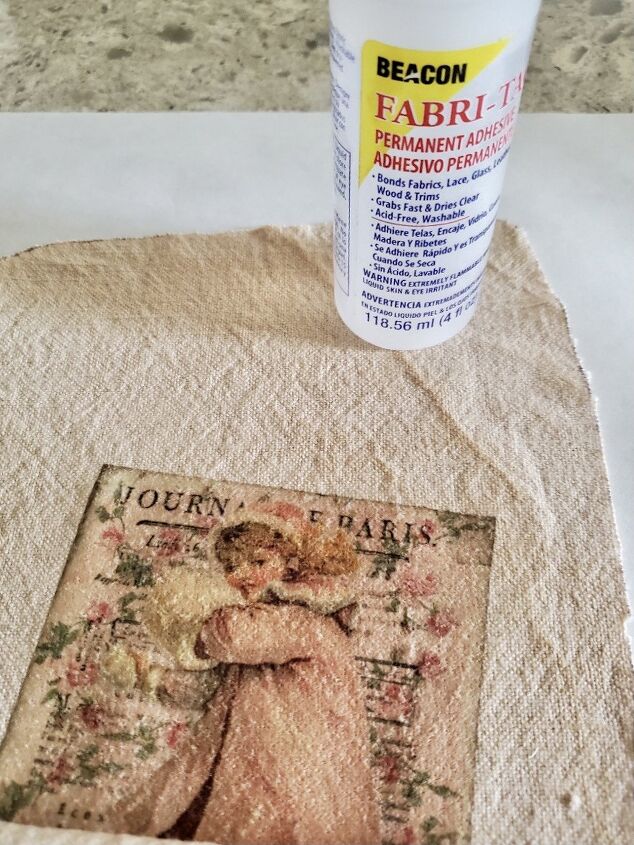
Because I don’t sew, I am using fabric glue to put these Christmas stockings together. I am using fabric glue because this glue allows me to have the option to wash them if needed in cold water. I have seen this done with hot glue. So, if you aren’t concerned with washing these stockings then that is an option. This glue also dries quickly so don’t make that a concern.
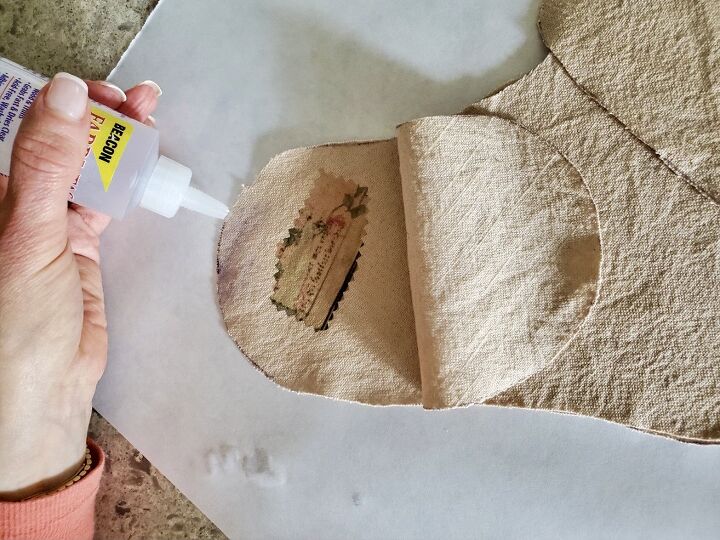
In the end, I first laid down the piece of my project with the image on it facing up. Next, I added glue all the way around the stocking edge.
Next step, I placed the other side of my stocking on top. Patting is lightly and allowed it to dry. In the meantime, I did the same steps to my other stockings.
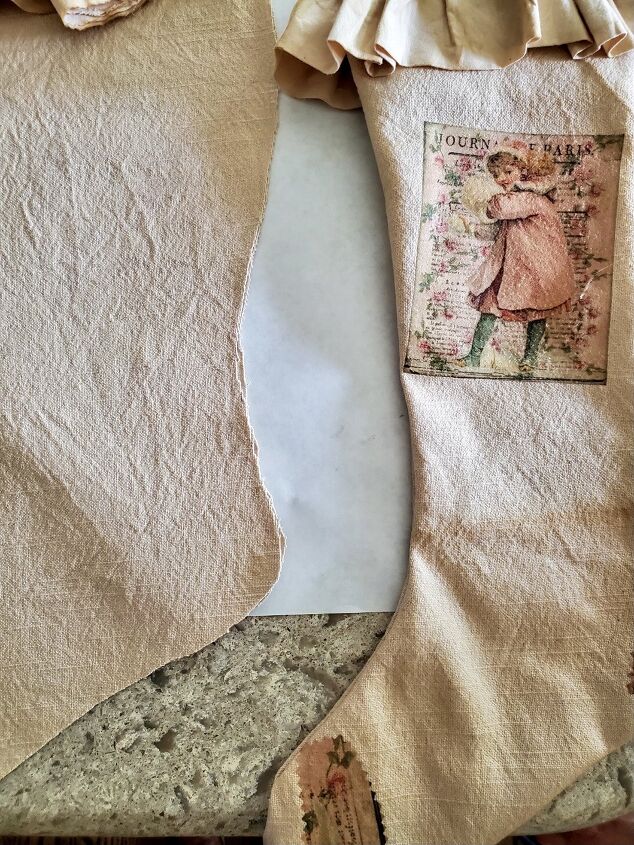
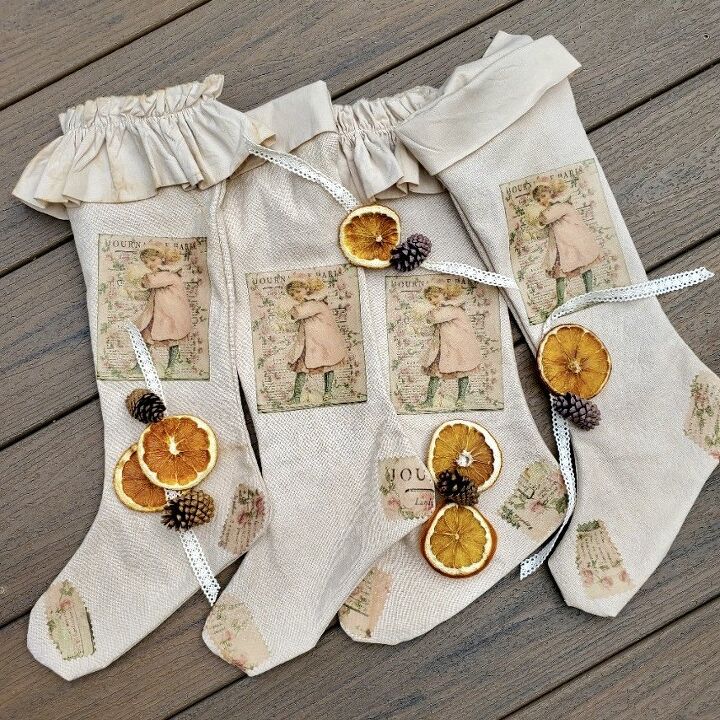
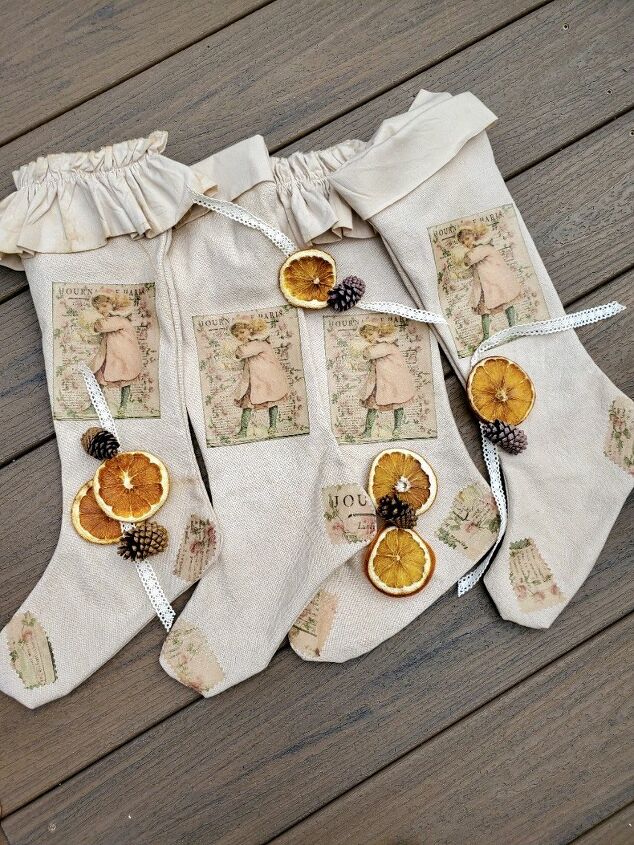
After all the pieces were dry I turned them right side out and it gave me a finished look for my Christmas project.
Step 2
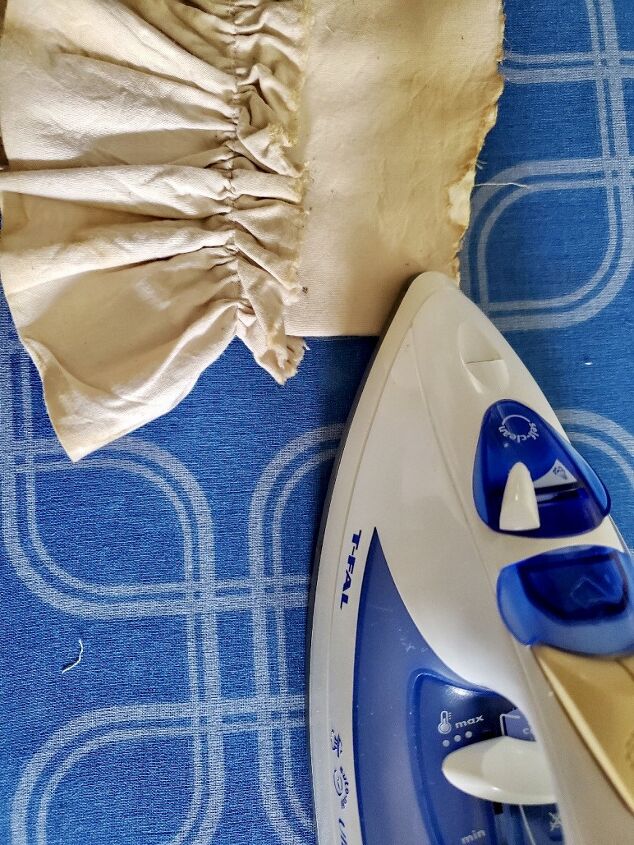
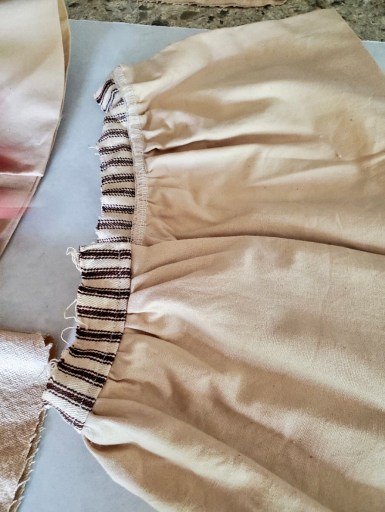
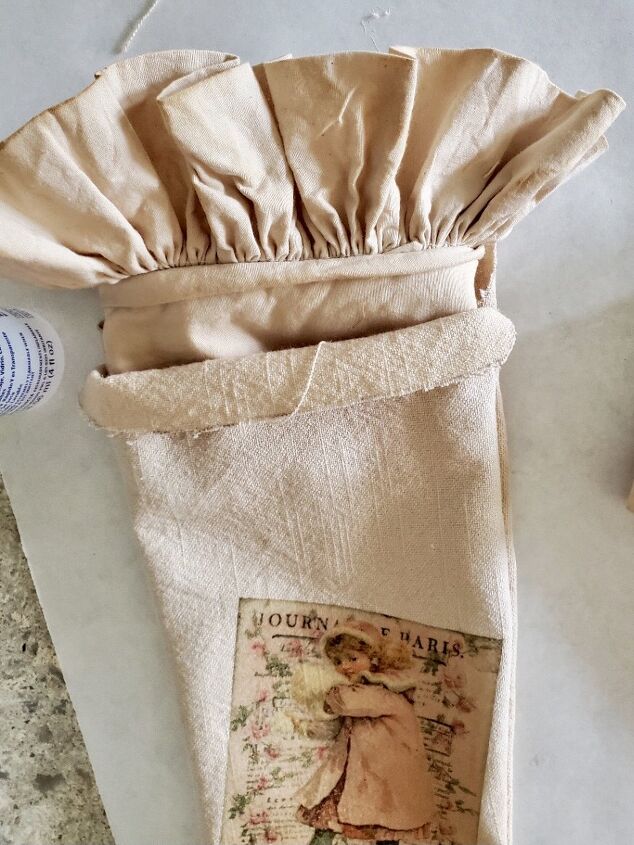
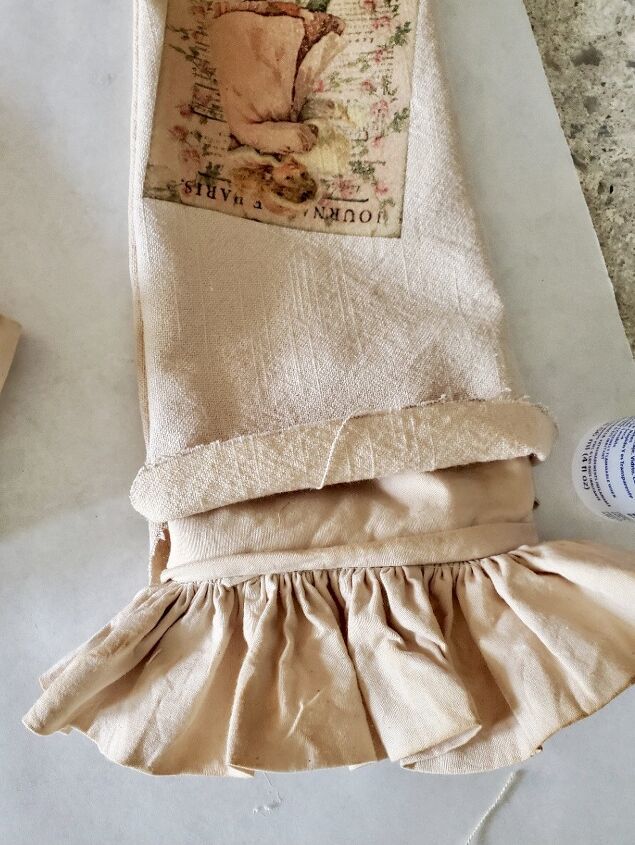
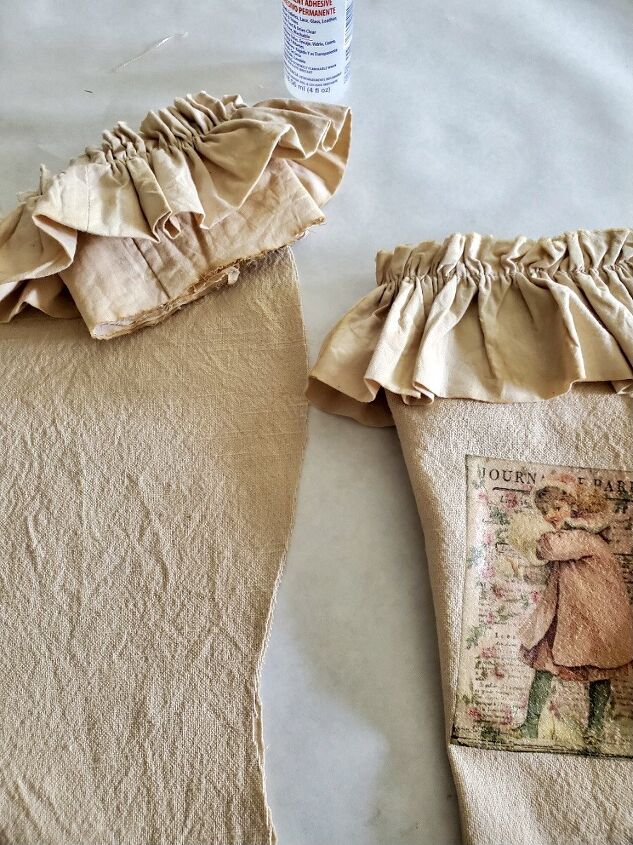
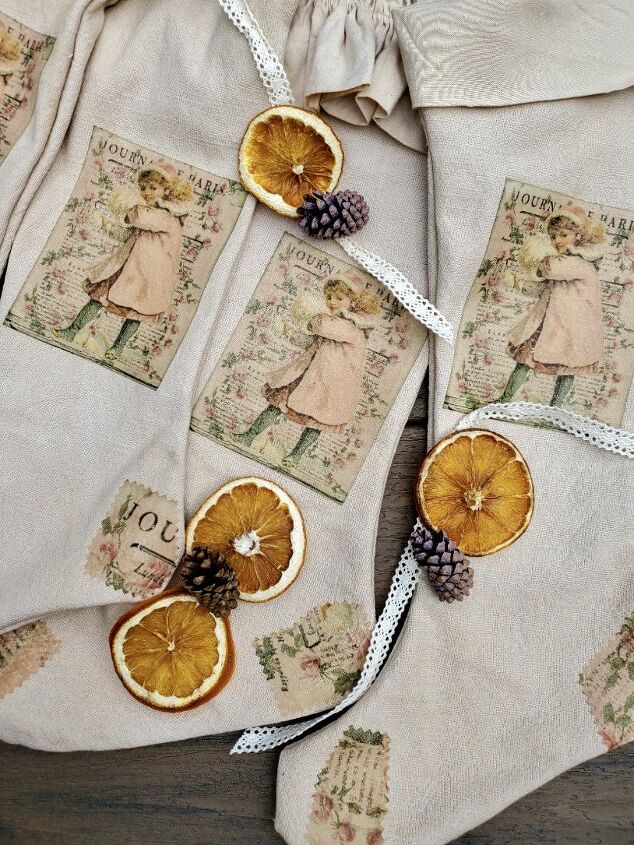
After gluing the body of the stockings together it’s time to add the top trim. I saved the tops of old stockings from years ago, perfect for two stockings. However, I am making four. So, having a runner I don’t use anymore, this is the solution.
So next, I cut the ruffled edge off the old runner. I then folded the ruffle over and added fabric glue for my other two stockings.
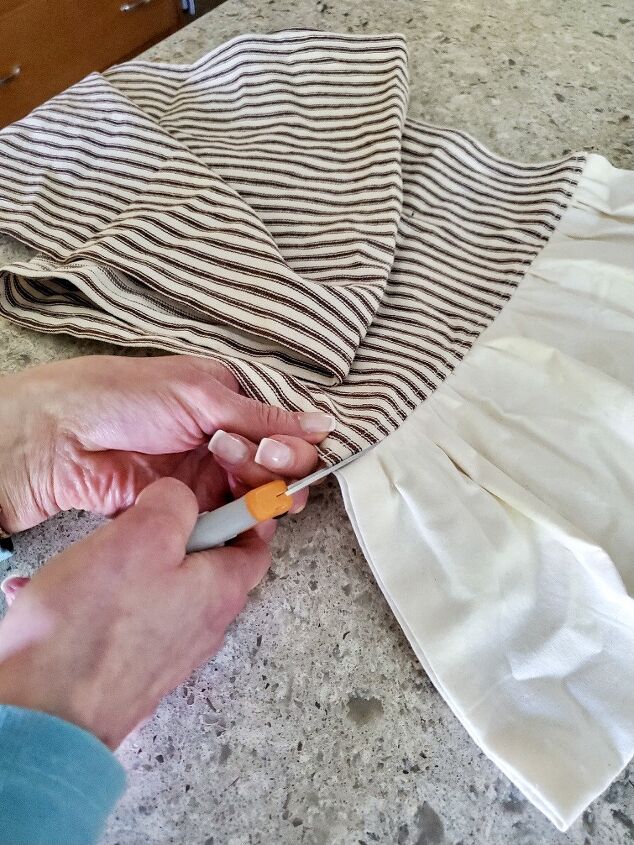
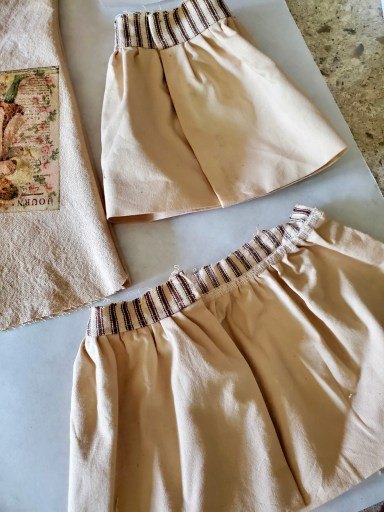
Lastly, I slid each one into each stocking top and added fabric glue to the outside of each trim piece. After these are glued and dried, I simply folded over the trim to have a top for my project.
FREE PRINTABLE
I hope you enjoyed learning how to make Christmas stockings and a free pattern. The free pattern is here for you to take and get a copy made at any copy store.
I’d love to hear your thoughts and if you will be thinking about making these to suit your home?


Comments
Join the conversation
-
Very, very nice. A fresh - old fashioned - take on Xmas stockings. Thanks for sharing your lovely idea.
-
Truly beautiful, definitely a keepsake that will be treasured 😻


Frequently asked questions
Have a question about this project?