


The Quickest Christmas Gift Wrapping Trick

I think I am the first one to admit I have been wrapping presents wrong my entire life. I found this video explaining a Japanese wrapping trick that was brilliant, and with a little improvement on their trick, I figured out how to wrap my presents in about 45 seconds. This trick uses 1 piece of tape even creates a pocket to put the card into. It sounds more complicated than it is, though I'll admit I had to do it a few times before I could do it super fast. But now that I know how to, it's a serious holiday/birthday skill I will be using for the rest of my life.
Step 1: Gather Your Materials
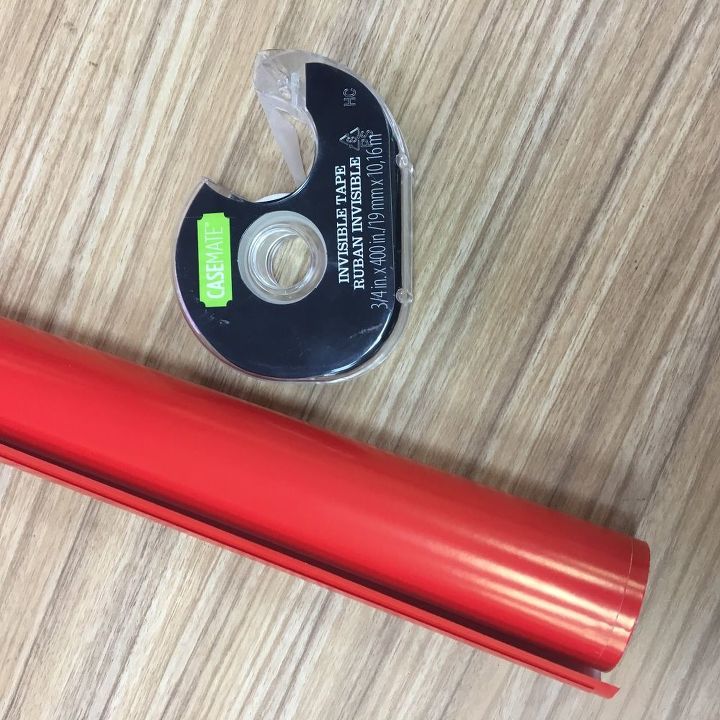
I used a piece of wrapping paper a little smaller than I would normally use to cover a present of this size, and one piece of tape.
Step 2: Angle the Present
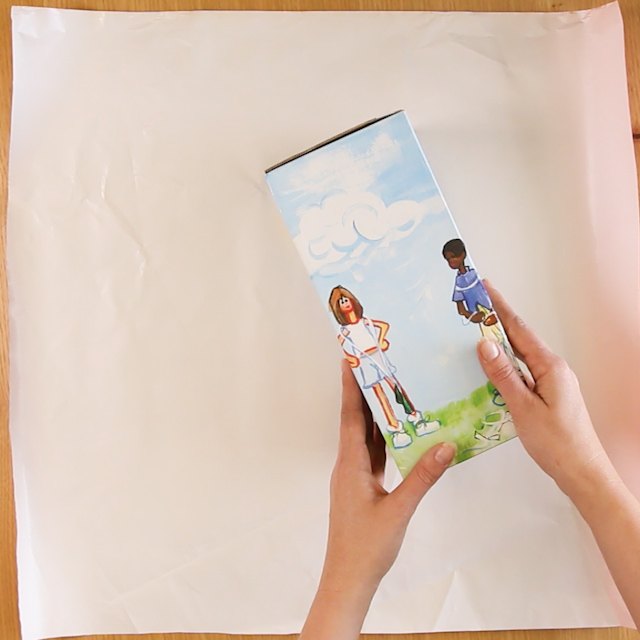
The first thing I did was turn the present at an angle. That’s one of the things that’s so different about this trick. I made sure that there was enough paper to cover the right side of the present, by just lifting the wrapping paper on the right side and -- if need be -- shifting the present so the edge comes almost exactly to the bottom right corner and it looks to me that there is enough paper to cover the bottom.
Step 3: The First Fold
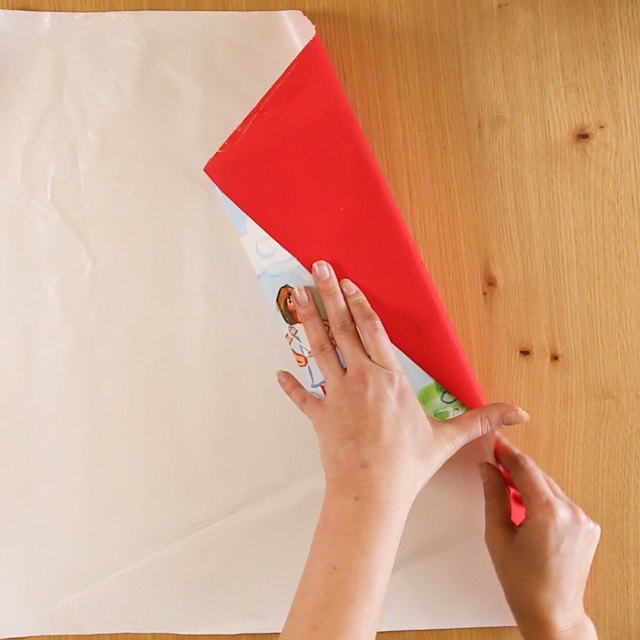
I folded the right side up and onto the front. If the paper doesn’t cover the right side of your present, just shift the present a little till it does.
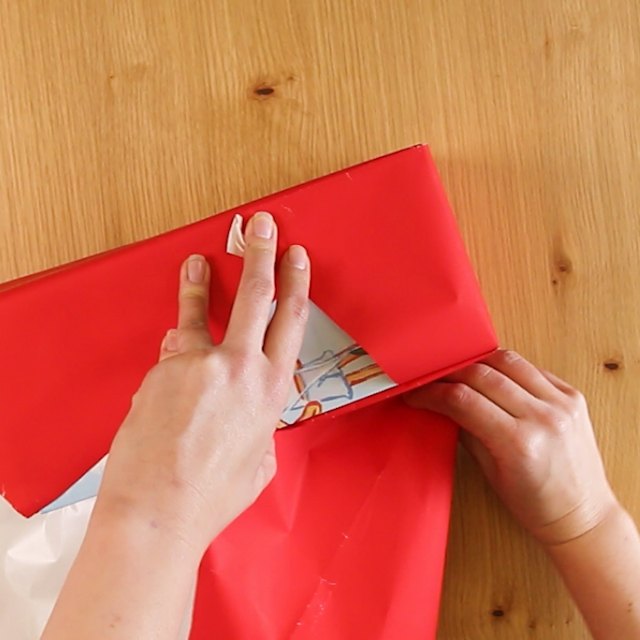
Step 4: The Second Fold
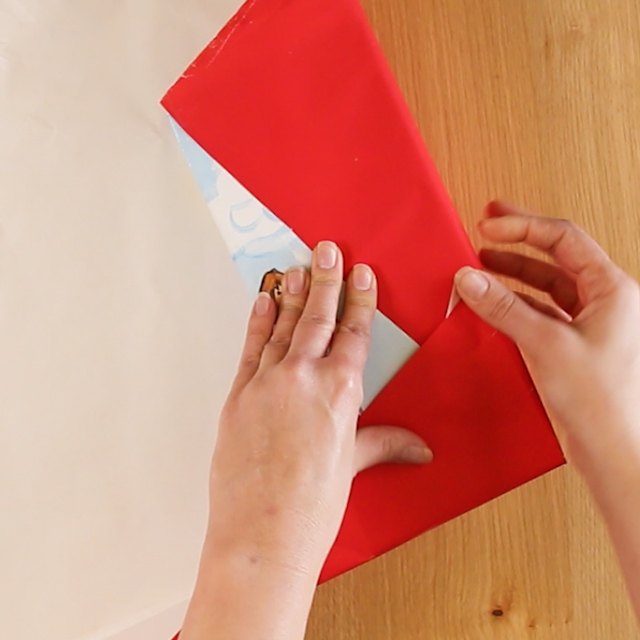
This fold is a little tricky. You need to put your index finger on the inside of the wrapping paper. Then use your second finger to fold the excess paper towards the left while folding upright. The fold should happen exactly at the bottom right corner. If the excess paper gets a little bunched, don't worry; it gets covered by the part you're pulling up. When you do this step correctly, you get a straight fold going up the right side of your package.
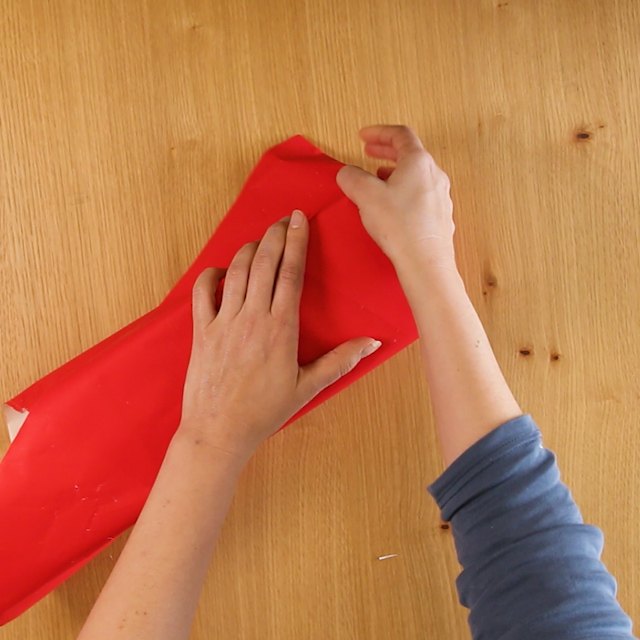
Step 5: The Third Fold
This fold is an easier version of the second fold. I found it was easiest to rotate the present 90 degrees counter-clockwise for this fold. Your hand is in the same position and you are pulling up while tucking the excess to the left. It's easier because there is less excess paper. You should also end up with a straight fold up what is now the right side.
Step 6: The Last Fold
The last fold is a double tuck, using both hands and ending with a straight fold along both sides of the top. You're basically stuffing all the unneeded paper from both directions under the top fold.
Step 7: Add 1 Piece of Tape
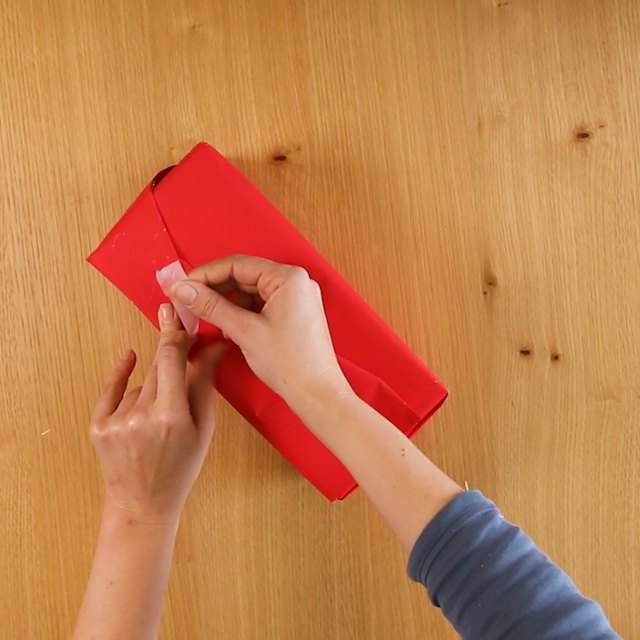
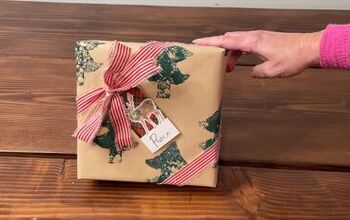
I added the piece of tape to the corner where the two flaps met. This creates a pocket that's perfect for sticking in holiday cards. If you want to cover that piece of tape (and jazz up your wrapped present), you can put a bow over it.
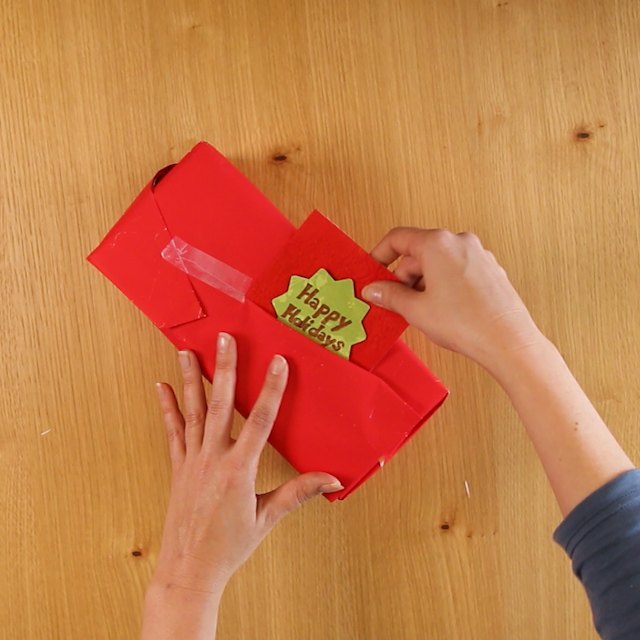
A little card to dress it up and... Happy Holidays Everyone!!!!
Comments
Join the conversation
-
Great Post, thanks for sharing! Smiles, Cyndi
-
😂😂😂😂


Frequently asked questions
Have a question about this project?