


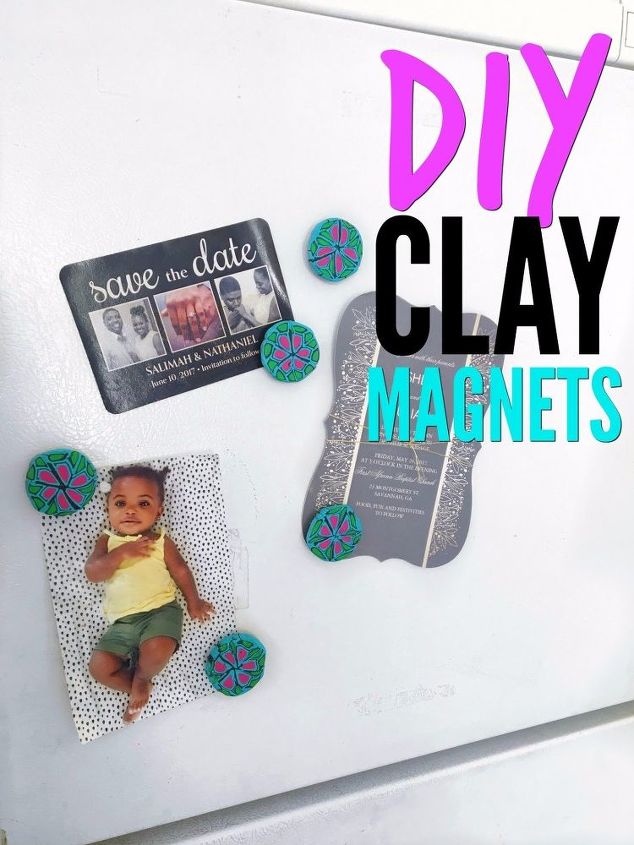
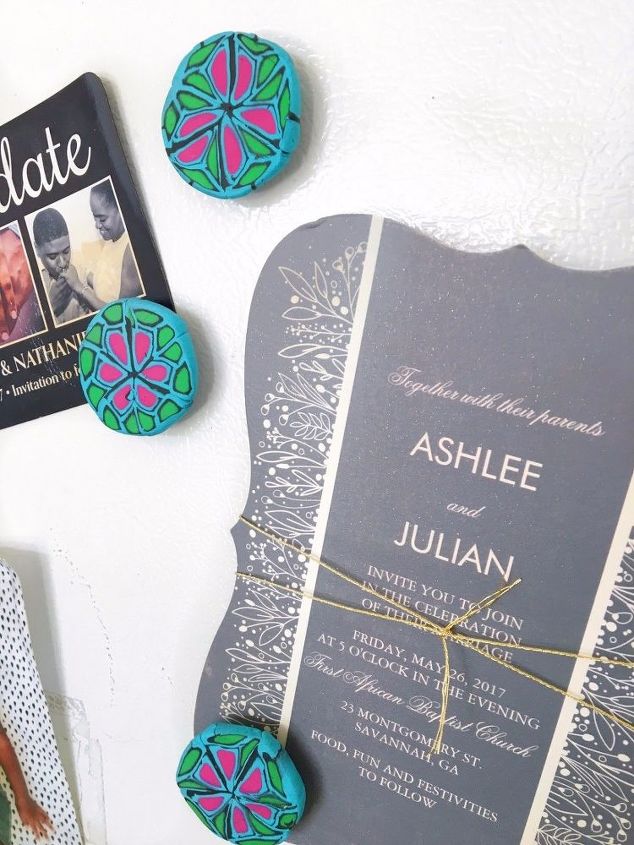
DIY Clay Magnets
When I think about creating something I first look around my house to see what I need or ask myself where is there a problem that a simple DIY can fix, big or small. One day I checked the mail and received three beautiful wedding invitations, and naturally, I wanted to hang them on the refrigerator so I would remember to rsvp. Here comes the problem, I don't have any magnets. The one I do have would barely hold all the invites, and every time I open the freezer door, the invites would fall. So that led me to create these cute clay magnets to hang photos or invitations on my refrigerator. This is a very simple and family-friendly project!Here is what you will need:
- Soft oven bake clay
- Magnets
- Hot glue
- Hot glue gun
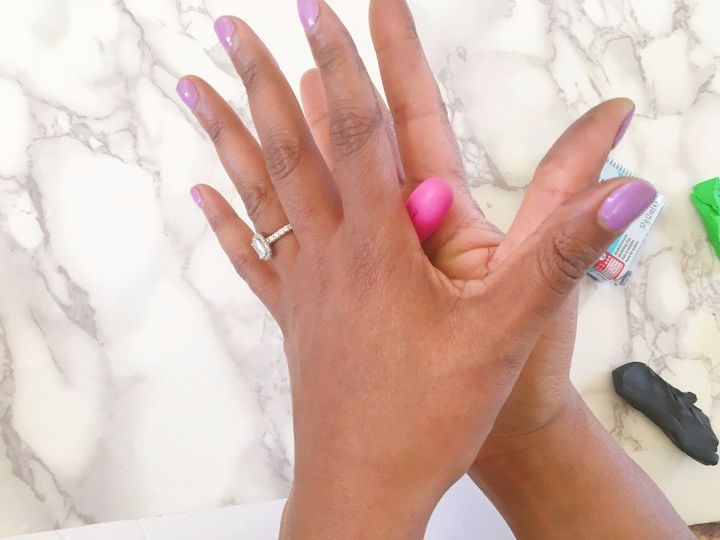
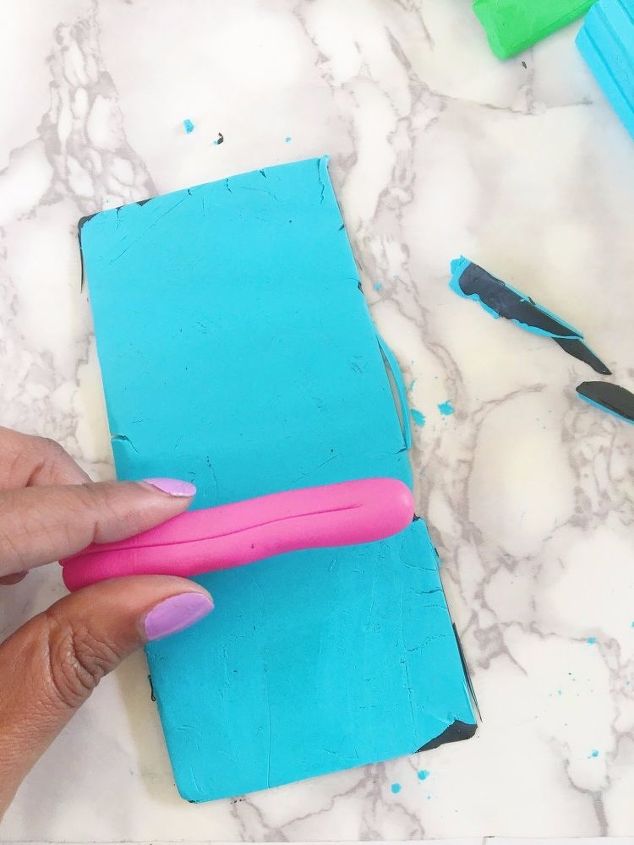
First, knead the clay to get it soft and warm for molding.
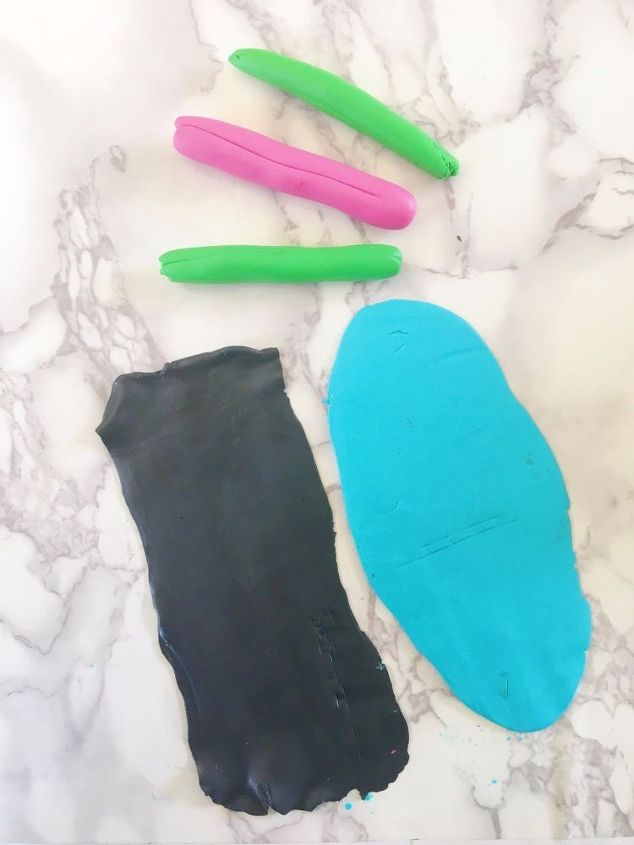
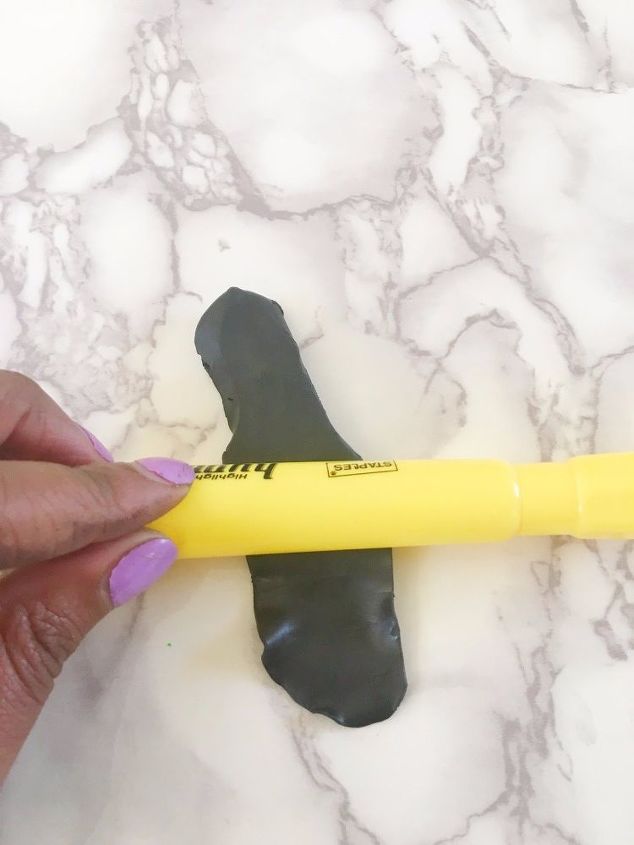
Roll the pink clay into a rod and roll two rods with green clay. The pink rod should be slightly larger than the green rods. Then roll out thins strips of black and blue clay. Using a marker will make flattening the strip a lot easier.
Layer the blue strip on top of the black strip. Place the pink rod crosswise at the top of the strip and wrap the pink rod making sure the black layer is on the outside.
Continue wrapping the green rods with strips blue side out.
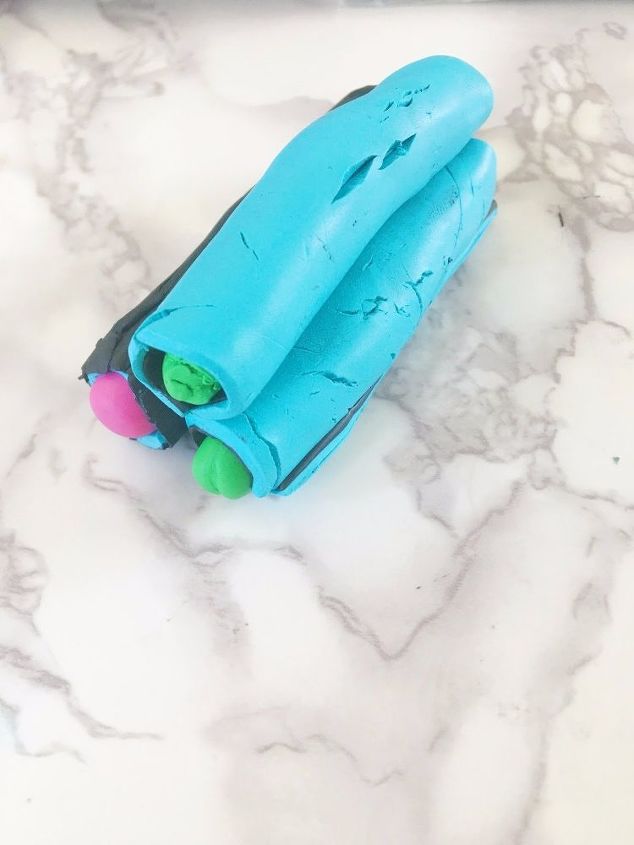
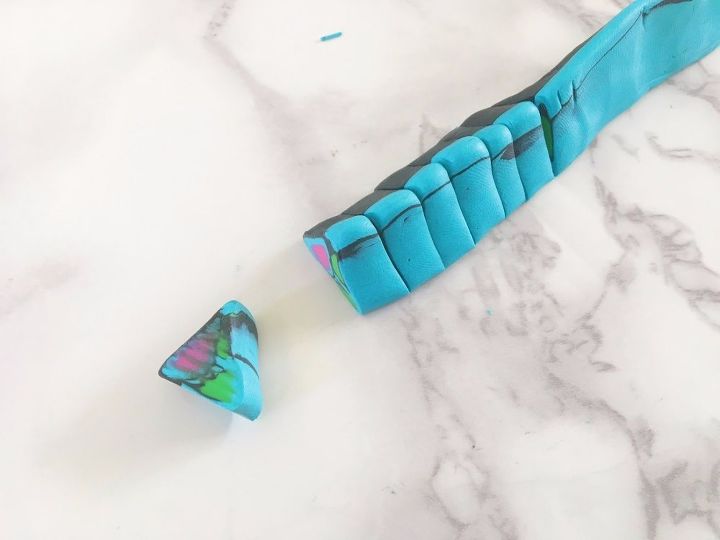
Press the stacks into a pyramid- shaped rod and gently stretch it as long as possible without messing up the design.

Use a knife and cut the stretched rod into 1/4 inch pieces. 6 to 7 pieces for each magnet.
Gently press the pieces together like a pie, molding out all the separation lines.

Place the magnets on a baking sheet and bake according to the clay instructions for 5 to 7 minutes then let cool.
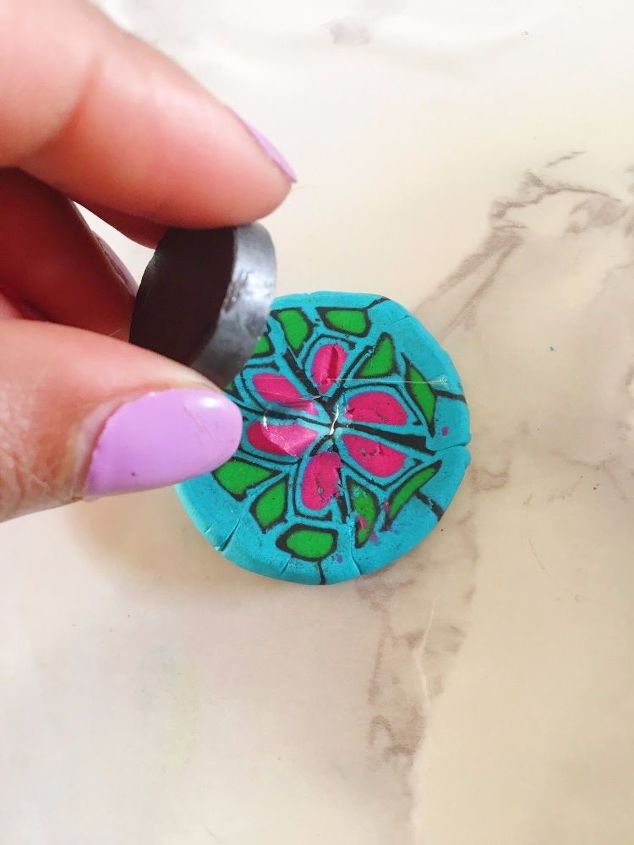
Hot glue a magnet to the backs of each disk and Viola! Custom magnets to adorn your refrigerator or command center.


Want more details about this and other DIY projects? Check out my blog post!
Comments
Join the conversation
1 comment
-
Love the colors combination..really neat idea!


Frequently asked questions
Have a question about this project?