


DIY Gift Bags With Iron On Labels
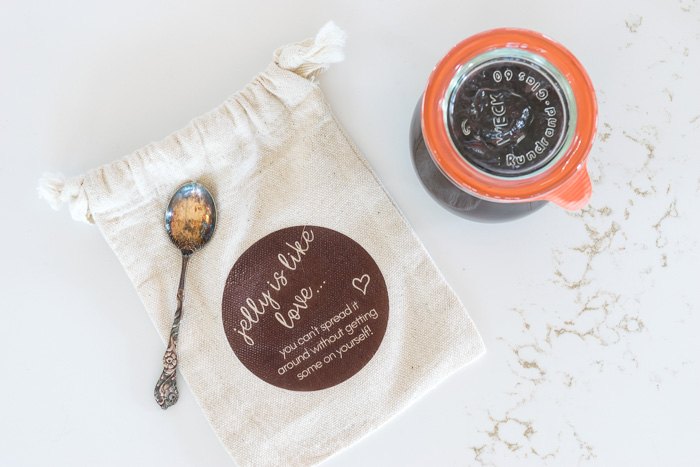
I was looking for a way to make my handmade gifts of food and washcloths/dishcloths just that much more special. Tucking the gifts into a canvas bag with a label tailored to that gift was my solution. I couldn’t be more thrilled with how they turned out. I am sharing this tutorial for easy to make DIY Gift Bags using Iron-On Fabric Transfers, perfect for your handmade or purchased gifts.
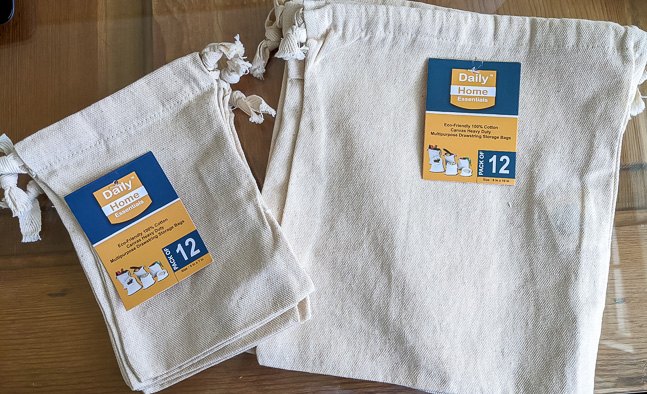
While these drawstring gift bags would be easy to sew from scratch, it cost me about $1 per bag for the small ones and just a wee bit over $1 per bag for the larger ones. These canvas bags easily fell into the ‘cheaper to buy than to make’ category.
I will say that I did end up washing the bags before I really worked with them. They had a strong (to me) odor, but Terry says I have a nose like a bloodhound, so there’s that. I washed and dried them and the odor is completely gone.
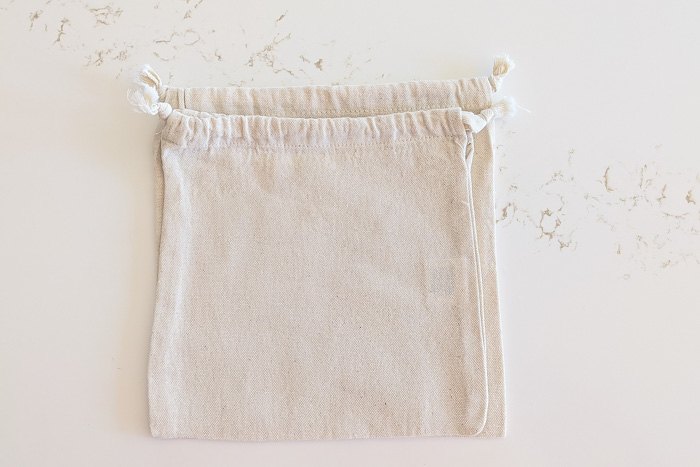
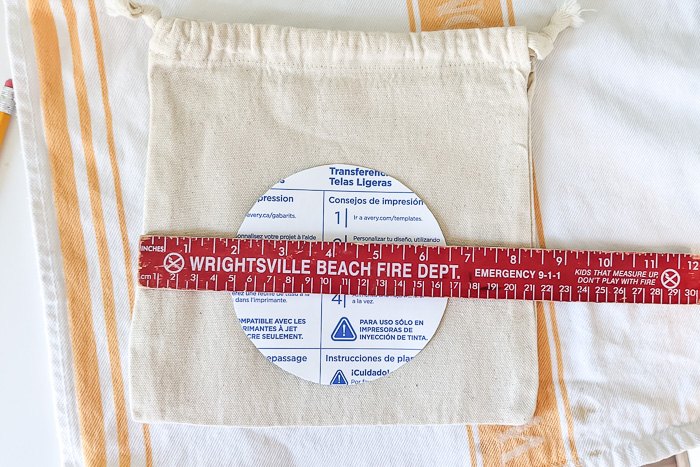
They did shrink a wee bit, as you can see by the comparison of the 8 by 10 bags below. But not enough that they won’t do what I need them to do.
- Fabric Bags. I purchased both 5 x 7-inch and 8 x 10-inch canvas bags for my DIY Gift Bags, but feel free to make your own! The 5 x 7-inch bags are perfect for a bag of mulling spices and a small pint of jam or jelly or other food gift. The 8 x 10-inch bags work for a small loaf of bread, a bag of cookies, as well as a spa gift of a washcloth, bar of soap, and tube of bath salts.
- Iron-on Fabric Transfer Paper
- Inkjet Printer
- Iron You don’t want steam, so if you need to dump the water out of your iron, go ahead and do that.
- Scissors
- Ruler
Designs. I have 7 designs for you to use and will continue to add to the designs in the future. Subscribers can nab all the designs for free on the blog. Just scroll down this page and look for the small image of my smiling face and the words, "Want more details about this and other DIY projects? Check out my blog post!" to be taken to the post and the links for all the designs.
- If so inclined, wash and dry your gift bags (bear in mind there will be some modest shrinkage)
- Iron the bags so that there are no wrinkles
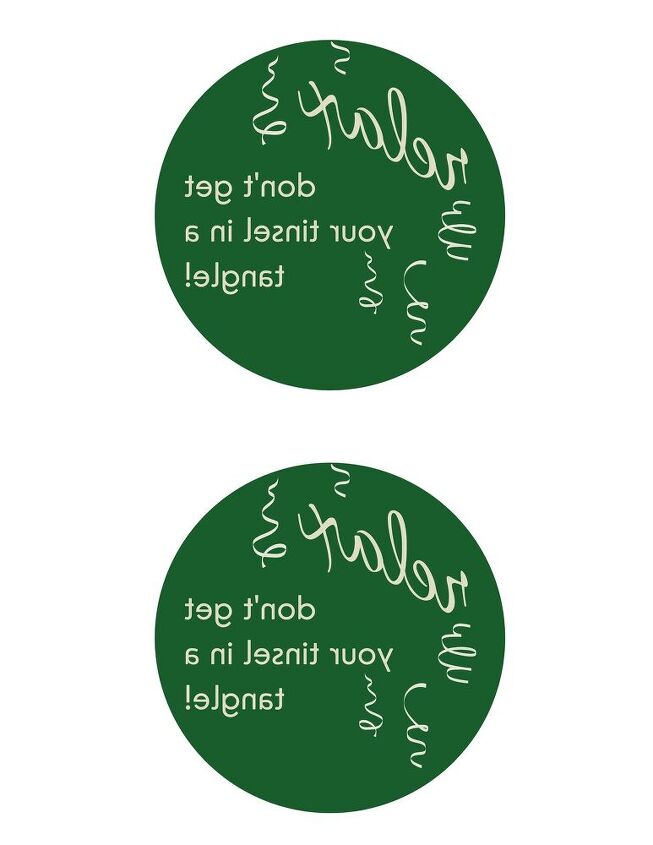
- Print off the design of your choosing. You will note when you download your design, that they are backward. That is the way they should be so that the mirror image is what is ironed on your bag. Do not set your printer to ‘mirror’ image…it is already done for you.
- Carefully cut around your image.
- Lay a cotton towel or pillowcase on a hard, heat-safe surface and iron the towel or pillowcase to remove any folds or wrinkles. (I used the top of my dryer…I wouldn’t do it on a wooden surface)
- With the steam setting OFF and all water removed, set your iron to ‘cotton’ setting and let it warm up for 5 minutes.
- Place your image, design facing down, on the bag. I centered mine, but feel free to place yours where you want them.
- Iron the transfer, using firm pressure and moving the iron slowly from one side to the other and then from the top to the bottom. Ensure that you sufficiently run the iron on the edge of your design. All told, you should iron the piece for about 45 seconds to 1 minute.
- Allow the bag to cool for 2-3 minutes before peeling back the surface. If the image begins to lift, use your iron to apply more heat. Focus on the area that wants to lift. Permit it to cool for 2-3 minutes again before trying to peel off the paper.
- If you are going to work on a second piece, allow the work surface to cool before you do so.
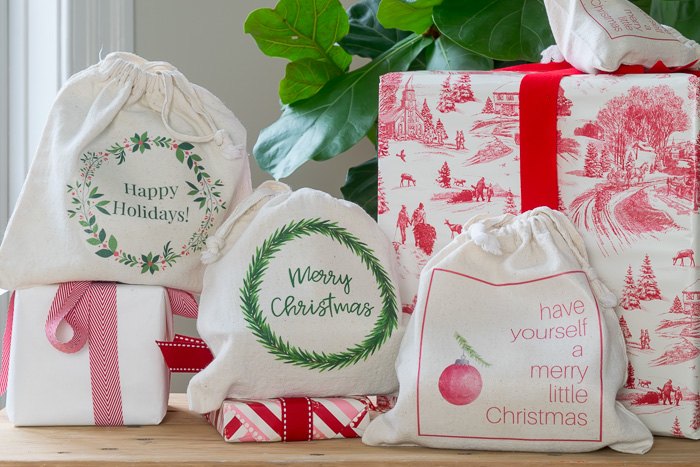
Currently there are 7 designs availabel. Three specifically for general Christmas gifts (shown above), 1 for jams/jellies, 1 for washcloths/spa gifts and 1 for baked goods. Once again, pop over to the blog for the links to the designs.
Resources for this project:


Frequently asked questions
Have a question about this project?