


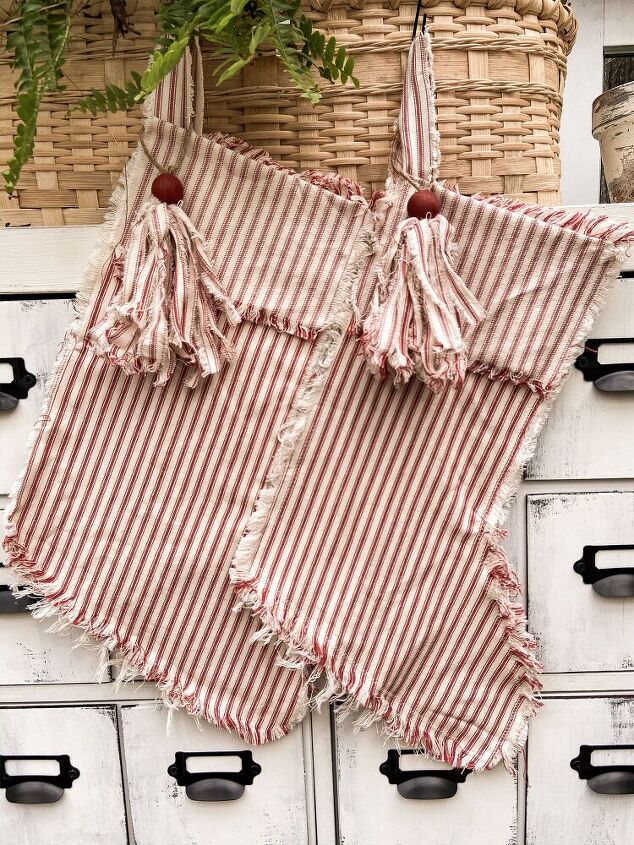
Easy Ticking Christmas Stockings
Today, I'm sharing how to make Easy Ticking Christmas Stockings that have a vintage, distressed look. I'm sharing a no sew method and if you prefer, an easy to sew method.
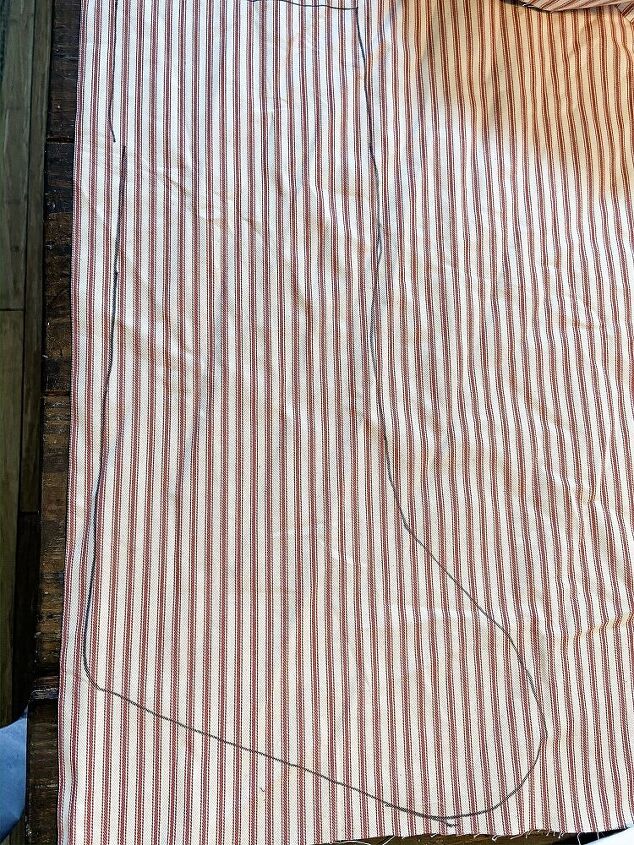
You will need approx. 3/4 of a yard of ticking fabric for two stockings. Begin by tracing a stocking onto your fabric. I just used a stocking I had on hand. Be sure to trace slightly larger than you want your finished stocking, because they will shrink.
Then you want to cut the stockings along the drawn lines. Use regular scissors and you don't have to be neat with this step.
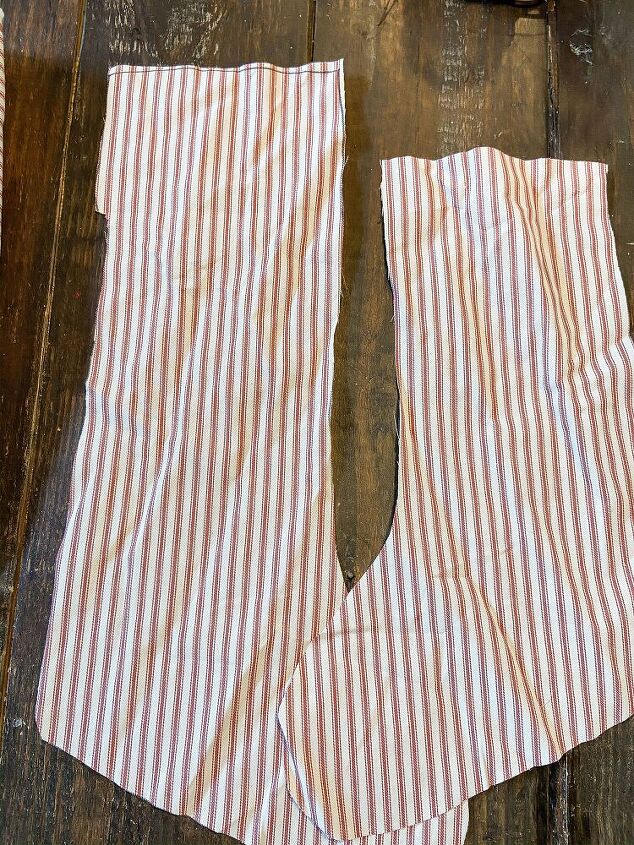
You will want to cut the front side of the stocking approx. 4 - 5 inches longer than the back side. This will allow for a fold down on the front side.
In addition, cut a strip of ticking fabric approx. 1 inch wide and 7 inches long for the hanger.
If you want the stockings to be less floppy, you may want to add additional fabric to the inside as a liner. I only added one piece to the back side and I used plain cotton fabric. You can use a heavier weight fabric if you want your stockings to be really firm.
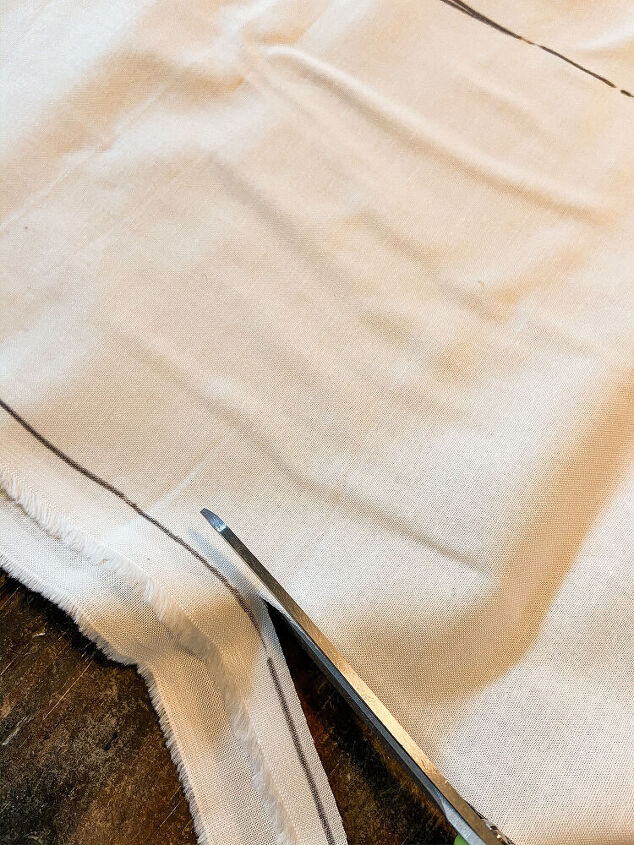
You will want to cut the lining fabric slightly smaller than the ticking stocking.
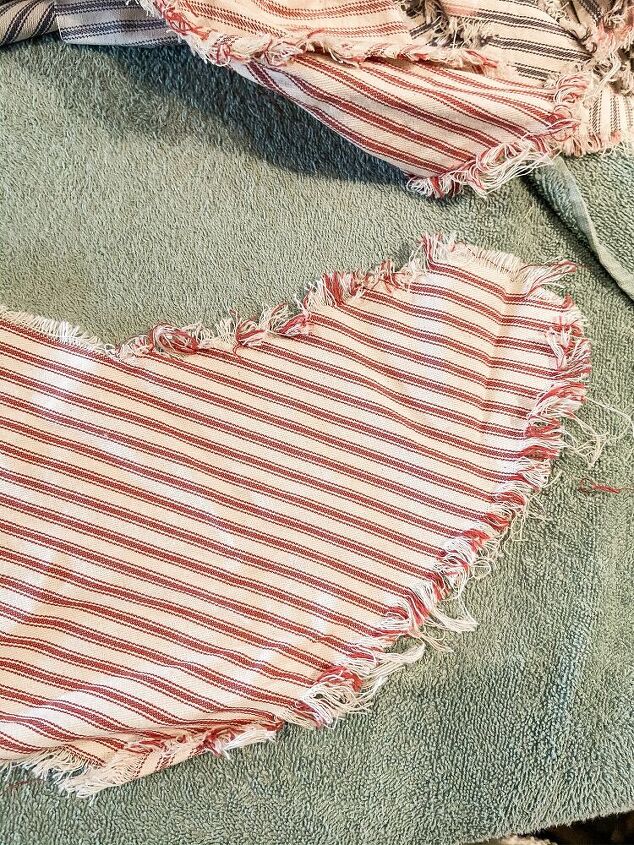
Wash & Dry all the ticking pieces, however you don't need to wash the liner fabric.
When you remove the ticking stockings, you will need to cut off excess strings. All the edges will be frayed.
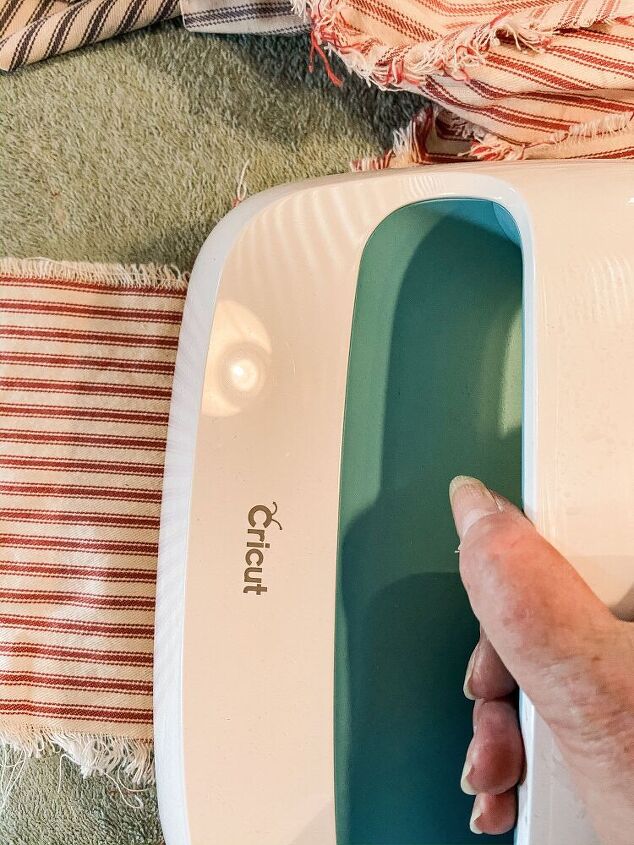
You will need to press all the ticking pieces before assembling them. I like to use the cricut press because it's so fast and easy.
The Sewing Method
First, if you are using a lining, you will want to sew the lining fabric to the back side of the stocking. Be sure to sew the lining inside the frayed edges of the stocking on the wrong side of the fabric.
Note: I used pinking shears to cut the liner fabric to size. Once the ticking fabric has been washed and dried, it will have shrunk. Therefore, it may be necessary to trim the liner fabric in areas to fit inside the frayed edges.
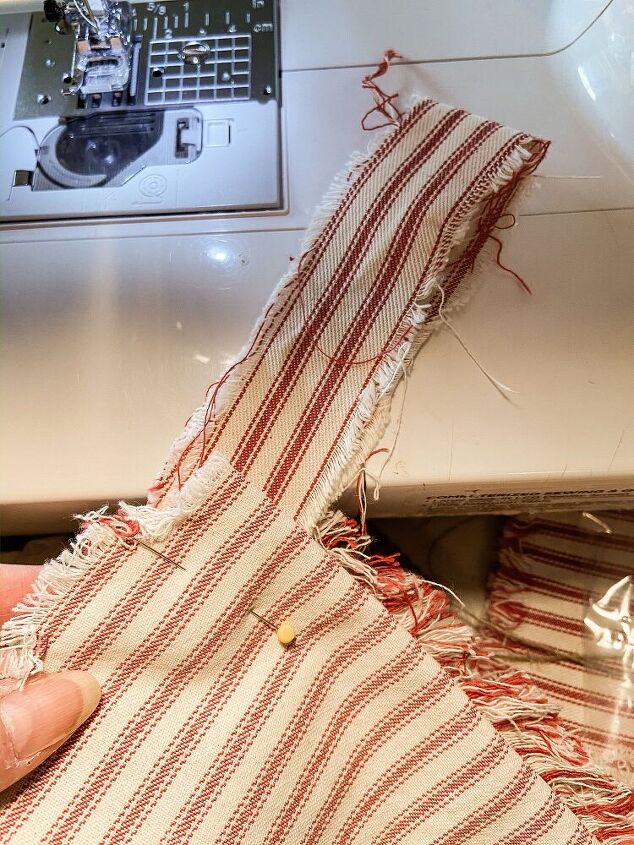
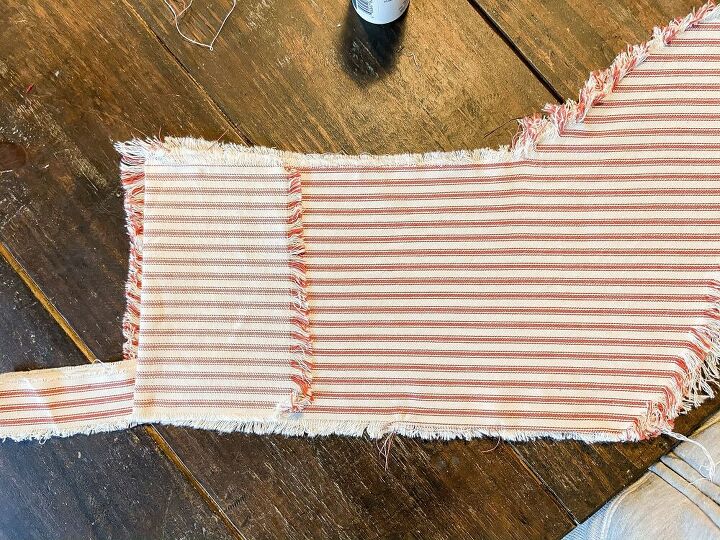
Next, align the longer, front side of the ticking fabric on the lined back side of the stocking. Be sure that the back sides of the ticking fabric are together, with the right sides of the fabric facing out.
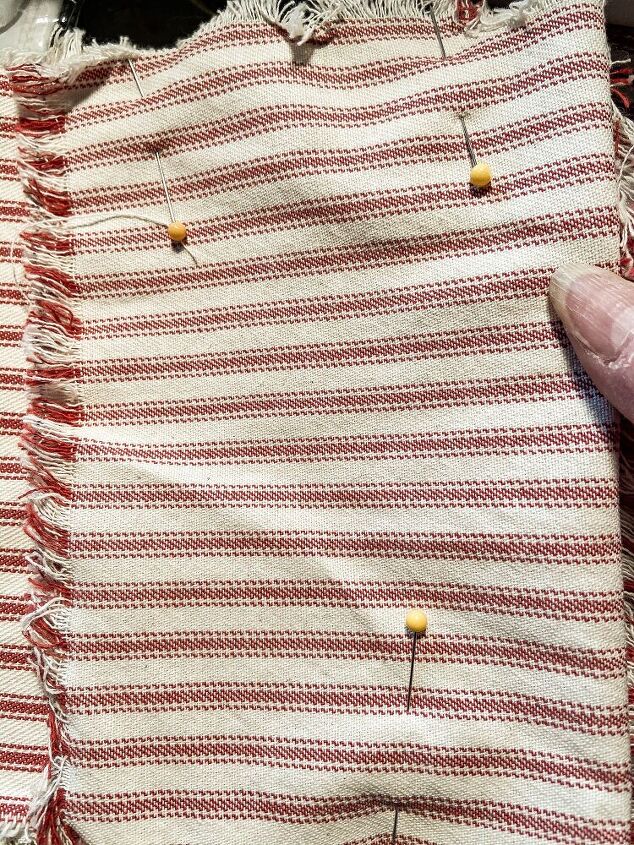
Then, fold down the longer piece on the front until the crease is even with the backside of the stocking. Pin into place.
In addition, place the hanger inside the stocking at the upper left hand corner and pin into place.
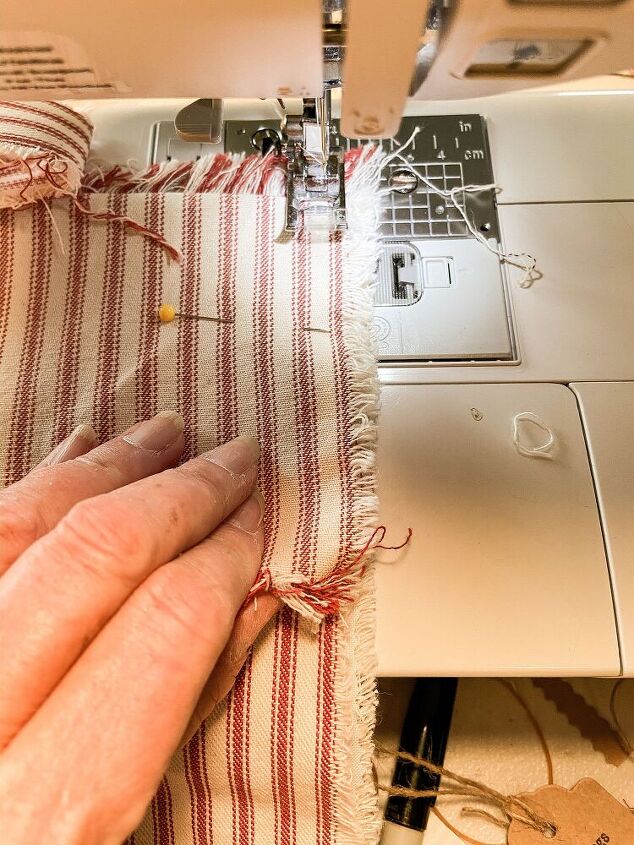
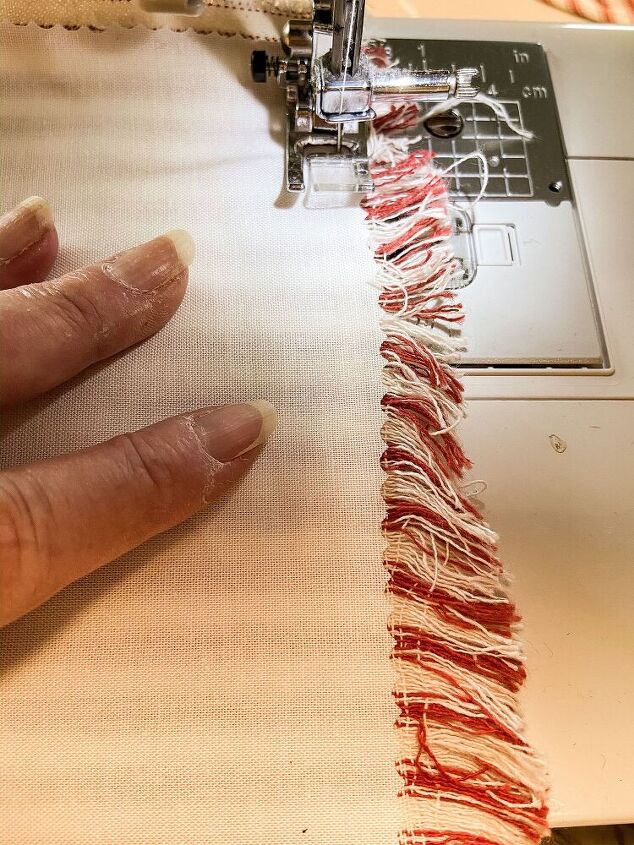
Stitch the front and back of the stocking together, using a zigzag stitch on your sewing machine. Stay just inside the frayed edge of the fabric and leave the top of the stocking open. You will be stitching through all layers of the stocking at one time.
No Sew Method
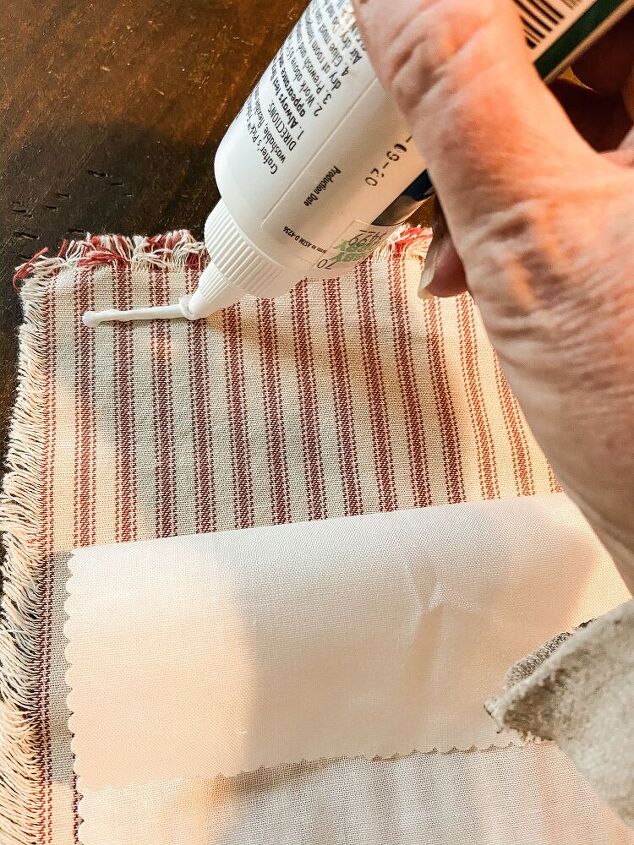
You will need washable fabric glue for this method. Just begin by attaching the liner to the backside of the stocking by applying a small bead of glue around the entire edge of the stocking on the inside of the frayed edges.
Next, attached the hanger by placing a small dot of glue to the upper right hand corner of the stocking. Press one end of the hanger here until attached. Then another dot to hold the two end together.
Then attach the front of the stocking by applying another bead of fabric glue on top of the liner. Press along the edges until everything is smooth.
The final step, is to apply glue along the upper sides of the stocking, just where the fold down will be attached. Fold over the top of the stocking and press with your fingers to be sure everything is attached.
Resources for this project:


Comments
Join the conversation
-
Adorable
-
There’s just something about ticking fabric I really love. The tassel and bead are the perfect embellishments


Frequently asked questions
Have a question about this project?