


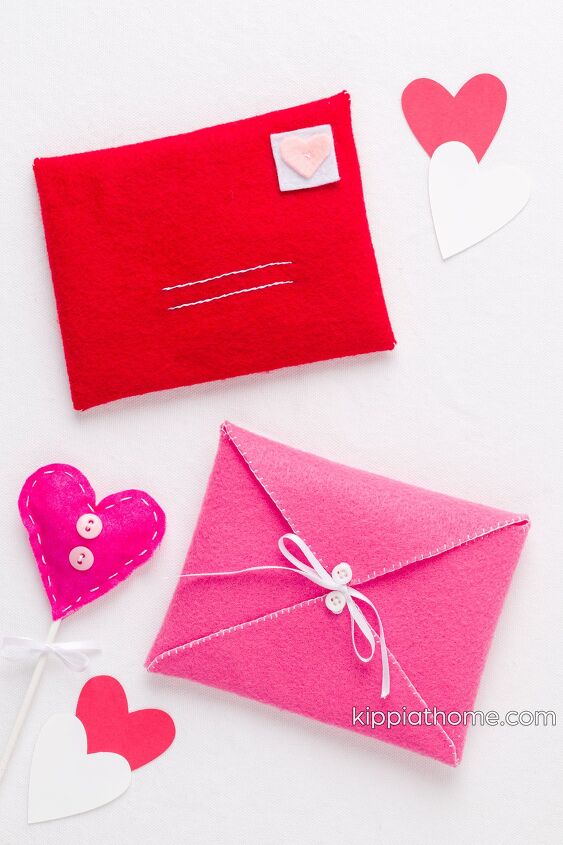
Fabric Envelope
Every year during the week before Valentine’s Day, I like to give my family a daily treat. So I decided to make everyone a fabric envelope to hold their daily treats. I found the inspiration for making these on Pinterest.
I cannot wait to make some of these adorable envelopes for everyday use.
💌 See the how-to Video HERE 💌
Fabric Envelopes
This post contains affiliate links. That means that if you purchase from one of these links, I will make a small commission.
Fabric Envelope Tutorial
I grabbed a bit of felt and a paper envelope and started creating.
Fabric Envelope Supplies
- Envelope Pattern (see blog for pattern download)
- Embroidery needles
- Embroidery thread
- Scissors
- Felt
- Ribbon
- Buttons
- Thread conditioner
- Fabric maker
- Sewing pins
- Hot glue
- Quilt ruler
**I recommend you watch the how-to video before beginning this project.
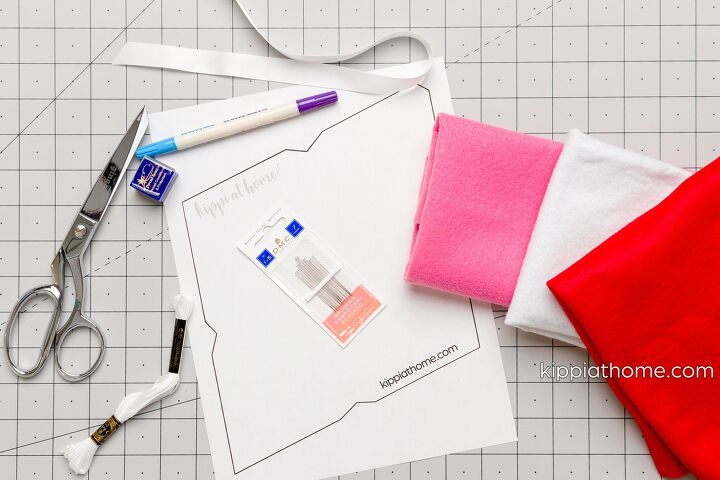
Supplies
Cut Pieces of Fabric for Envelopes
The first step is to print out the pattern and trim around the paper pattern with scissors.
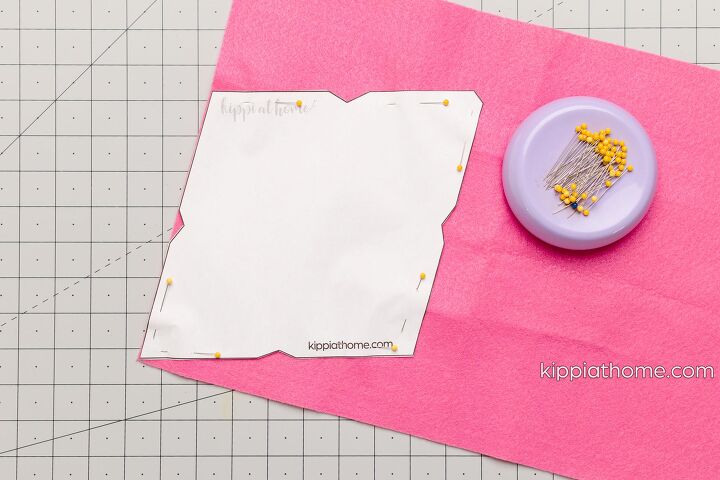
Pin Pattern
Next, pin the pattern on your fabric with the right side facing up. Next, cut along the paper template, be careful not to cut the paper pattern, and then remove the pins.
Then fold the side flaps in at the natural fold lines, then fold the bottom flap over the sides and pin in place. Last, fold the top of the envelope over and form an envelope shape and pin in place.
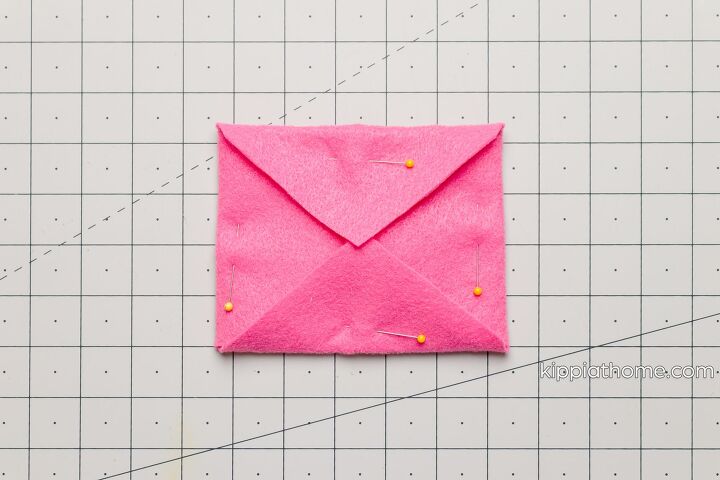
Fold all sides
Trace and Mark Front
With the pins in place, turn the envelope over, trace a square for the felt postage stamp, and draw lines for the address.
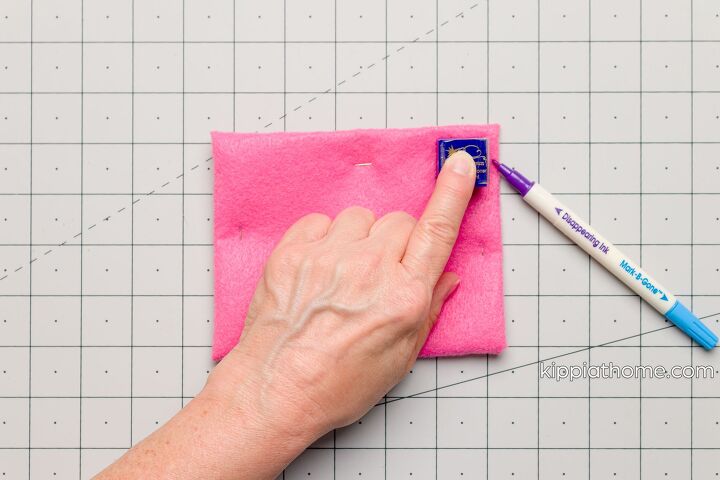
Trace stamp placement
I used the fabric conditioner as my template to make a square for my stamp. For the address lines, I used a quilt ruler.
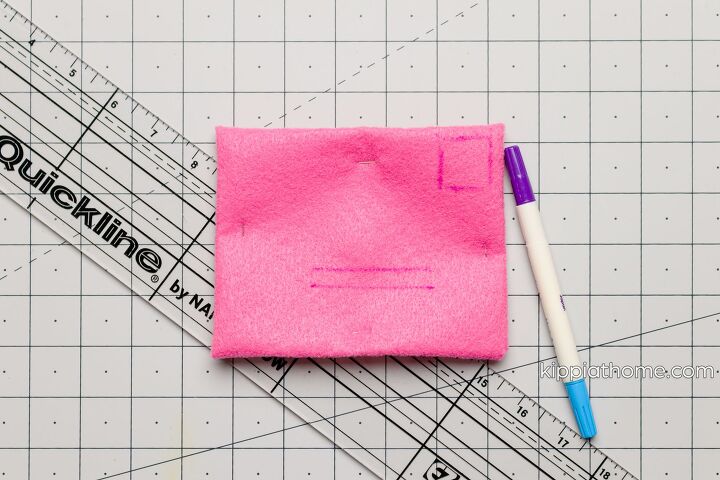
Placement markings
Cut Out Stamp and Heart
To use the fabric conditioner to make my stamp with white fabric (felt) and make a heart for my postage stamp, I folded a piece of red fabric (felt) in half and traced half of a heart, then cut along the traced lines.
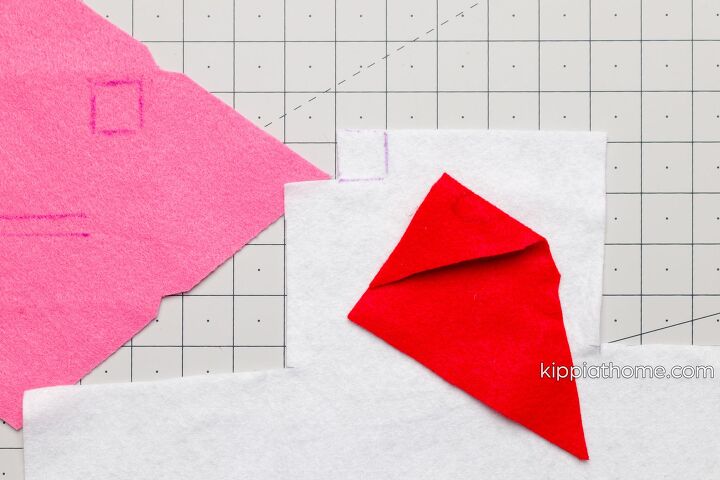
Stamp and heart traced
Hand Stitching
Then, I cut a piece of embroidery floss about 18 inches long and separated two pieces for sewing. Finally, I pulled the knotted thread through the thread conditioner to help prevent knots.
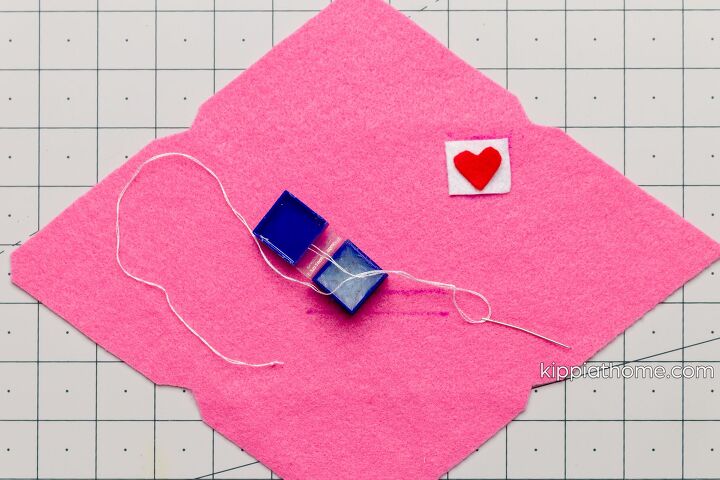
Conditioning the thread
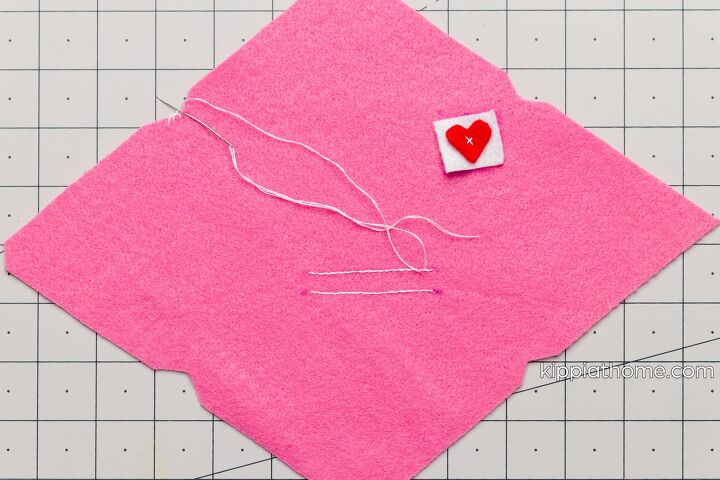
Embroider address
I sewed an X to hold on the heart and white square for the stamp.
Then, I added the blanket stitch around the top flap, side flaps (omitting the areas covered by the folds), and the bottom flap.
Note: This step is optional.
Assembling the Envelope
I used hot glue, but you can use fabric glue or hand stitch your envelope together.
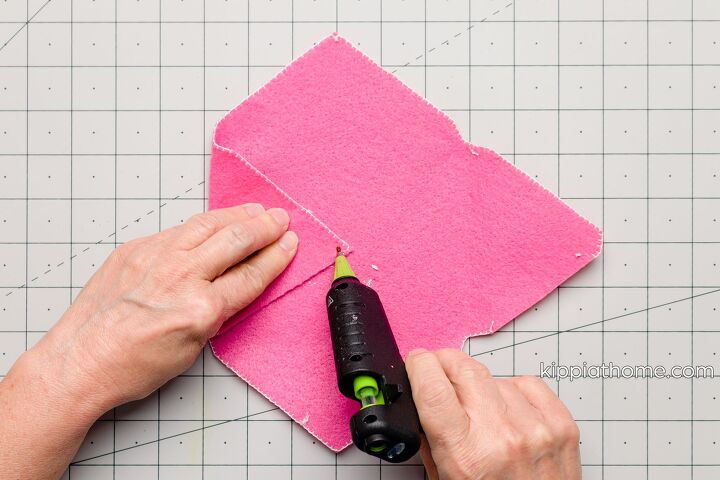
Fold and glue side flap.
With the wrong side facing up, fold in the left side flap and place a dot of hot glue, then fold over the right side flap to the center and press into the glue dot on the left flap.
Note: Do not glue them to the inside of the envelope.
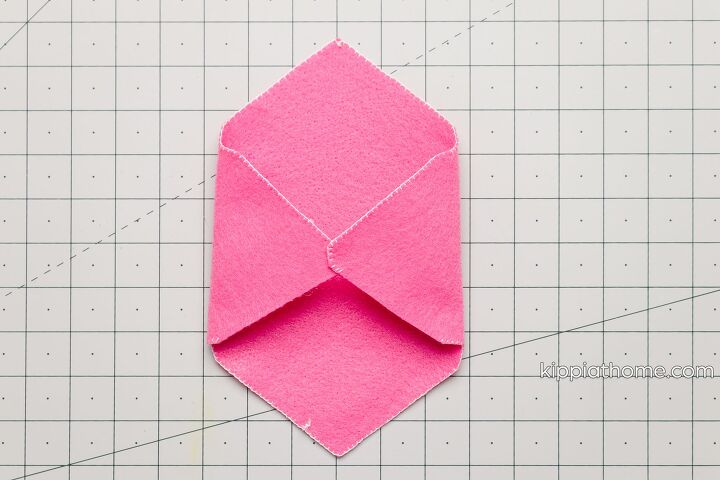
Fold and glue side flaps.
Next, fold up the bottom flap to the junction of the side flaps. Place glue inside the 1/4″ seam, careful not to glue the envelope closed.
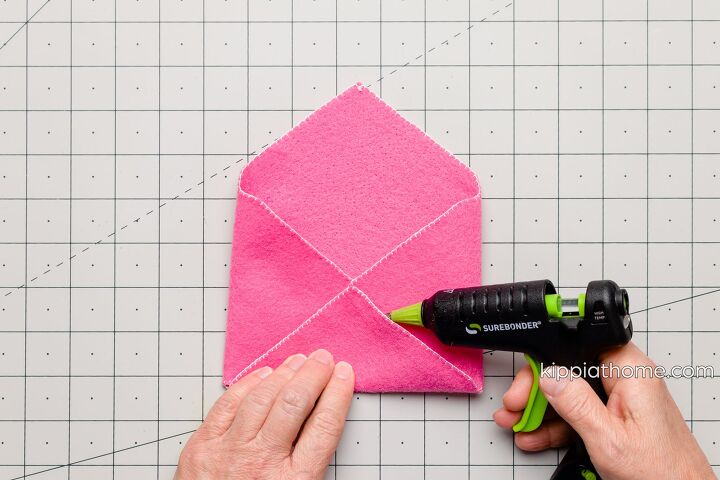
Glue bottom flap
Note: You can hand stitch your envelope closed instead of gluing.
Button and Ribbon Closure
For the envelope closure, I sewed on a button and piece of ribbon simultaneously. Then, I placed the ribbon under the bottom holes and hand-stitched them on the back of the envelope.
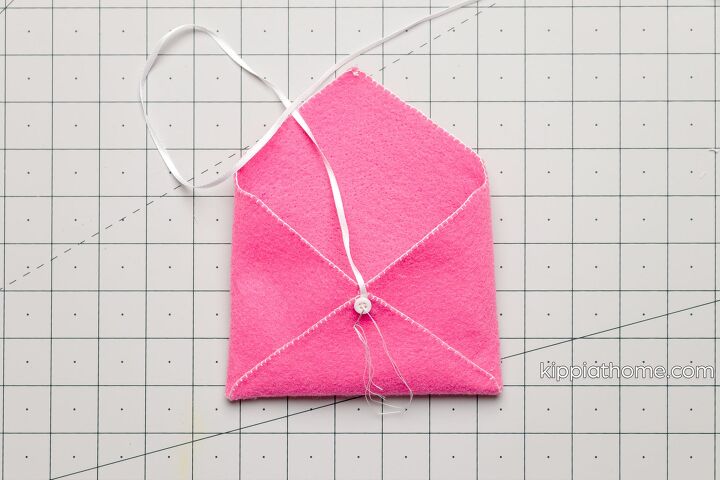
Attach button and ribbon
Then I repeated the same process at the top of the flap.
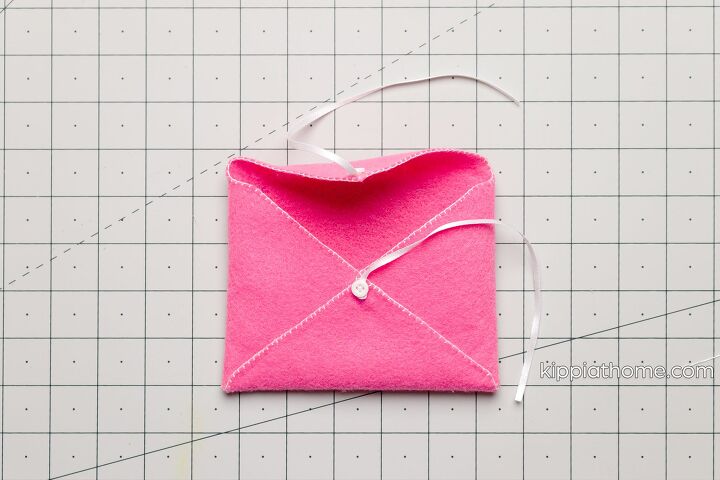
Top flap closure
Note: You can use different fabric types; however, if you choose a lightweight fabric, you will need to line the envelope using fusible interfacing between the layers of your materials.
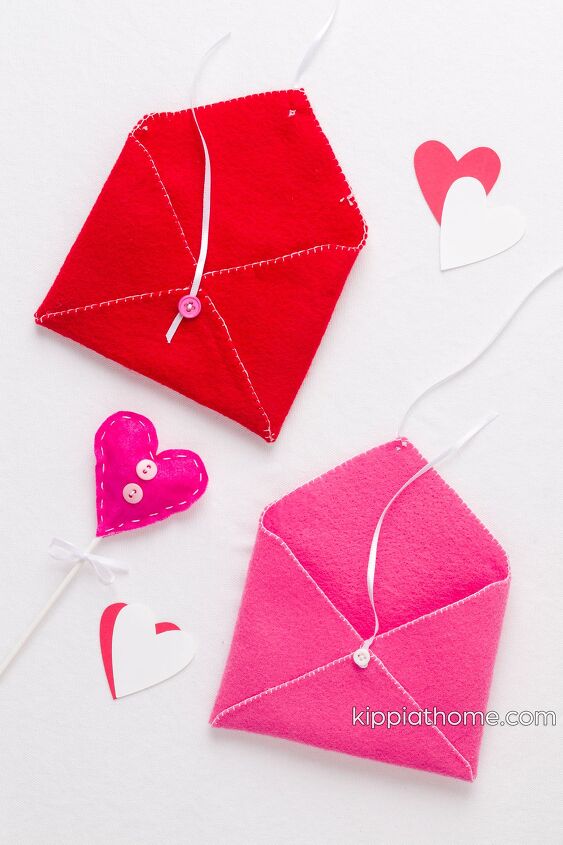
Open Felt Envelope
Note: When I made the red envelope, I sewed on the bottoms then knotted the ribbon around the stitches between the button and the fabric.
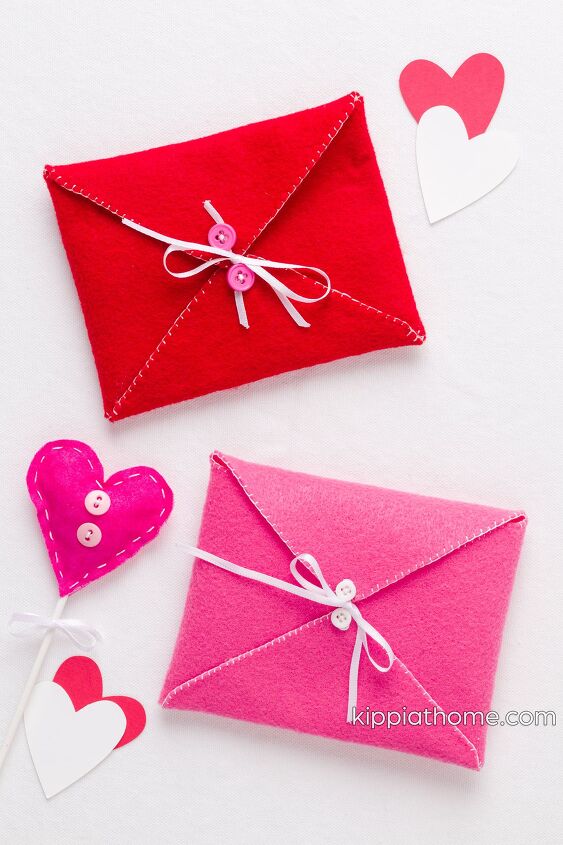
Closed envelopes
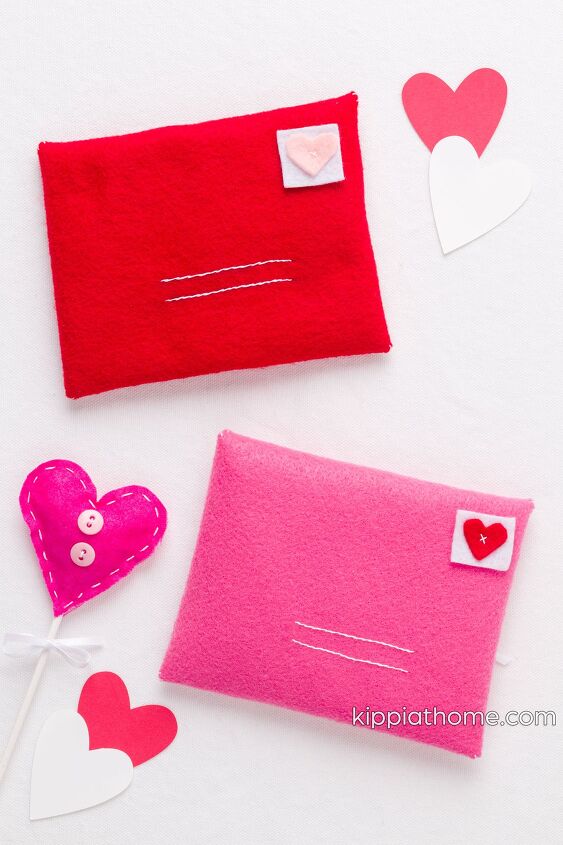
Pretty Fabric Envelopes
You can use these adorable fabric envelopes for gift wrapping and cards.
Also, you can create envelopes that coordinate with your gift wrapping.
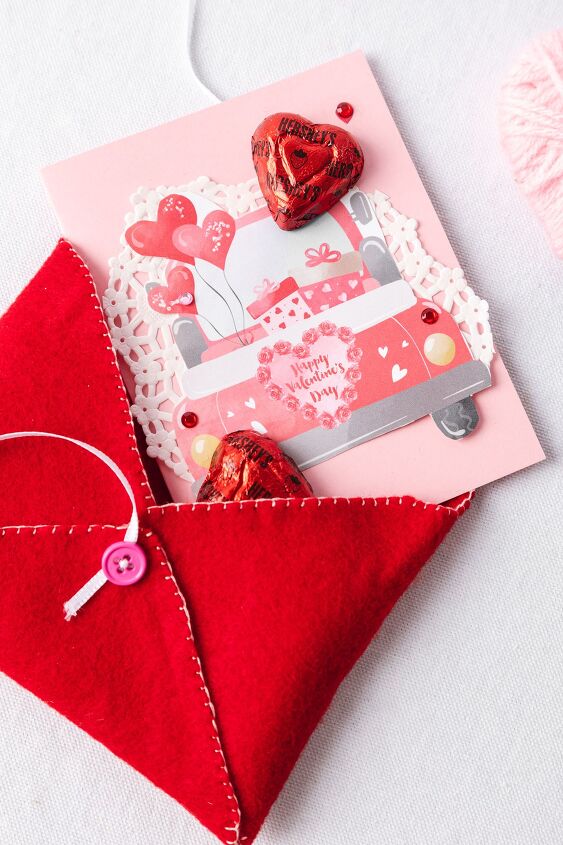
A gift card and fabric envelope


Frequently asked questions
Have a question about this project?