


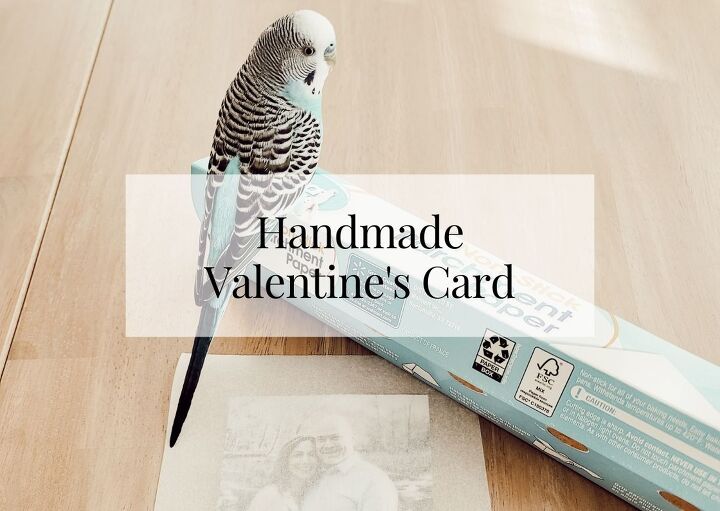
Handmade Wooden Valentine's Card - 804 Sycamore
I didn’t always like Valentine’s Day, but I sure do now! This year, I’m even throwing a 1950’s inspired Galentine’s party for some friends. We’re going to enjoy snacks, dessert, and spend some time crafting this handmade wooden Valentine’s card. I love handmade anything, but especially cards or sentimental things. It’s the time that someone took that means so much to me. Well, this handmade wooden Valentine’s Card is easy to make, but you can customize and personalize it in endless ways (or keep it simple and go crazy with the envelope like I did). I hope you love how easy this card is to make and that you’re inspired to make your own handmade Valentine’s using this technique!
In
Handmade Wooden Valentine’s Card
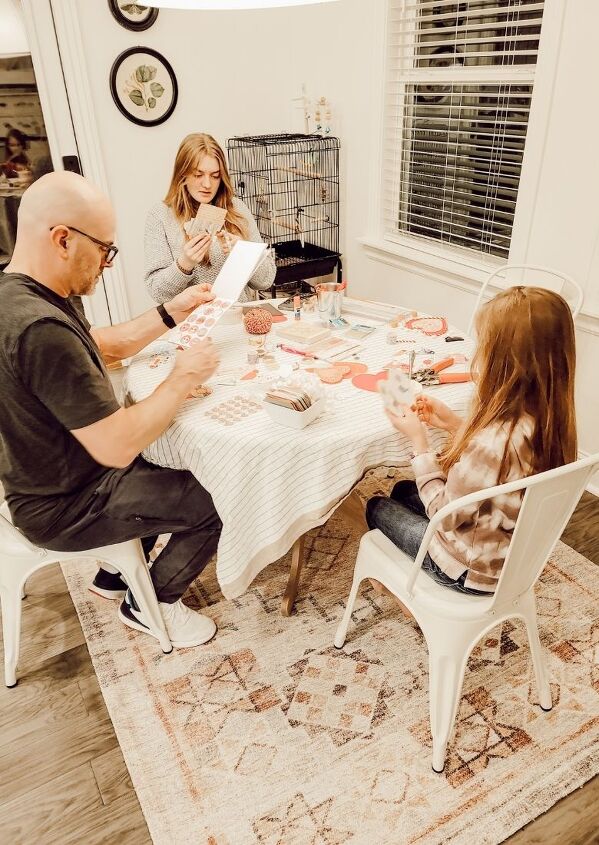
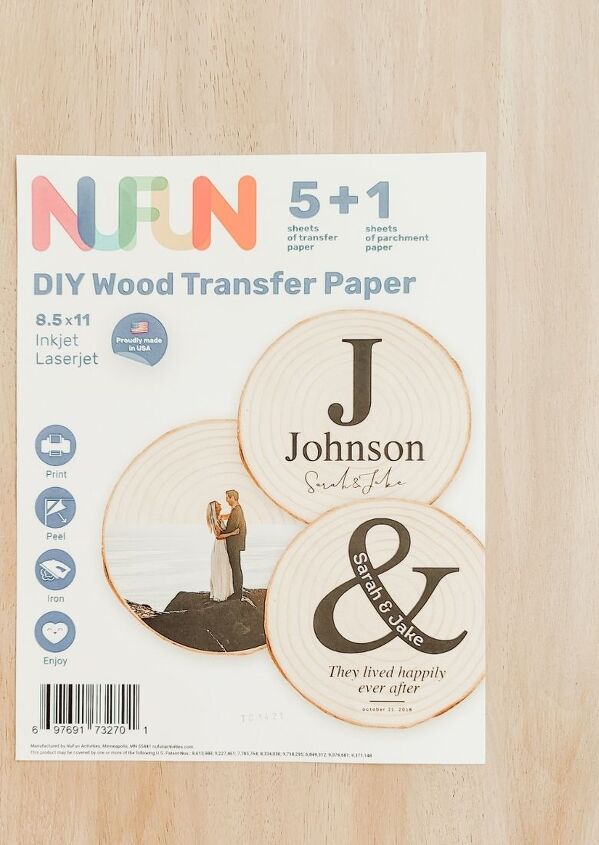
Last year, my husband and I created handmade Valentine’s with our daughters. They still talk about how much fun it was and how crazy Dad’s cards were. So now, it’s gotta be an annual tradition for us. I will participate, but what they don’t know is that their real card from me will each be one of these handmade wooden Valentine’s cards! I think photos are the sweetest way to personalize this Valentine card design, but The Graphics Fairy has a ton of free vintage images to choose from too. The basic idea is to use this iron-on wood transfer paper onto very thin wooden postcards. Here are the step-by-step instructions to show you just how easy this card is to make. I think you’re going to love this easy concept and think of other ways to use this idea!
Step 1:
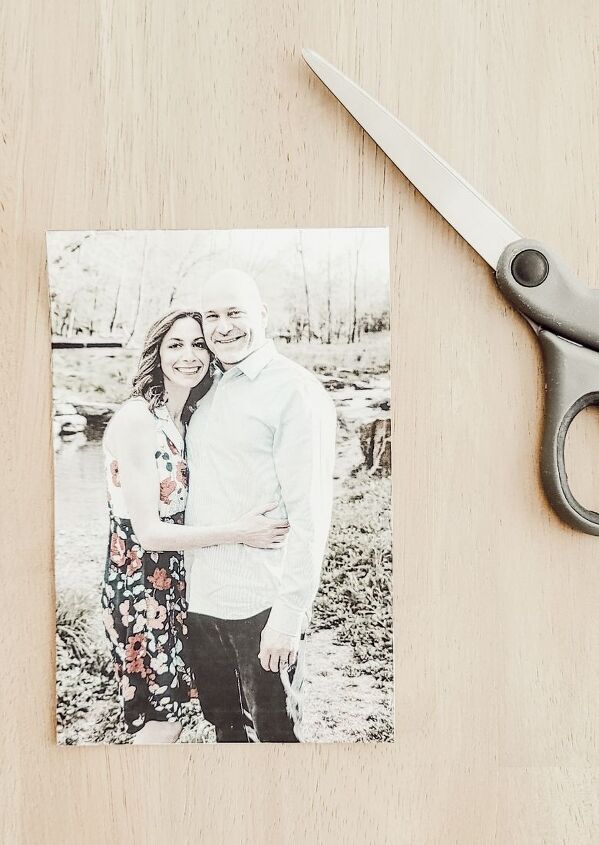
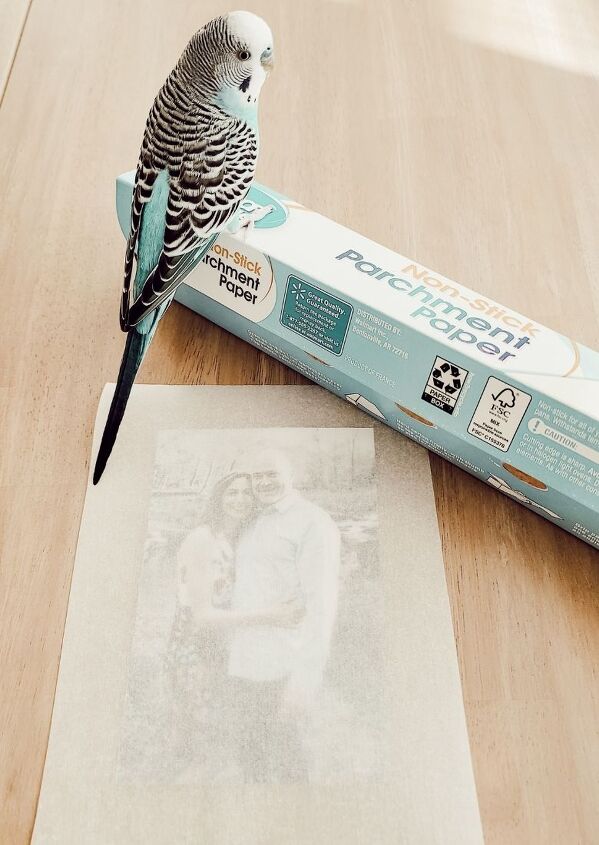
Select photos or images to print on one 8.5″ x 11″ piece of wood transfer paper. Make sure the picture fits the size of the wooden postcard (or that you can cut it down to size). I use Canva to perfectly size images for printing. I used 4×6″ wooden postcards, but they come in many sizes. I inserted the photos into a Word document and printed on the transfer paper (blue stripe side faces down). The backside of the transfer paper has a blue stripe, so be sure to print your photos onto the front side.
Step 2:
Cut the image to fit the wooden postcard. I just set the wooden postcard on top of my photos and traced around it. I printed the photos a little bit bigger on purpose so that I didn’t have a white border.
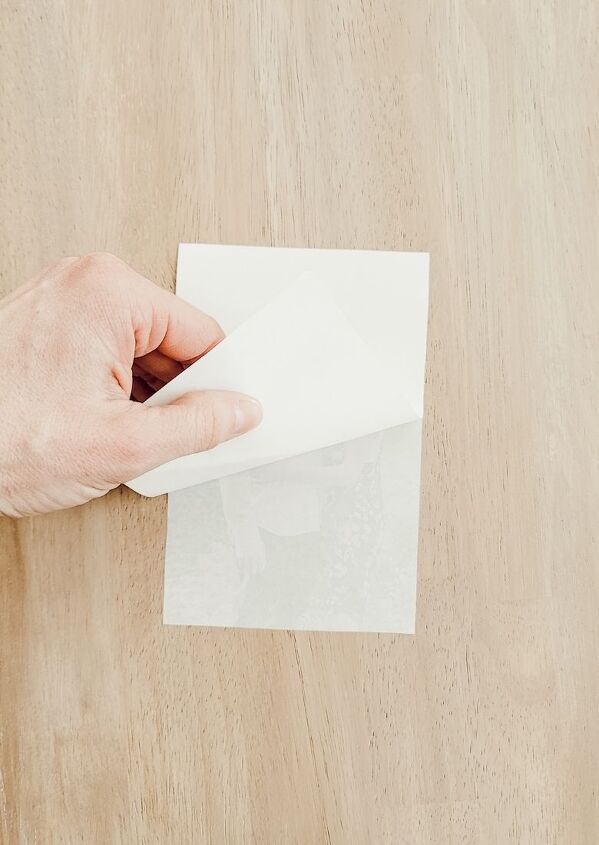
Step 3:
Carefully remove the backside of the paper. Set it on top of the wooden postcard, perfectly lined up and ready to be transferred.
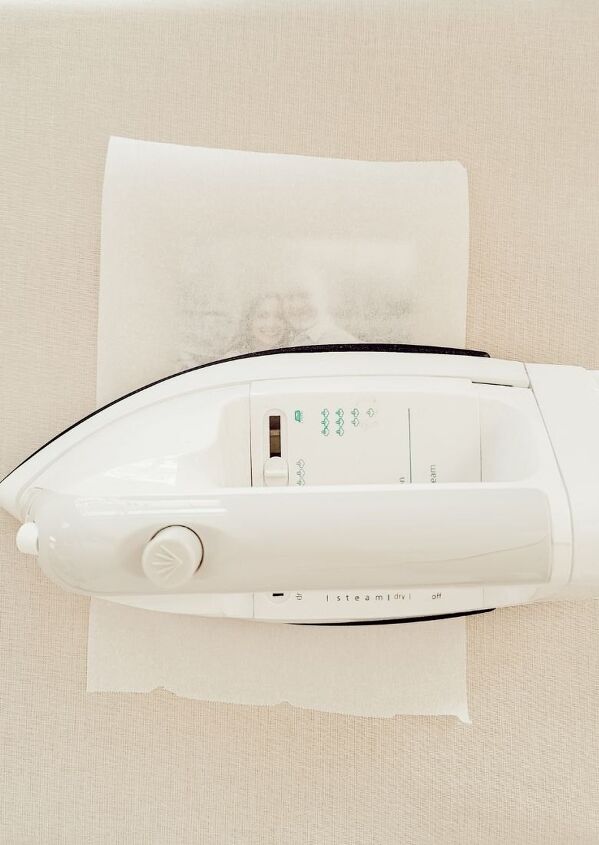
Step 4:
Lay a piece of parchment paper over the lined up wooden postcard and photo. Frankie was quite helpful during this process~
Step 5:
Turn on your iron to its highest setting (no steam) and carefully press down onto the parchment/transfer/postcard. Don’t leave the iron sitting in one spot too long, 3 second intervals should do the trick. Move the iron all over the image until you can see the image through the parchment, and it looks a little waxy.
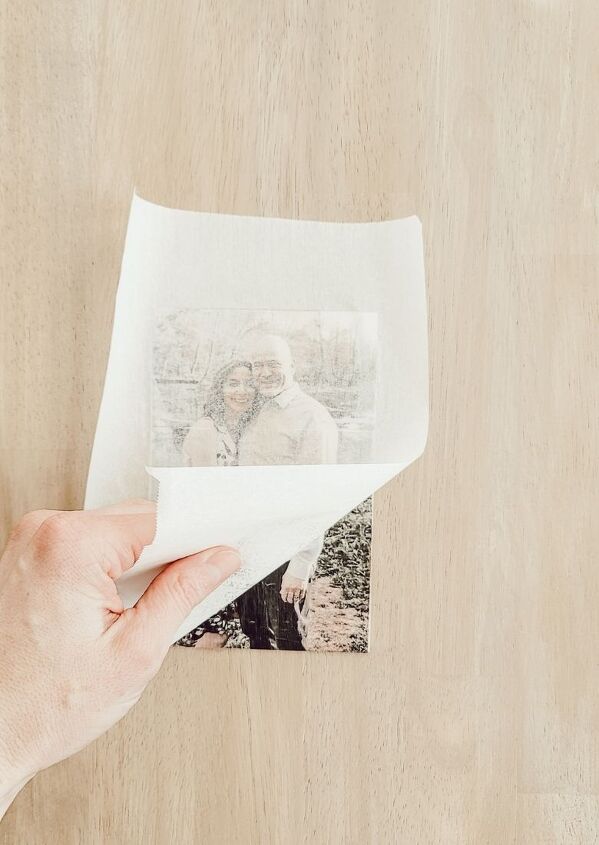
Step 6:
Allow the transfer and wooden postcard to completely cool down. Once it’s cool, you can remove the transfer paper and see your work-of-art!

Then you can spend as little or as much time decorating a plain envelope. I just used scraps and embellishments I've had on hand.
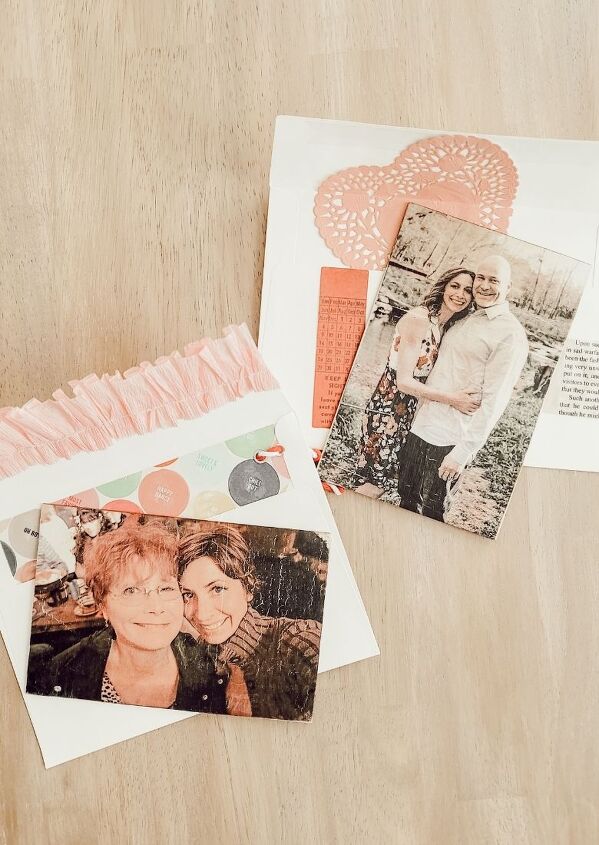
This was such a fun handmade card to create. I have already thought of some other possibilities for this wood transfer paper – I just love how the wood grain shows through. I also had so much fun making the envelopes fun and fancy! I think Jeremy will appreciate the creative envelope, but he’ll absolutely treasure the photo card. And I’ll write him a message on the back of the wooden postcard since it is after all a Valentine~ I hope this post inspired your crafty side and spending some time to make Valentine’s cards this year~
Be sure to visit the blog for more DIY ideas and inspiration!
804sycamore.com
You can use the search bar at the bottom of the home page, or select the category you're most interested in.
Tags:
creative valentine's cardsdiy craftdiy valentineeasy valentine's day cardhandmade valentineHandmade Wooden Valentine's Cardhow to make a wooden cardvalentine's day cardvalentine's day craftsvalentines cardwood transfer paperwooden photo card
Resources for this project:


Comments
Join the conversation
-
What a special, lovely idea💞
-
♥️♥️♥️


Frequently asked questions
Have a question about this project?