


Homemade Stocking

When we first got married I made us both stockings which was inspired by a primitive/country look. Once we had our first baby for her first Christmas I made her one and subsequently for the second baby three years later. For baby’s first Christmas this year it was time to make a new one to match. This is such an affordable way to make your own custom stockings to fit your decor.
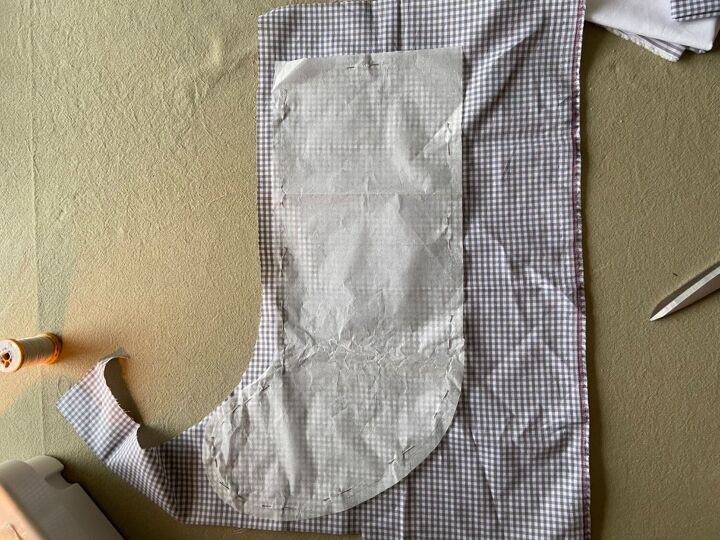
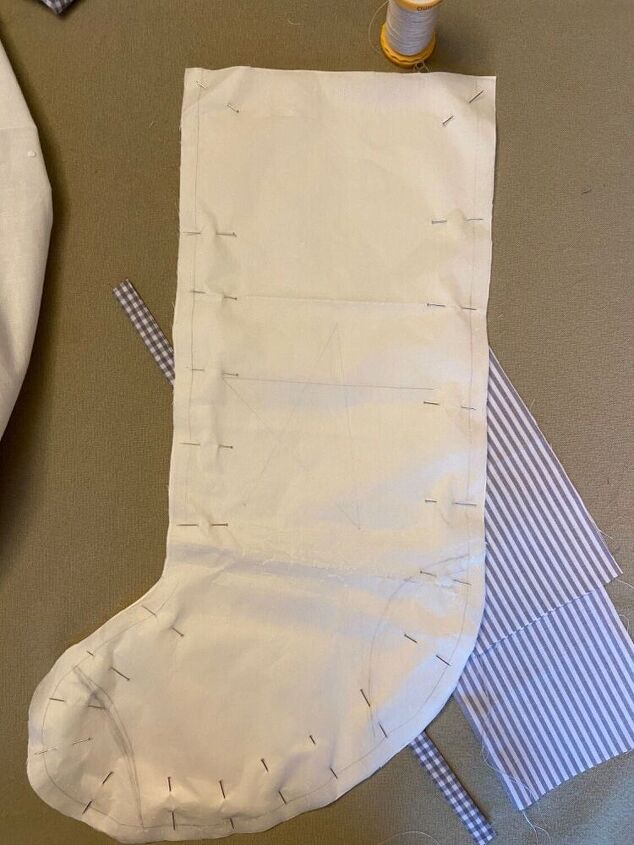
First I used a template I had to cut out from a craft book with stocking templates. You can find these online or draw and make your own. I made my own star and heart shapes for the girl and boy versions.
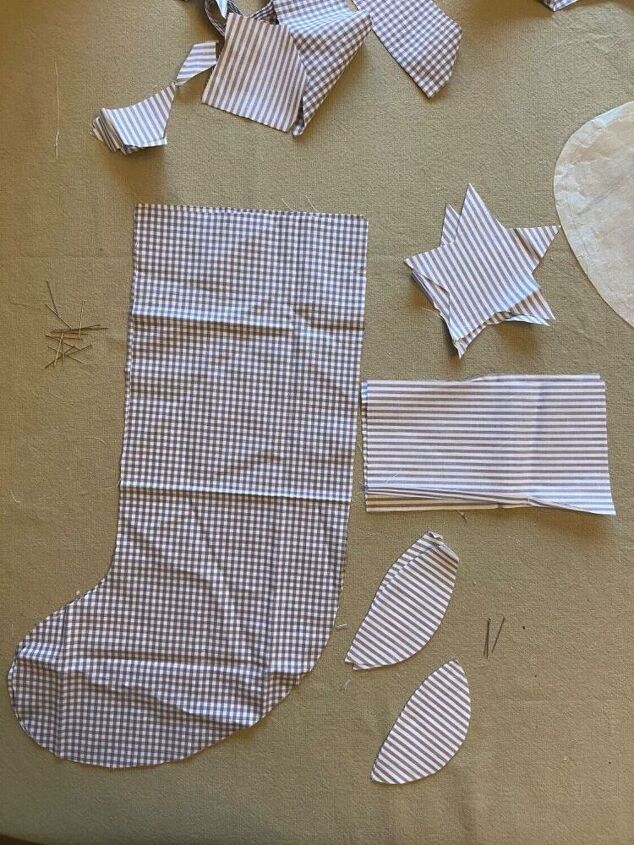
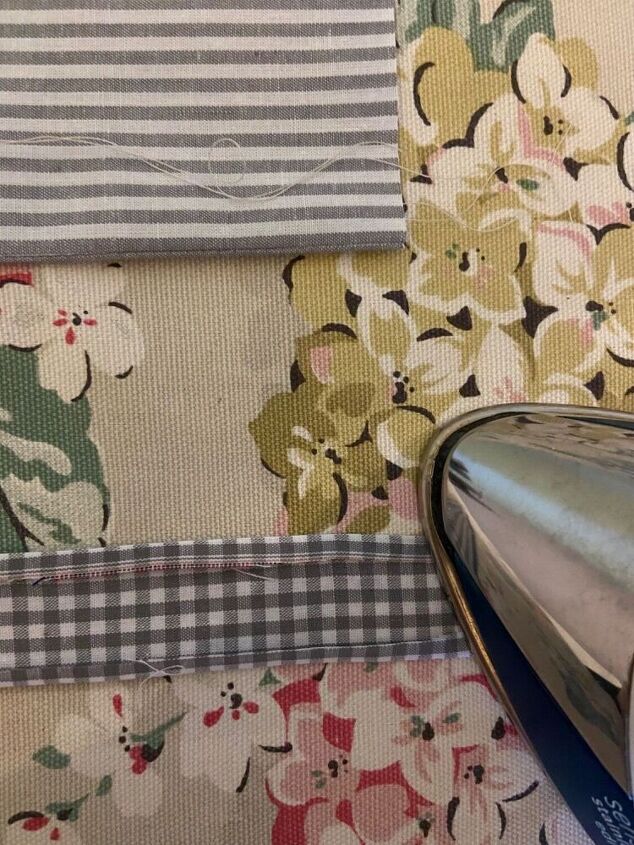
I carefully cut out all the pieces from the fabric and used a checked fabric as the base and striped fabric for the cuff, toe and heel details and also the star and heart shapes. Although I have changed up the fabric, I kept the design the same in this way for each one.
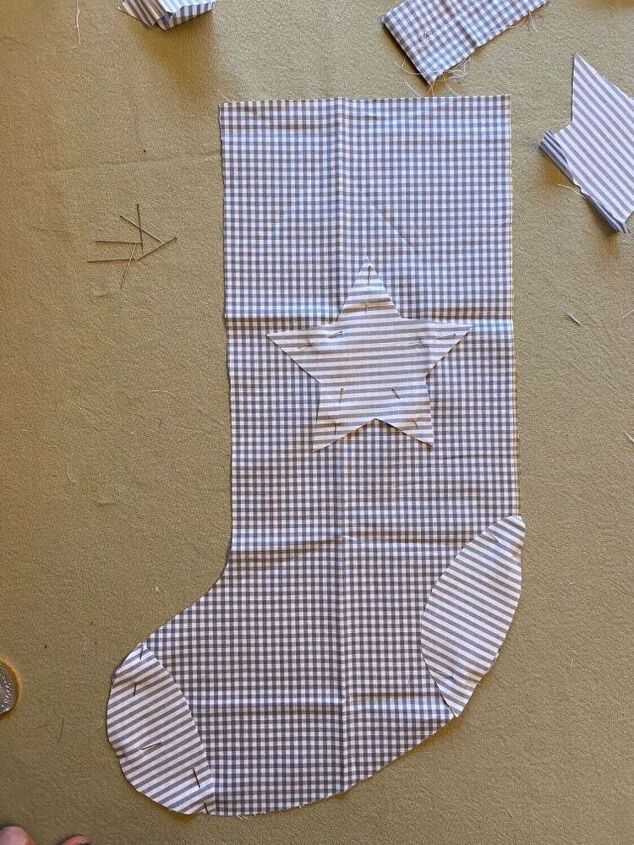
Next I pinned all of the pieces in place on each side of the stocking individually.
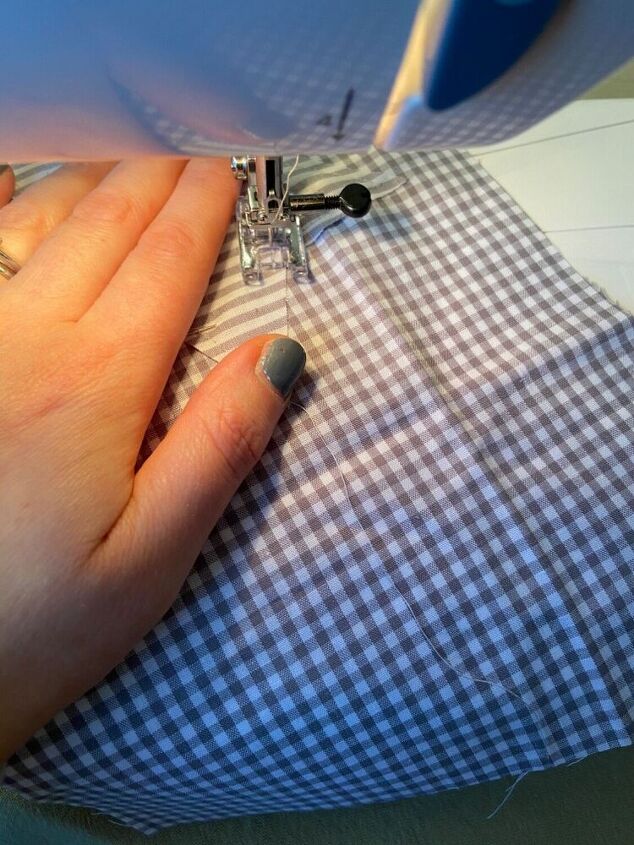
I stitched all of these pieces on carefully with the sewing machine.
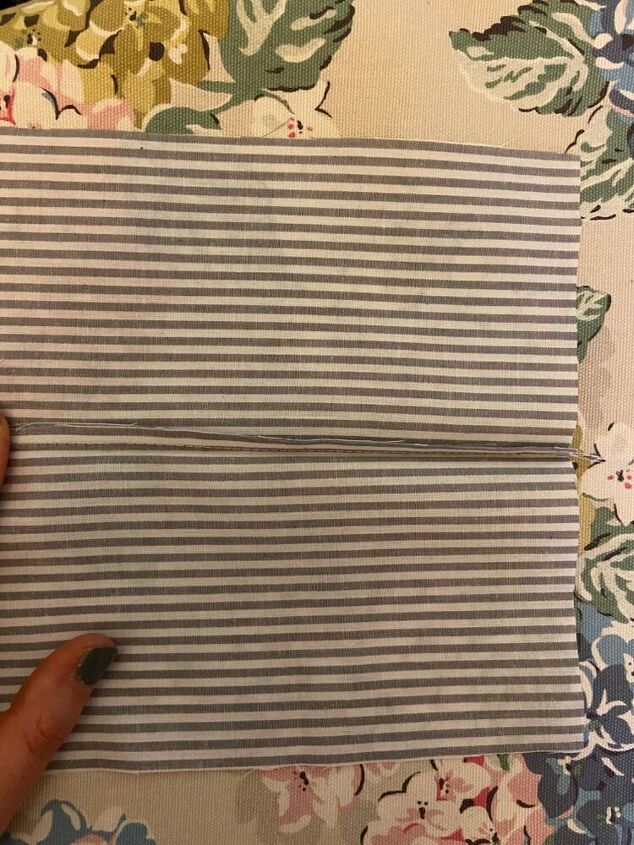
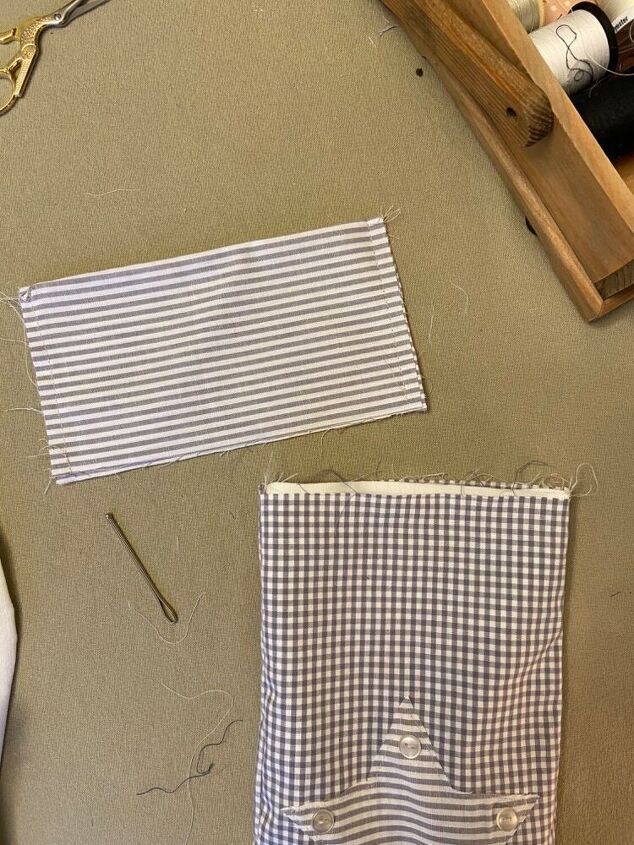
I then took the two pieces for the cuff on each side and sewed them together along the top. I then opened the pieces out and pressed to create a neat fold.
I took a strip of fabric for the hanging loop, folded each side inwards and pressed.
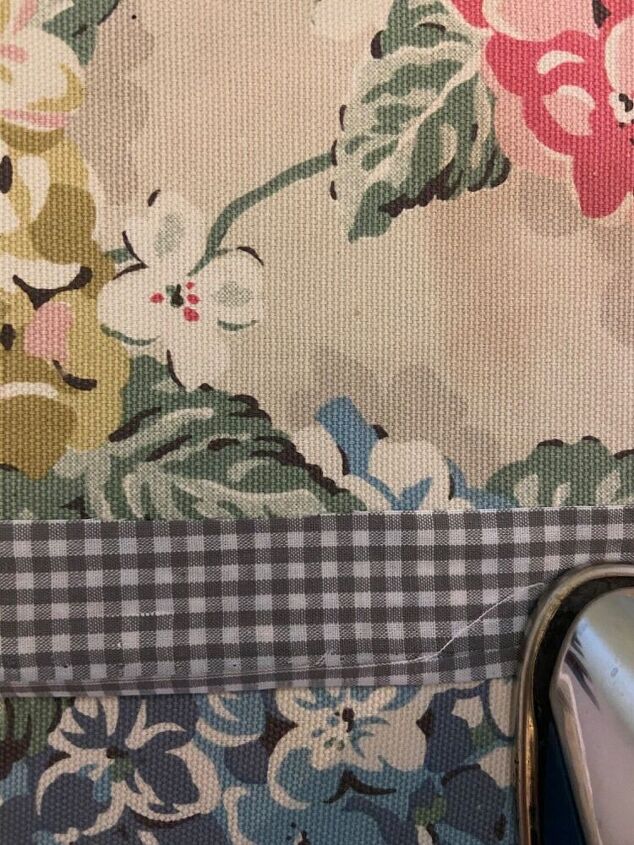
I then folded the whole thing in half to create a neat strip.
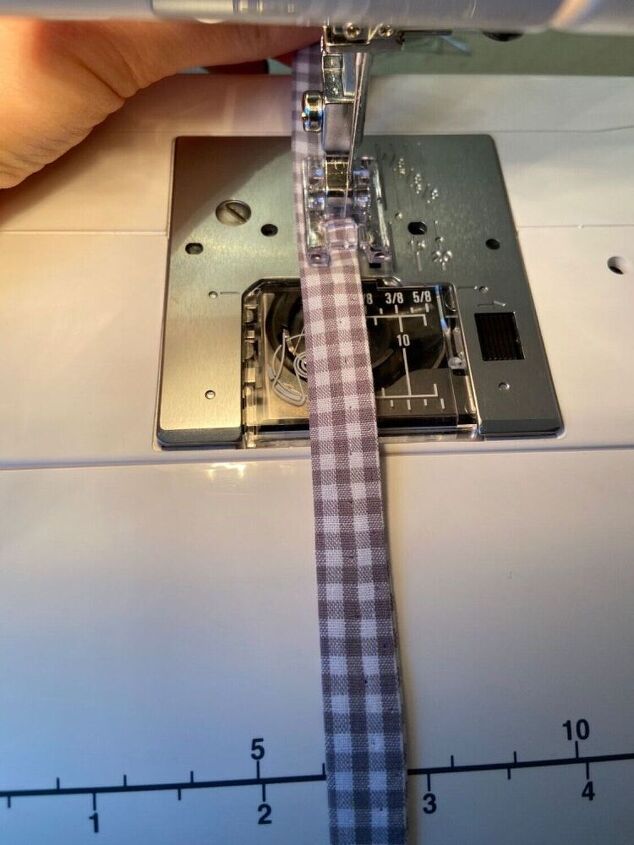
I stitched this on the machine down the open pressed seam. There are other ways to do this but this was the simplest way and what I have used for each stocking.

I sewed the buttons on each corner of the star by hand before assembling the stocking together.
I then pinned the two lining pieces together and stitched these together.
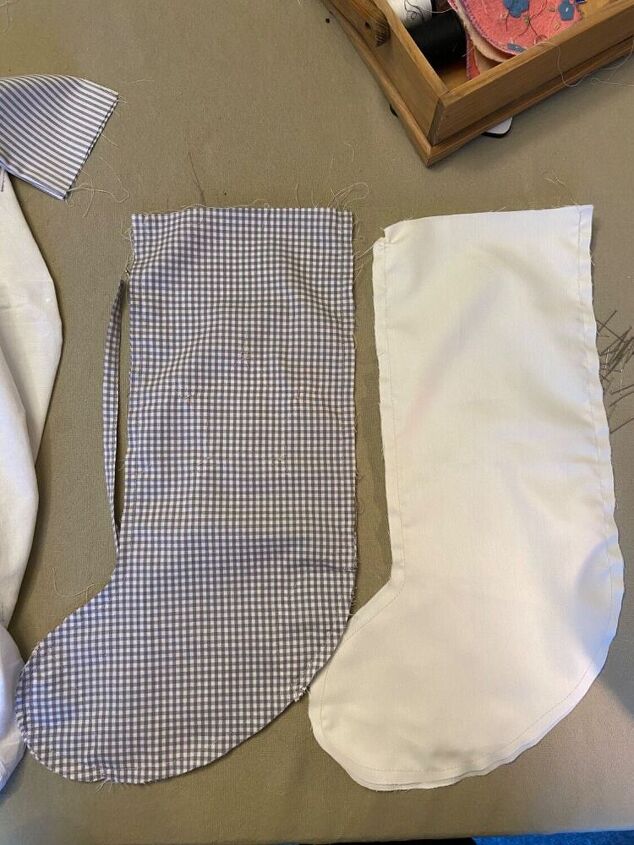
I put both pieces of the stocking together right sides together, stitched them and then turned the right way out.
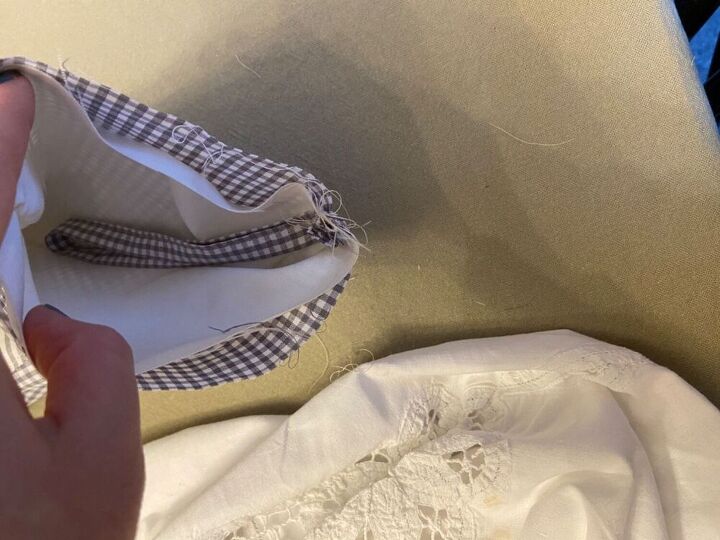
I inserted the lining stocking piece into the outer piece which is now turned out the right way. I took the loop and attached at the seam with pins and had that lined up pointing downwards.
I inserted the cuff which had been joined together at each edge with one seam left open and pinned in place.
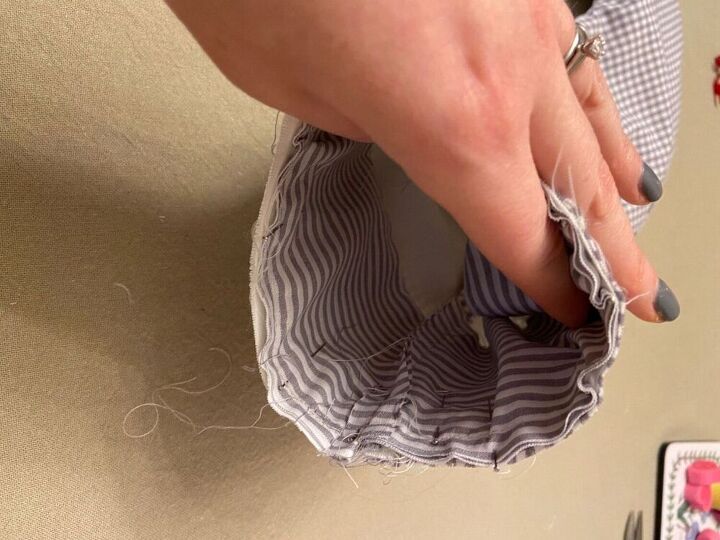
This has to be attached with the open seam on the other open seams and with the side seams facing inwards. This is important as once the cuff is pulled out the seam will be exposed once turned the right way around.
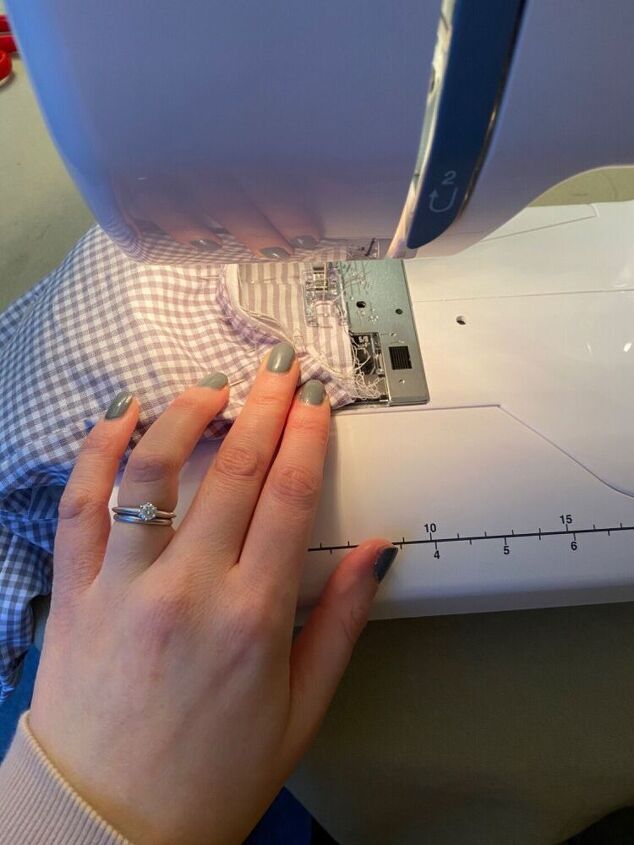
I then stitched around the seam to sew all the layers together.

Once the stitching is done you pull out the cuff and then fold over which leaves you with a neat cuff and the hanging loop exposed ready to hang.
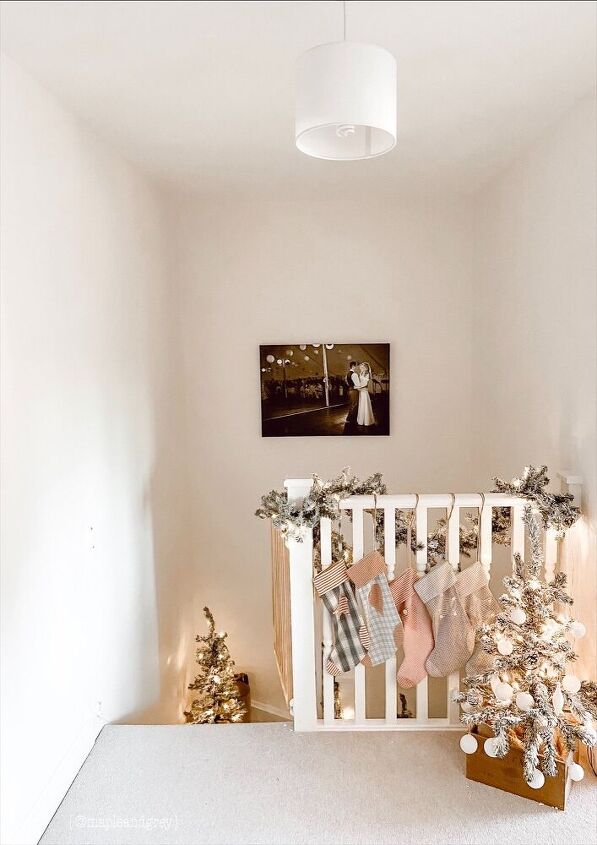
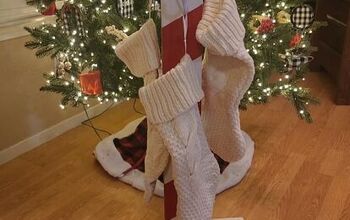
Here is the finish stocking! I got this done two days before Christmas Eve ready for baby’s first Christmas and I was so relieved to have it finished in time. It’s the perfect addition to our row of stockings, I can’t believe there are now five! But the excitement on Christmas morning when we are collect these full of gifts it’s so worth the effort and I love that they are custom-made for us!
I hope this inspires you if you are looking for custom made stocking ideas for next Christmas.
To see more of this and other projects follow along on Instagram!
~ Rachel ♡
Comments
Join the conversation
-
They are lovely. Handmade is always gratifying. Good share


Frequently asked questions
Have a question about this project?