


How To Make An Easy Paper Bow

Adding a unique and DIY paper bow to your gifts can add that special personal touch to your presents. These days most of us shop online, and unfortunately, purchasing one ribbon at a time is usually never an option during our checkout process.
Besides, making your own ribbons and bows is incredibly easy and super inexpensive!
Who doesn’t like that? 
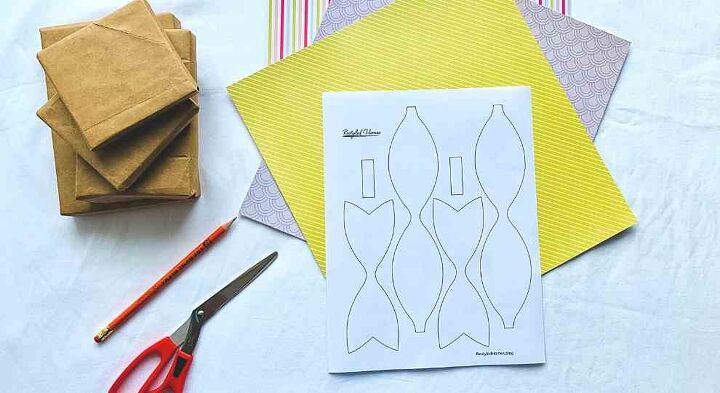
Cut The Shapes Out From Your Template
I created a FREE template which you can grab on my blog post; if interested.
{A link to a PDF document will be emailed to you.}
Begin by cutting out your shapes from the template. The bow will have 3 pieces.
Place each shape over your scrapbook or cardstock paper, and use your scissors to cut out your shapes.
Pro Tip: To add more interest or “lux” to your designs, purchase a scrapbook collection bundle and use multiple patterns for your bow.
You can usually buy bundles on Amazon for the same SALE price as the craft stores. My personal favorite scrapbook collections are by Bundle of Joy. I usually pick up my books for around $9-12 each.
You can view them here.
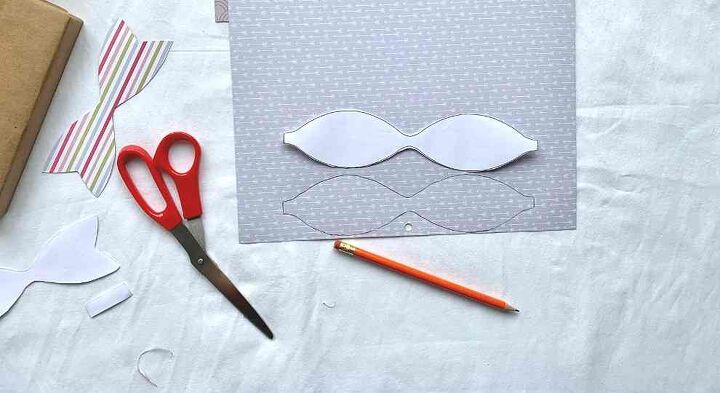
Trace Your Template
You'll want to cut inside the lines to avoid seeing any pencil marks.
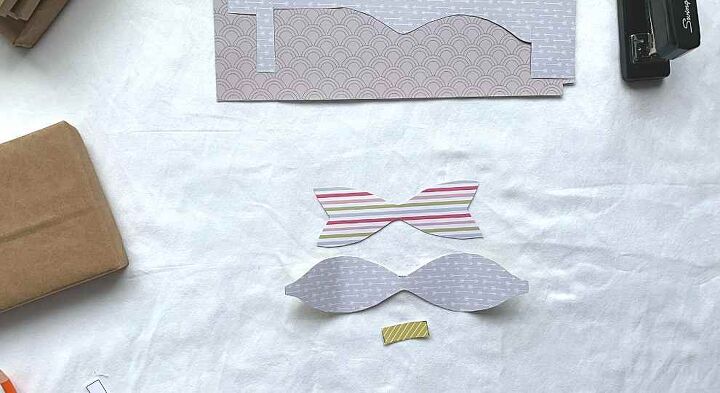
Line Up Your Pieces and Assemble
I found Tacky Glue to be the easiest when assembling cardstock paper.
However, you could use a mini stapler, double sided tape, or glue dots.
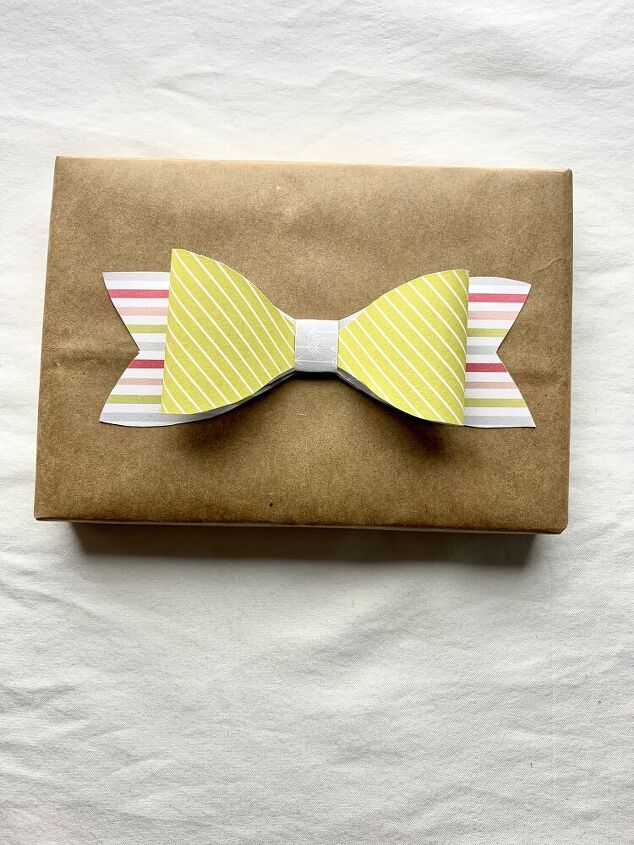
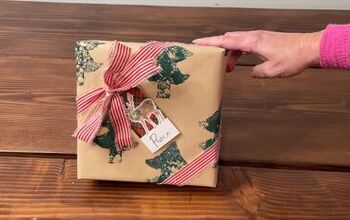
The Wrapping Paper
I upcycled a Trader's Joes grocery bag to use as my wrapping paper.
Because...why not?
Happy Crafting 
Rebecca, of RestyledHomes


Frequently asked questions
Have a question about this project?