


The Cutest and Easiest Bow

My mom is a master bow maker and she has become my go-to for all of my bow-making needs. But, the other night when I was in need of a bow, my mom was unavailable! I decided to try to make a bow myself and I'm proud to say that it turned out so good! This bow is so easy and it is so cute! Follow along and you too can make a professional and amazing looking bow with minimal effort.
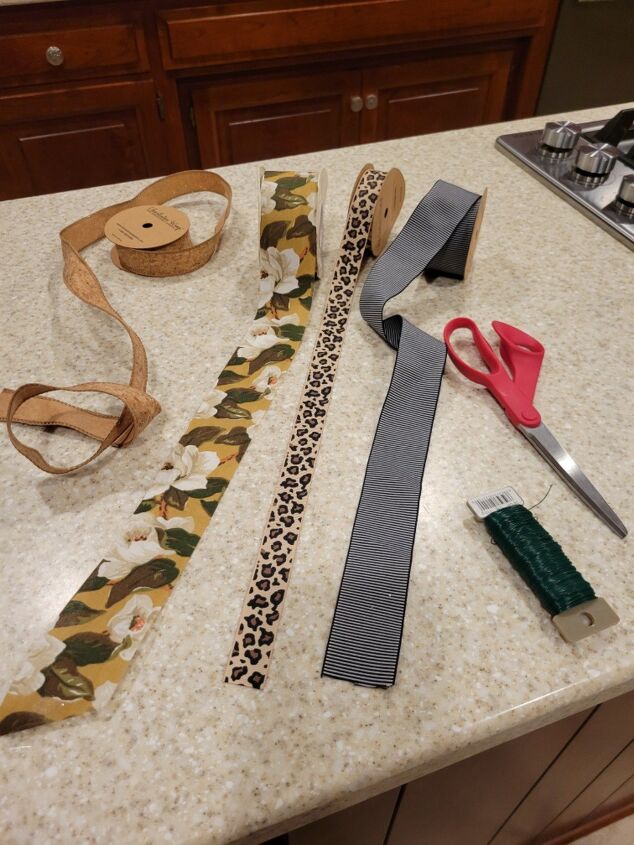
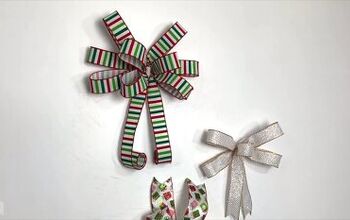
First, grab some ribbon! I think this bow looks best with random and coordinating ribbon. I wanted multiple patterns, colors, and textures for this bow. I also used scissors and wire for this project!
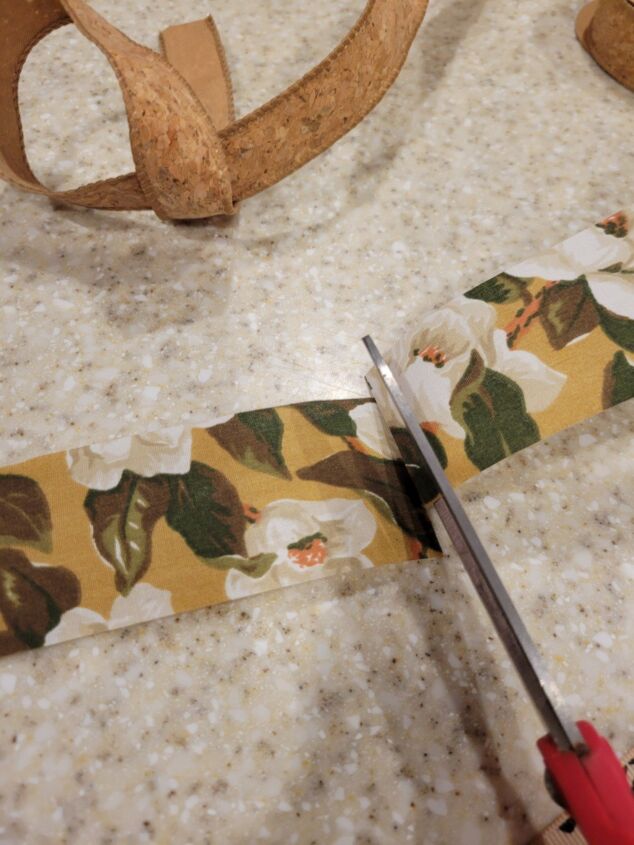
You'll want to cut multiple strips of each ribbon. Cut all pieces the same length.
Keep in mind that if you want your bow to be a specific length, for example, 5" then you'll want to cut your strips of ribbon into 10" sections.
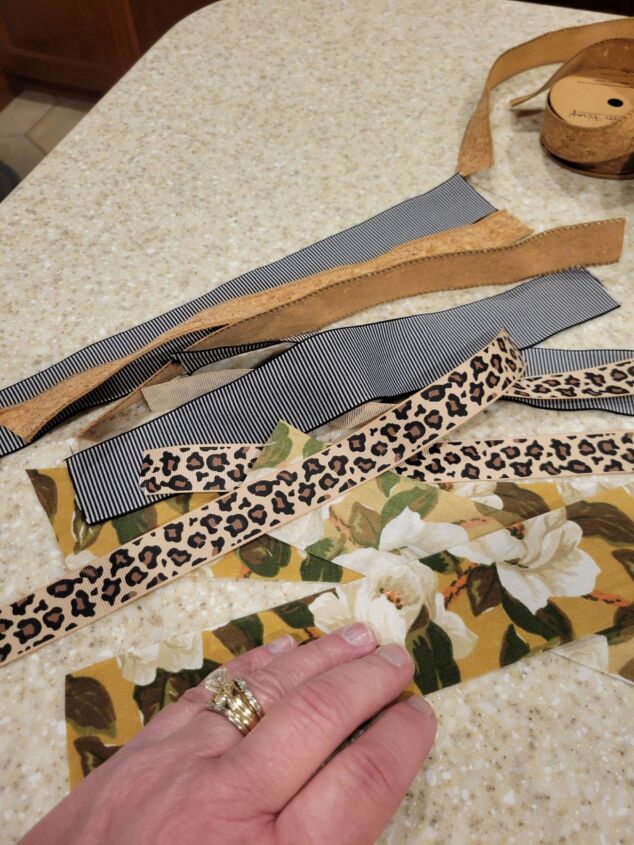
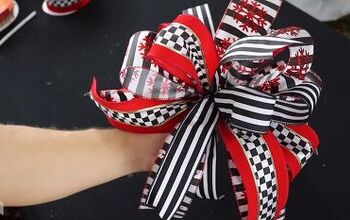
Lay all of the ribbons on top of each other. Angle the pieces in different directions.
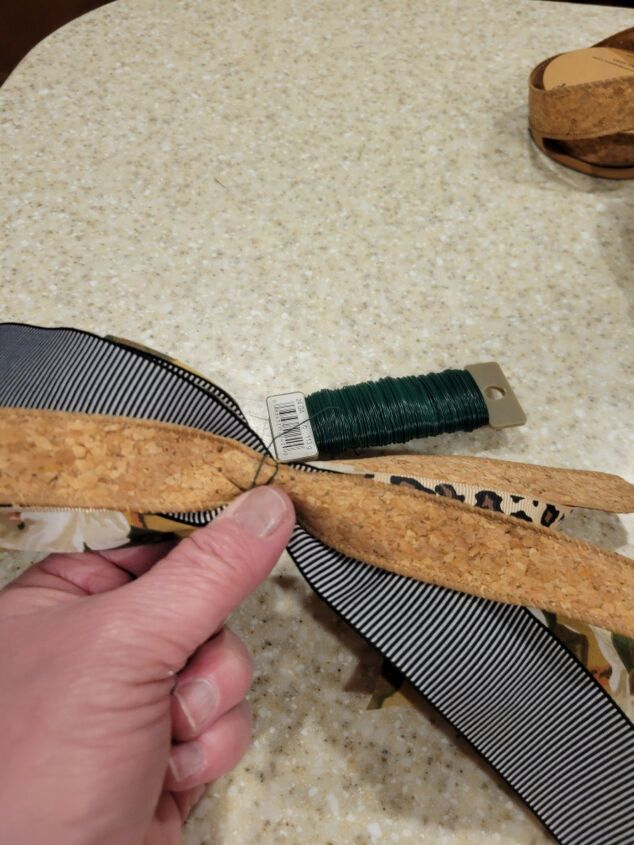
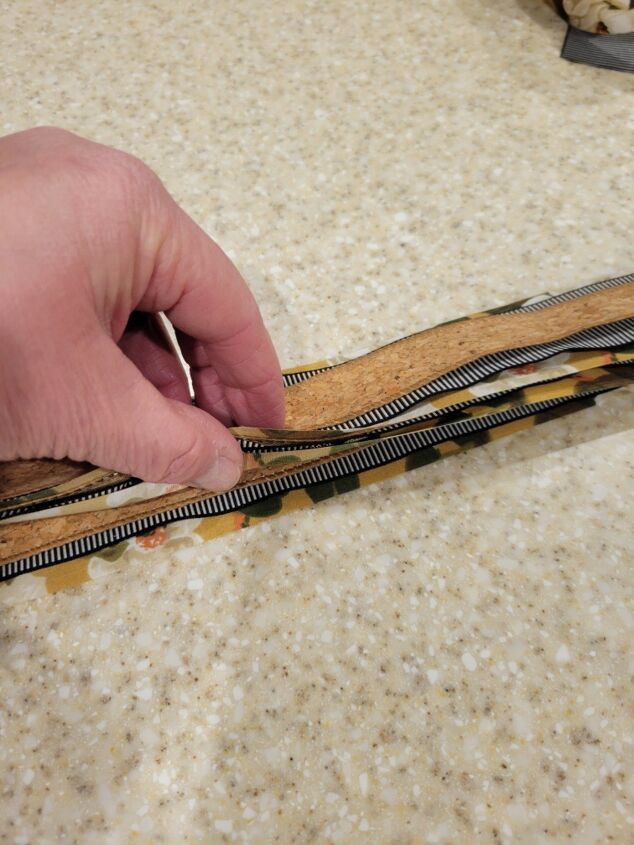
Pinch the ribbon together with your fingers. Then, wrap a piece of wire around the ribbon securely.
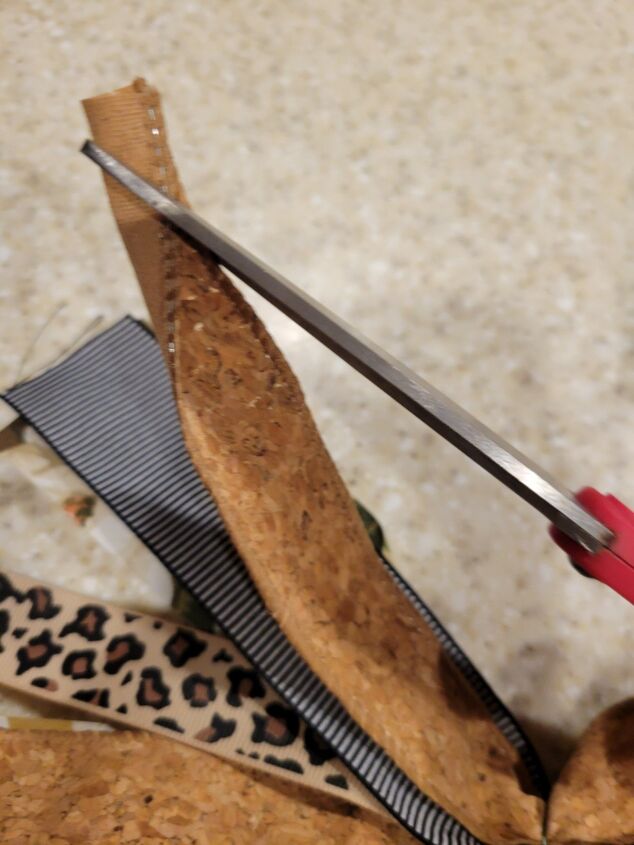
Once your ribbons are all secure, cut the ribbon edges however you'd like. You can cut them on an angle, you can cut a triangle out of the ends, or you can always leave them be! This part is totally optional and up to you!
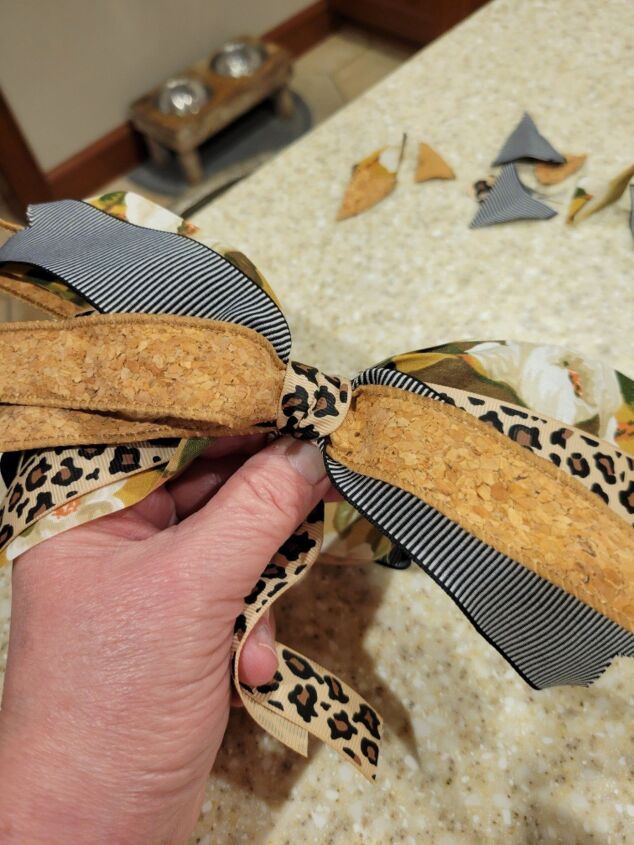
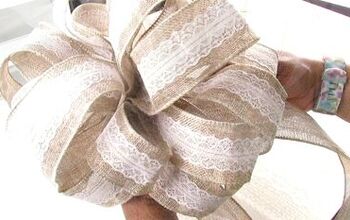
Once this is done, take a piece of your decorative ribbon and wrap it around your long pieces of ribbon to cover the wire. Secure with a dot of glue, or tie it tightly.

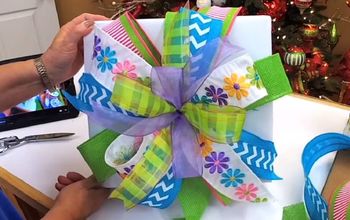
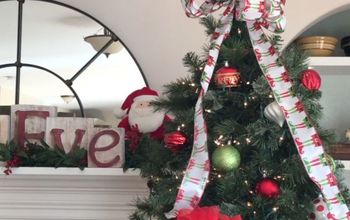
Use an additional piece of wire to attach your ribbon to whatever you'd like! I attached it to a beautiful winter wreath (a DIY from last month). & enjoy!


Frequently asked questions
Have a question about this project?