


A Pinecone Christmas ~ DIY Ornaments ~ #HomeForChristmas
Pinecones and buffalo check have been my inspiration this Christmas season, buffalo check because, buffalo check! And pinecones because they are so darn cute! I think I have every type of pinecone there is in my decor stash... huge sugar pinecones, tiny little baby ones, faux pinecones, mercury glass pinecones and even a set of 4 ornamental pinecones off of an antique bed, and that brings me to my real inspiration... I wanted to use these gorgeous wooden pinecones on my mantel this year...
You'll have to wait to see the mantel, that's a post for another day... but in styling the mantel with pinecones, I found I needed a contrasting colour to pop off of the greenery. And that need for contrast has brought me to this DIY tutorial...
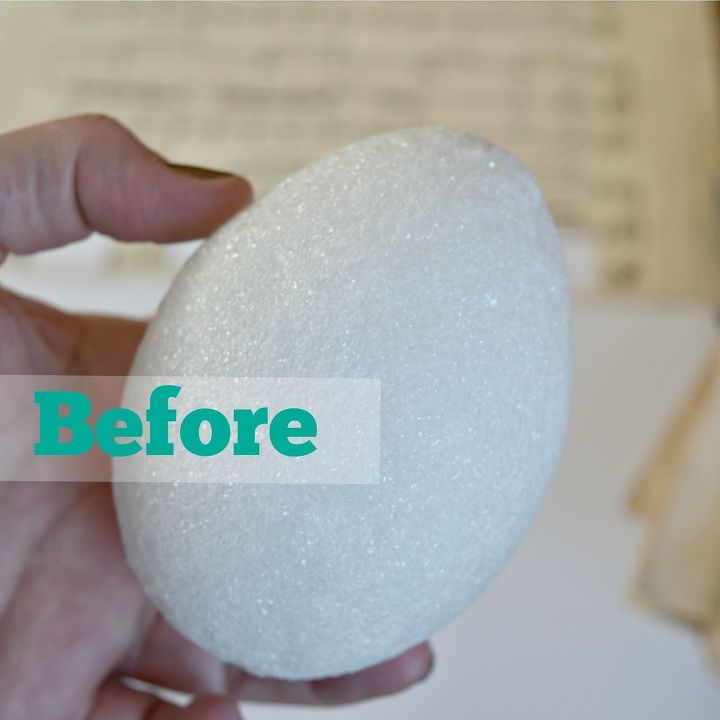
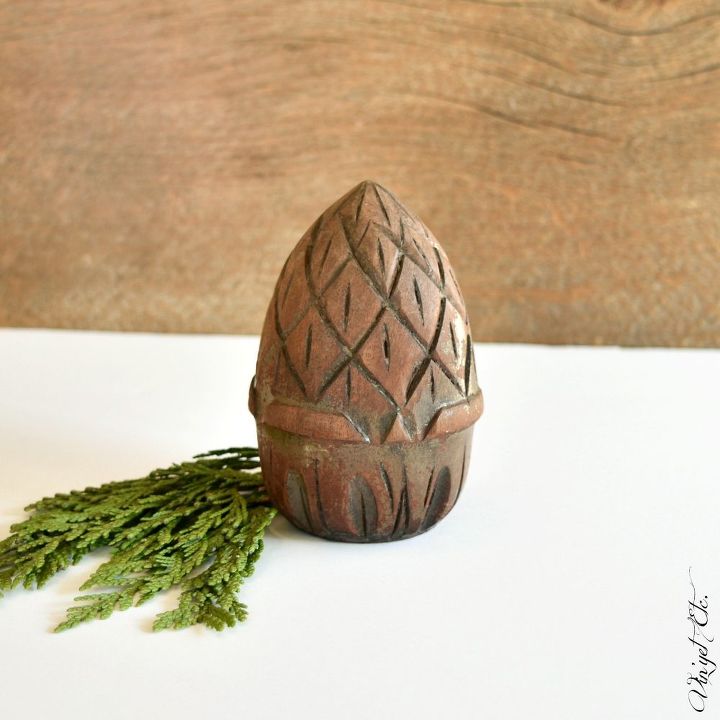
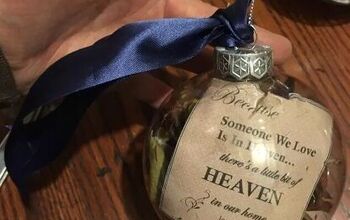
This simple styrofoam egg will complete my mantel this year... and has ended up being one of my favourite DIY projects to date! Let me show what I mean.

Let me just say that this little project has so many uses, I will be using them on my mantel as stated above... but I see these as hostess gifts, name tag holders on a beautiful table scape, Christmas tree ornaments, make your gifts a little more special with these cuties! Really, I could do a whole post just telling you all of the potential! And, I've used vintage music sheets to make mine... you could use your favourite colours, all white, all black, again sky is the limit, seriously... I could do a whole post, so many possibilities!
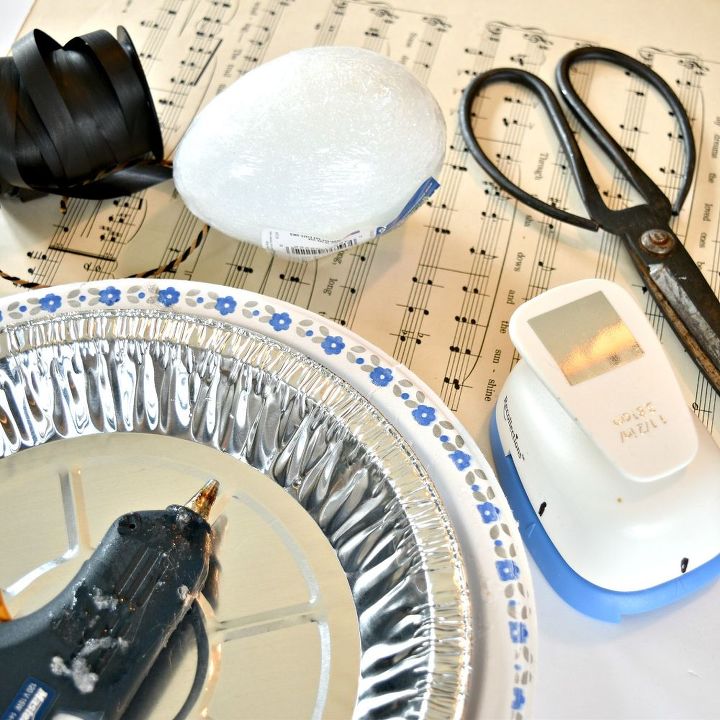
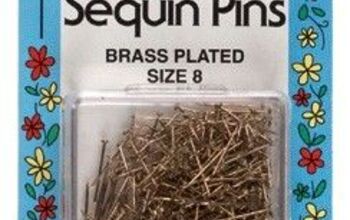
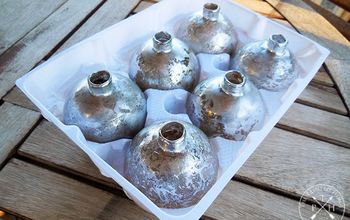
This is all I used to make that little faux pinecone above... so easy!
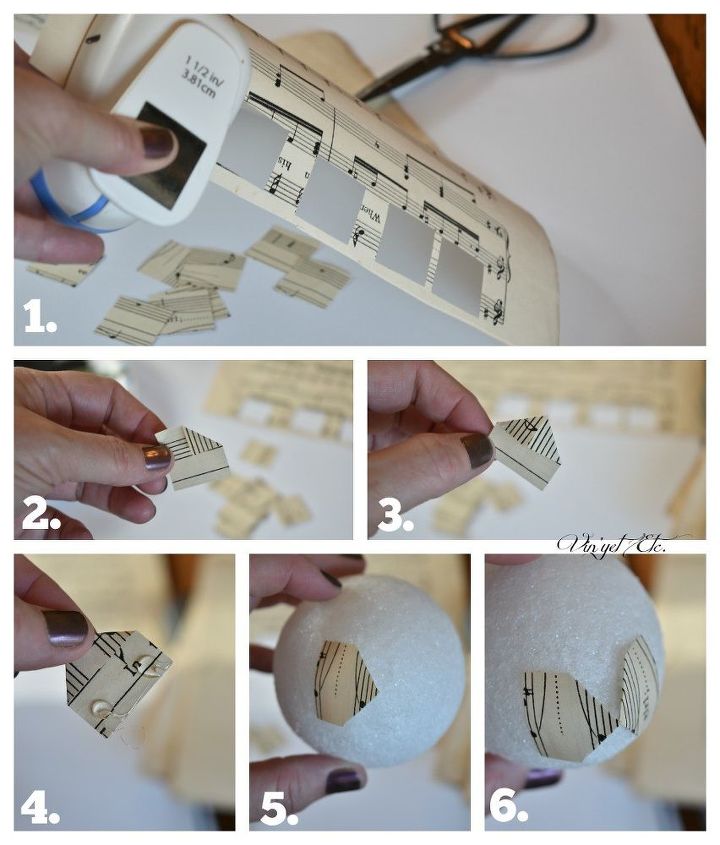
1. Cut out a lot of squares with your square punch.
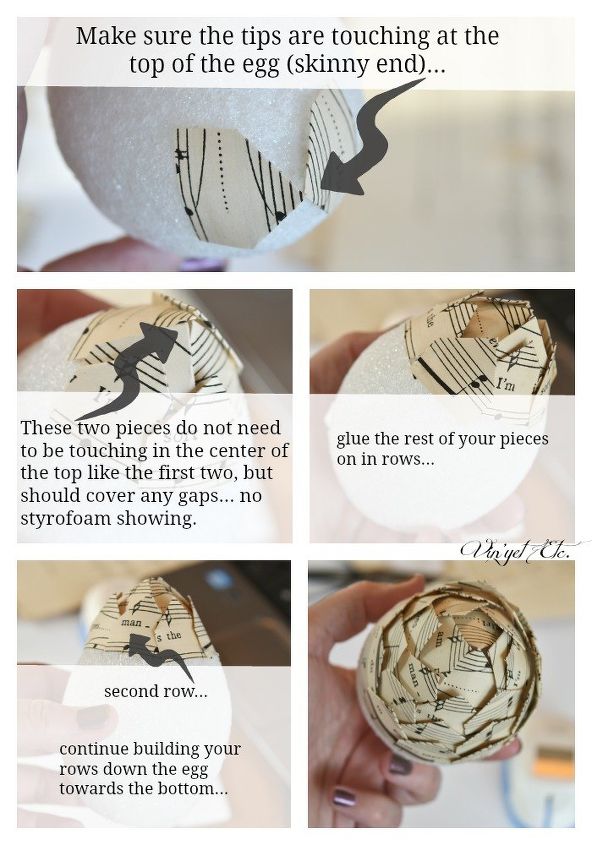
You can finish off the bottom however you'd like, I chose to add some ribbon, an option for you to hang it from the Christmas tree if you want. I also did not fuss and try to make these pinecones perfect, it really adds to the character if they aren't perfect... just like everything else in life!
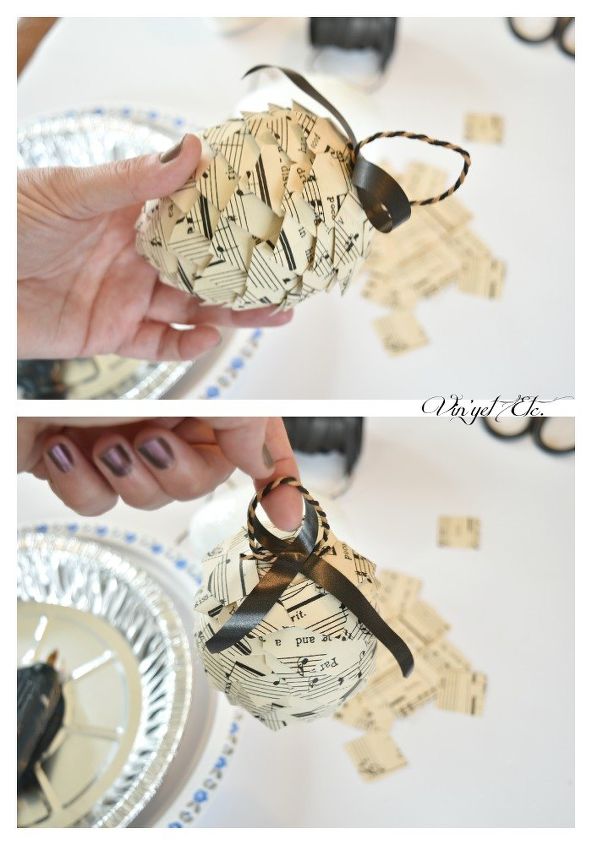
Not perfect, but completely adorable!
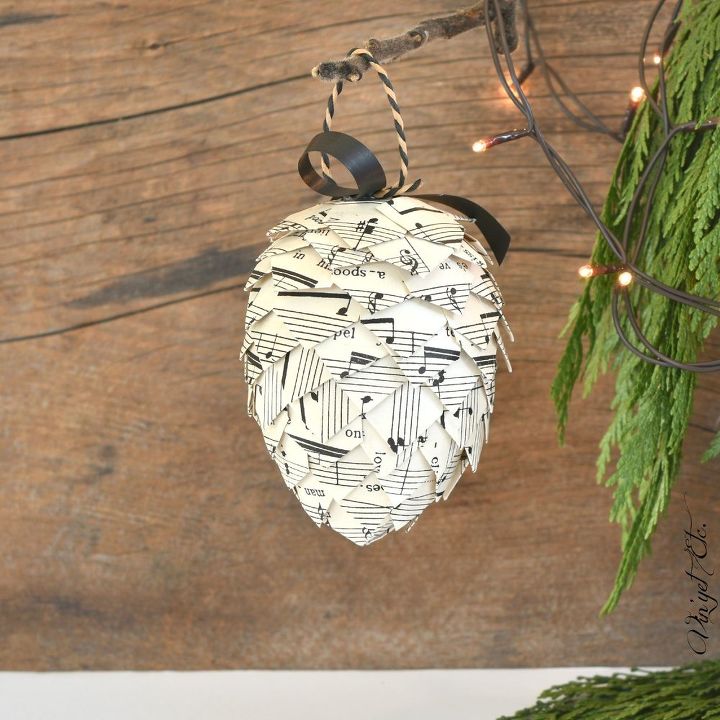
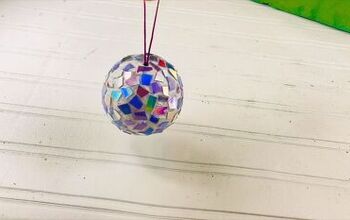
And then I had fun playing... really, I am becoming obsessed with these and the potential they have, pop on over to the blog where I share more fun ways to use these music sheet pinecones! And, at the end of the blog post... a bonus, over a 100 inspirational DIY Christmas ideas!!!!

Want more details about this and other DIY projects? Check out my blog post!
Comments
Join the conversation
2 of 28 comments
-
Excellent instructions! Thank you! ☺️
-
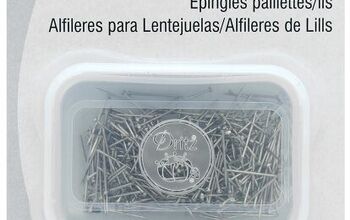
Sequin pins, (see questions above) also referred to as applique pins, are shorter (1/2inch) than regular stick pins. They are available in silver and gold, and in different brands. Dritz come in reusable containers with a snap lid.


Frequently asked questions
Have a question about this project?