


Beachy Christmas Ornaments Made With Wood Tags and Air Dry Clay.

Here is an easy project especially if you’d like to play with clay… just like when you were little! I recently discovered air dry clay and IOD moulds. With some paint and a few fancy-schmancy doodads you end up with something really pretty and unique.
Lets get started…
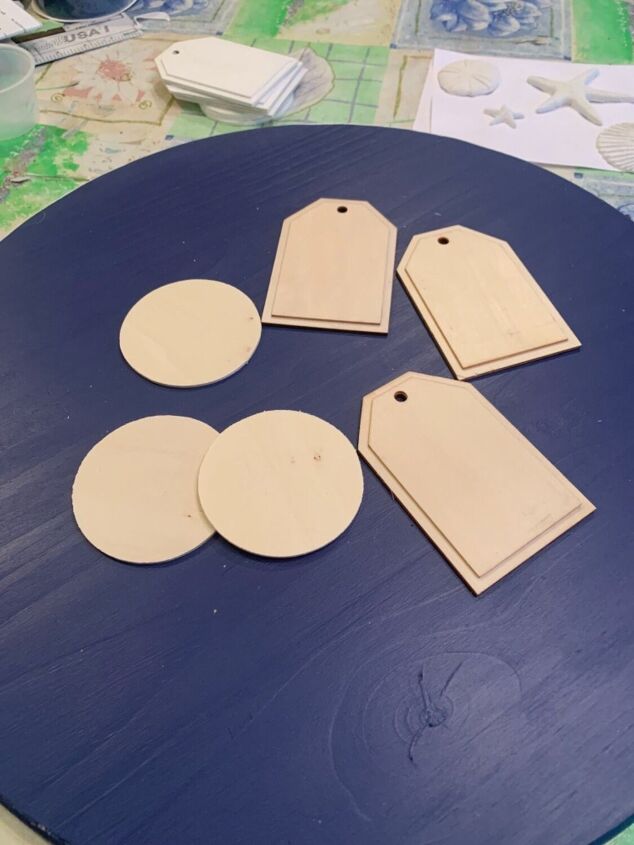
I decided to use these wood tags.
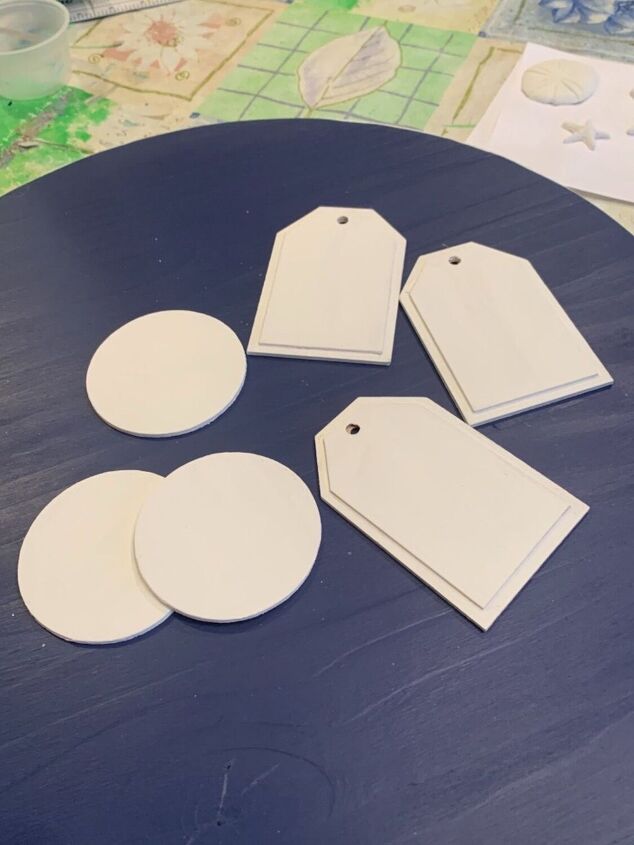
I quickly painted each with some white paint both front and back.

I am new to air dry clay and IOD moulds. But I know already that I’m going to have a serious relationship with these items… Way too much fun. This is not a tutorial on how to use the air dry clay. For that you’ll need to do a YouTube search to get lots of help. But beware! It’s highly addictive.
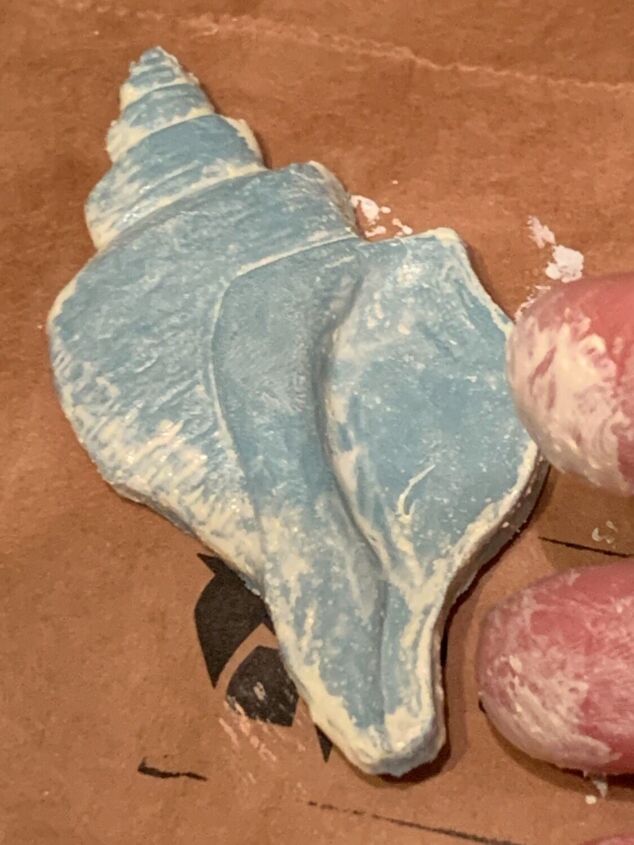
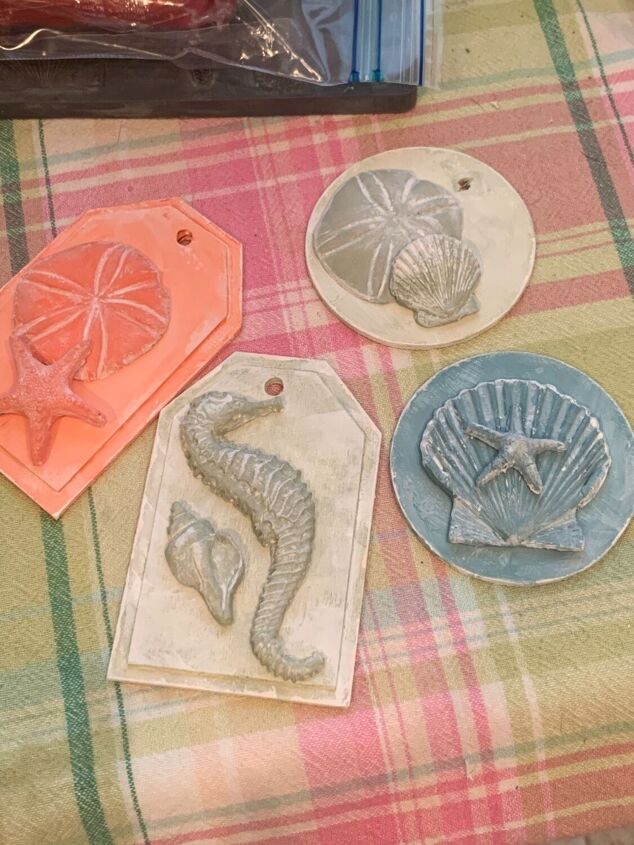
I used the IOD seashell mould to make these beautifully detailed shells.
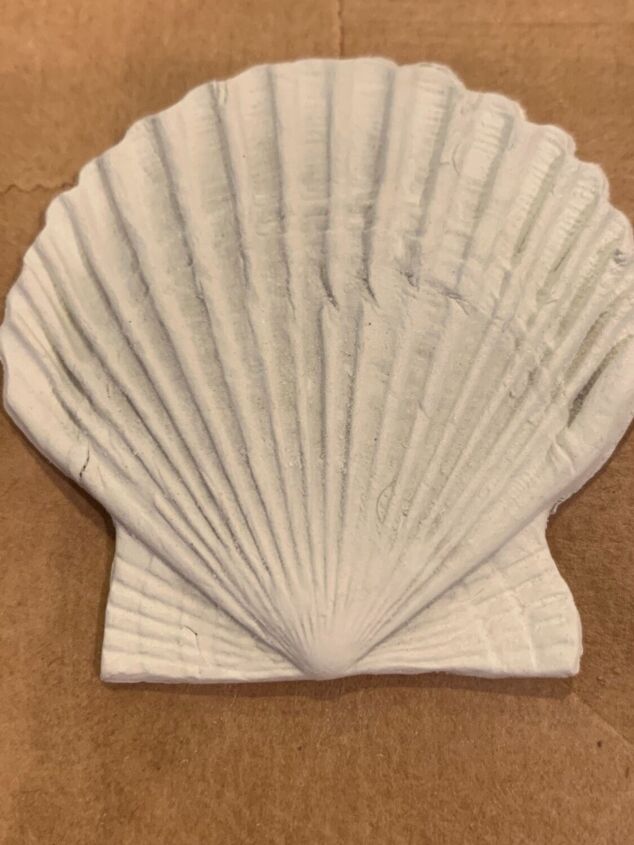
See all that beautiful detail! I had to clean the edges a little bit since I’m new at this and didn’t think about doing it immediately after removing them from the mould. I simply broke off the rough edges. Next time I’ll use a tiny bit of water on my finger to smooth the edges.
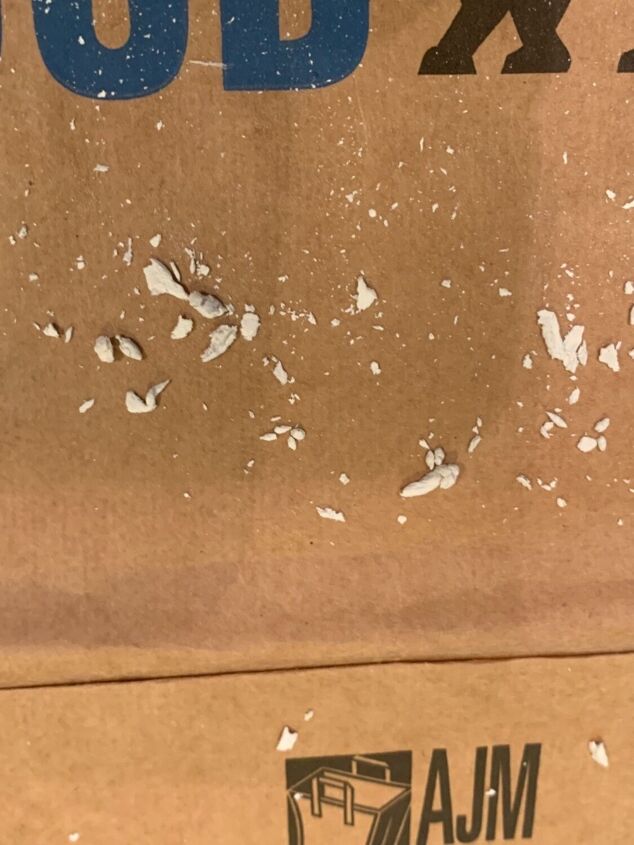
See all the stuff that came off. You can also lightly sand the piece once it’s completely dry with very fine sandpaper.
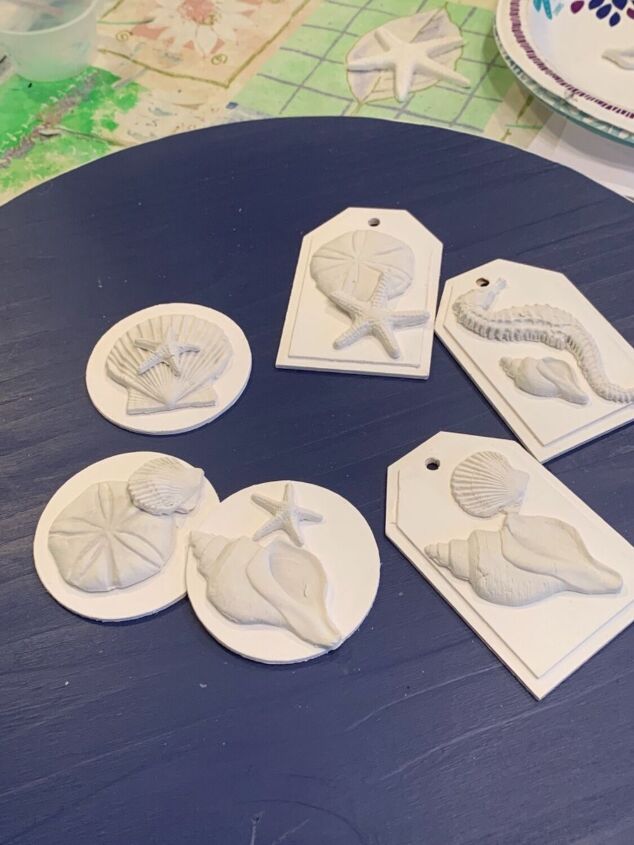
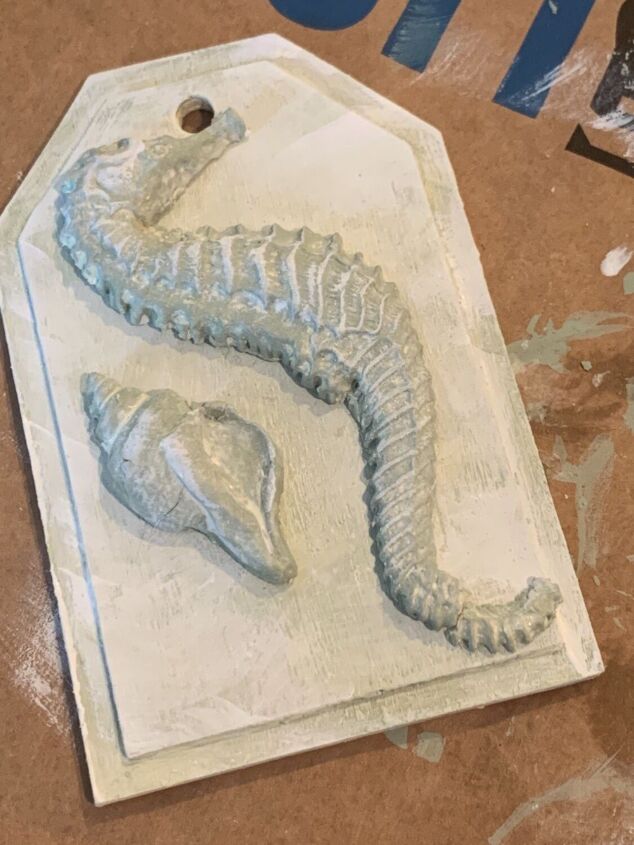
While they were still pliable I positioned them on the wood ornaments. I took a picture so I can remember the plan. Some sat on the others and curved nicely into each other with a little help. Then I separated them and let them dry for 24 to 48 hours.
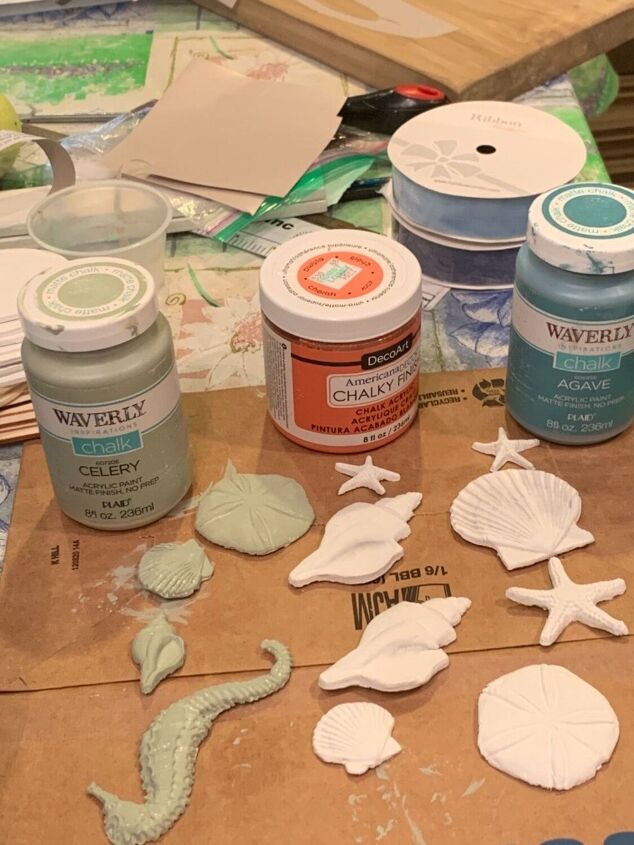
I lined them up according to the “plan” and painted them with beachy colors. After I added the base color paint I went back over each shell with a second color. I used the dry brush technique and wiped of any access with a lightly damp paper towel.
I did this until I got the look I wanted.
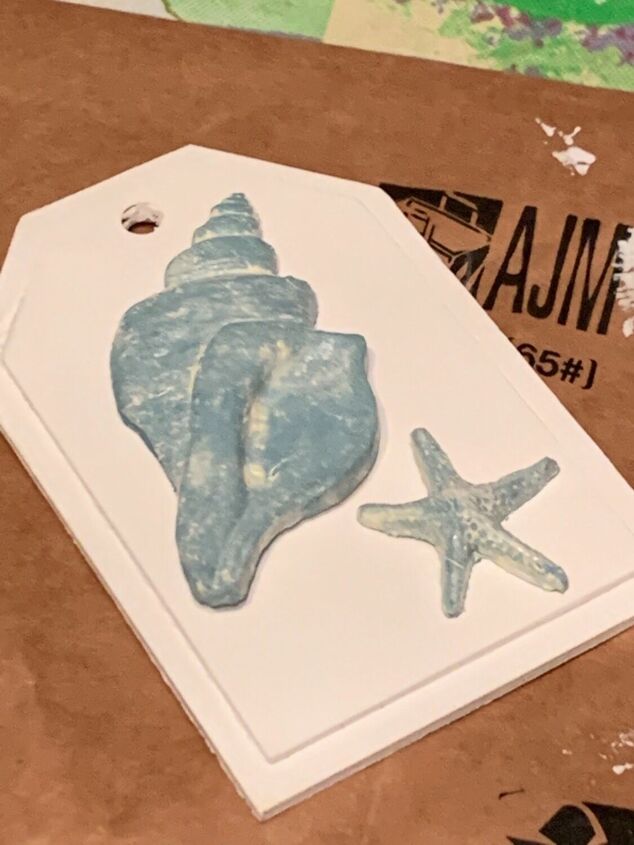
When I put them on top of the white ornament I didn’t like how it looked. The white was just way too white!!
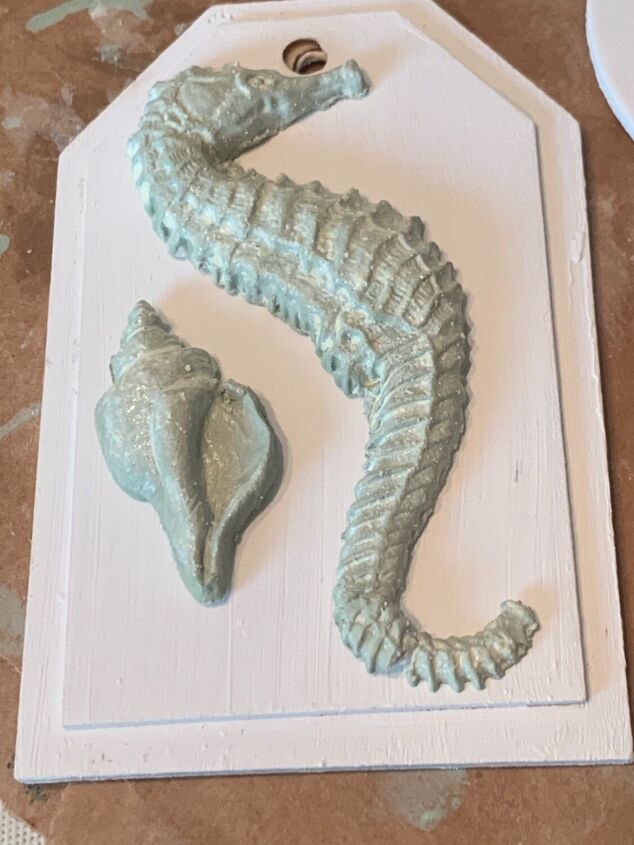
I repainted the tag with green but then it was way too green. So I went back with my finger and added some blotchy white paint. This is what I call perfectly imperfect. Or should that be imperfectly perfect!!
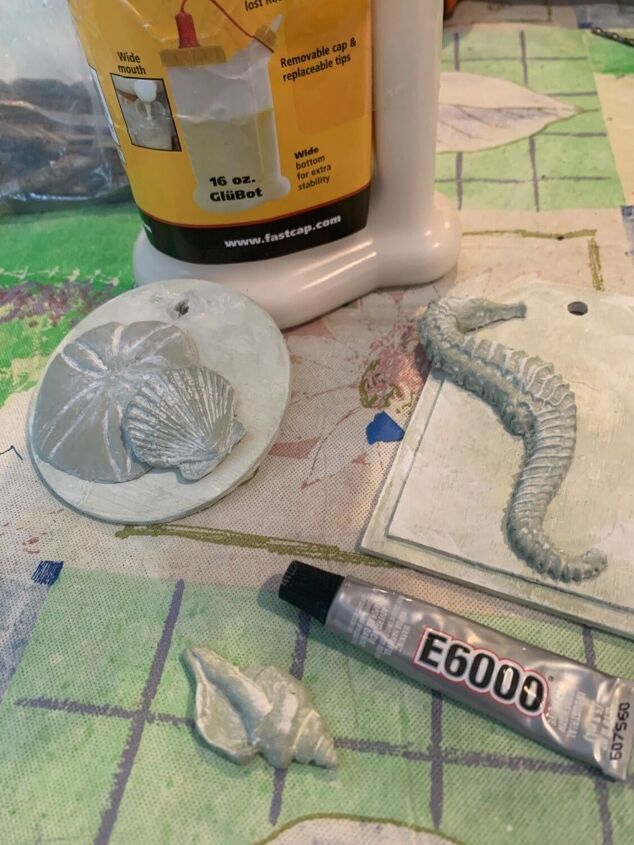
I used wood glue to attach the pieces to the wood ornament. The tail on one seahorse broke so I used E6000 glue to fix it.
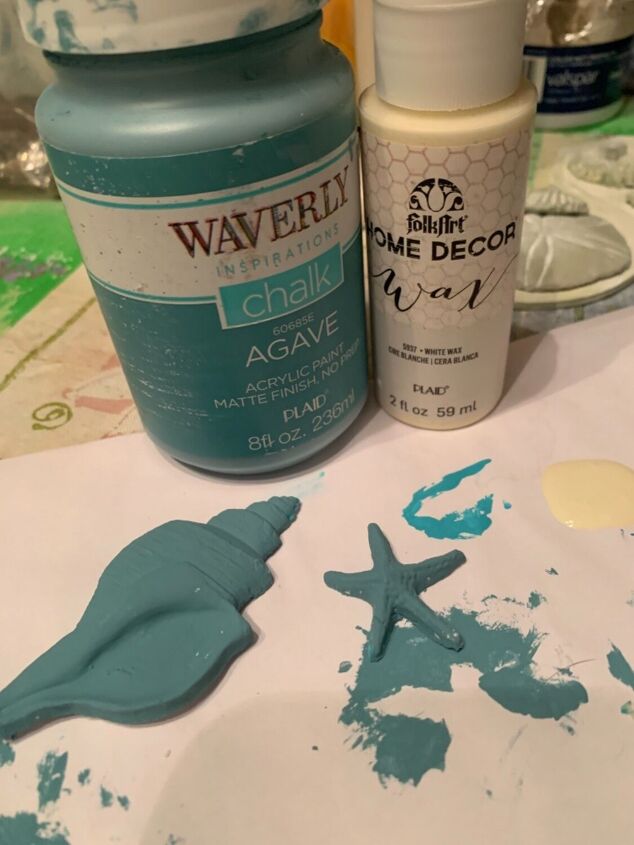
I finished painting the shells with the chalk paint. I used the white wax for the dry brush part but it didn’t show up well enough. So I went back with regular white chalk paint. Once again using paper towel to achieve the look I wanted.
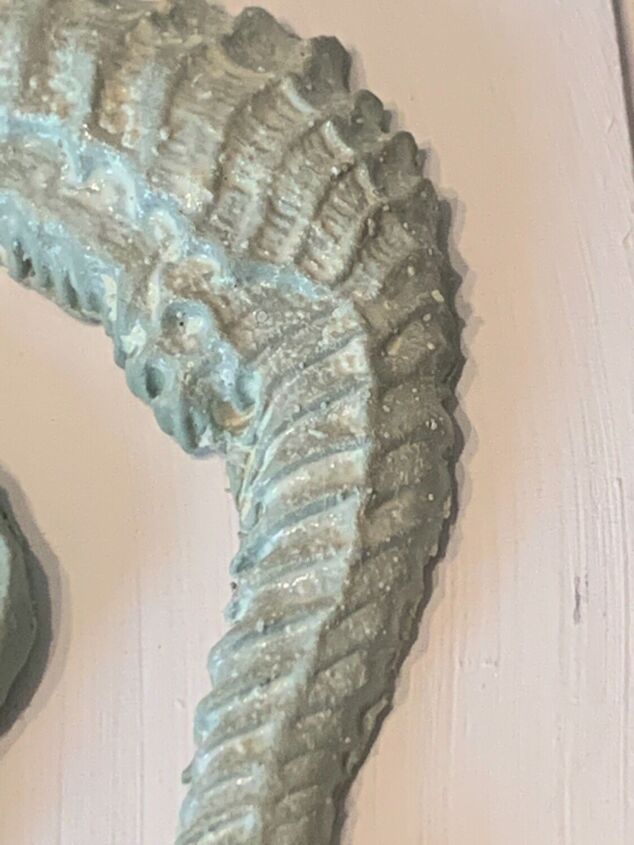
The IOD brand moulds are exquisite. Adding the second color highlights all the beautiful details
I love all the shells on this IOD mould. After a lot of online research and shopping I decided that the IOD moulds are the best.
Simple;
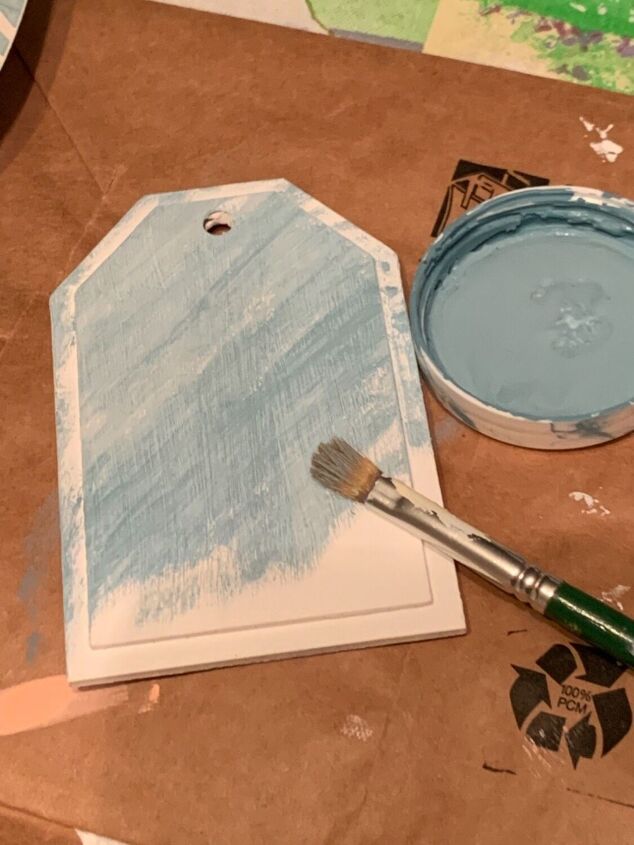
paint it solid white
paint it lightly blue
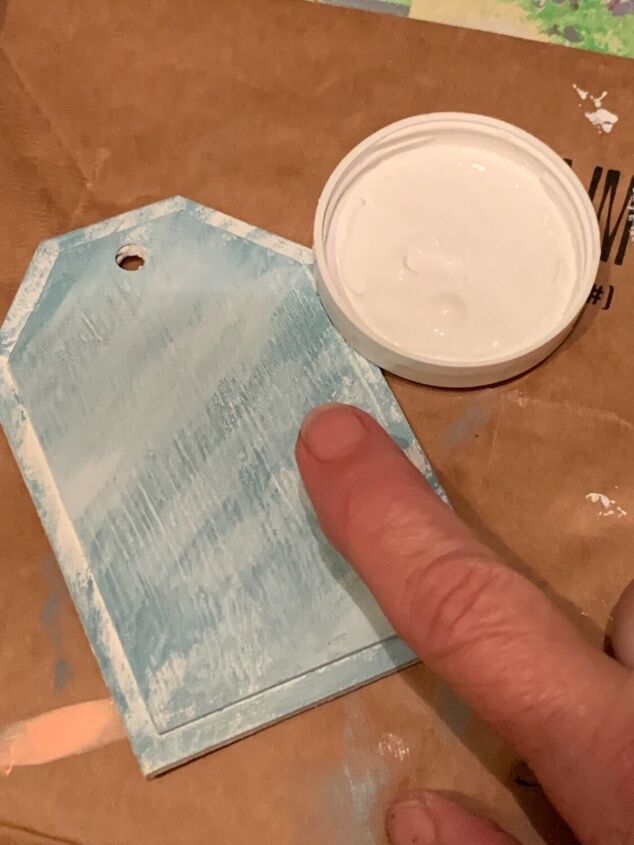
Then finger paint some white back on.
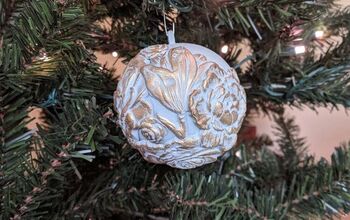
I wanted a subtle contrast between the wood ornament and the seashell. I did this front and back.
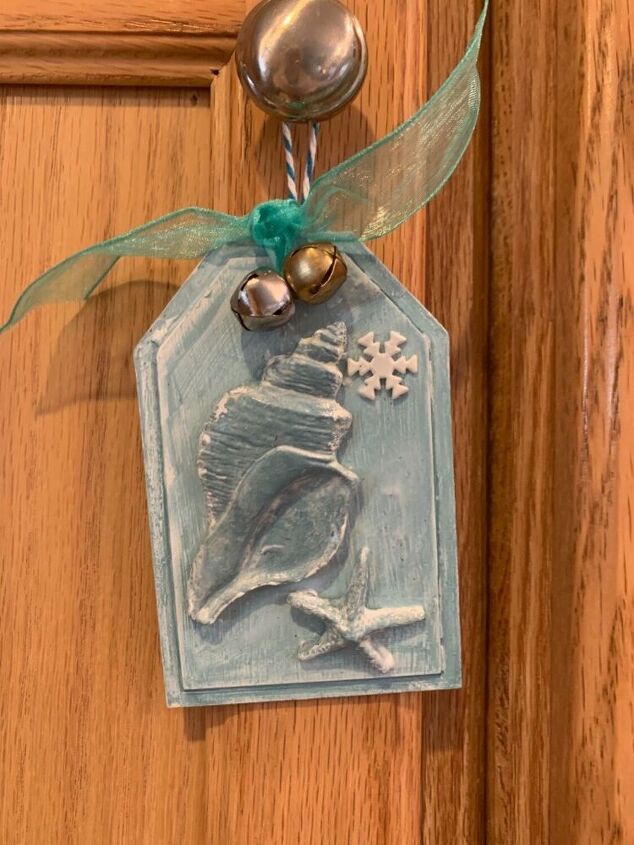
I sprayed each one with a clear finish. Then the real fun begins. I added snowflakes with E6000 glue. (I used tiny snowflake brads and just removed the back pieces of metal). Then I had a variety of colored ribbons, butcher’s twine and bells to finish them off.
Here they are all glued up and ready for their little pretties.
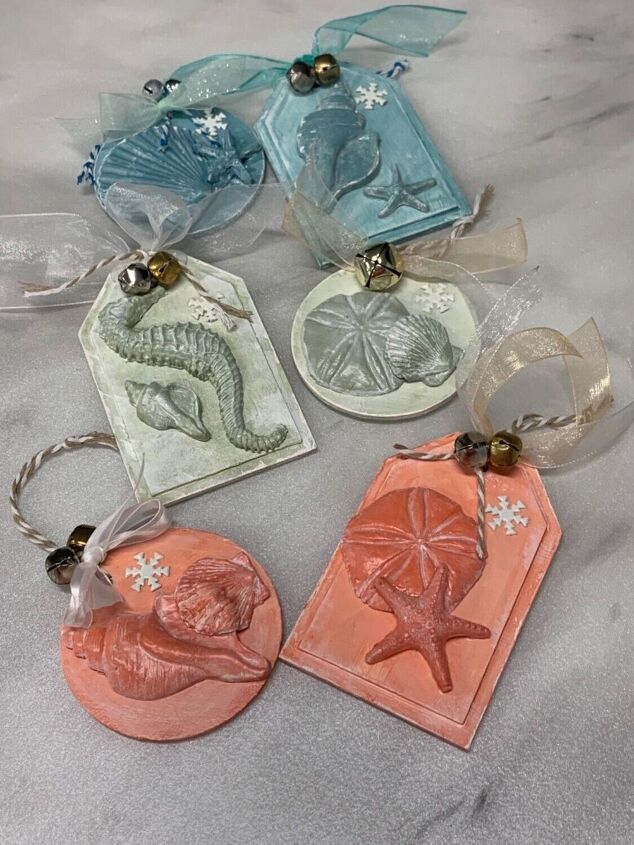
I so much loved making these but I have a confession. When I added the shells I forgot to look at my original “plan”. So they ended up being arranged slightly different. What do they say about “best laid plans”! I think they still turned out lovely.
I hope you like them.
Comments
Join the conversation
-
Bit by bit i'm doing nautical in my living room , this project is perfect for it. I will hang some from a twisted limb I painted blue. Thanks , love it !!!
-
So simple, yet sooo beautiful! ❤️❤️❤️


Frequently asked questions
Have a question about this project?