


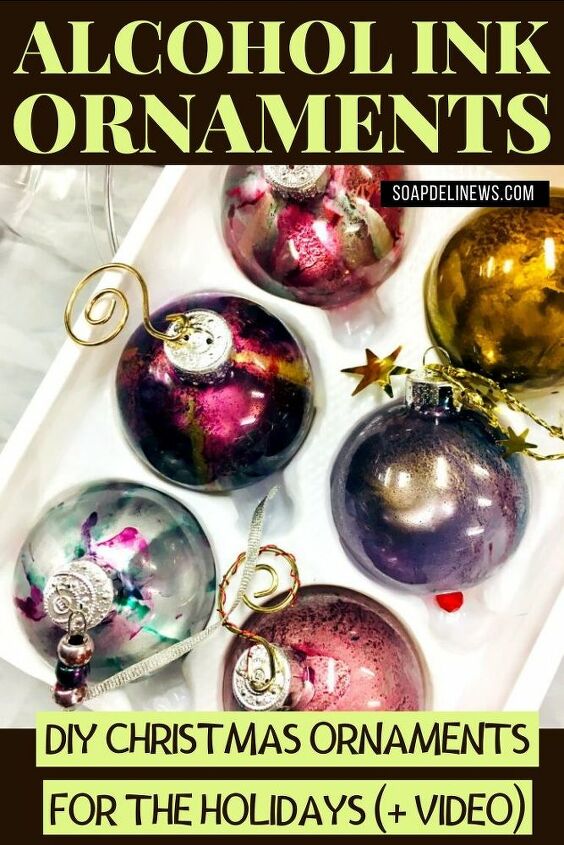
DIY Alcohol Ink Ornaments (Easy DIY Ornaments for the Holidays)
Learn how to make these easy DIY alcohol ink ornaments to decorate your Christmas tree for the holidays. These DIY Christmas ornaments are super easy to make and look great! There's really no right or wrong way to make them. Which I feel is part of their charm. Plus they make lovely handmade Christmas gifts for friends and family.
I actually took a class the first time I make alcohol ink Christmas ornaments. Lucky for me, one of my dear friends was the instructor. So she let me record the instructional part of the class so I could share it with my readers. (Talk about Christmas spirit!) You can check out the alcohol ink video tutorial here.
All you need to get started are clear Christmas ornaments, alcohol inks and your imagination. Of course, you can also add ribbons, cute hooks and even beads to your finished alcohol ink ornaments.
You'll want to use non-porous clear glass Christmas ball ornaments for this project - no plastic - for the best results. In addition, you also need to buy alcohol inks in a variety of colors that fit the color scheme you have in mind.
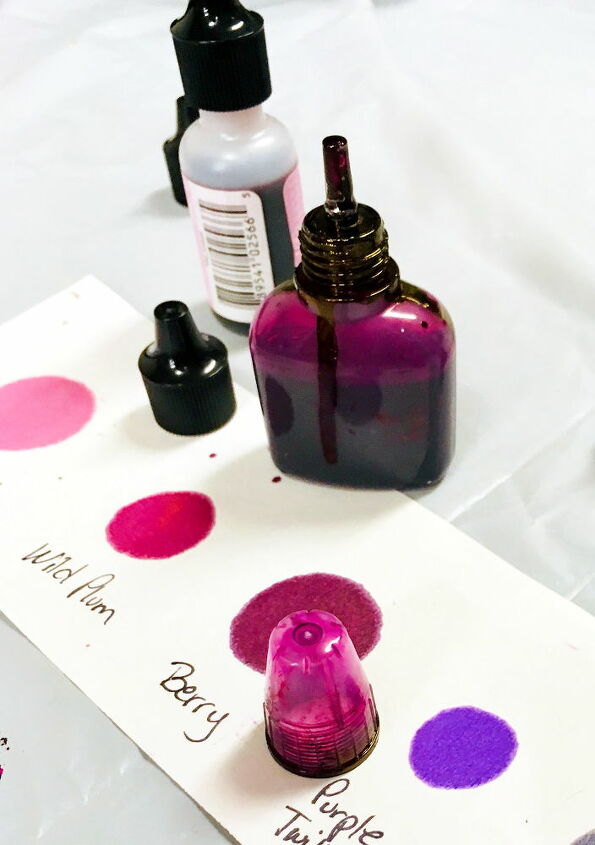
I like to add a drop of each of my alcohol ink colors to a strip a paper and label the colors being used. That way I know exactly what the colors are going to look like out of the bottle as so many colors appear much darker while bottled.
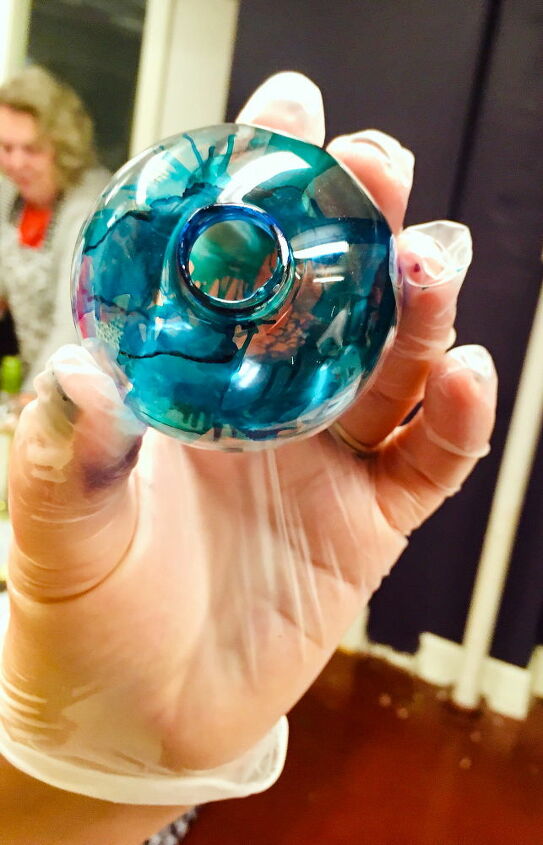
Working on a covered surface (as alcohol inks do stain) remove the top from a glass ornament. Then add a small amount of alcohol ink to the inside of your ornament. Using a can of compressed air, such as dust off, you’ll then spray air into the ornament in short bursts. You can direct where the ink goes by simply aiming the air in different directions.
Keep at it by layer different colors until you get a design you like. Be sure to let the ink dry before adding the next one to avoid blending all the colors together. You don't want it to look like mud.
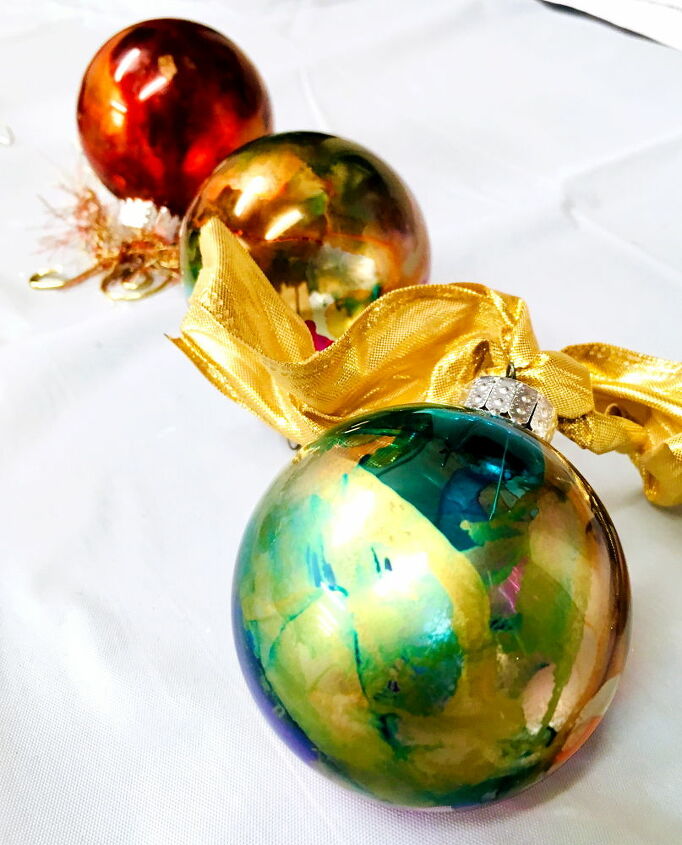
Once you have the perfect alcohol ink ornaments, set them aside to dry completely. Then reinsert the top of each ornament you made. You can then add hooks to your ornaments and decorate them with beads or ribbon as desired.
Be sure to visit my blog here for detailed instructions on making alcohol ink ornaments as well as tips and tricks AND my video tutorial from my friend's alcohol ink ornament class!
(These ornaments take about 10-15 minutes to make with the drying time excluded. However, they do dry really fast! The class I took was $25 for six ornaments. However, as you use very little ink, the more ornaments you make the less they cost.)
Resources for this project:
See all materials


Comments
Join the conversation
-
Thanks for the dried air idea. I do a similar thing for my kids and grandkids. I miniaturize a photo of something we did together, glue it on, write their name and the year on the back then decoupage it
-
I absolutely love these! I give ornaments as Christmas gifts every year and these look so much easier (and prettier honestly) than the melted crayon ones which I have always been afraid to try! Thank you for this beautiful and easy idea! I'll be going to the craft store right away after work today. 😊


Frequently asked questions
Have a question about this project?
Hi I have small grandkids. Can I use plastic bulbs instead of glass? Plus I would love to mail some to my family members out of state. Thanks