


DIY Wood Burned Ornaments
3 Materials
Many years ago, in middle school, I remember doing something in Art class with a wood burning tool. I’ve seen a bunch of wood burned items in my social media feeds and decided to give it a go and make some DIY Wood Burned Ornaments. I really enjoyed this project for a few reasons. I love how the ornaments turned out and I loved using a new crafting tool, but possibly the best part of this project was the smell of burning wood at my kitchen island!
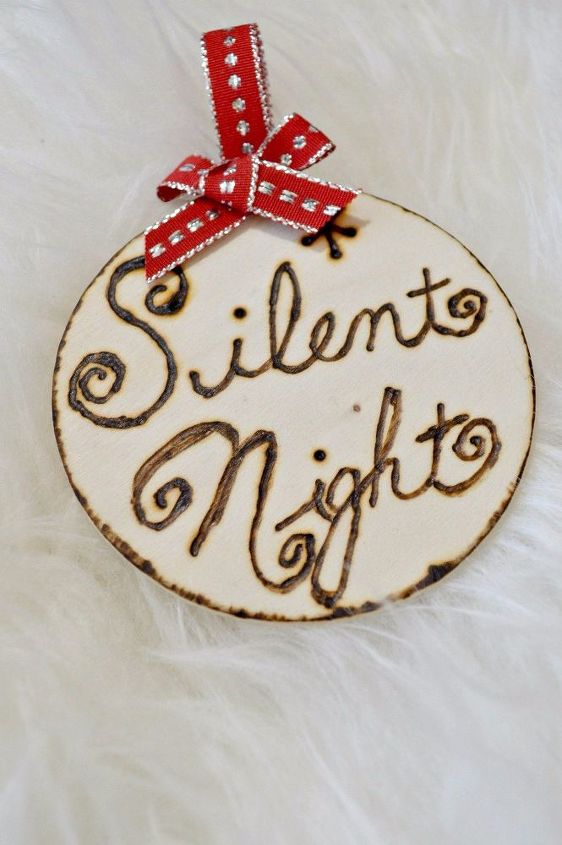
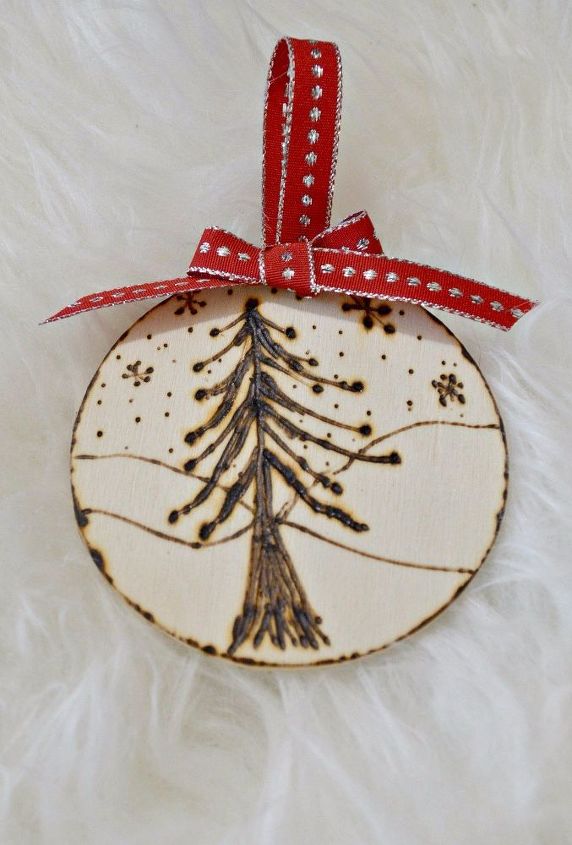
Decide what you want to put on your ornament. Do some research for simple pictures of holiday scenes, or, just freehand your favorite Christmas Carol title or greeting. I used a template when I started because I wasn't totally comfortable with the wood burning tool, but as I worked, I got more comfortable and found that free handing was a lot of fun!
Give yourself an outline to follow before you start burning by using a dull pencil or even a thick knitting needle to lightly carve your design into the wood.
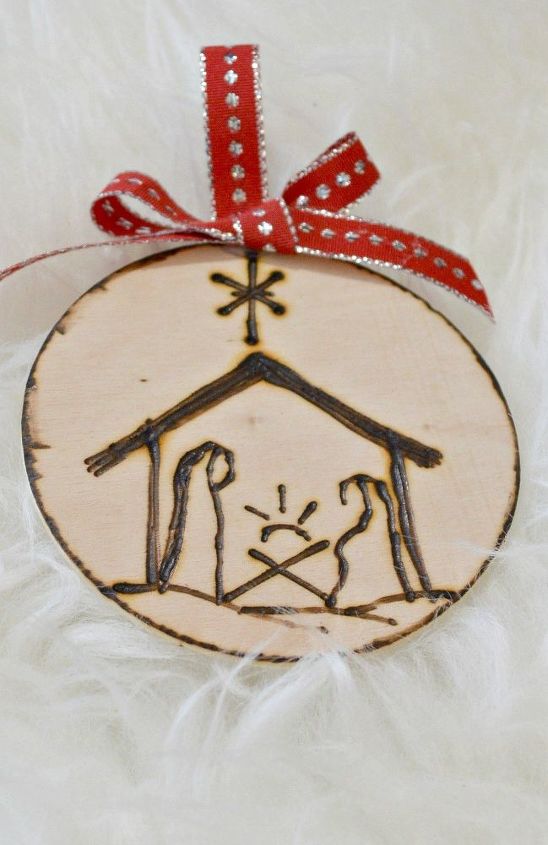
Burn over the lines you made until you have the desired amount of burn.
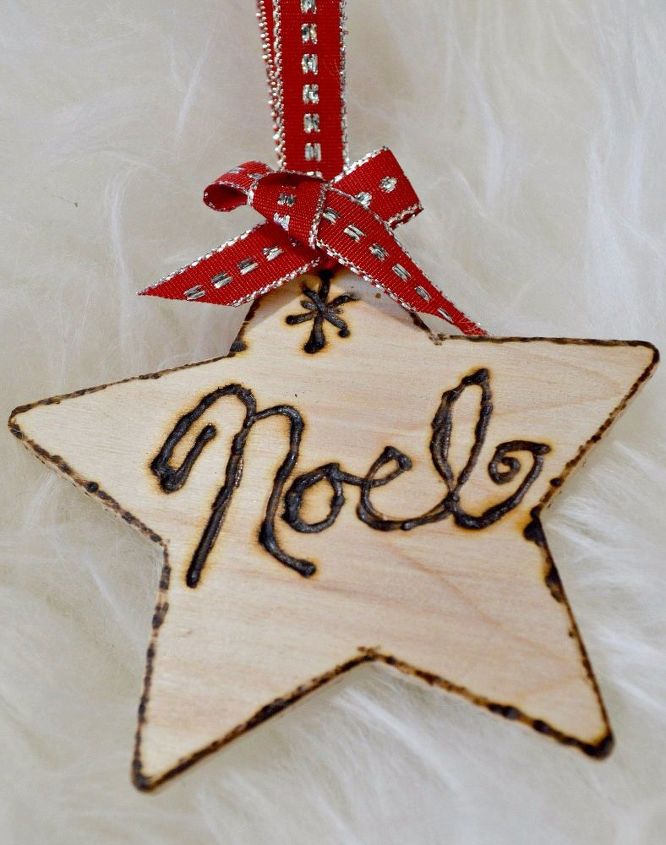
Add a little ribbon as a hanger and that's it! Be sure to click over to the blog for full instructions and to find out why this is my favorite craft this year!

Want more details about this and other DIY projects? Check out my blog post!


Frequently asked questions
Have a question about this project?