


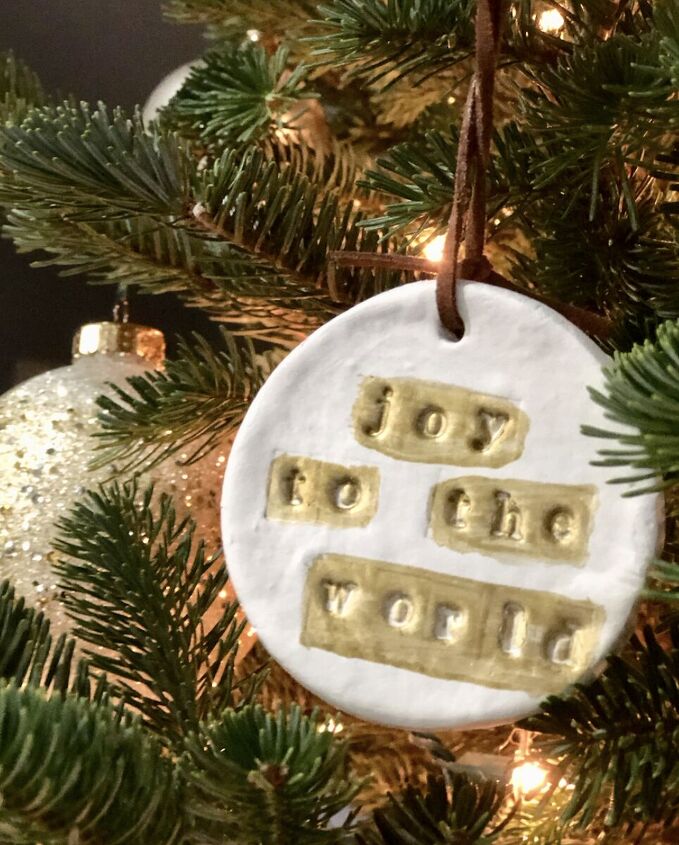
EASY DIY CHRISTMAS ORNAMENT

Hey there!
I’ve decided to pop in to quickly show you an easy DIY ornament I made with my daughters over Thanksgiving weekend. We loved how simple and pretty they turned out to be. In fact, I love them so much I am going to host some friends next week for a quick, creative craft and some wine party!
Here is what you will need for the ornaments:
WHAT YOU WILL NEED:
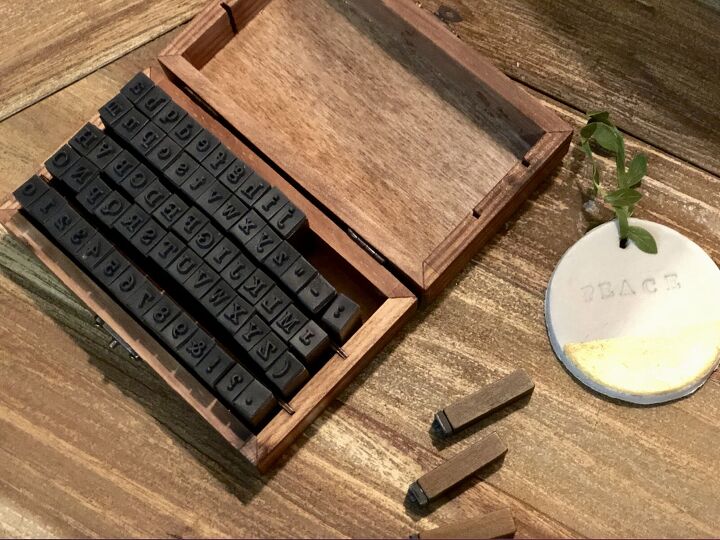
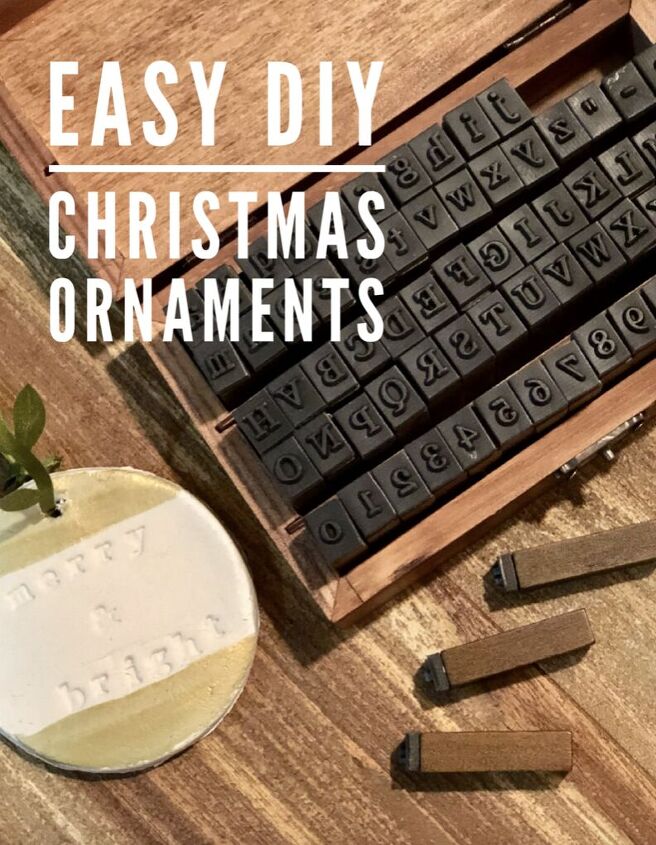
Alphabet Stamps
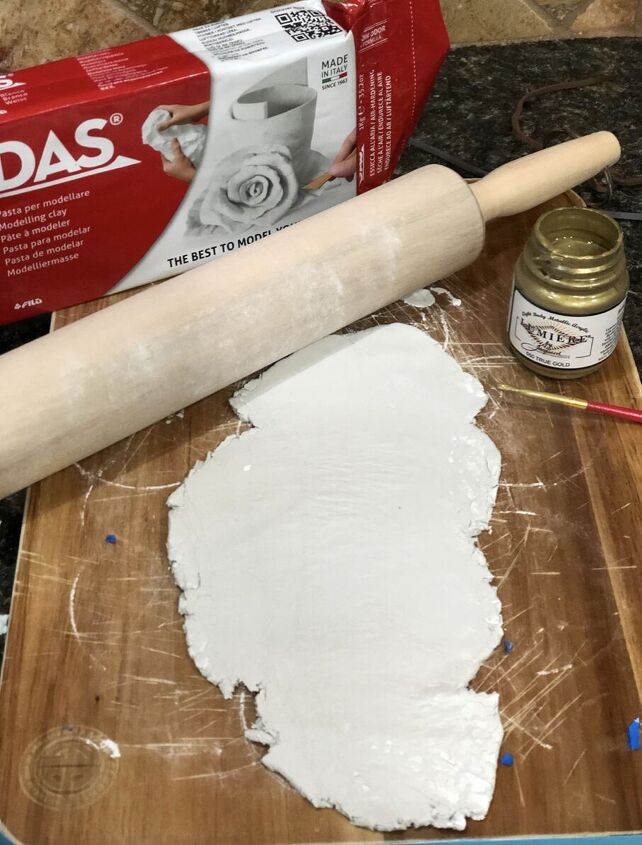
Air Hardening Modeling Clay (we used 1 package)
Cutting Board
Metallic Paint
Paint Brush
Ribbon
Leather Strips
Rolling Pin
GLASS OR SMALL JAR
DIRECTIONS:
ROLL OUT THE CLAY ON THE CUTTING BOARD. WE KEPT OURS ABOUT 1/8 INCH THICK.
USE A GLASS OR SMALL JAR TO CUT OUT CIRCLES
USE THE STAMPS FOR YOUR HOLIDAY INSPIRATION
PAINT
USE END OF PAINTBRUSH TO MAKE THE HOLE FOR HANGING
LET AIR DRY 36-48 HOURS (We flipped ours after 24 hours to help speed drying time)
ADD RIBBON, LEATHER, OR TWINE TO HANG
I love my new stamps. I’ll be using them on another upcoming project.
I told you it was quick and easy!
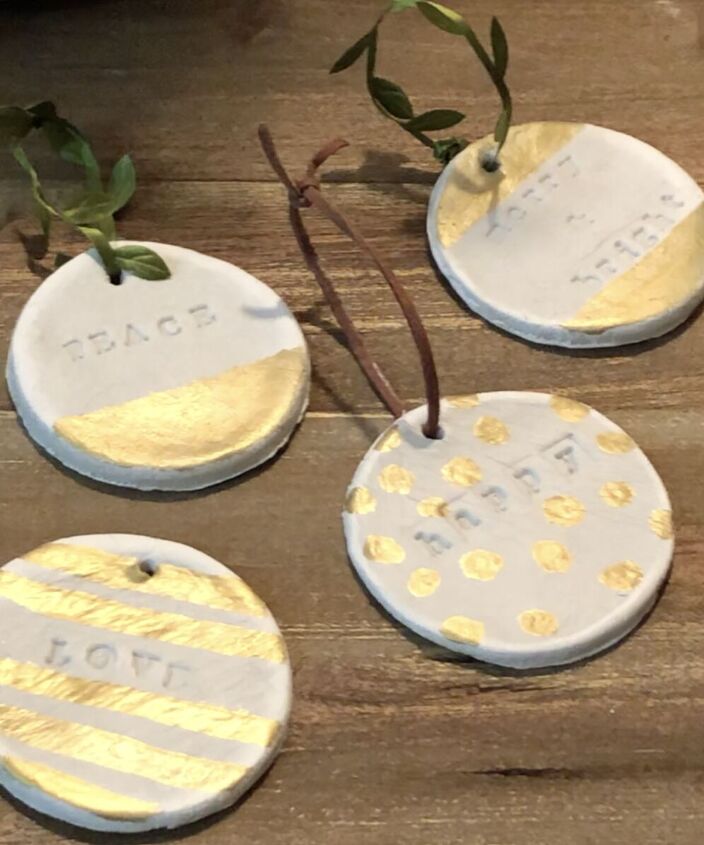
Here are a few more:
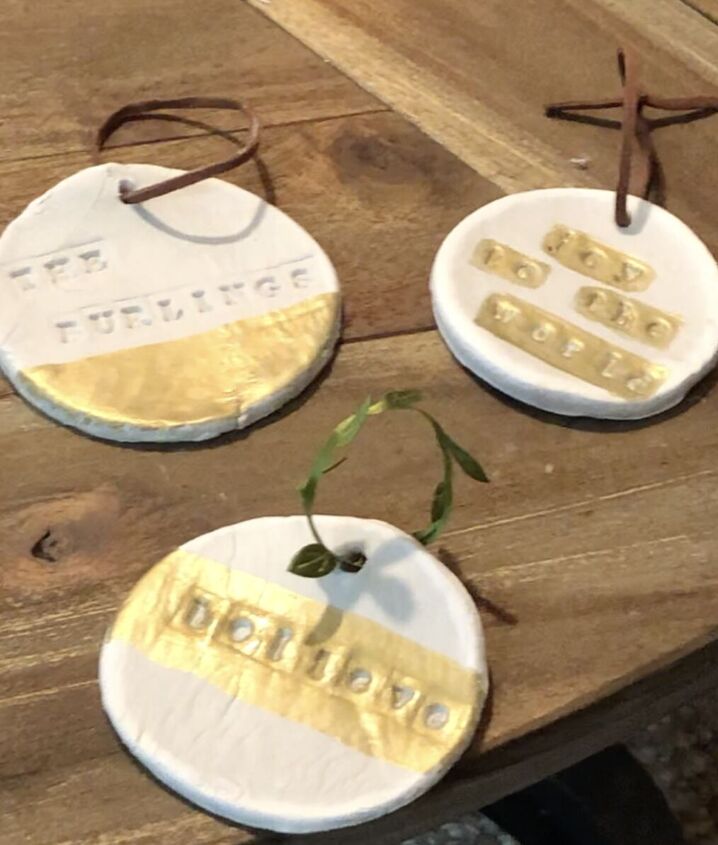
We made one for each Grandchild and then words like JOY, Merry, Peace, LOVE, etc. We loved making this as it was easy enough our entire family could do it.
That’s it. I said it was easy. If you decide to give it a try, let me know how it goes.
Until next time,
-Libbie
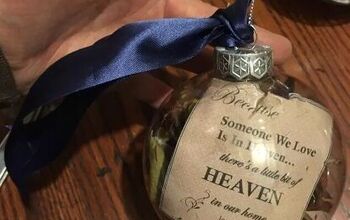
You may also enjoy:
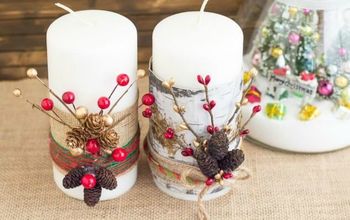
Decorating for Christmas with Neutrals:


Frequently asked questions
Have a question about this project?