


Easy DIY Map Ornaments From Cosmetic Containers
From December 1st to December 23rd I’m sharing three Christmas projects per week on my blog Color Me Thrifty, for Twelve Days of Christmas Projects.
Welcome to Day Ten!
There’s nothing I love better than creating projects that repurpose and upcycle items that would normally go into the landfill, or my recycle bin.
Today is one of those projects, and it’s a super easy one too.
I had everything I'm using on hand, and because I'm just using bits and pieces this project basically cost next to nothing.
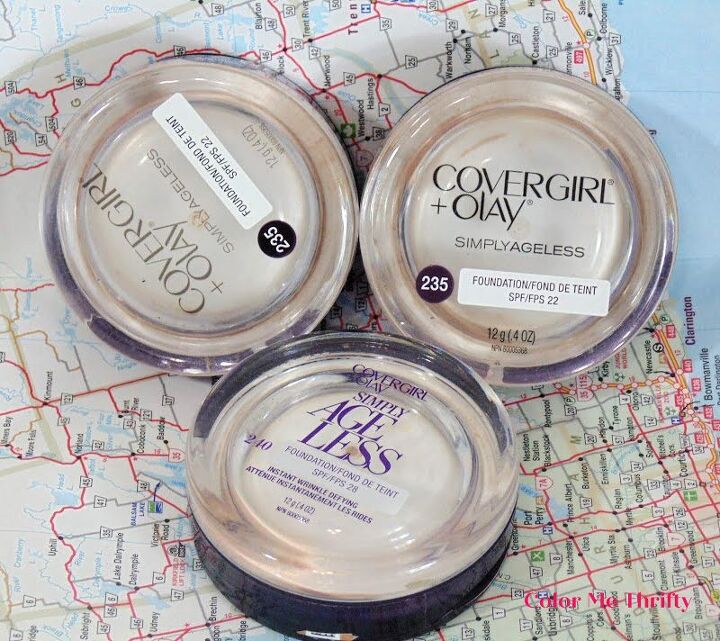
I’ve been saving my Cover Girl foundation containers for years now, knowing that one day I would do something with them
And today’s the day.
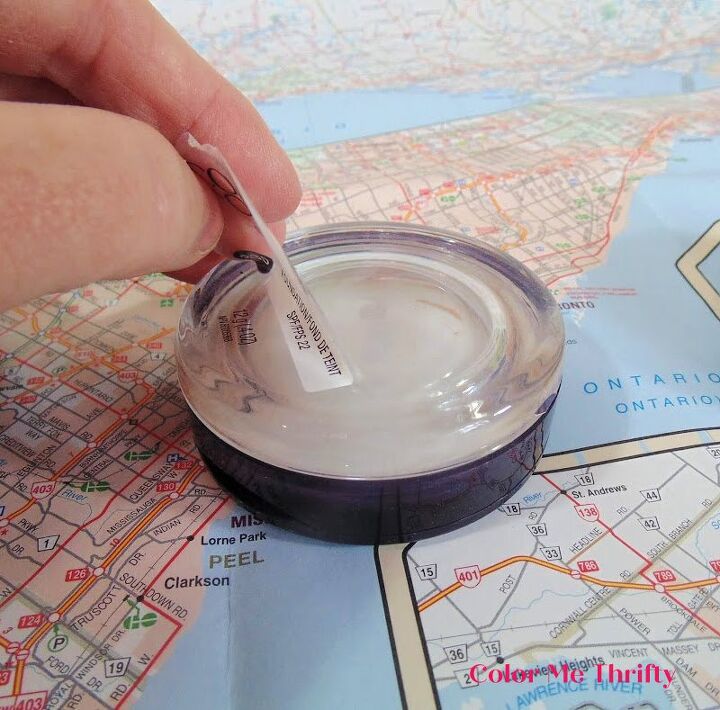
The first thing to do is to remove the sticker label on the front. It peels off quite easily.
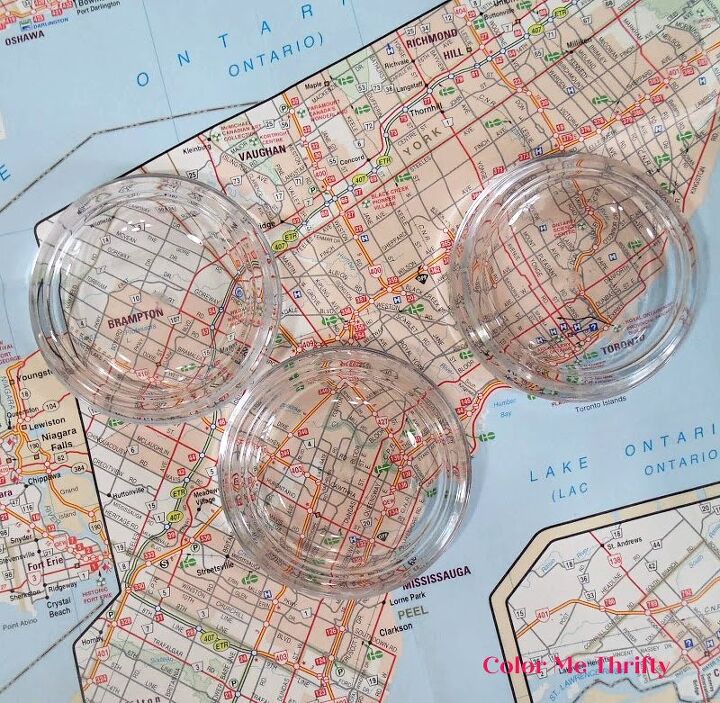
Then you give the clear containers a good cleaning out. A paper towel and some glass spray cleaner worked great.
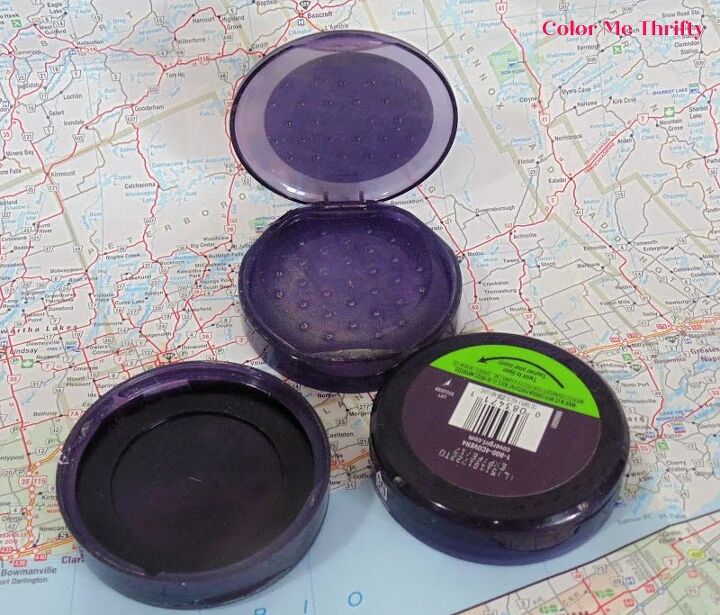
These are the other halves of the foundation containers. I’m not repurposing them today, but rest assured that I’m keeping them for a someday idea.
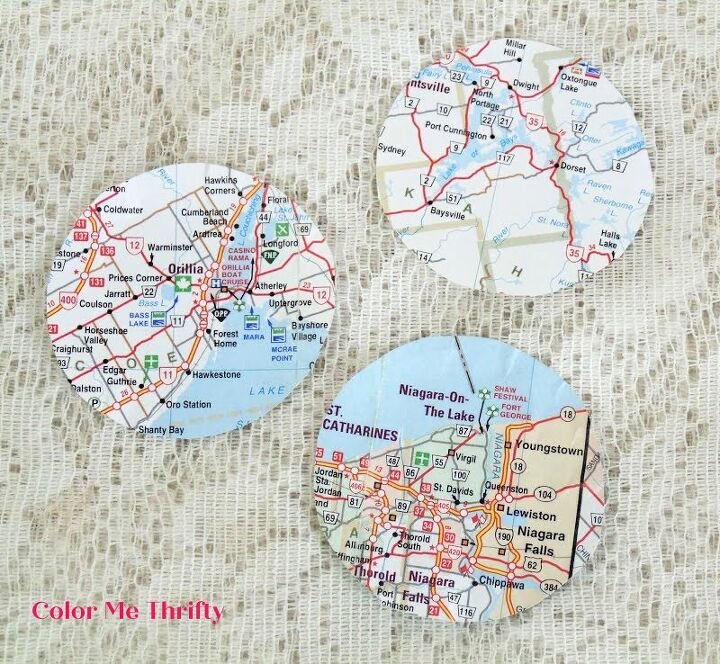
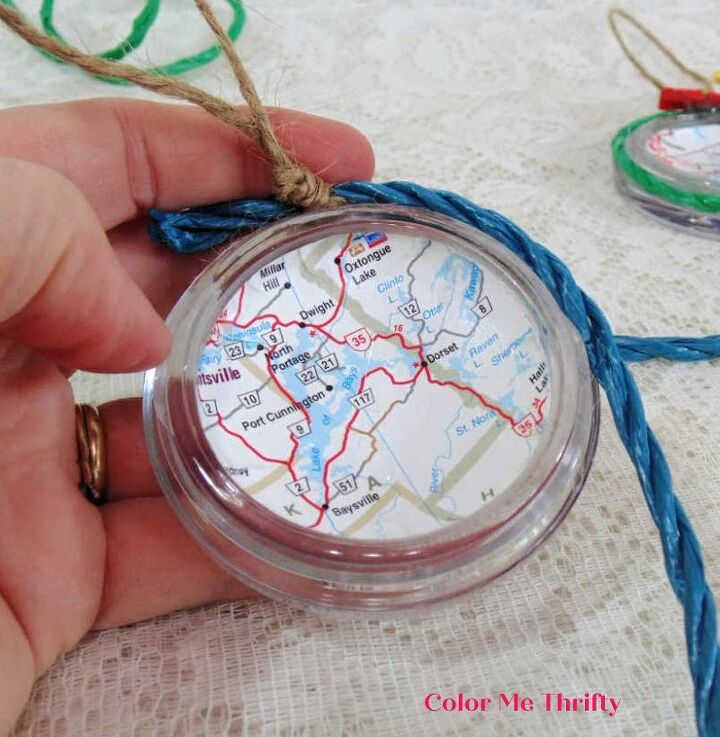
For my DIY map ornaments I simply cut out three circles from a paper map. I chose some places in my home province on Ontario , Canada, that have some meaning to me.
I used a salt shaker that was jut a right size to trace around the circles with pencil, but you can use whatever you have that’s the right size.
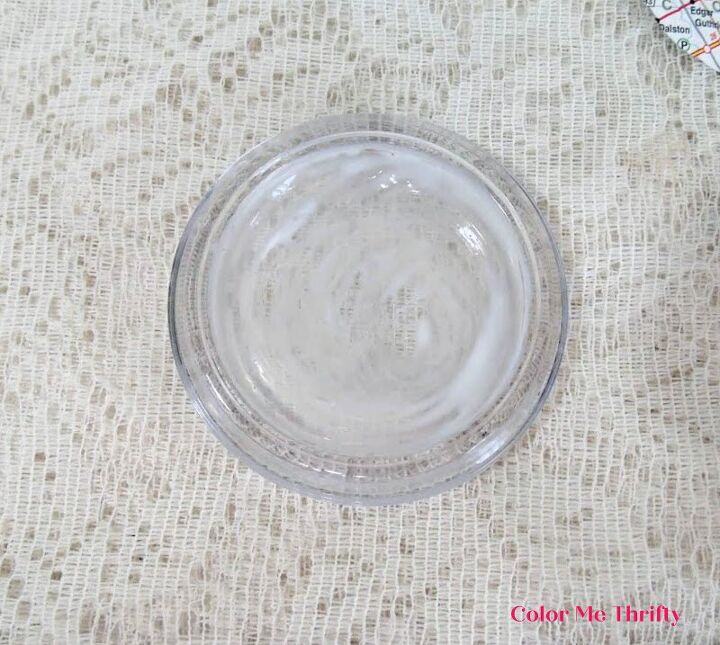
I applied some of the decoupage medium with a small artist brush into the cosmetic container.
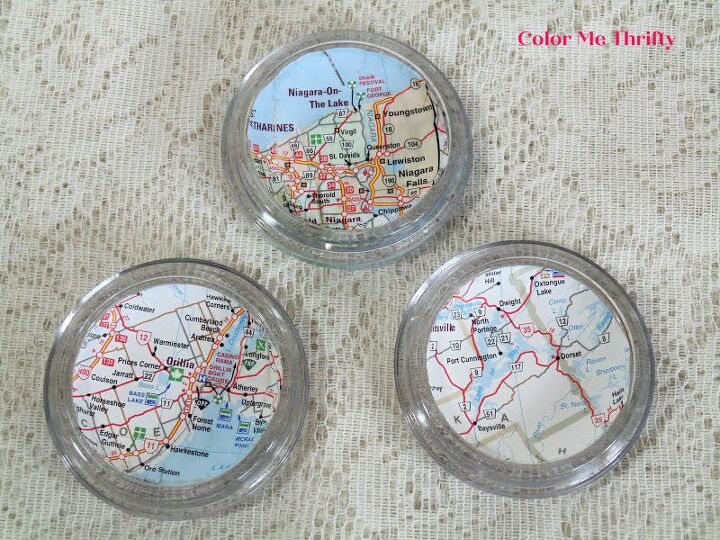
Then I put the map circles in place, gently pushing them into the rounded edges inside the container.
Do not put decoupage medium on the back of the paper before placing. This makes the paper way too soft to work with.
Now it’s time to pretty up my DIY map ornaments.
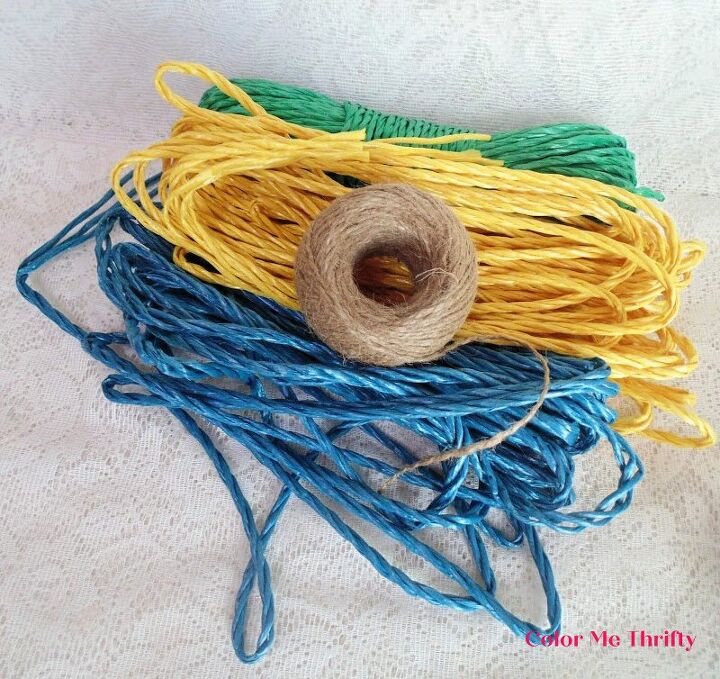
You can use whatever you want to dress these babies up, but I’m using some jute twine, and some colorful, and inexpensive, PVC ropes. The PVC ropes are very light and super easy to work with.
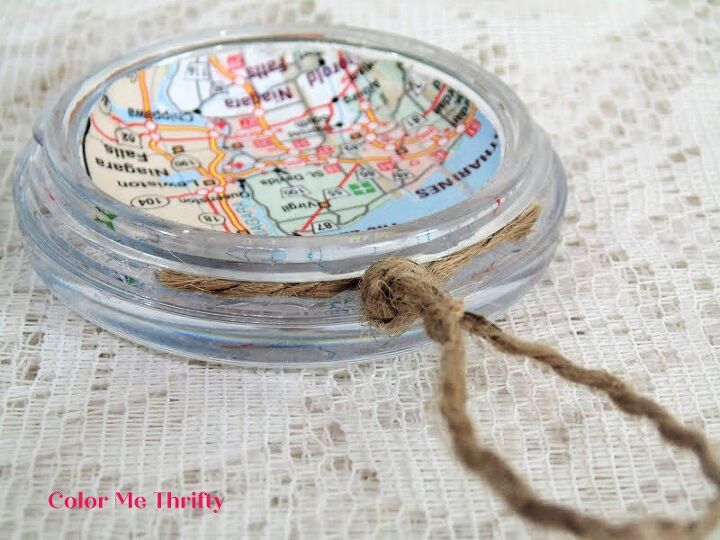
So that I can use the jute twine as a hanger, I created the loop and then hot glued the ends into the top rim of the container.
Then I hot glued the PVC rope over the jute twine, making my way around the container.
Here’s what it looks like after.
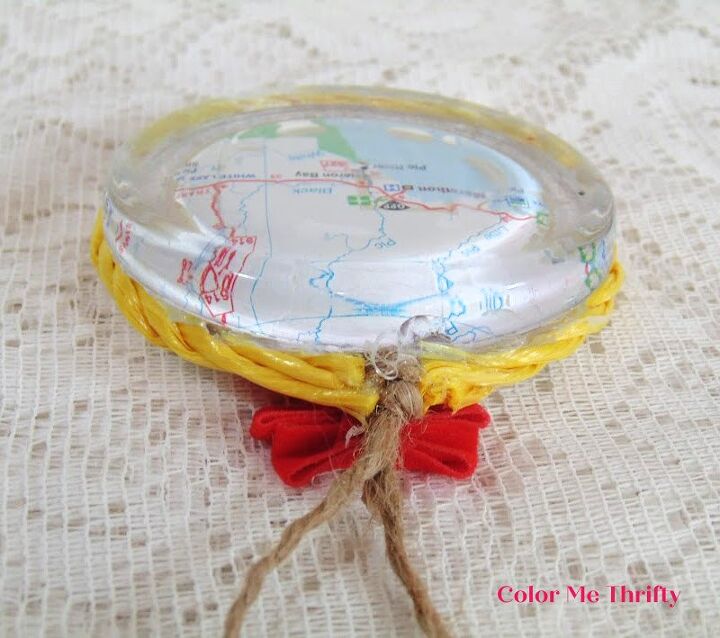
And a cute mini bow is hot glued on as the cherry on top, and it also hides the messy bits.

Here’s what they look like from the back.
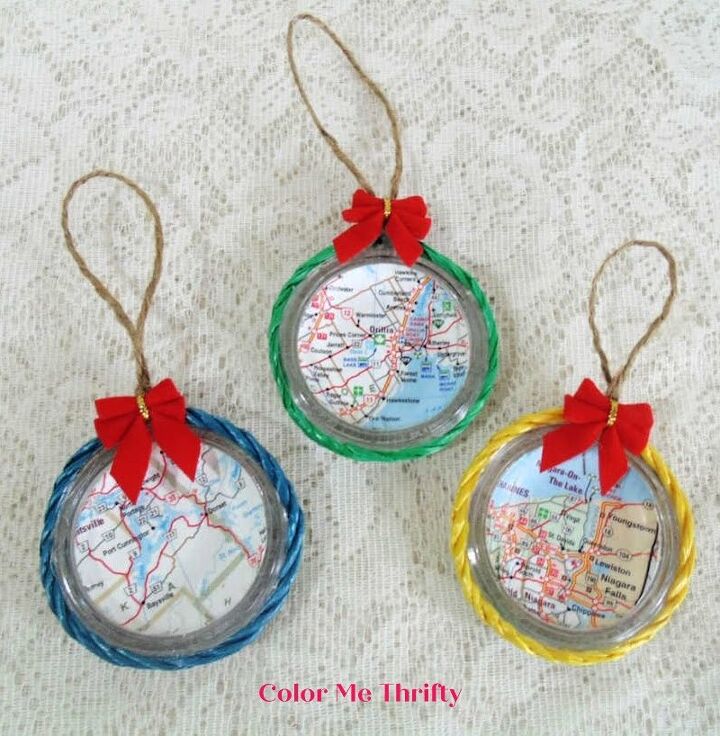
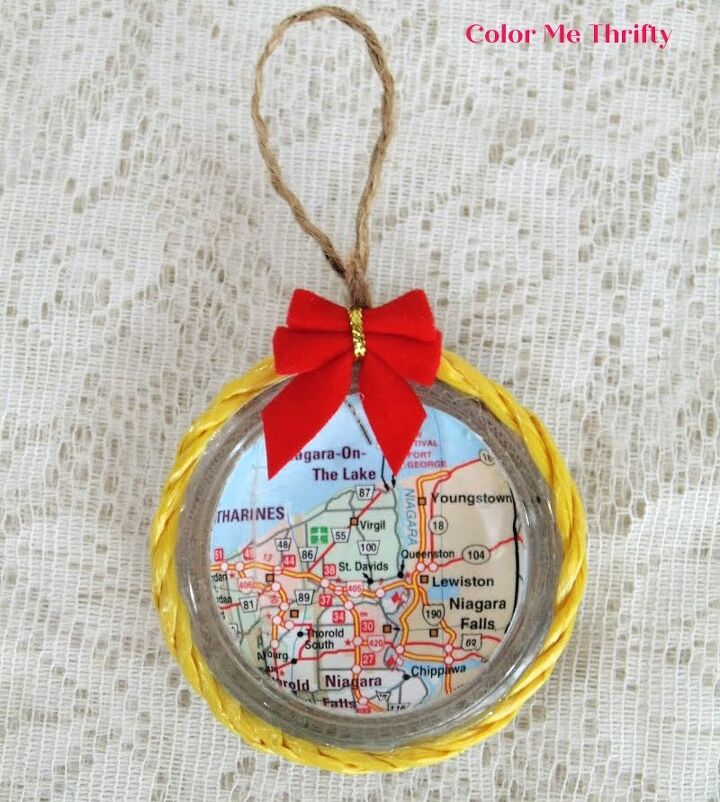
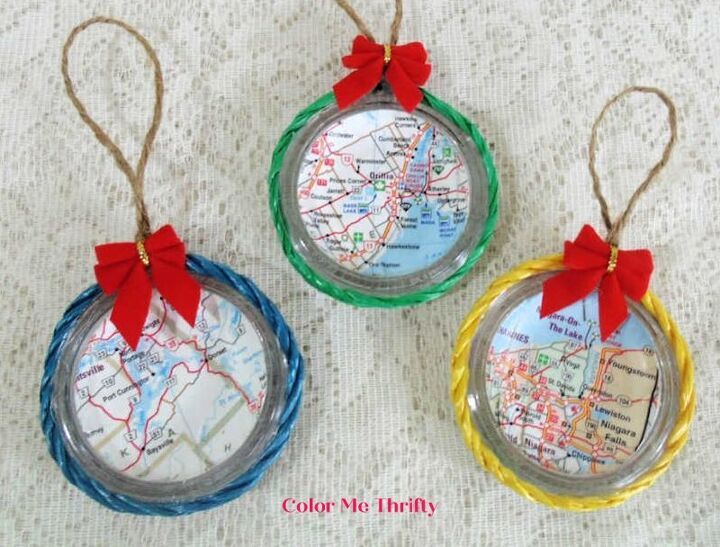
And here are my finished DIY map ornaments.
I have to say that repurposing these plastic cosmetic containers was a lot of fun and very satisfying. And I”ll be hanging them on the tree, instead of dropping them into the recycle bin.
And it’s a fun way to remember places you’ve been, places you want to go to, or places you really love.
I hope this projects has inspired you to repurpose those cosmetic containers into some fun DIY map ornaments.
If you don't want to use maps you could use photographs, scrapbook paper, music sheets, tissue paper... whatever you want really.
The creative possibilities are really endless.
You can find more Christmas projects on my blog here.

Comments
Join the conversation
-
By looking at the finished new ornaments you created, I would never have guessed that they began their lives as cosmetic compacts. Simply ingenius!
Merry Christmas to all of you in southern Ontario.🎄


Frequently asked questions
Have a question about this project?