


15 Minute DIY Stuffed Clear Plastic Ornaments
From December 1st to December 23rd I’m sharing three Christmas projects per week on my blog Color Me Thrifty, for Twelve Days of Christmas Projects.
This is Day Five!
We live with five feline friends, and for us that means that glass ornaments are pretty much a no no.
At least this year… because three of our cats are fairly new to the house, and are still getting acclimated.
But there are a lot of great plastic options these days, and you don’t have to worry about breakage.
These stuffed clear plastic ornaments that I’m sharing today give you a lot of wow for little time and effort, and I found everything I needed at the dollar store.
The Christmas season can be busy, so it’s always nice when projects are quick and easy.
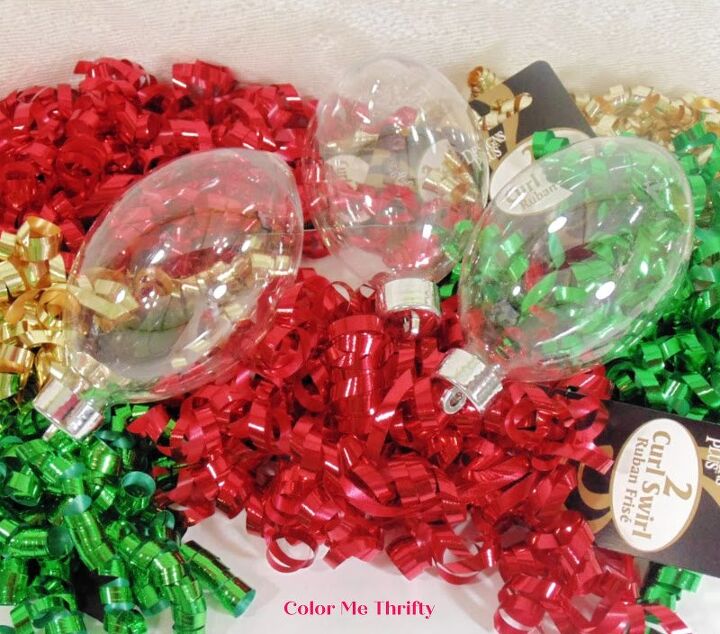
I found these 3 bulb-shaped clear plastic ornament for $3 for the pack, and the curl swirls were $1 for a two-pack.
Curl swirls are those decorative things that we might put on gift packages. Back in the day we would DIY these with ribbon and scissors.
But finding them already made saves a lot of time for not much money.
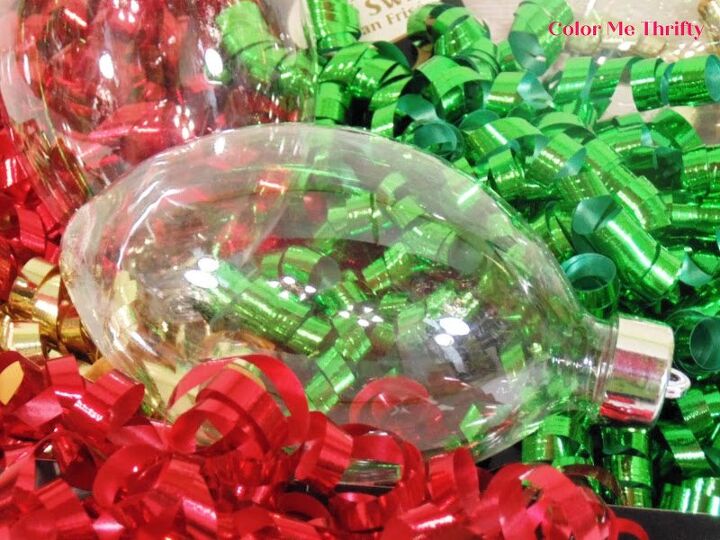
I thought this bulb-shape was fun, but any clear plastic ornament could be used for this.
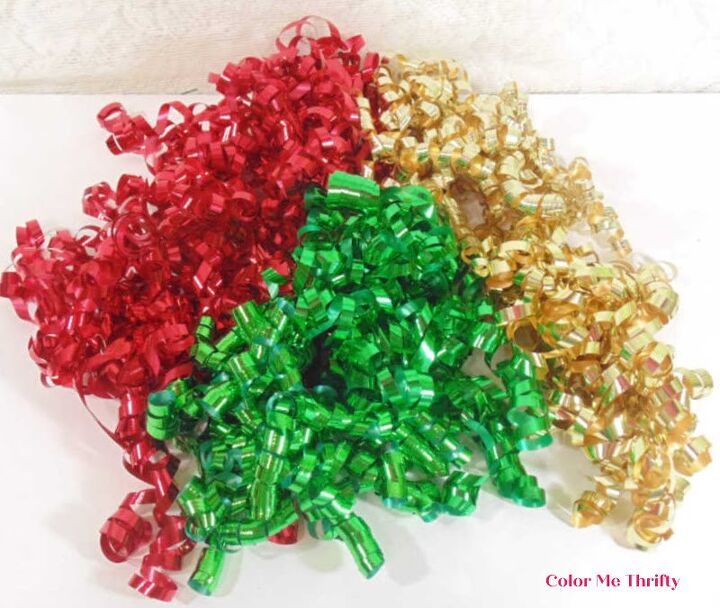
These curly swirlies are so colorful. They’re very shimmery and bright.
They come stapled onto the cardboard holders with just one staple, so it was easy to remove them.
And now the fun starts, and it really couldn’t be easier.

All you need to do is stuff the curl swirls into the plastic ornaments.
It’s that simple, and it goes pretty quick.
Lickity split.
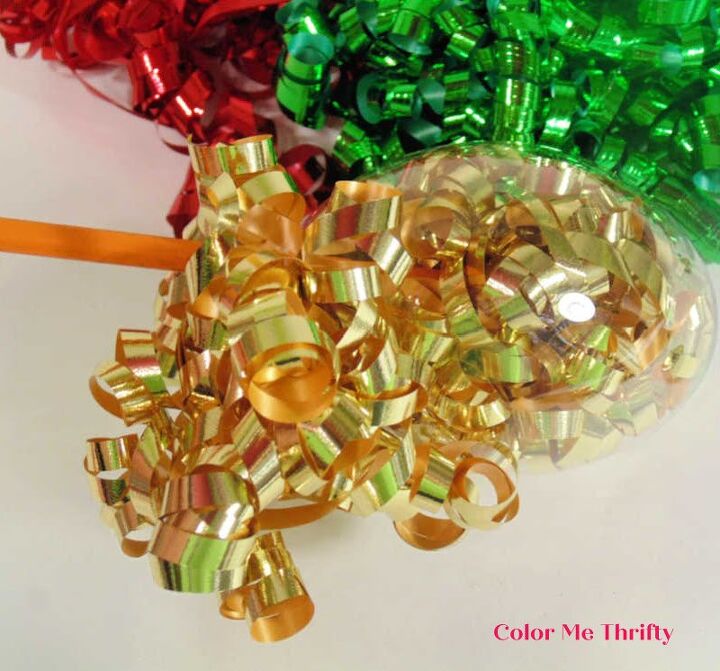
A pencil might help too.
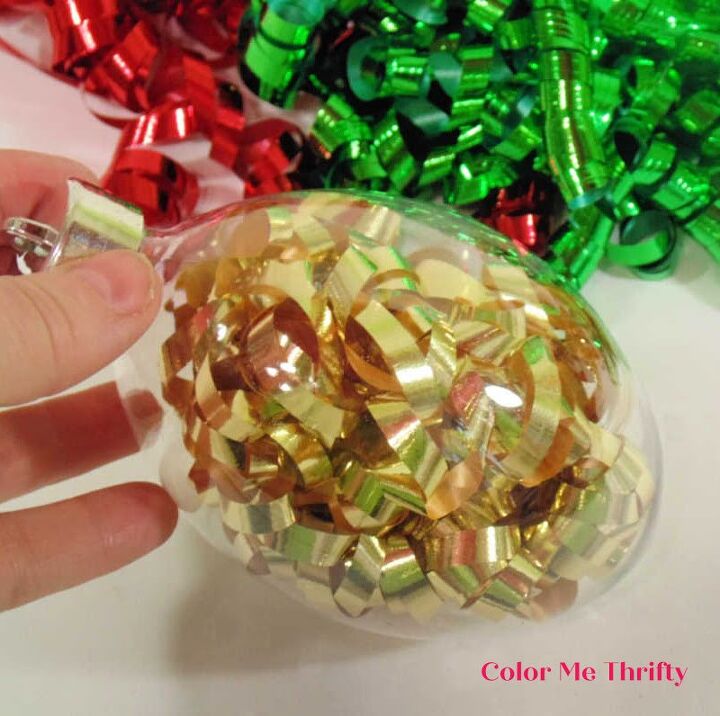
Here’s an ornament with one gold curl swirl stuffed inside. It definitely looks like it could use more curly swirly shimmeriness.
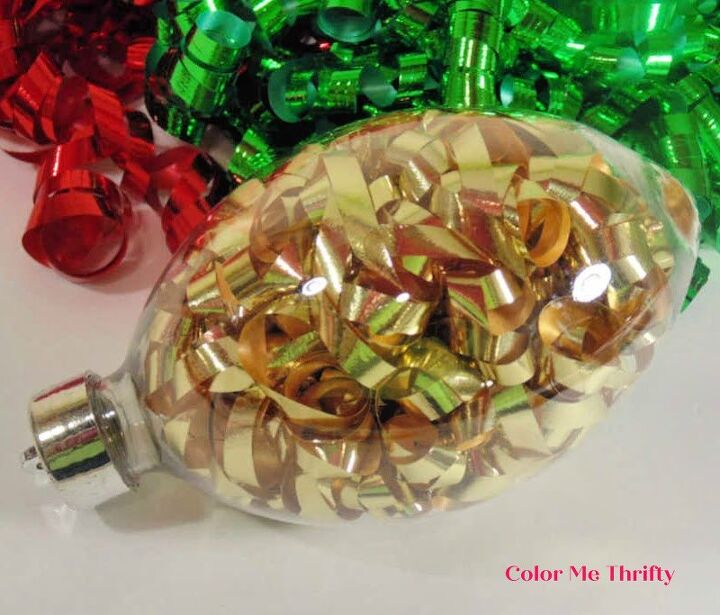
So, a second got stuffed in too. And now it looks nice and full.
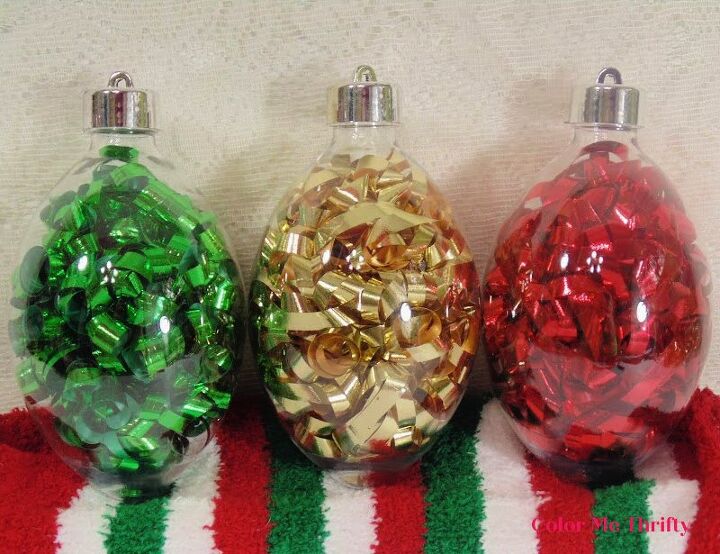
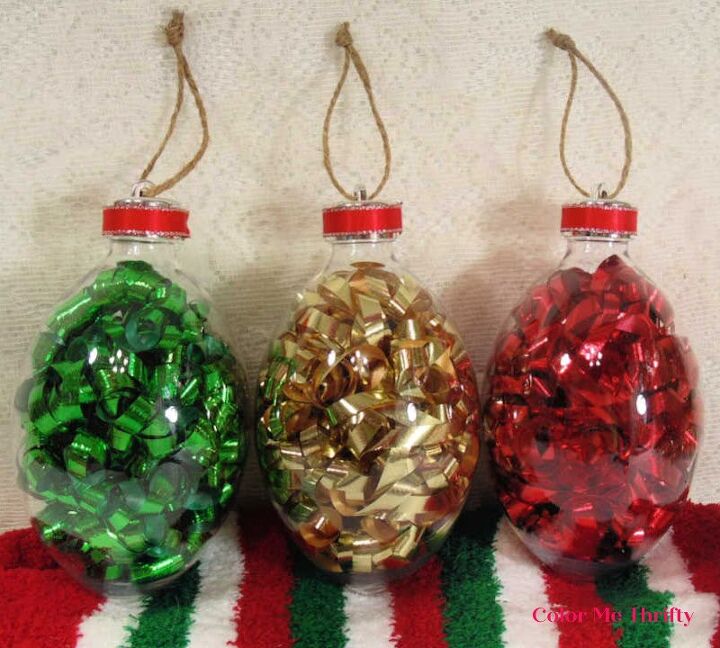
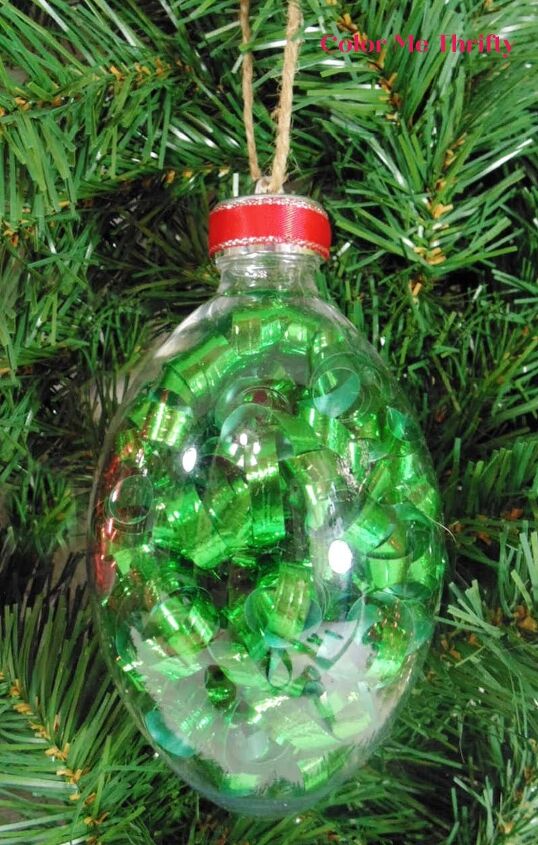
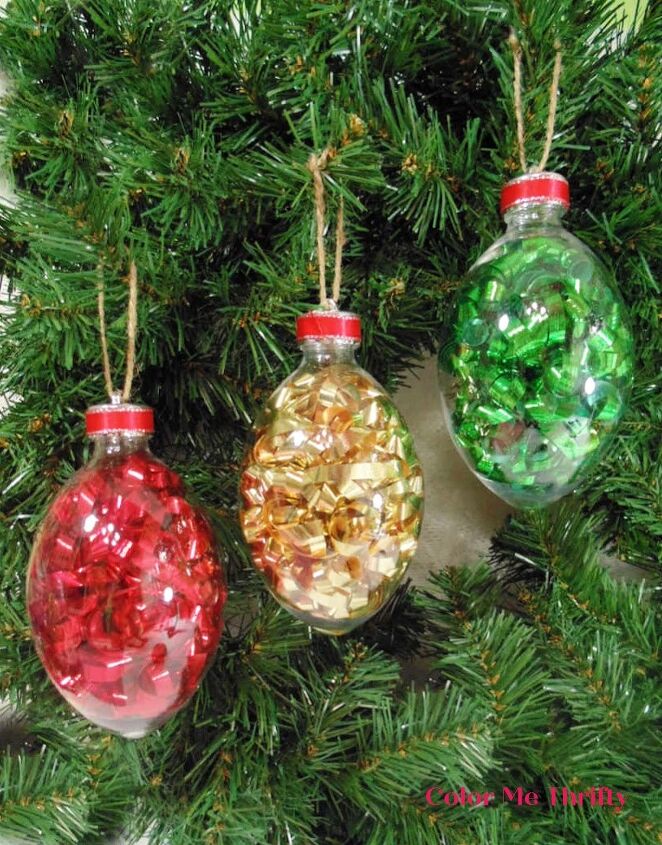
I stuffed the other two clear plastic ornaments with red and green curl swirls.
And I guess I got the hang of it because this went a lot faster than the first one. I got all three stuffed in less than ten minutes.
I’m sure my cats would love to get their paws on those curl swirls, but they are safely encased in the ornaments.
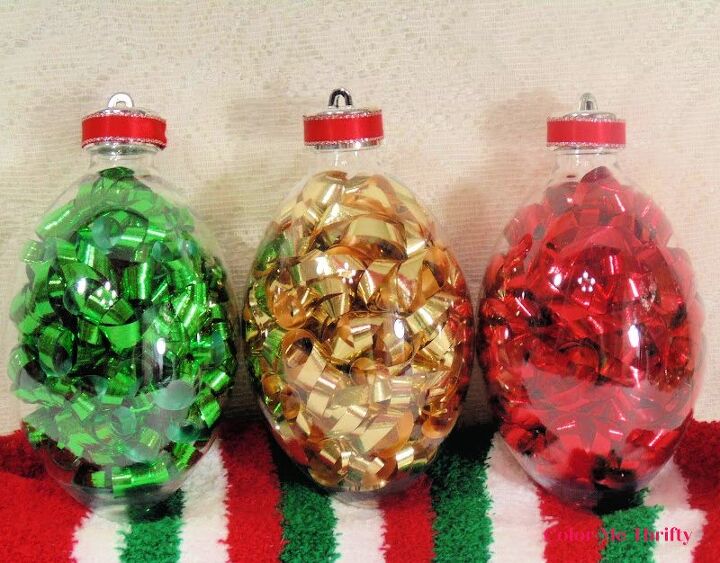
To dress them up a bit I glued some red glitter-edged ribbon that I had in my stash onto the ornament caps.
A project like this is a great way to use up bits and pieces, and you can add whatever you think looks good.
I’m a big fan of jute twine and I use it a lot, and these ornaments being no exception.
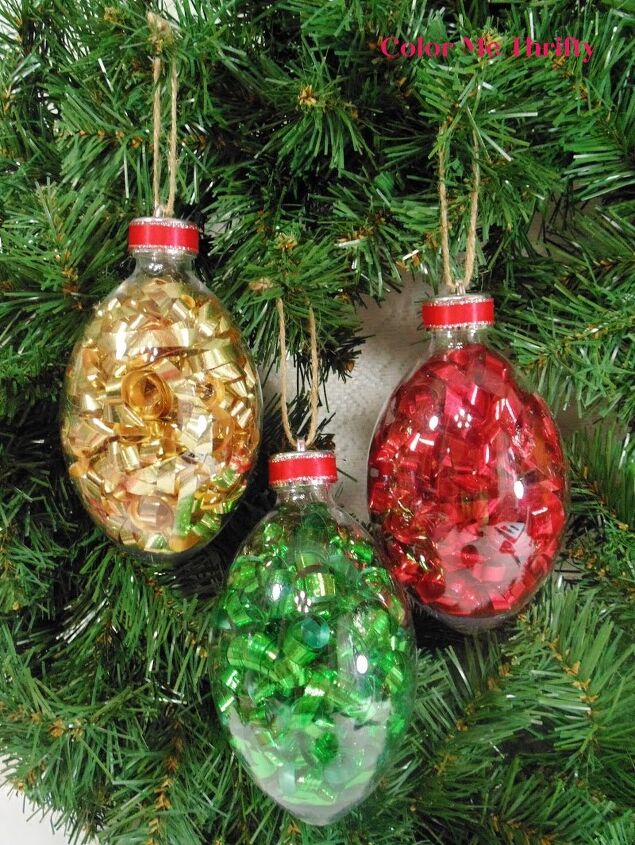
Each ornament looks similar to the others, but different as well.
Not just because of the color, but because the curl swirls take on their own patterns inside each ornament.

Can you see the little rose shape in the middle of this one?
I love happy accidents like that.
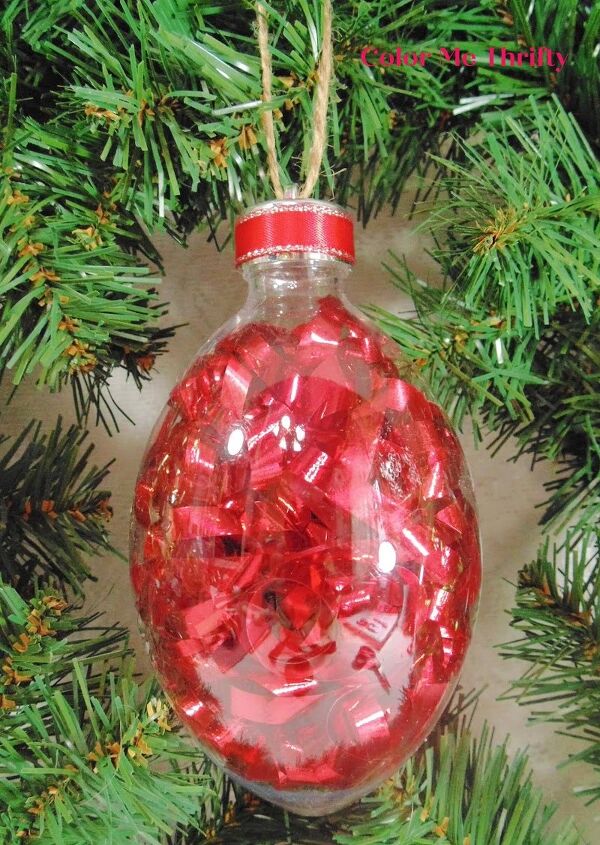
I love the shimmery texture that the curl swirls make inside the ornaments.
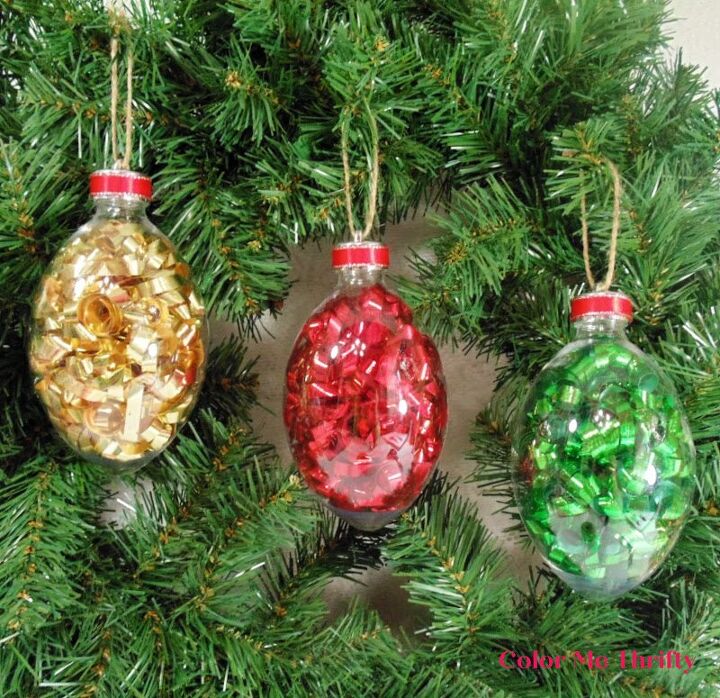
And here they are together.
I’m going for the simple look, but you could dress these up any way you like.
It didn’t take long to glue on the ribbon bits and add the jute twine, so I got these done in about 15 minutes.
This would be a great project to do with kids or grandkids. It might take a little longer, but it would be a lot of fun. You could use regular white glue to add the ribbon for safety.
I hope this project has inspired you to create some stuffed clear plastic ornaments for your Christmas tree.
They would also look nice hanging in windows.
You can find more Christmas projects on my blog here.
Resources for this project:
See all materials


Comments
Join the conversation
-
This is perfect for those never ending bits of ribbon I seem to have after wrapping gifts. Could add icicles too. Anything short and shiny would be cute


Frequently asked questions
Have a question about this project?
Are there many ribons or one cut?