


How to Make Photo Christmas Ornaments
Want to make custom photo Christmas ornaments? We make these every year and give them as grandparent gifts! They are always a big hit and so easy to make. Check this out and many more DIYs on our site.
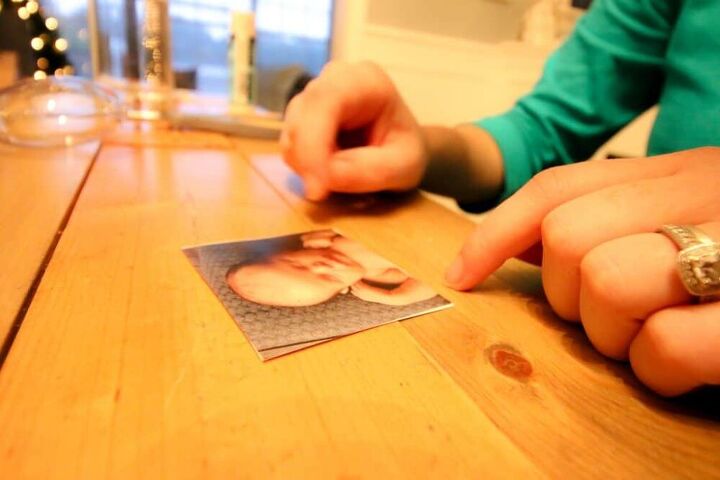
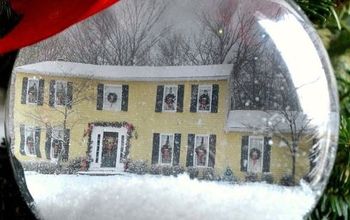
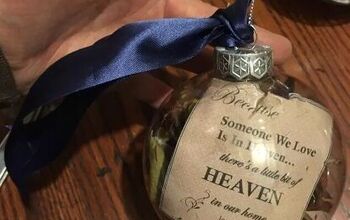
Start with a printed photo of your choice. Cut it to a rectangle the size of your ornament. Cut a piece of card stock or craft paper the same size.
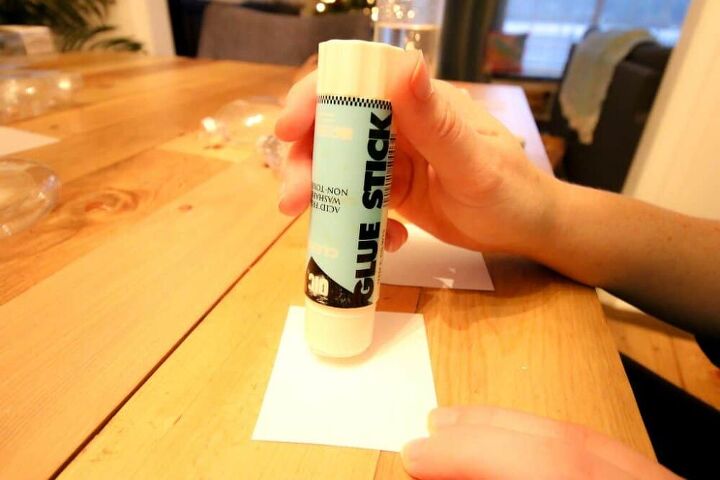
Use a glue stick to glue the picture to the card stock, photo side up.
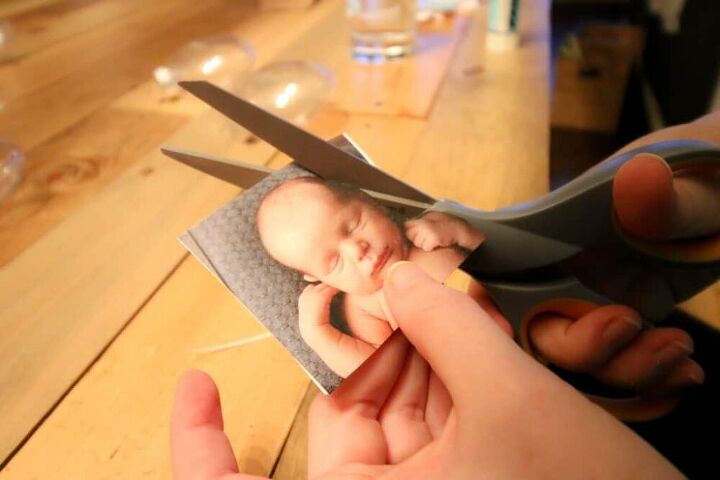
Cut out the silhouette of your photo. You can use a pen to write the name or date on the back on the cardstock.
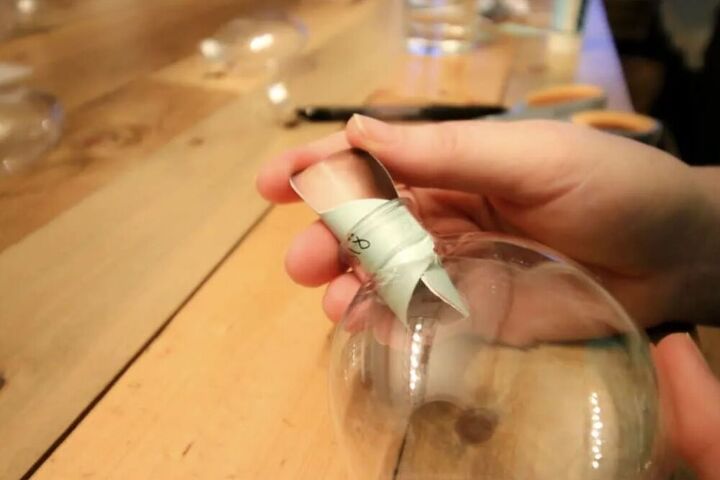
Roll up the picture and stick into ornament. I used the eraser end of a pencil to straighten it out once it was in there.
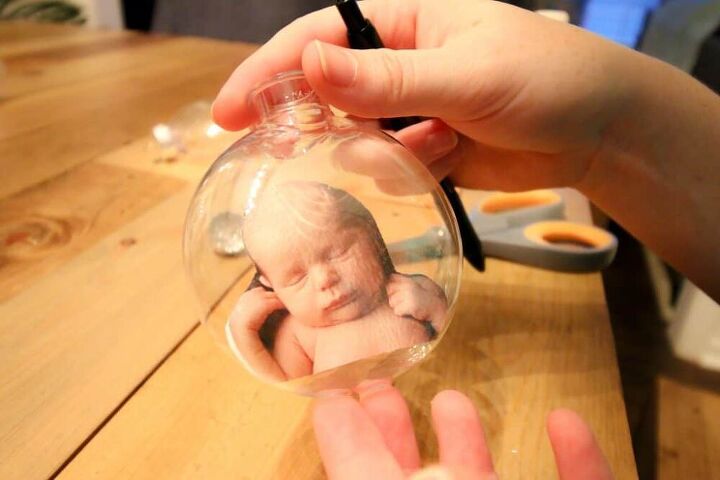
Arrange the photo so it's flat and facing the way you'd like. At this point you could add glitter or anything else if you want. Then, replace the cap that came with the fillable ornament.

Enjoy! I always make a bunch and use them as gift toppers and tie onto presents with a ribbon.
You can add an ornament hanger or a loop of ribbon to hang them.
Resources for this project:
See all materials


Frequently asked questions
Have a question about this project?
Great idea. Why not glue a second picture on the back of the card stock so both sides are finished?