


Oh Deer, It's Almost Christmas! Deer Ornaments
2 Materials
If you're like me and you enjoy making some homemade ornaments, you'll love this easy as pie Deer Ornament Tutorial!

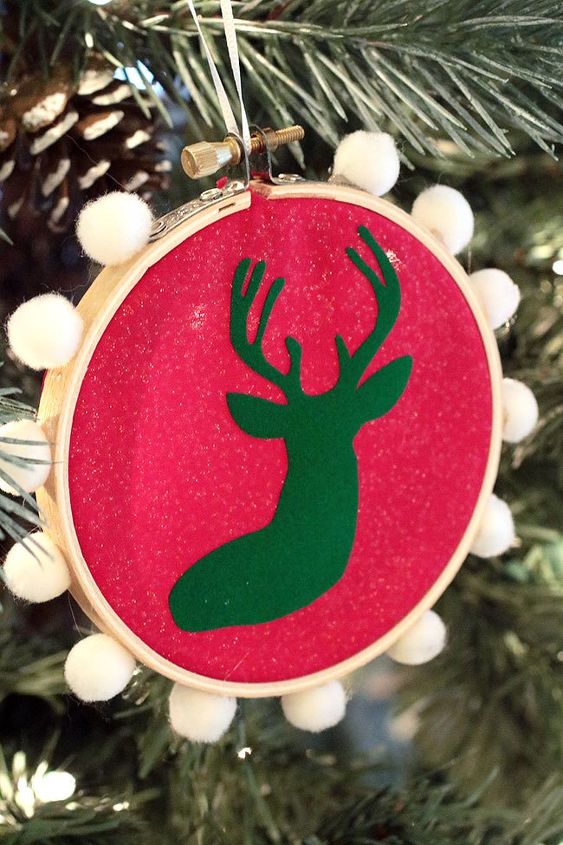
These ornaments are so fun to make and I used flocked vinyl, which has a soft and fuzzy texture.
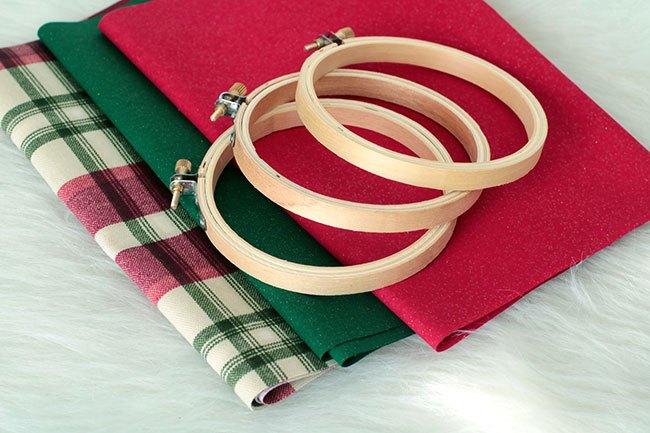
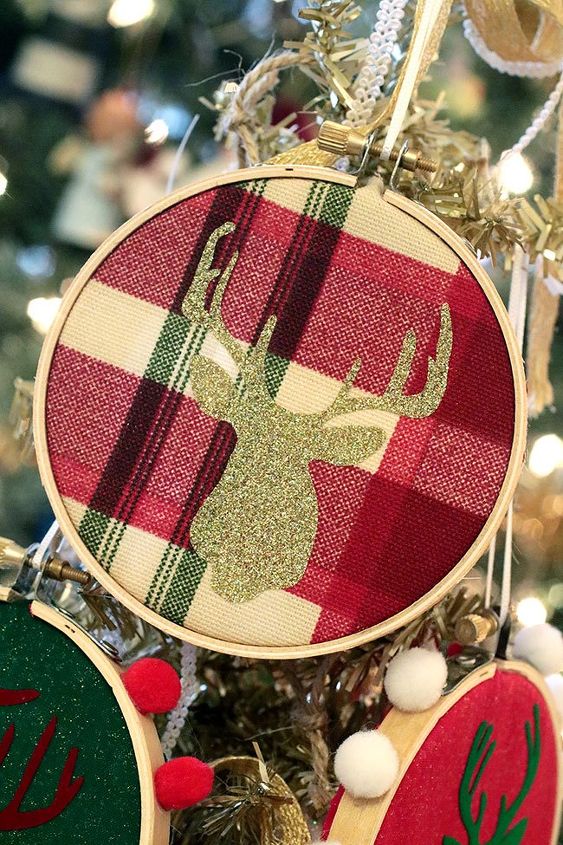
I had a lot of fun selecting the fabric for this craft. I knew I wanted PLAID, of course... and, then I selected two colors that were in the plaid print- red and green. For the embroidery hoops, I purchased the small 4" ones.
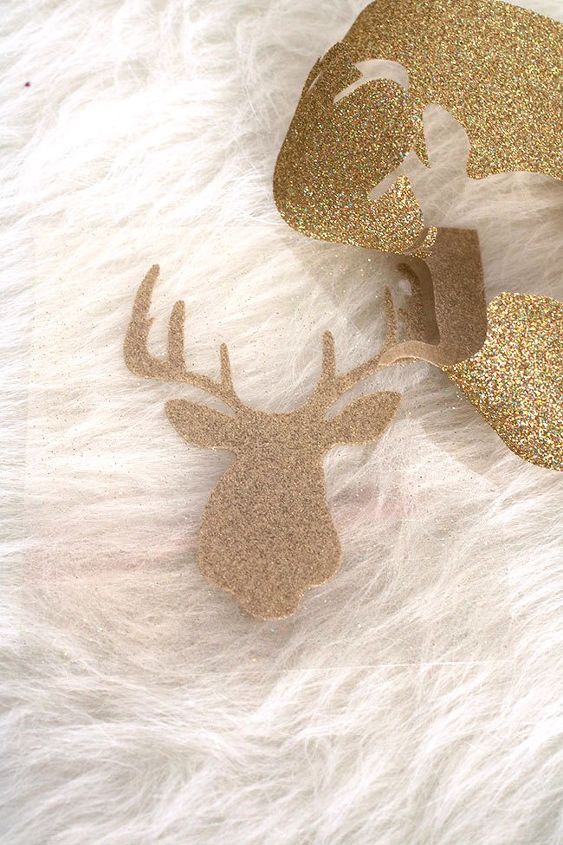
I used a Silhouette Cameo to cut out the deer designs, but you could also use your Cricut. You can find the directions on how I prepared my design in Silhouette on my blog link. After it is cut, you'll want to pull the background/excess vinyl away from your design.
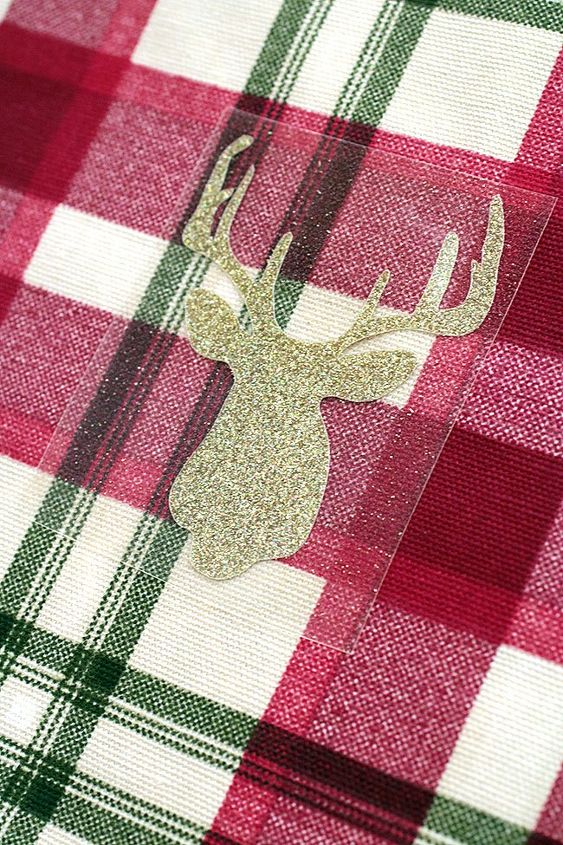
Place your vinyl on top of your fabric and cover it with a thin piece of fabric. Press your iron down on top. Once it has adhered to the fabric, pull the clear backing sheet off and you'll have your design on your fabric!
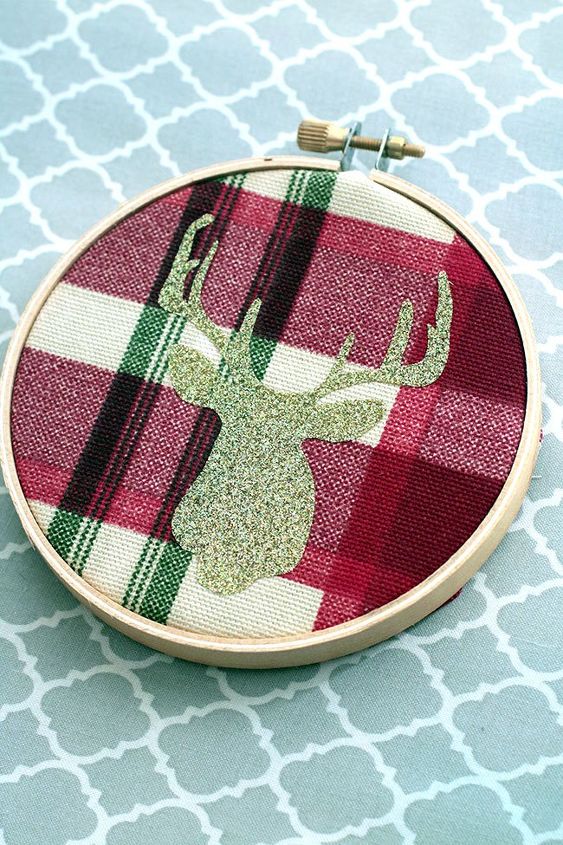
Place fabric inside your embroidery hoop and trim the edges.
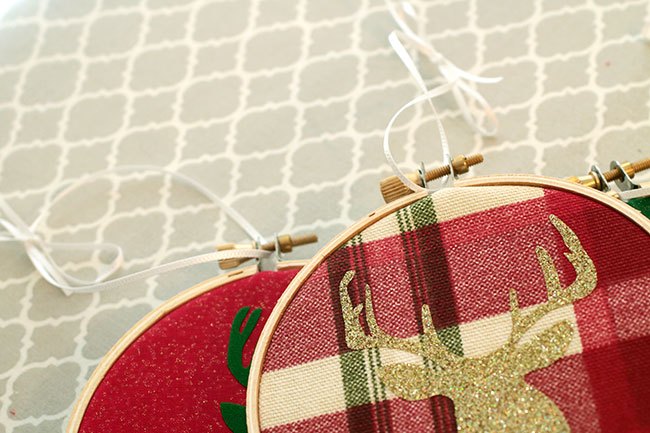
I used some thin ribbon to make a hanger for each of the ornaments.
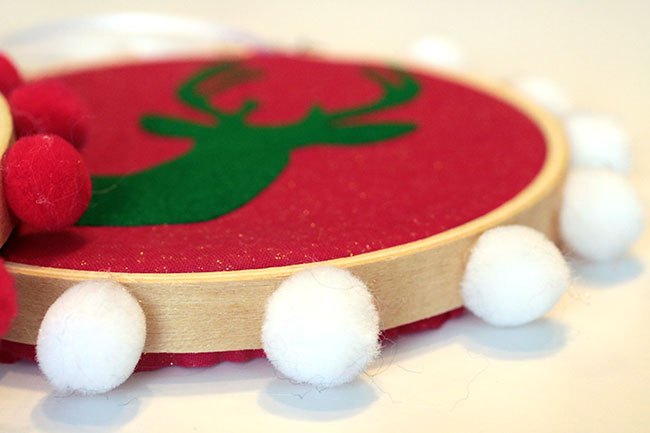
You can also hot glue pom poms around the outside of the embroidery hoop.
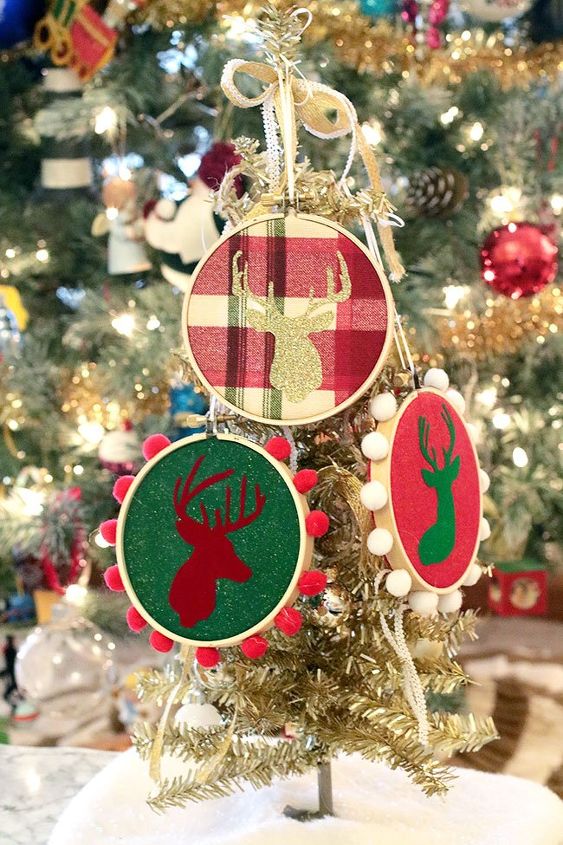
And, that's it! I had so much fun making these and I had a lot of the supplies already at home.

Hope you enjoyed this ornament project! I'll have another one to share soon!

Want more details about this and other DIY projects? Check out my blog post!


Frequently asked questions
Have a question about this project?