


Pom Pom Pinecone
This pom pom pinecone was SUPER easy and fun to make. We used some pinecones that had been spraypainted silver a few Christmases ago. I think they may have had glitter too lol. BUT they need MORE! lol. Pom poms to the rescue.
Here's the bright and cheery pinecones that resulted :
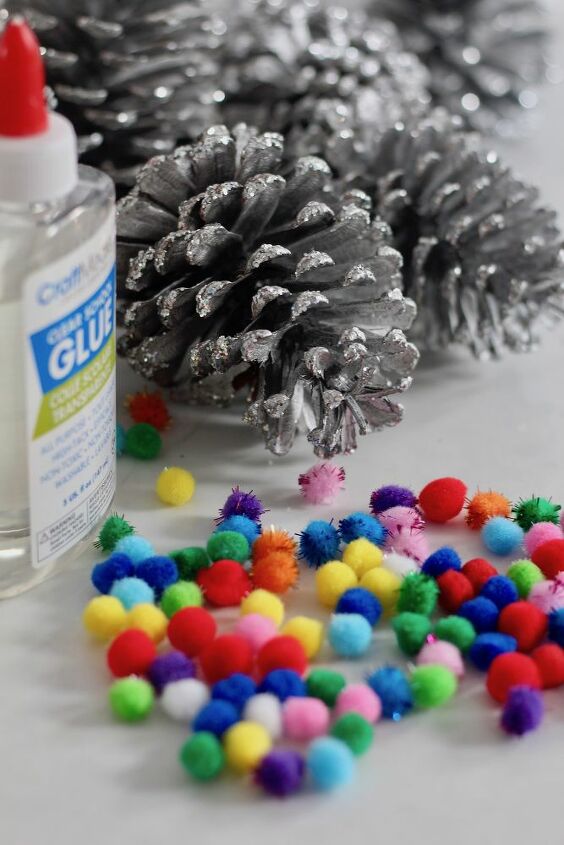
BEFORE: Here are the key supplies. We used big pinecones that had been painted silver a few years ago. Plain pinecones would also work. I think smaller pinecones would probably be VERY CUTE! And quicker to make lol.
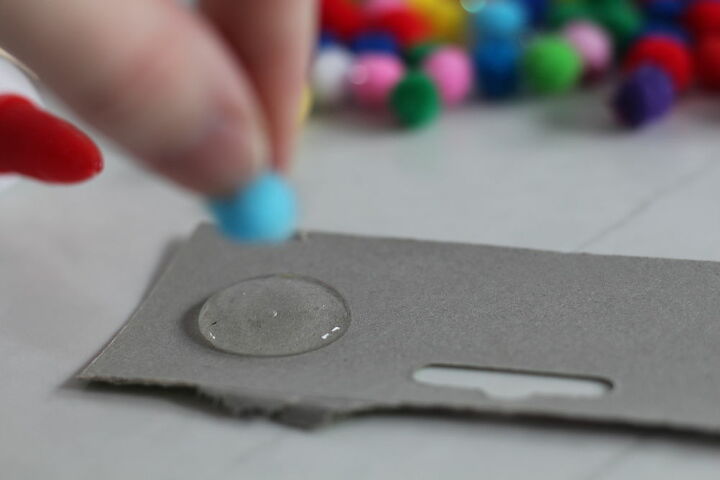
STEP 1: Make a little pool of glue. Dip each pom pom into the glue and affix onto each scale of the pinecone. We used both school glue and tacky glue. I think the white tacky glue worked the best, but both were quite effective (see extra detail in the original pinecone ornament tutorial article).
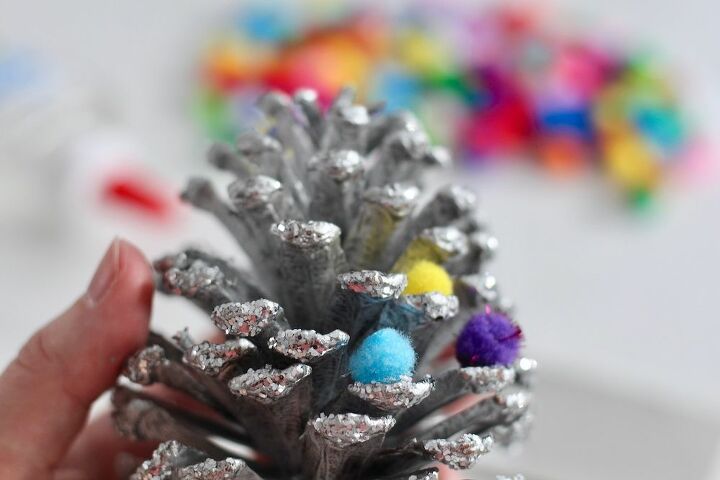
STEP 2: Keep adding pom poms. Mix up the colors!
STEP 3: I found it easiest to go in sections from the bottom to the top. But, to each their own!
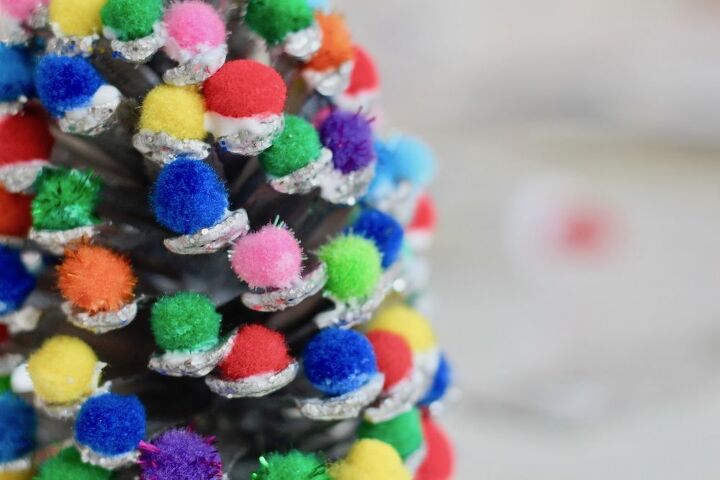
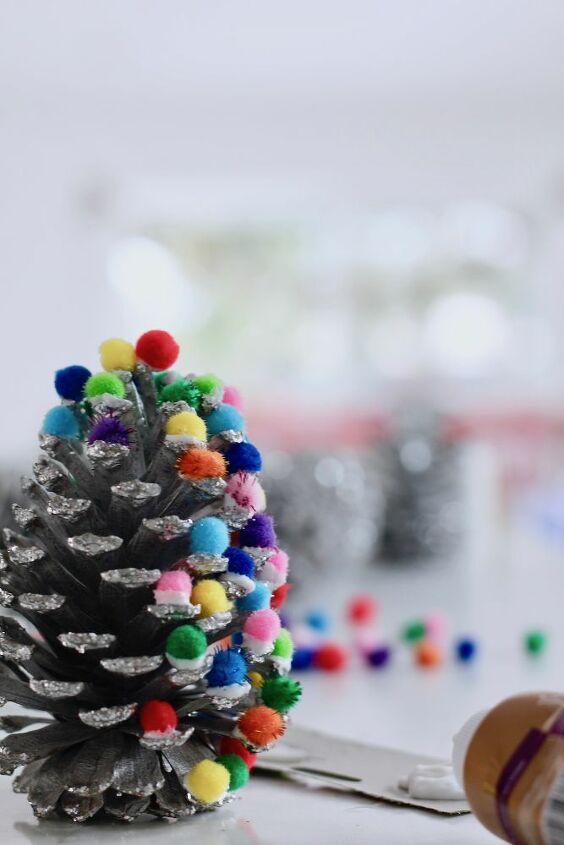
STEP 4: Let the pinecone dry once you feel its had enough pom poms glued onto it. I put one on the tip of each scale, but I think it would look very pretty with half as many or a quarter as many pom poms! Whatever you like.
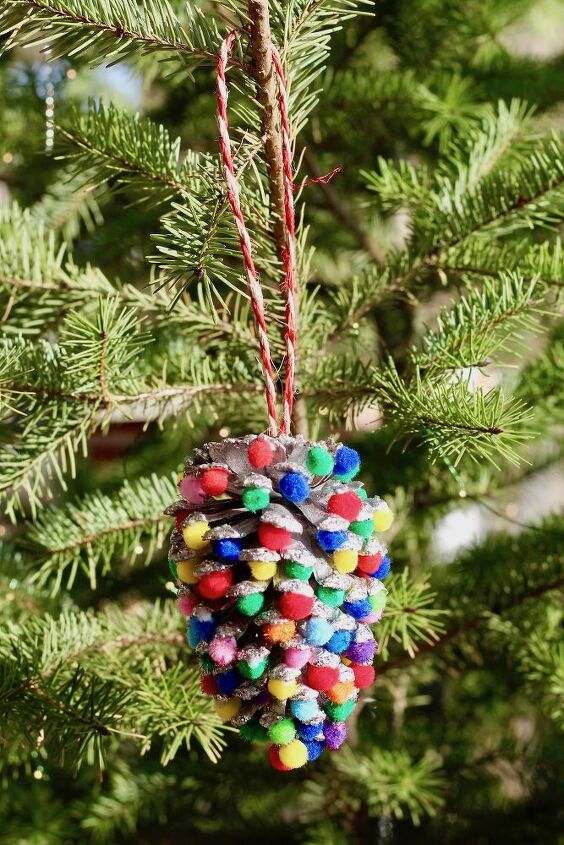
AFTER: Here's how the pom pom pinecone turned out! We put a string on it and turned it into an ornament. That being said, it would be very pretty just by itself standing on the counter or in a festive Christmas centerpiece. The pom poms almost look like Christmas lights! Merry Christmas 


Comments
Join the conversation
-
Fun, inexpensive and it looks awesome! Well done.


Frequently asked questions
Have a question about this project?