


Wood, Resin and Glitter Christmas Ornaments | DIY Project
Create beautiful Christmas ornaments using wood, resin and glitter! Easy DIY project to trim your tree, or add to a Christmas package.
Be sure to watch the video, to see exactly how I made them! Here are some highlights.
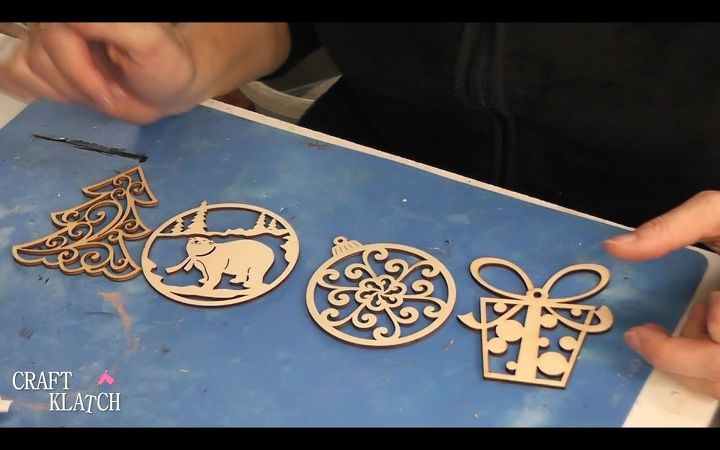
I found these wood cut outs and they were just calling out to be made beautiful! Seemed like a job for resin and glitter!
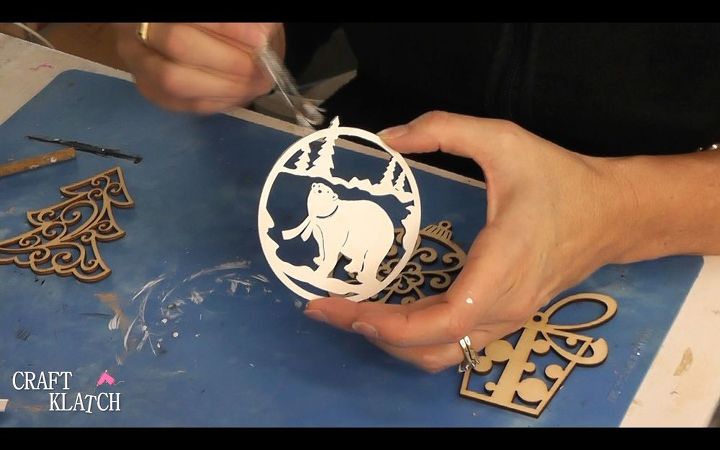
I painted the wood laser pieces with acrylic paint. I painted the polar bear white and the others gold.

Once dry, I used packing tape and put it on the back of the ornaments.
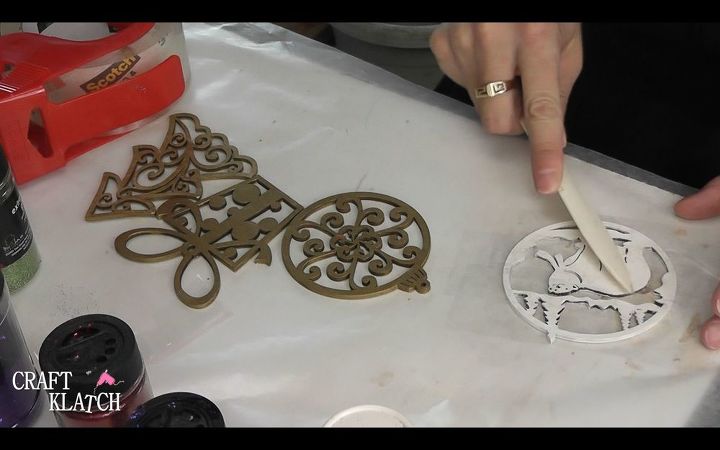
I burnished to tape on the back of the ornaments, to make sure I have a good seal and it will keep the resin from leaking.
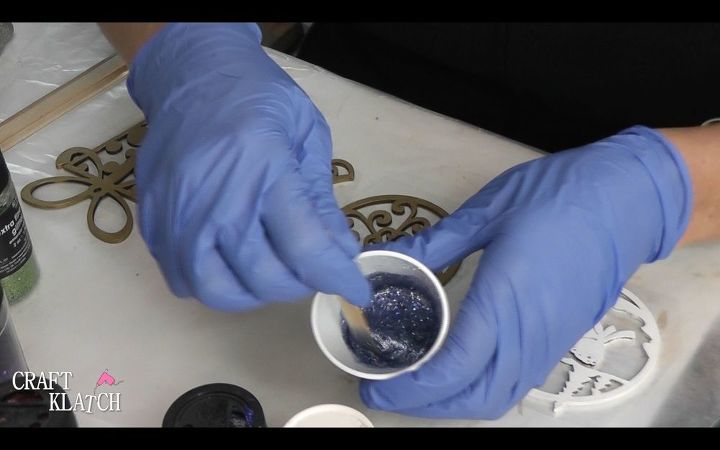
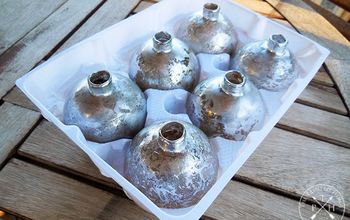
I mixed two ounces of resin and separated into four different cups. I added different color glitter into each cup of resin.
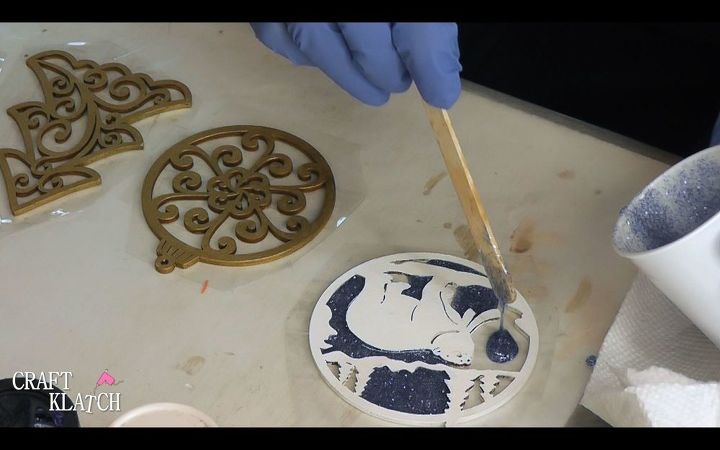
I dripped the the resin into the or naments.
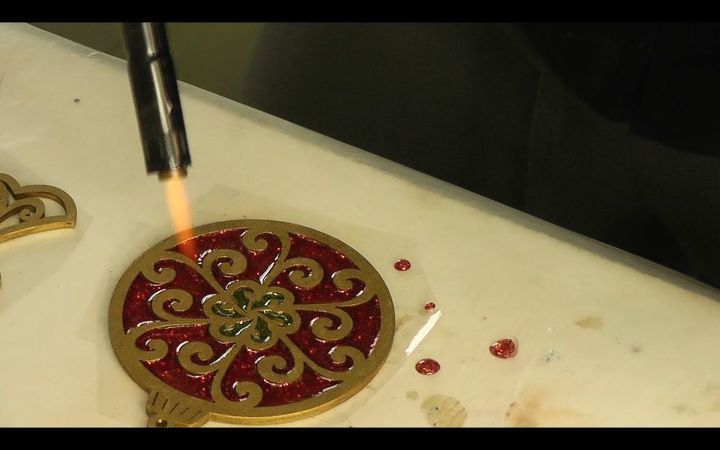
I popped the bubbles with a lighter and let them sit for at least 12 hours.
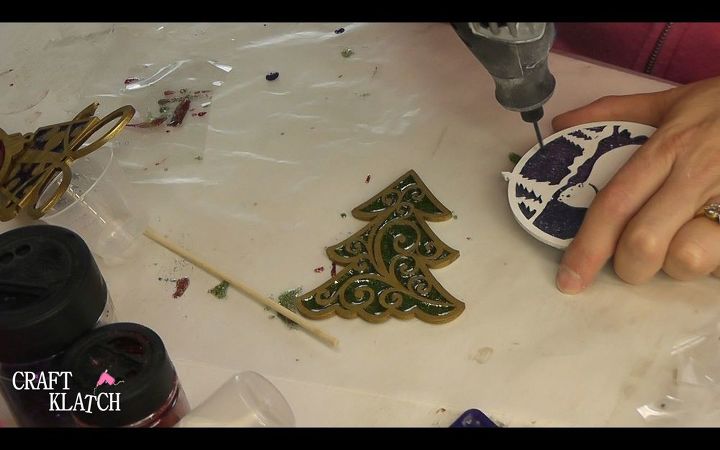
I drilled a hole into the pieces.
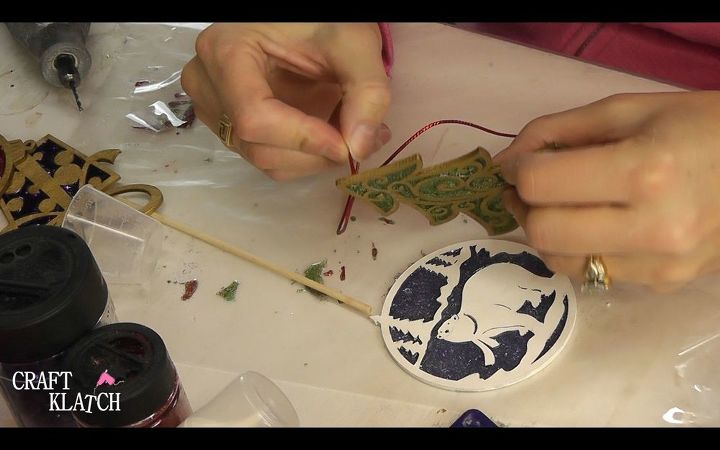
I added a ribbon.
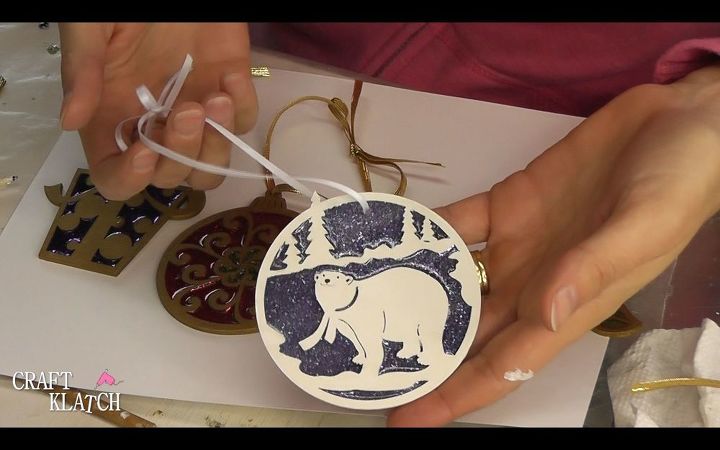
Now you are done!
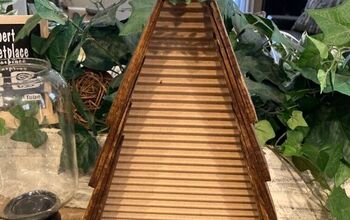
Here are some other holiday coasters I thought you might enjoy!
Thanks for stopping by! For more pics and info, be sure to check out my original blog post!
Mona


Frequently asked questions
Have a question about this project?