


Baby Gift Basket

This DIY I think is one of the most fun and best baby shower gifts you can make. I must say though, it can get pretty pricey but I guarantee it’s always a hit. I’ve been making these for years now but typically for family because it can be expensive.
The idea is to turn this into a laundry basket, fill it with everything from baby detergent, clothes hangers, diapers (for that raffle😉), blankets, wash towels, socks, and lots of baby clothes. You hang all the clothing items on a clothes line using clothes pins and at the end of the clothes line you attach an item such as a stuffed animal, a body scrubber or in this case, a handmade crocheted turtle 🐢 I chose a turtle because it was for one of my besties first grandchild and she loves turtles.
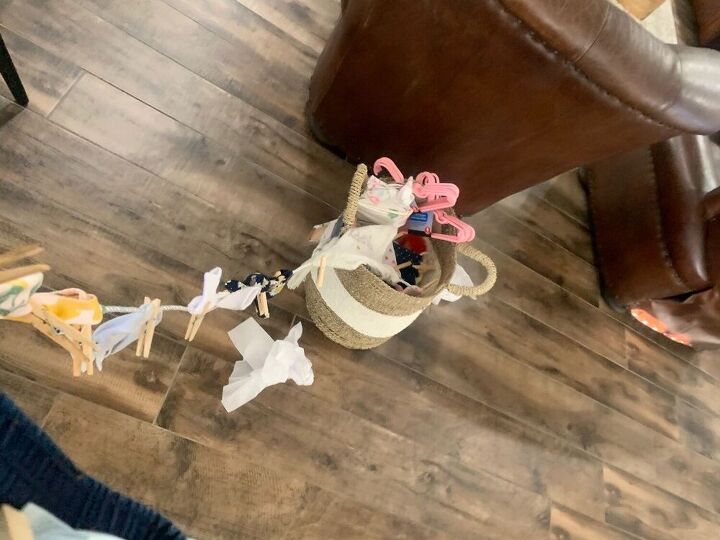
The items are carefully laid/layered on top of each other to make it easier when they remove the clothes line from the basket. The end of the clothes line is attached to the stuffed animal and is left hanging outside of the basket. This will be used to pull out the clothes line from the basket (you will see photos of this below). When the soon to be mom gets ready to unwrap it, she will need lots of help so she can sit back and watch. The first helper pulls the end of the clothes line, holding the stuffed animal and walks off as other helpers pull out more segments of the clothes line help until all of the items are revealed. It’s always great seeing the soon to be mommy’s face filled with excitement.
I posted lots of photos in an attempt to provide the reader a good visual. I hope you find this DIY fun and get inspired to make one of your own. Happy DIYing.
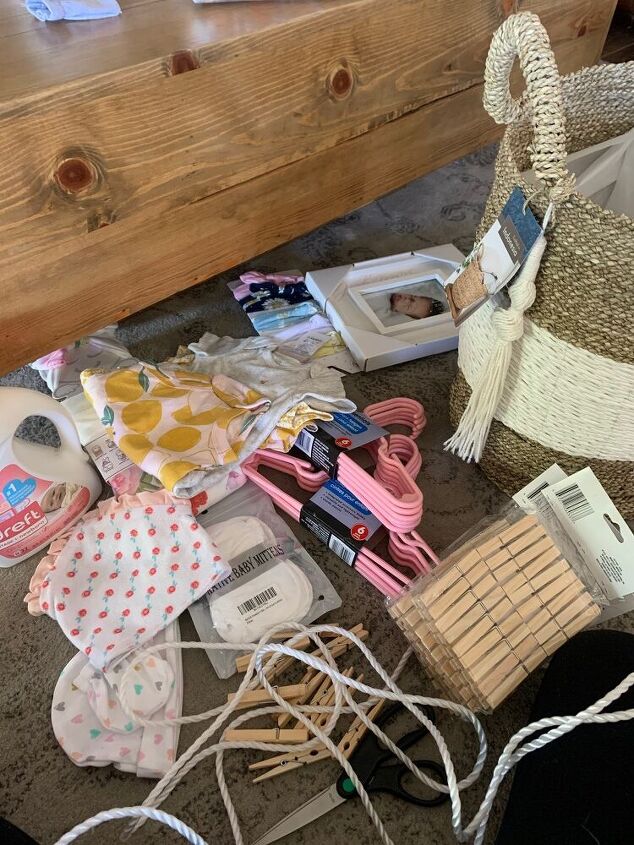
Step 1: Supplies needed: gift wrap tissue paper, baby clothes hangers, baby detergent, clothes line, clothes pins, laundry basket or basket of choice, baby clothes, baby blankets, baby wash cloths, baby beanies, baby socks, baby clothes hangers, small stuffed animal and baby diapers.
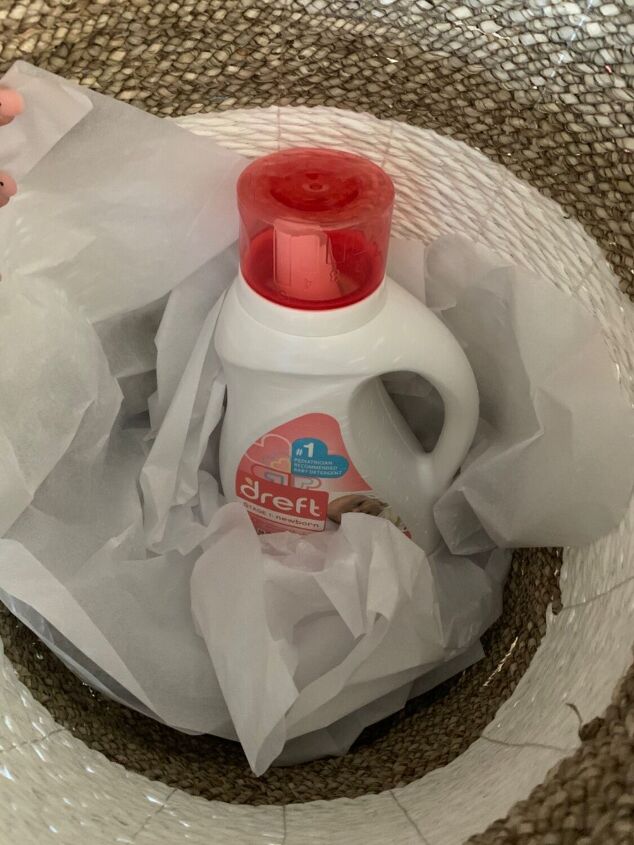
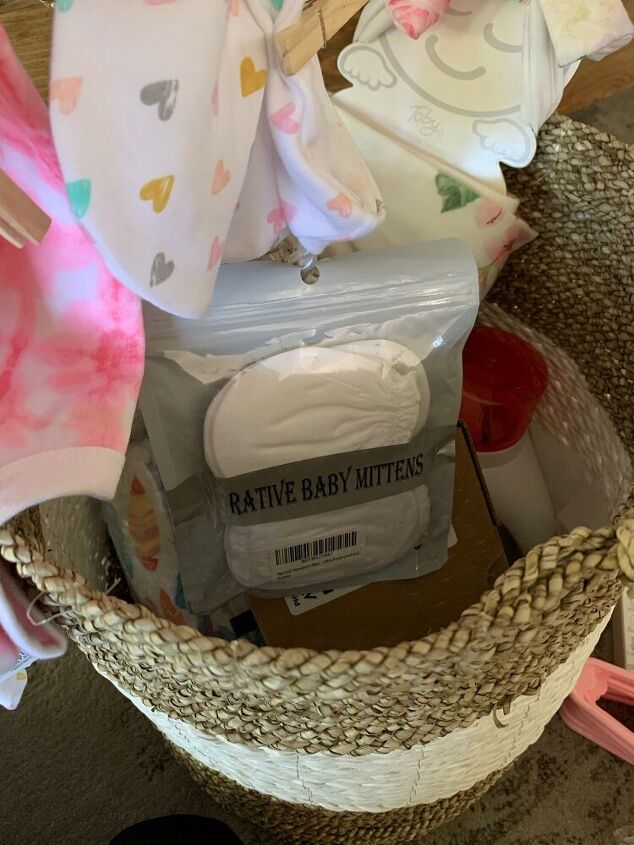
Step 2: Fill bottom of basket with tissue paper and larger items such as the detergent and diapers.
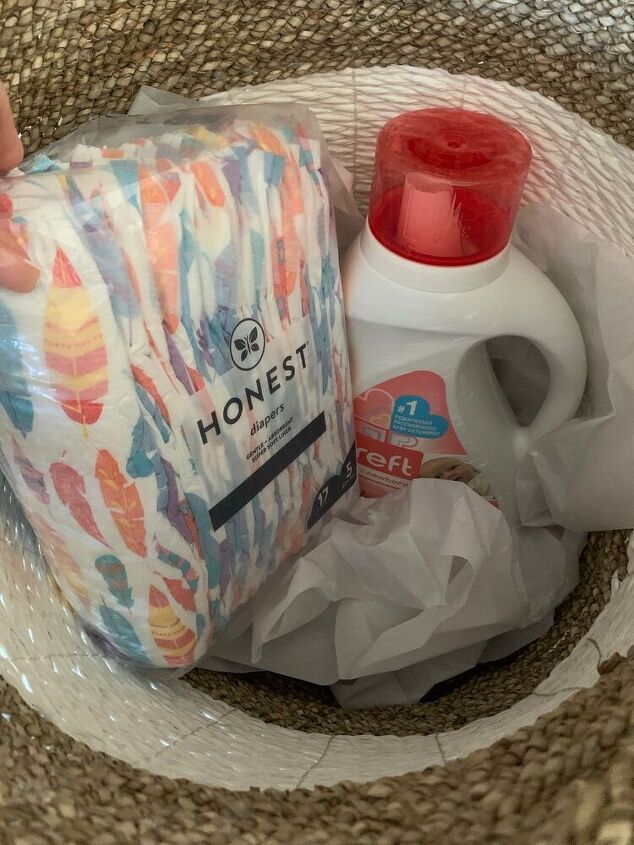
A close look at the bottom of the basket with the large supplies.
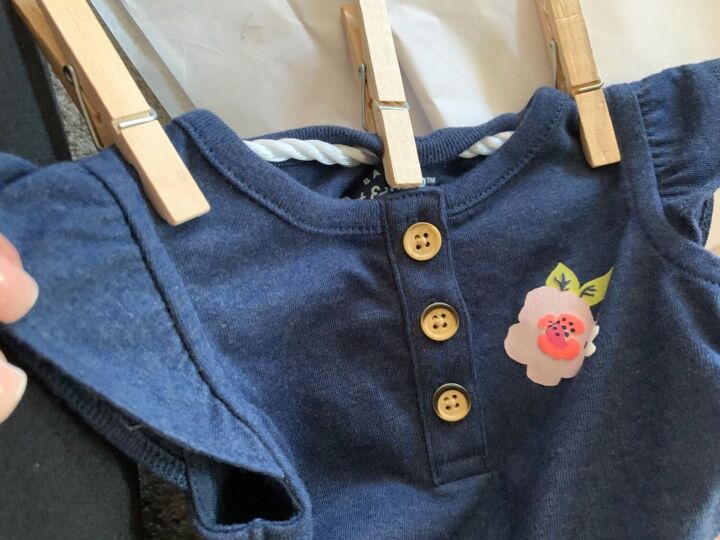
Step 3: Hang all the clothing articles on the clothes line using the clothes pins. For some of the items such as tops and dresses, you can place the clothes line in between the sleeves then hold in place using clothes pins. I separate outfits by hanging blankets or wash clothes, socks and beanies in between each complete outfit. I try to pair up outfits.
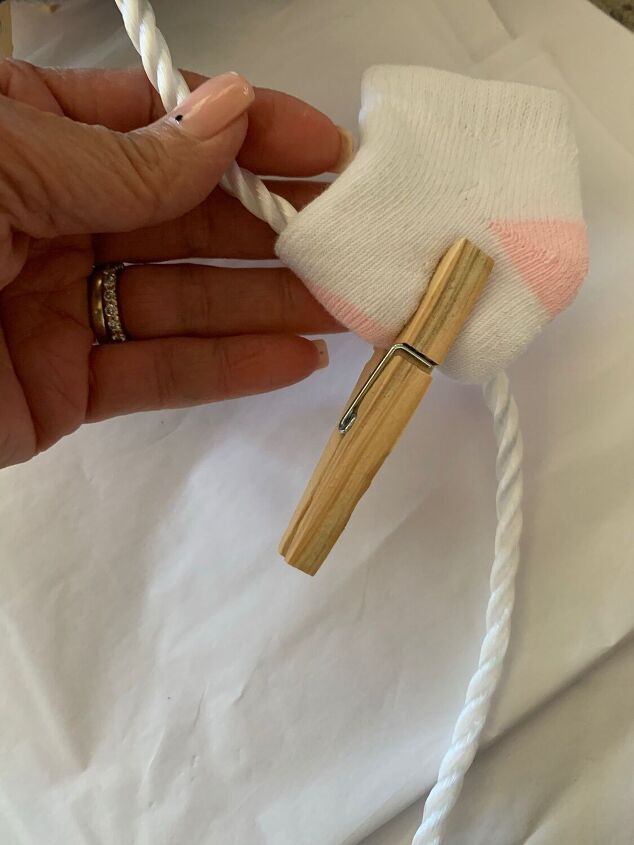
Step 3 continued: For the smaller items such as the socks, beanies and wash cloths, fold over the clothes line and secure with clothes pins.
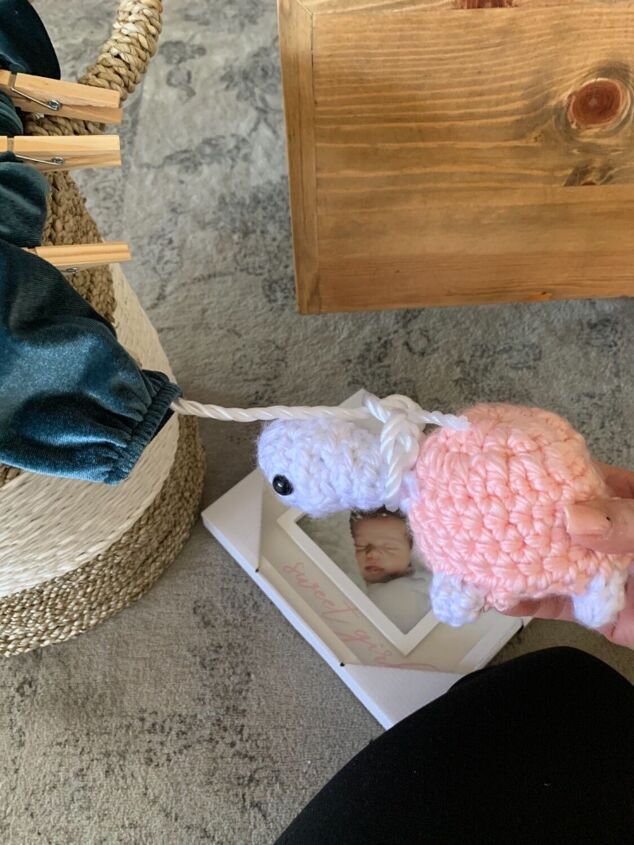
Step 4: Once all of your clothing articles have been secured onto the clothes line, begin arranging them inside the basket. Layer the items by placing each consecutive item on top of the previous item until the entire clothes line is inside the basket.
Layering makes it much easier when it’s time to pull out the items.
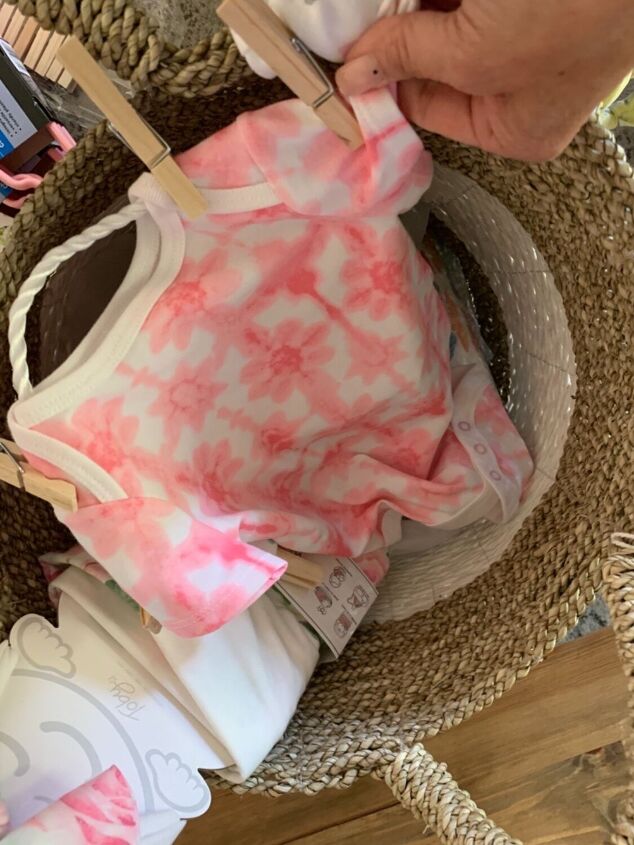
A close up look at how to layer and assemble the clothes line.
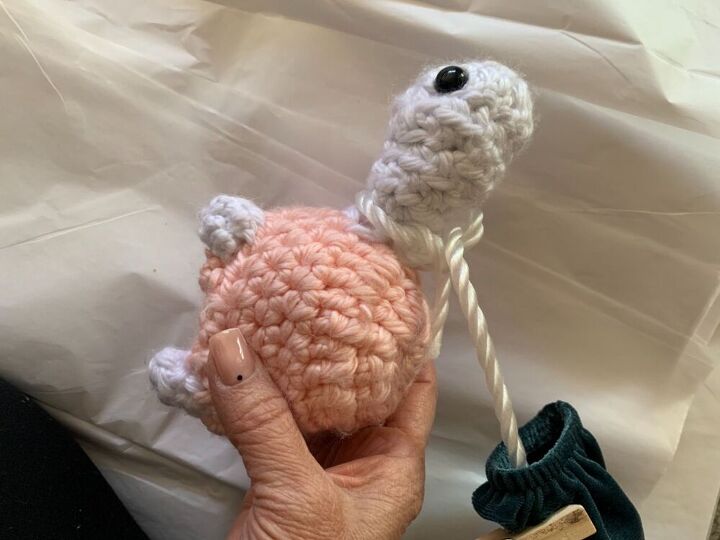
Step 5: At the end of the clothes line, tie a stuffed animal or a body wash scrubber. This part will be left hanging outside of the basket and will be used to begin pulling the clothes line out of the basket.
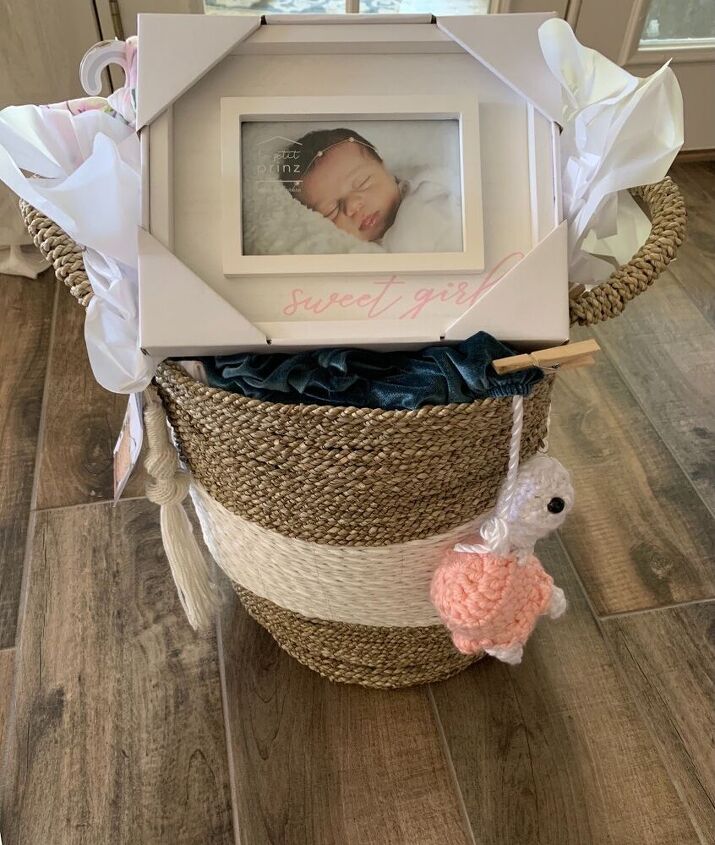
Close up view of the secured stuff animal.
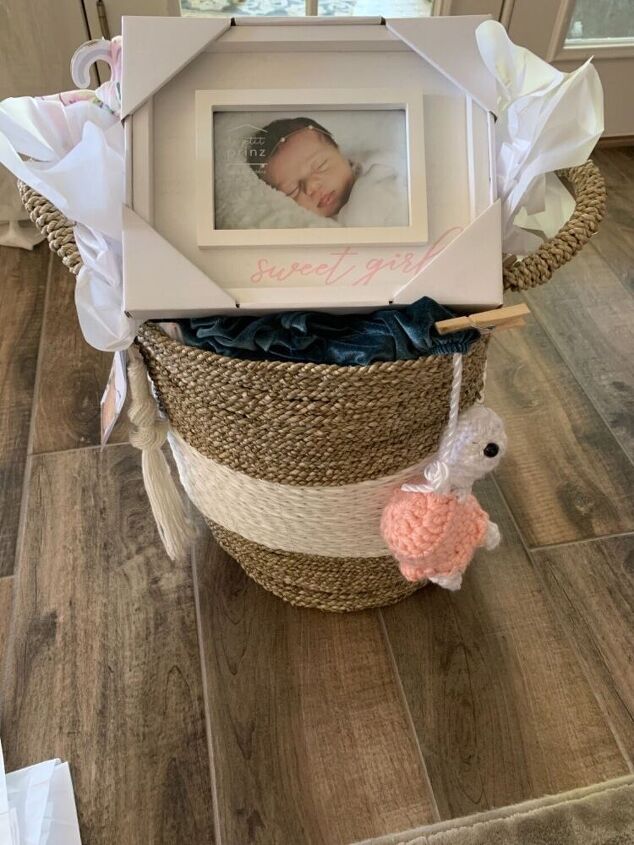
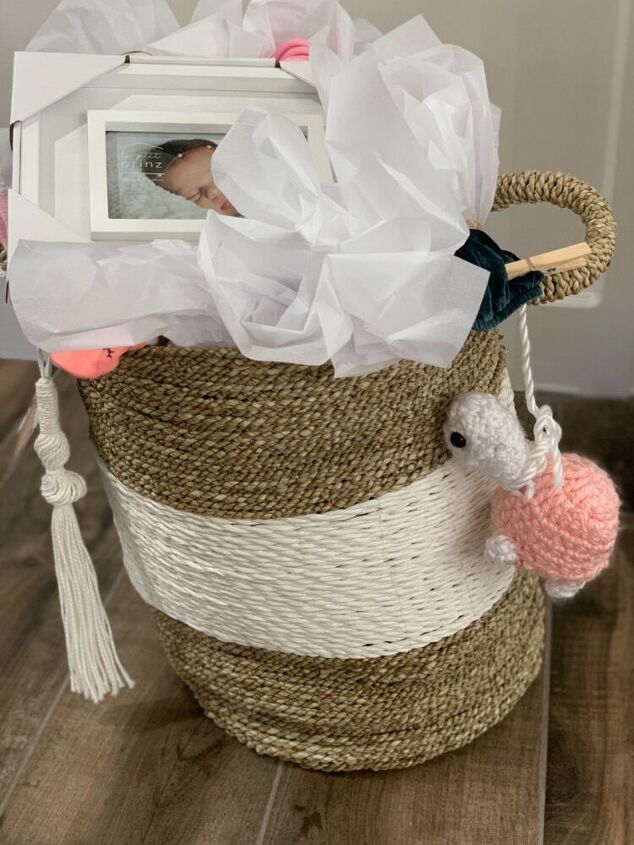
A close up view of the assembled basket. I chose to include a baby picture frame on top but this is optional.
Step 6: When it’s time to unwrap the gift basket, you will need to get assistance from guests at the baby shower. The first person will begin by pulling the clothes line out using the stuffed animal. Each consecutive guest will grab part of the clothes line and continue to pull out the clothes line until the entire clothes line is removed.
Note: I don’t ever ask the soon to be mom to remove the items. She’s typically standing in front to get a full view of her gifts.

A close up view.

The clothes line can be as long or short as you want and depends on how many clothing articles you will purchase. It can get as inexpensive or expensive as you like.
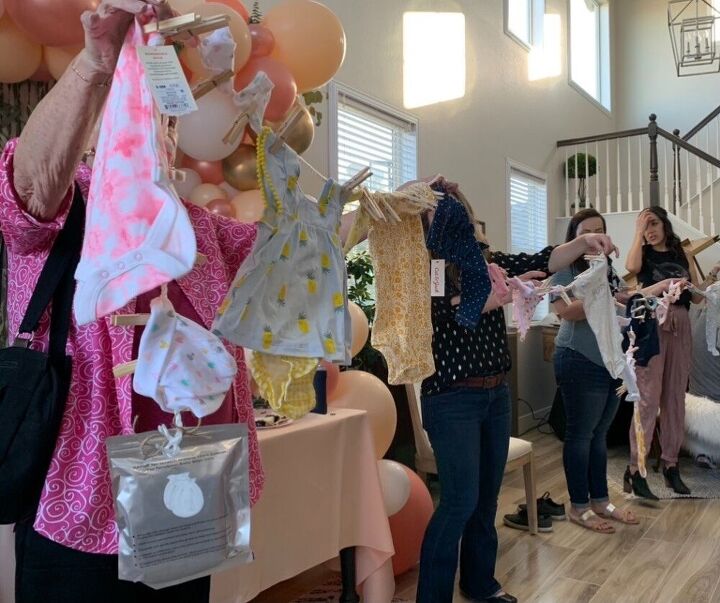
I snapped pictures during the shower so you can get a visual of what the unveiling of the baby gift looks like.

I hope you enjoyed this DIY!
Thank you for stopping by.
If you’d like to see more of what I love to do, please visit me at https://www.instagram.com/mycreativekneads/
Happy DIYing!


Frequently asked questions
Have a question about this project?