


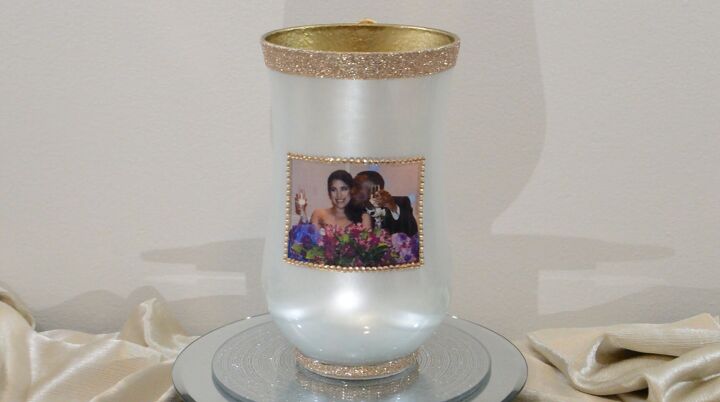
DIY Photo Keepsake Vase | Reverse Decoupage Technique

I made this photo keepsake vase for a family member. I used the reverse decoupage technique. This vase can hold water and flowers. Once you learn this easy technique, you can use it to make other photo keepsake vases like mother's day, birthdays, anniversaries, and the list goes on.
You can watch this easy-to-follow step-by-step video or keep scrolling for instructions. Let's get started!
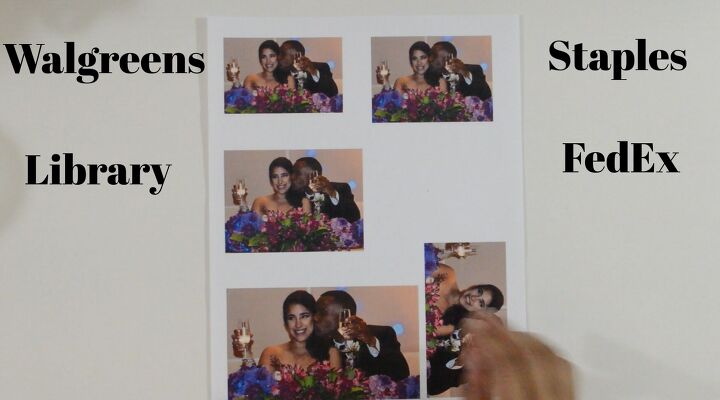
The first thing you want to do is print out the photo. I printed out multiple sizes because I didn't know which one would look best. Make sure they are laser printouts unless you know a crafty way to stop an inkjet printout from bleeding when adding the glue.
Most places that print anything out use laser printouts. Walgreens, Staples, FedEx, and even your local library.
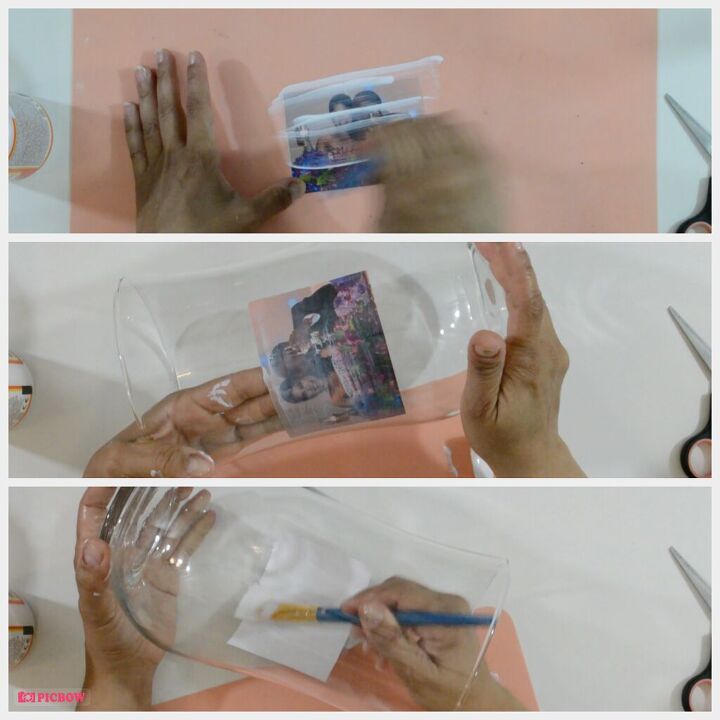
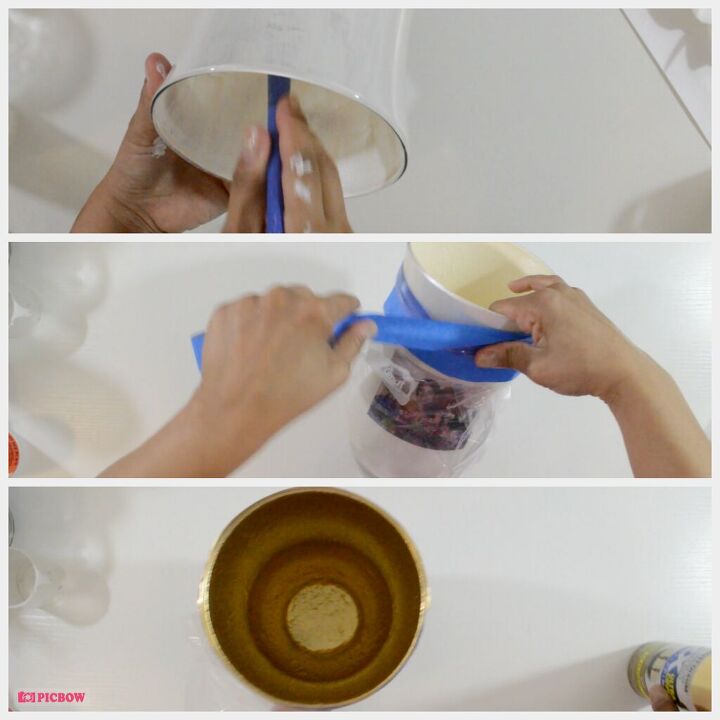
1.) I cut them all out and picked the size I thought was best. Using Mod Podge, I covered the front of the entire photo.
Use the dishwasher-safe Mod Podge to add an extra layer of water resistance.
2.) Place it inside the vase and once you've positioned it where you want it, make sure it's completely pressed up against the glass.
3.) Seal it with another layer of Mod Podge.
4.) Mod Podge dries clear, but it leaves a texture behind that will show once I add the paint, so I like to clean it up around the photo before letting it dry.
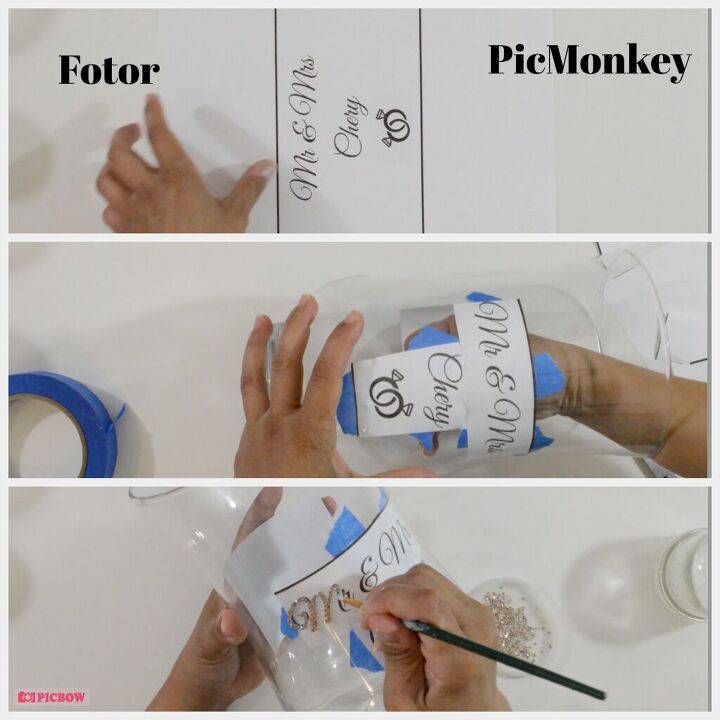
1.) I created a template to use as a guild to place the rhinestones. You can use free online editors to create your own. ( LunaPic, PicMonkey, Fotor, and Pxlr X )
2.) Using painter's tape, I taped it to the inside.
3.) I then created the Mr. and Mrs. Chery alternating between 2 and 3mm champagne rhinestones.
I buy my rhinestones on eBay in bulk, but they sell them at Walmart, Amazon, Micheals, Hobby Lobby, and just about anywhere that has a crafting section.
Tip: Use an adhesive made for rhinestones like Gem-Tac.
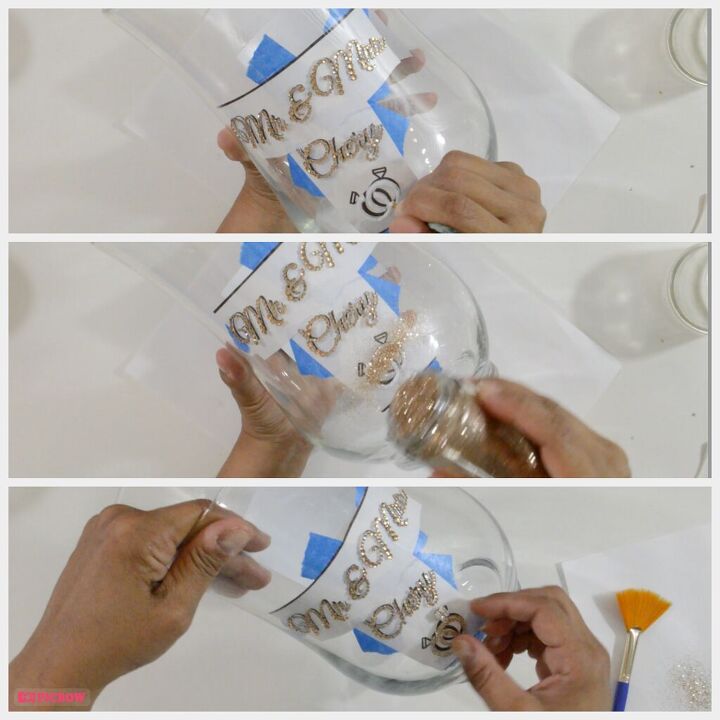
For the rings, I traced them with Mod Podge and sprinkled them with champagne glitter. (Use the dishwasher safe Mod Podge) Dry
Give it a second layer. Dry
To complete the ring, I added four 4mm clear square rhinestones.
1.) I mixed pearl paint with a little bit of the loose champagne glitter. I then gave the inside of the vase its first coat.
2.) Once that dried, I gave it a second coat. Dry
3.) The third coat of paint didn't have any glitter. Dry
4.) Cover the outside of the vase with plastic and painter's tape. Then spray paint the inside gold. Dry
5.) Give the inside 3 layers of Mod Podge Dishwasher safe glue. Let it dry in between each one.
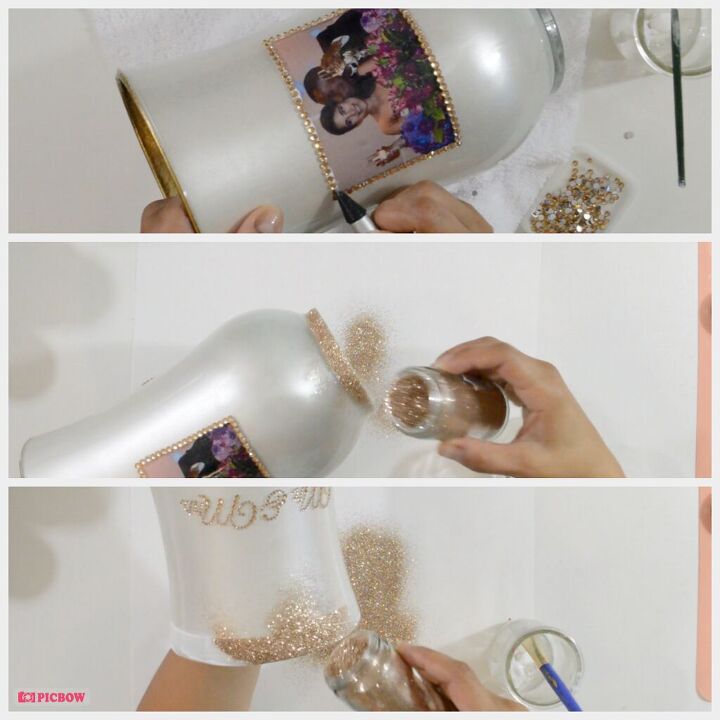
1.) Frame the photo with 3mm champagne rhinestones. Dry
2.) Glitter the base with the champagne glitter. Dry, and give it another layer.
3.) Do the same to the Rim.
Brush off the excess glitter and prep the vase to seal the glitter.
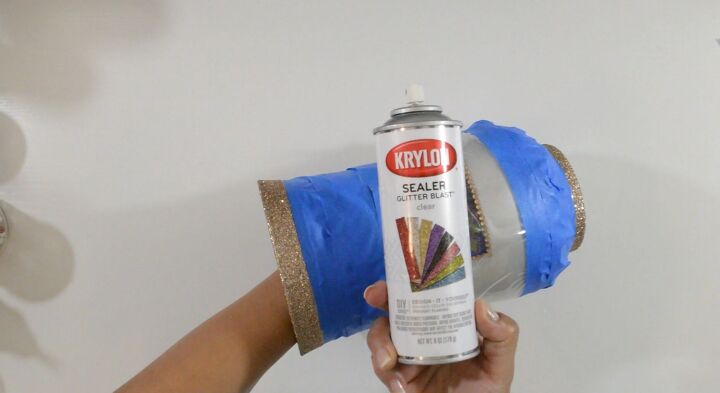
Brush off the excess glitter and cover the vase to seal the glitter.
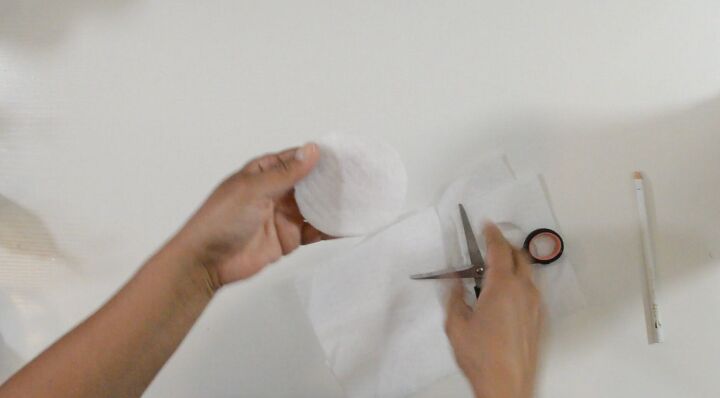
Trace, cut, and glue a piece of white felt to the bottom of the vase.
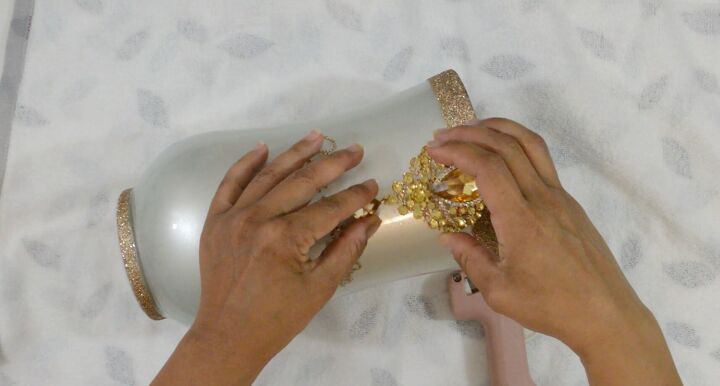
Lastly, I glued a beautiful teardrop brooch onto the back using hot glue and a bit of gorilla glue for extra security.
This vase is not difficult to make. It is time-consuming because you have to create layers and let each one completely dry. It's well worth it to be able to enjoy your piece. Even though you can put water in this vase, you still want to be mindful and not submerge it underwater. Carefully add water to the inside and the same when you empty it. Even though we use dishwasher-safe Mod Podge it is too delicate to actually wash in the dishwasher or submerge underwater.
I had everything in my crafting supplies. I only had to buy the vase and printout the photo for $1


Frequently asked questions
Have a question about this project?