


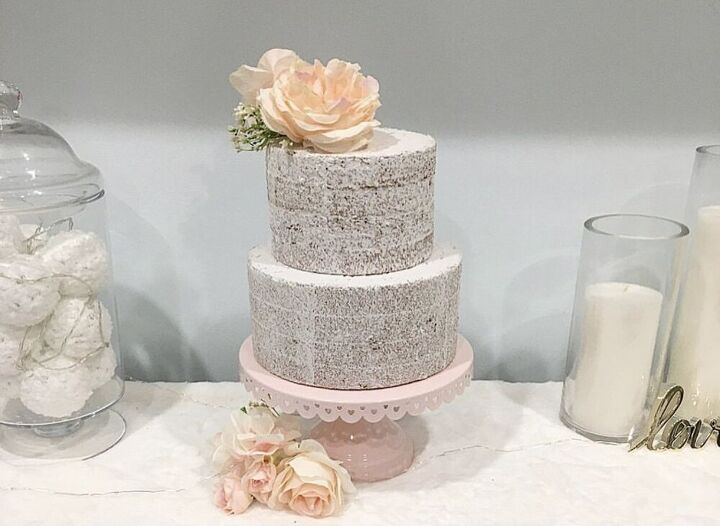
Faux Chocolate Cake

Can all desserts by zero calories? I've always wanted to make a faux naked chocolate cake and the process was a lot easier than I thought it'd be. The longest part of the process is waiting for the paint to dry. The spackling dries pretty fast.
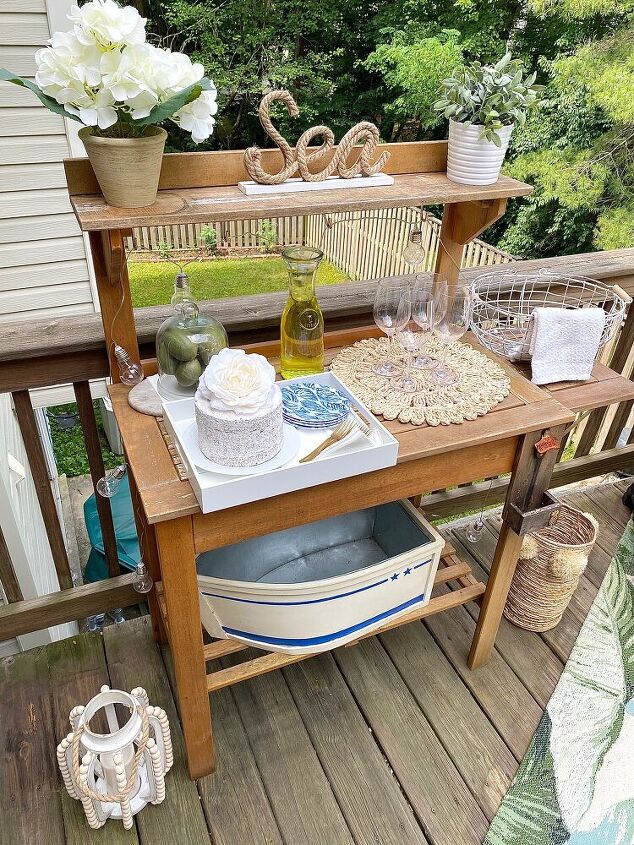
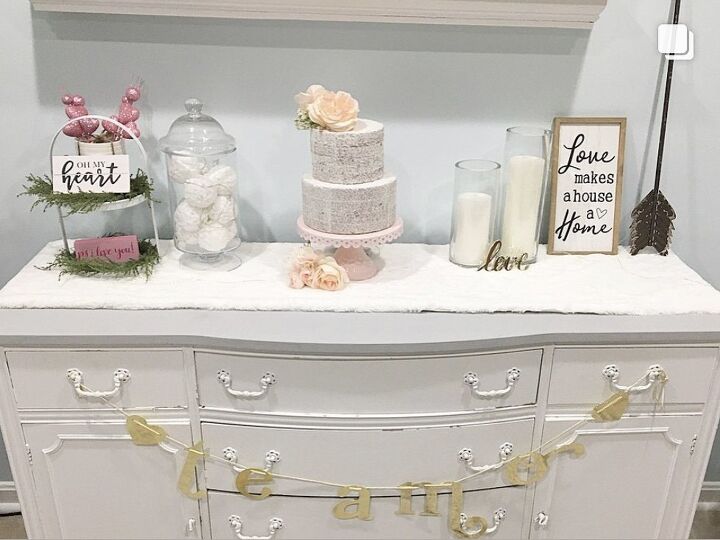
This project is a lot of fun because you can use the cakes year round as decor. Each season or holiday, use different flowers or greenery with the cake.
This cake is too good to eat so I'll just stare and drool.
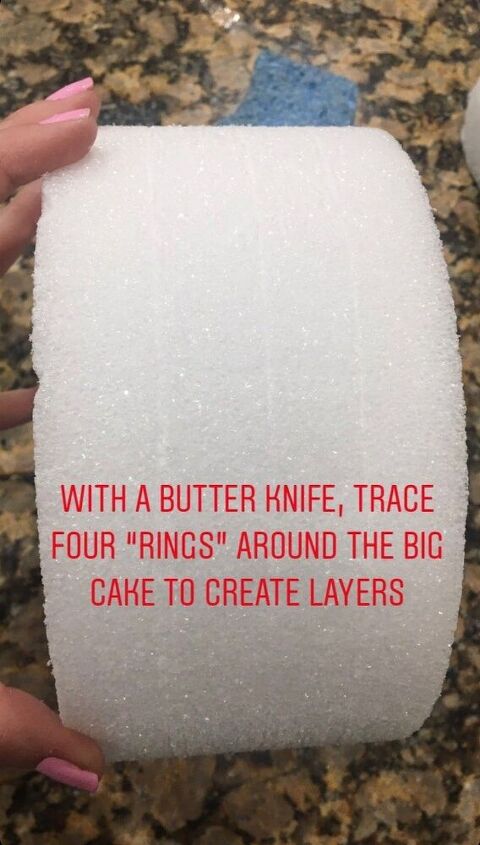
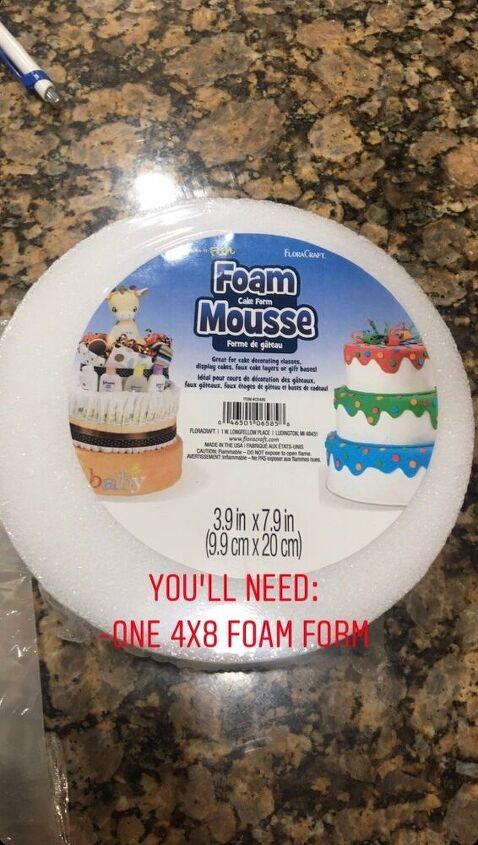
With a butter knife, trace four "rings" around the big cake to create layers.
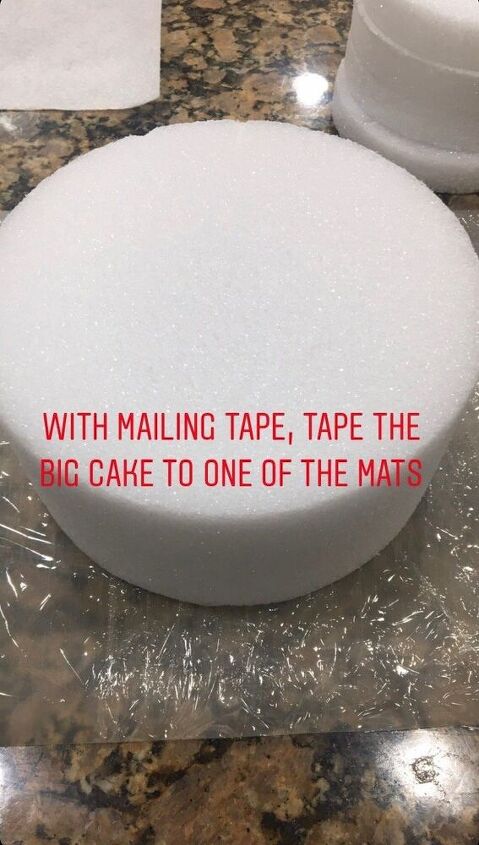
With mailing tape, tape the big cake to one of the mats. Make sure to cover the mat with Saran Wrap to protect it from paint and spackling.
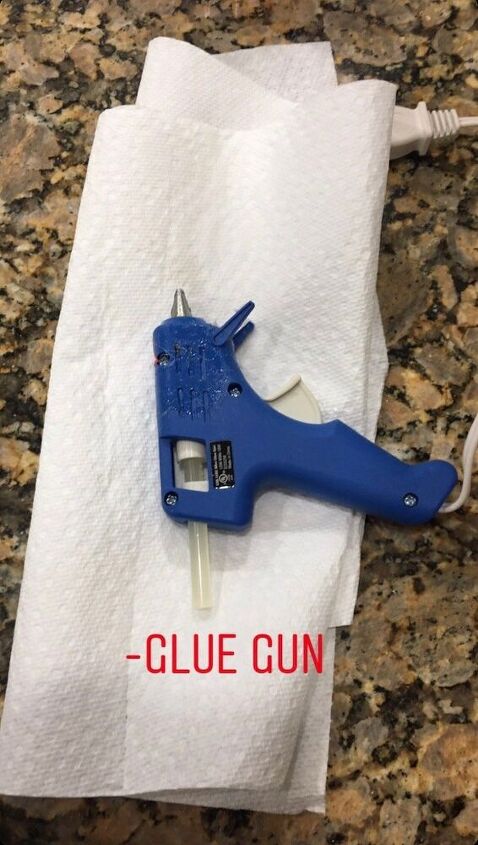
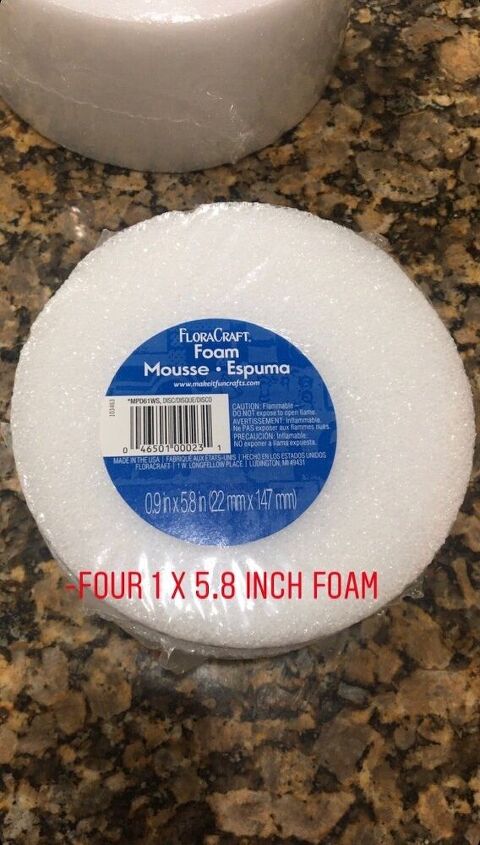
Using the glue gun, glue all four layers of the other four pieces together and tape them to the other mat. Make sure to cover the other mat with saran wrap to protect it.
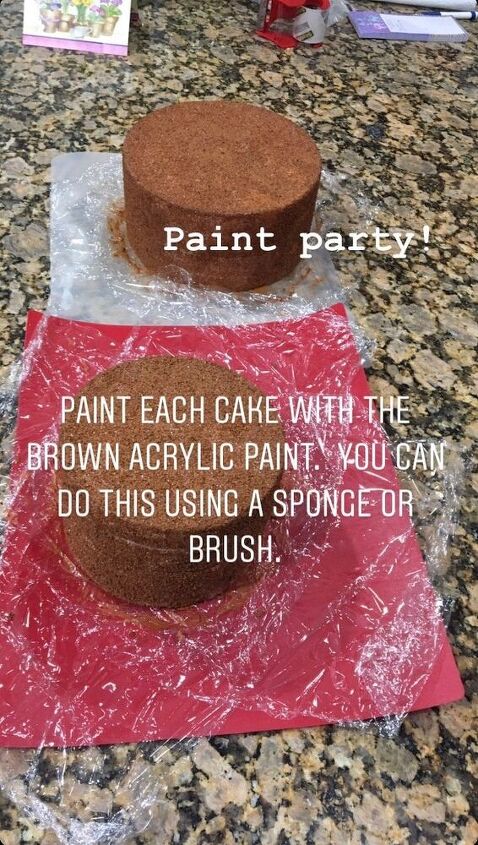
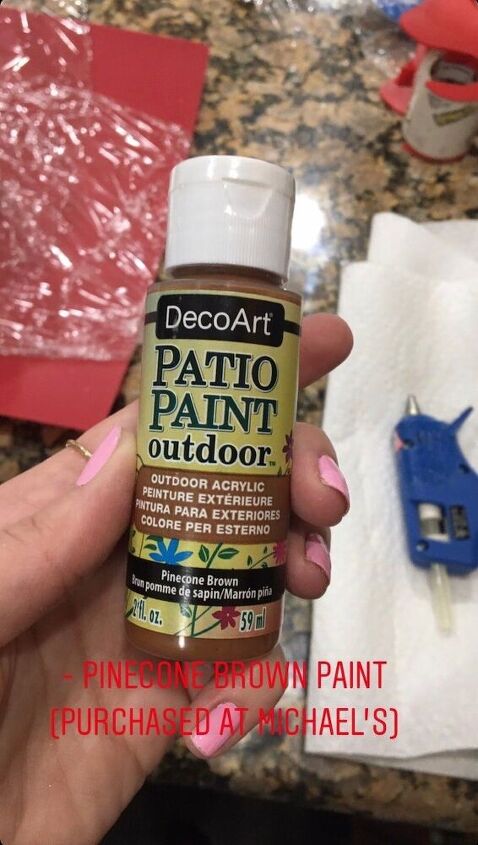
Paint each cake with the brown acrylic paint. You can do this using a sponge or brush.
Let the cakes dry for 24 hours.
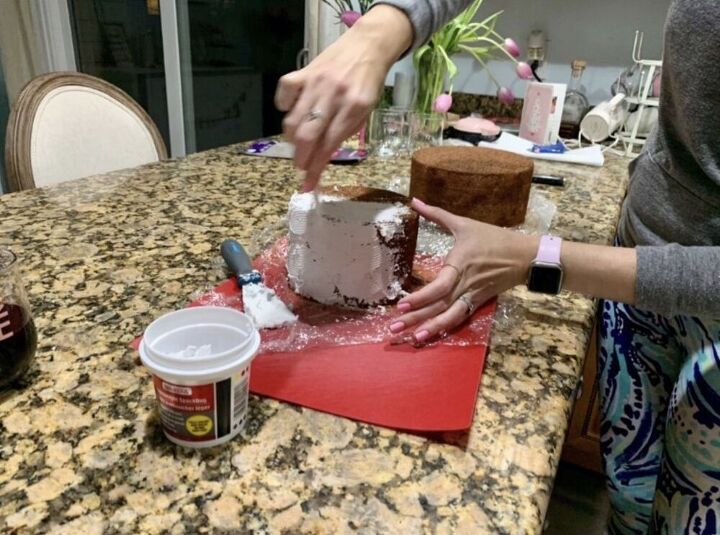
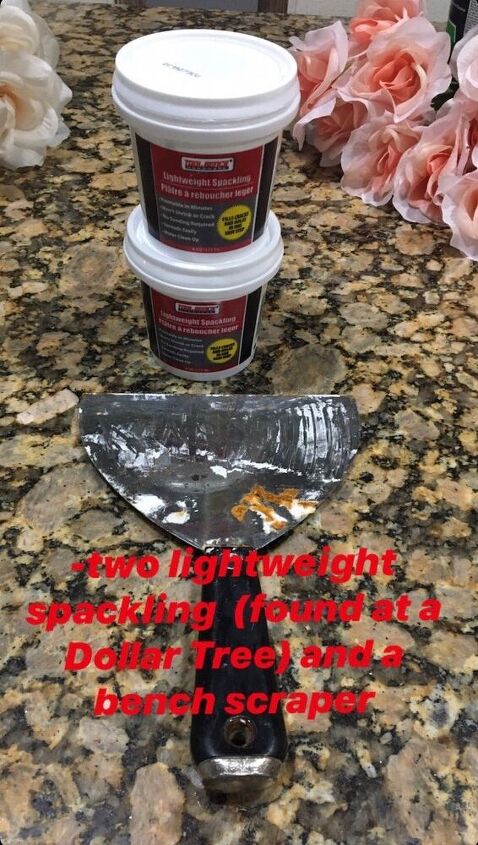
With a plastic butter knife, start icing those cakes with the lightweight spackling!
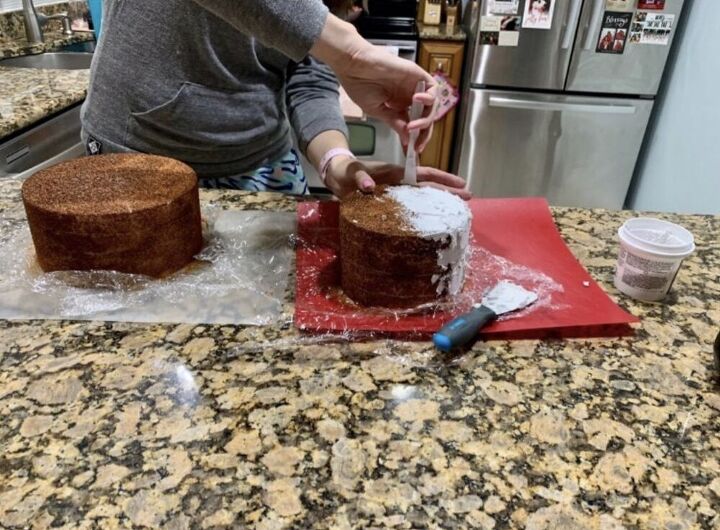
The key is to add a lot of icing.
Once you have added all of the icing, use the bench scraper to scrape most of it off.
After it all dries, glue the cakes together using the glue gun with the smaller cake on top!
Then, have fun decorating the cake for each event or holiday!


Frequently asked questions
Have a question about this project?