


DIY Faux Metal Cat Bed Tutorial – Upcycled Magazines
Lately, the dogs have been doing their best to keep me busy with fixing multiple pieces of furniture including but not limited to chairs, our couch, and a footstool.
So it’s high time that the cats received a little attention. To that end, and because of the unsightly nature of the status quo, I decided to make a new bed for the cats.
Now I admit my standards aren’t really that high after all I do make a lot of things from trash but believe it or not the sloppy nature of the current bed was too much even for my non-discerning taste and therefore I set out to make some improvements.
Happily, when you start with such a low bar it is difficult not to succeed and so I have deemed my project a success even with its obvious shortcomings. 🙃
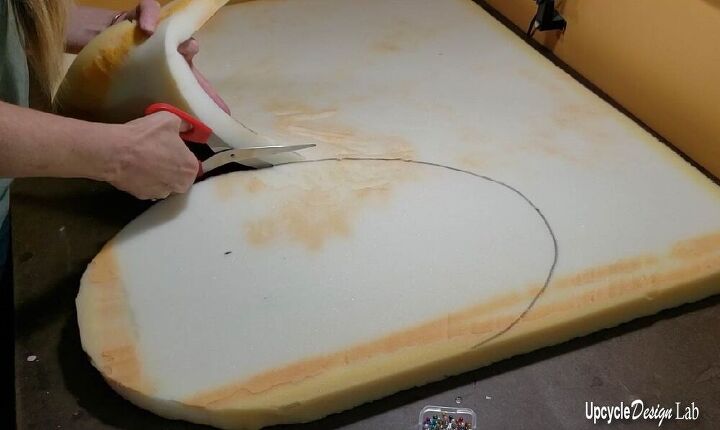
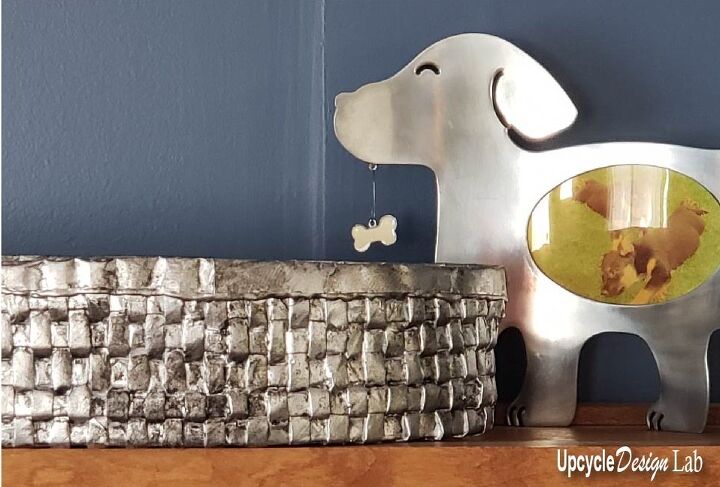
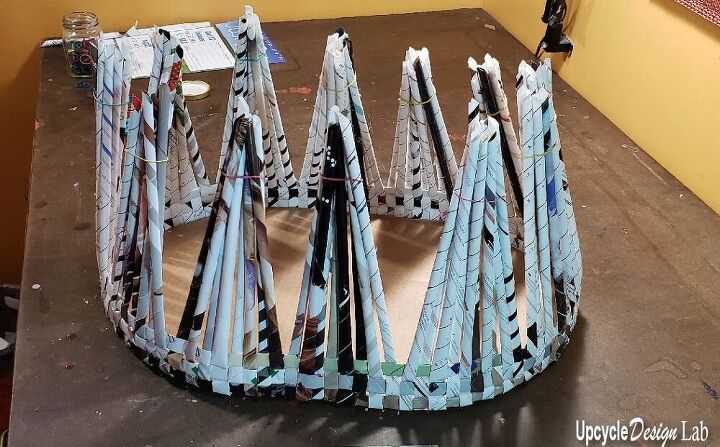
You can make the bed any size a shape by cutting the cardboard and foam to the desired dimensions. I decided on an oval shape for my basket.
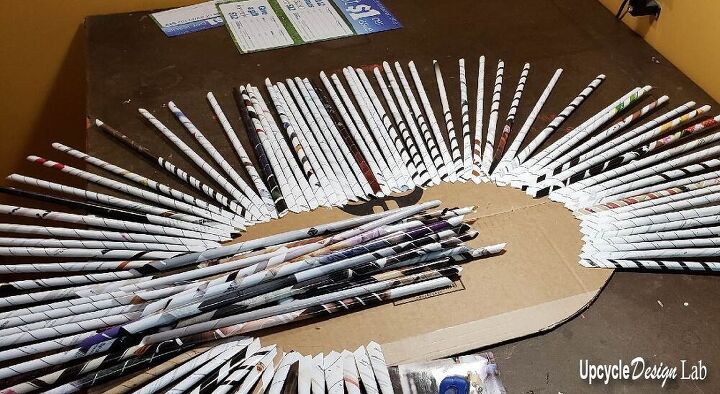
The magazine paper is rolled into tubes to be used to make the vertical and the horizontal rows of the weave which is held together with the hot glue. The process starts out in a very unruly mess but as the weaving progresses the shape becomes easier to work with. I also used some rubber bands to hold the paper tubes out of the way.
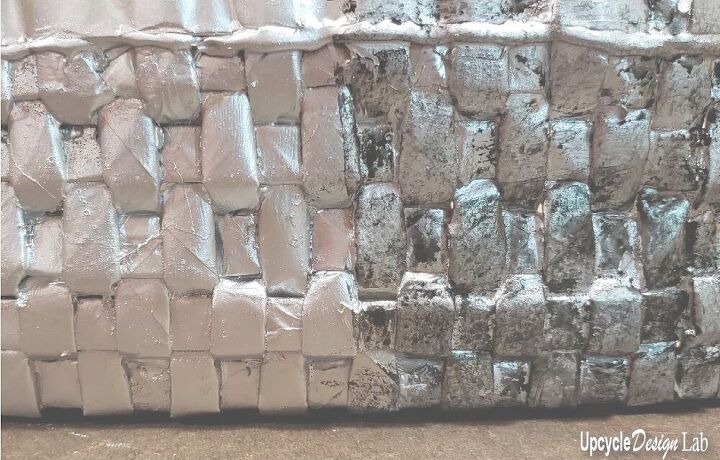
Once I finished weaving, I decided to give the basket a faux metal finish so I sprayed the paper with some silver spray paint and then added a little black for a more antique weathered look.
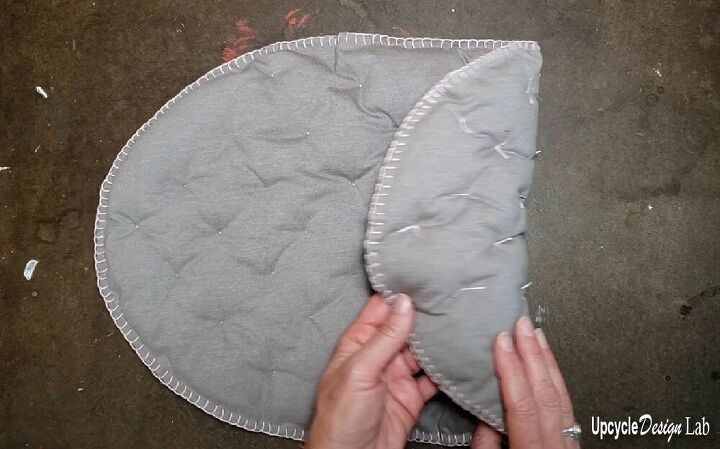
The last step is to make the top washable pad for the bed. To make the pad the t-shirt I cut in two layers with slightly larger dimensions than the cardboard and foam. I chose a blanket stitch to sew the two pieces of t-shirt fabric together and then added a little bit of fiberfill and some tacking stitches to finish the pad.
To learn more about blanket stitching check out the tips in the video below.
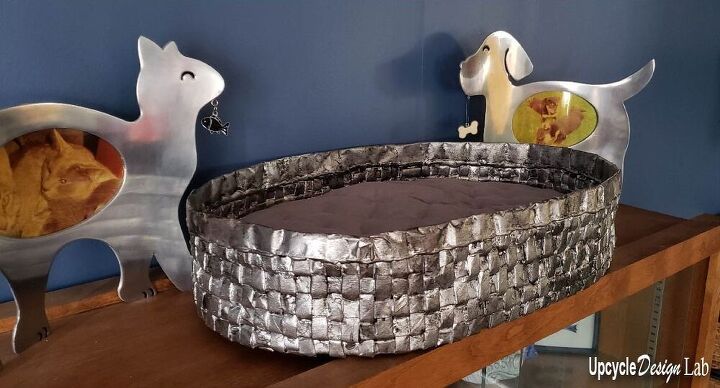
Here is the finished bed. If I had it to do over again I would make it a little smaller but other than that I like the way it turned out.
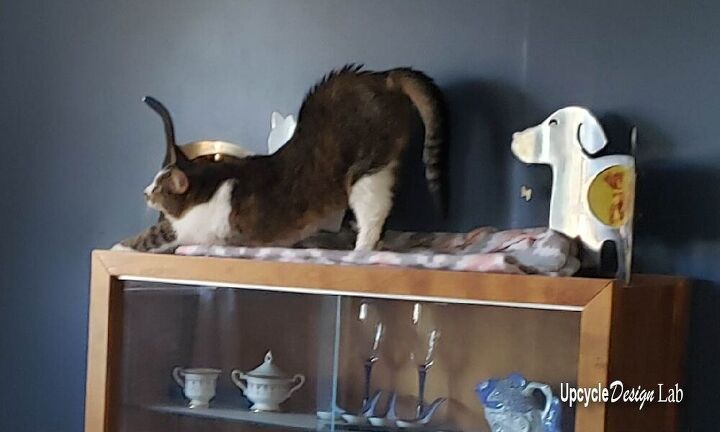
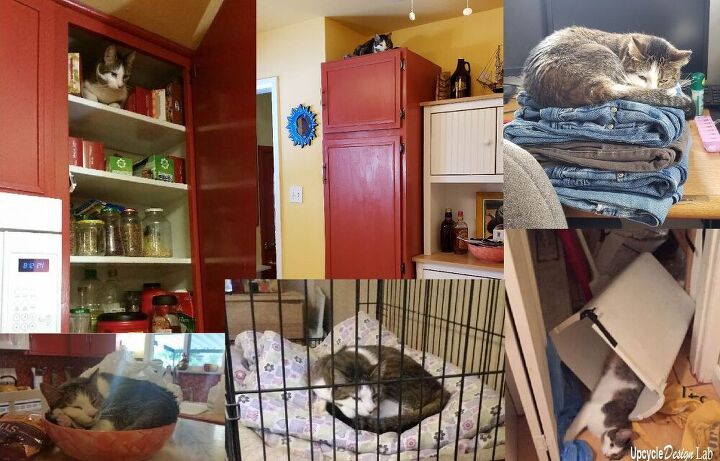
As for the cat? Well, that snobby ingrate hasn’t gone near her new bed and she will lay almost anywhere. 😡
You can find more details for this project in the attached video.
Thanks for taking a look at my project. If you would like more upcycling project DIY's or Green Product Reviews please visit the Upcycle Design Lab to become a subscriber.
Happy Upcycling,
Cindy
Resources for this project:
See all materials


Comments
Join the conversation
-
Brilliant! The video for making the cat bed was great. I've been looking for one; and a video in particular with paper weaving. It was a 2 for 1 deal! The extra video for doing the blanket stitch was also very well done. I also try to reuse what I have on hand to make things. I'm always pulling things out of the trash that people throw away because it could be recycled or reused or repurposed. Thanks
-
What a great idea and thanks so much for the instructions! Sooo funny that your cat lays everywhere except IN THE BED YOU MADE FOR IT
 !!! The pictures of him doing so were so cute and funny 😍 . Thanks for sharing all your projects you are really inspiring!


Frequently asked questions
Have a question about this project?
cute idea for a basket! but maybe it's the spray paint that the cat dislikes? or that her fur gets caught in the weaving? maybe a more neutral (printed paper has a lot of chemicals) and natural-colored kraft paper and a lining?