


Dog Bed Ramp - Fail, Fail, Success!

Well, I am back with another ramp.
It started with the adjustable couch ramp: (https://www.hometalk.com/diy/craft/pet-stuff/homemade-dog-ramp-44366370) which worked great.
I then started building this Bed ramp... and went through MANY revisions to get to where I am now.
During the above multitude of modifications, I built an outdoor ramp.: https://www.hometalk.com/diy/craft/pet-stuff/outdoor-dog-ramp-44371738
So... Here is the project.
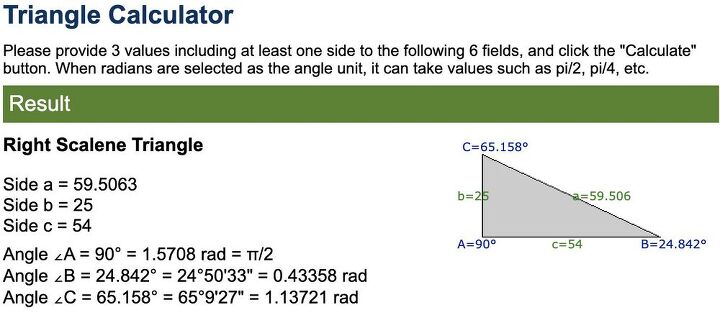
It started with the numbers...
I wanted a ramp that would be perpendicular to the bed so I could still get in and out myself.
I knew the bed height of 25" (or at least the top of the ramp I wanted)
I knew the space I had from the bed to the wall was ~54 inch (leaving a few inches of space at the end)
Plug in the numbers and that gave me the angle of at least 65 deg which is a good run. It also told me how long the ramp needed to be: ~60 inches.
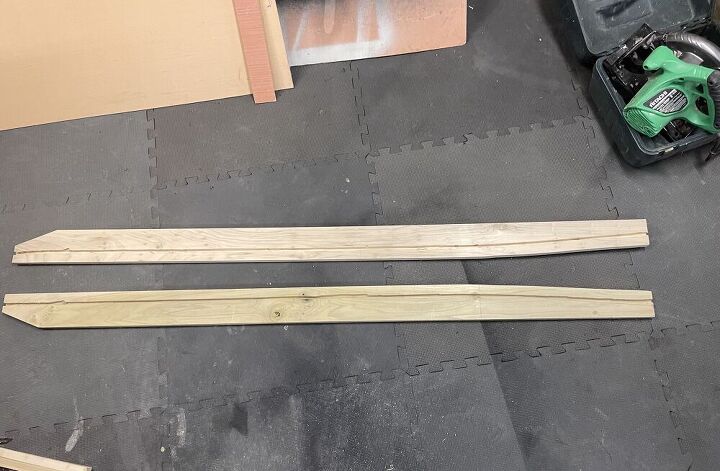
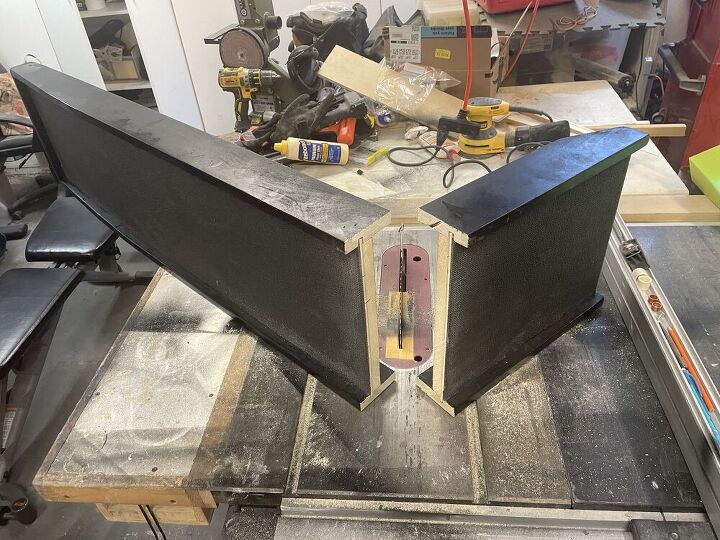
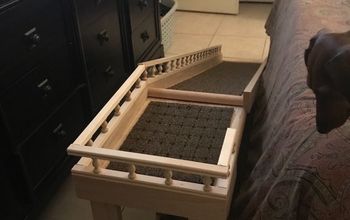
I cut the length for the sides, added a small angle for the top as sort of a landing... and added a groove to put in the floor of the ramp. This is a similar design I did on the couch ramp. Using parts I had while still being strong enough.
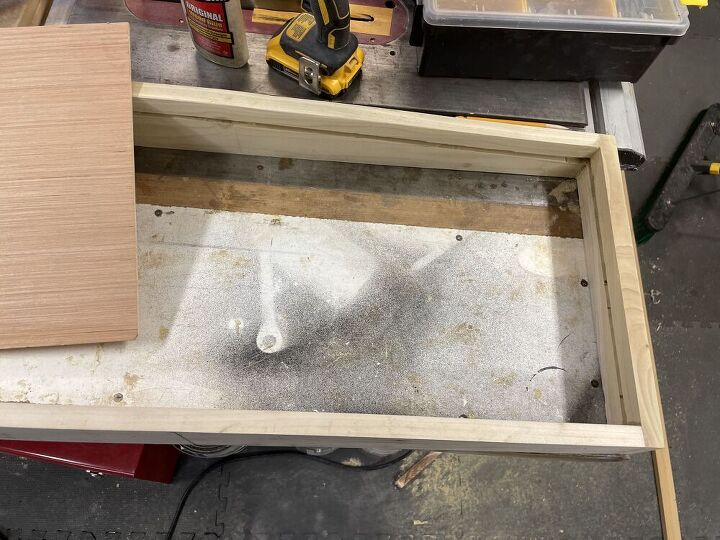
Here is the initial frame build. The thin plywood could actually slip all the way in even with the curved top.
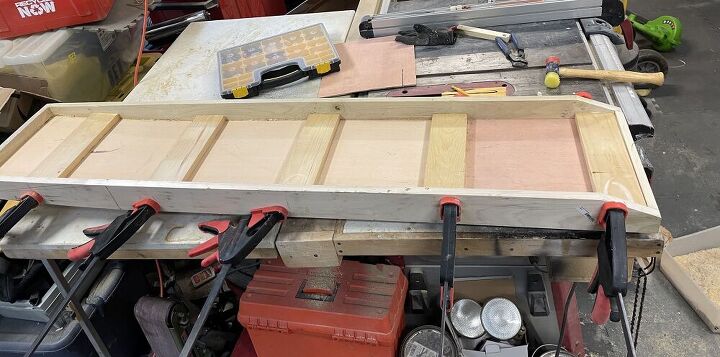
This is the bottom. I added some cross supports along the way.
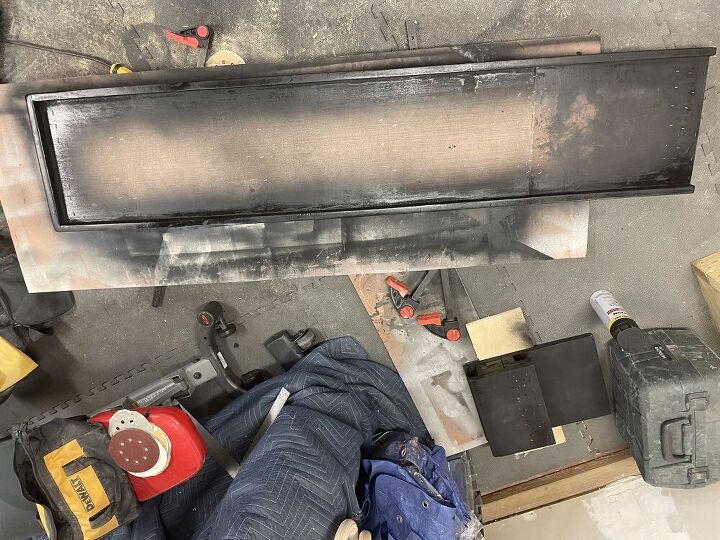
Some initial black paint (Cheap tall project can)
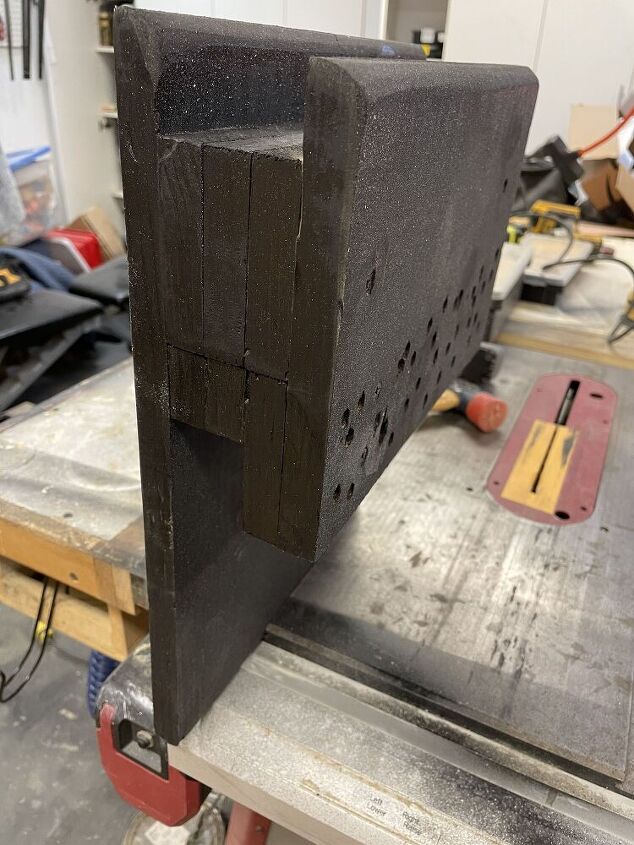
I did not want it adjustable, so the support would simply be something that rested on the bed side rail and the ramp onto it.
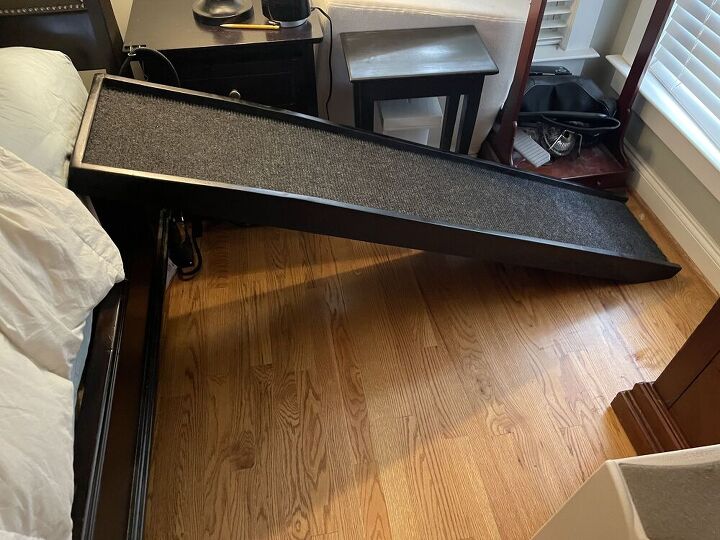
Added an outdoor corrugated rug like I did for the other ramp... and done! FAIL!!!!!!
The ramp was WAY too long, dog would not go down it because it thought it would hit the wall. I though she would jump off half way down.. but no way. Plus, she put the brakes on the whole way down our test run... slipping and sliding down.
I was so frustrated I ripped the carpet off. Luckily it was just spray adhesive... and still easy to pull off. I ended up re-using this carpet for the outdoor ramp project. You will see it over at that walk through.
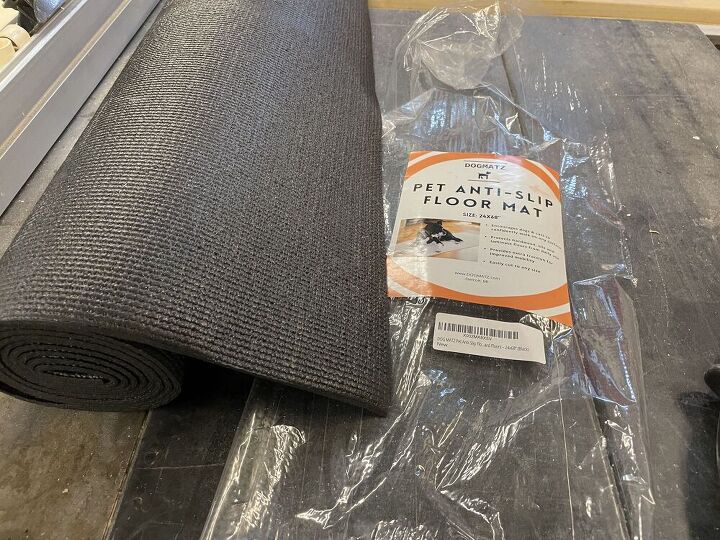
Amazon to the rescue. I ordered this "Pet anti-slip Floor mat" and it came the next day. It is sort of like a yoga mat, but long and not too expensive... so I cut it in half and put it on.
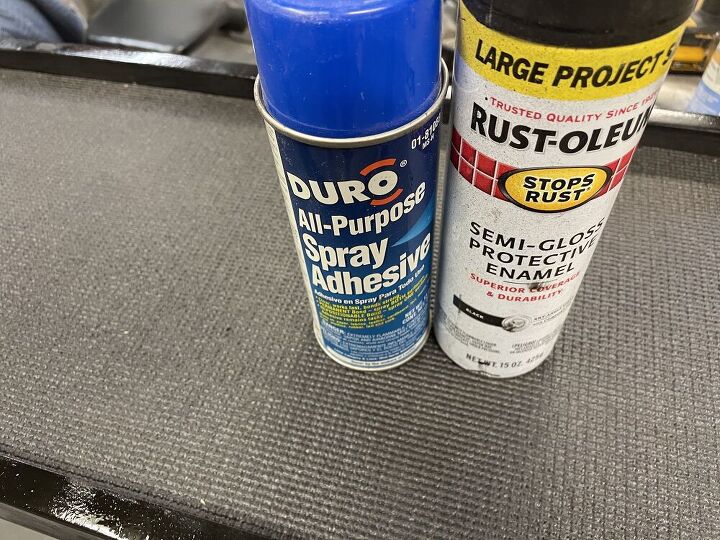
I used spray adhesive again to put it on... and touched up things again with the black spray paint.

Done - Again! FAIL - Again!
She still hated the wall at the end, and dug into the mat with her claws. It ripped at the end where she dug in.
Too long! OK... I can fix that!
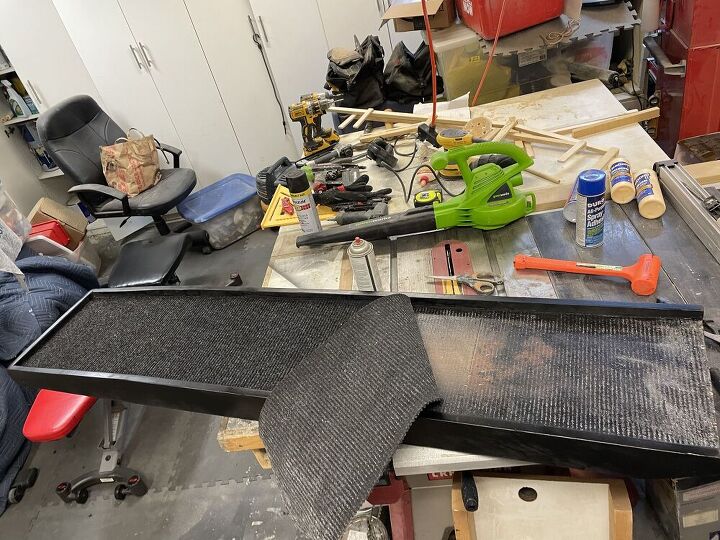
I cut it down with the table saw.... mat, wood and all. I cut it along one of the back supports so it had something attached to the bottom.
Shorter now! but too much of an angle... so I cut the bed support down a little too.
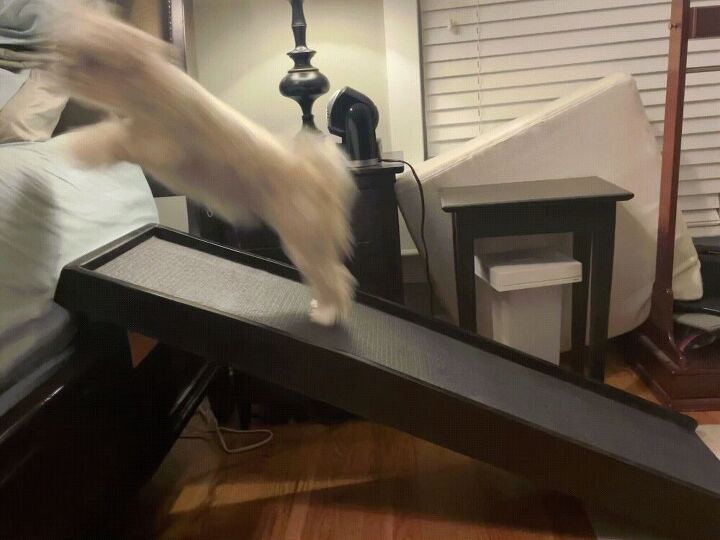
Dog in action!!!!
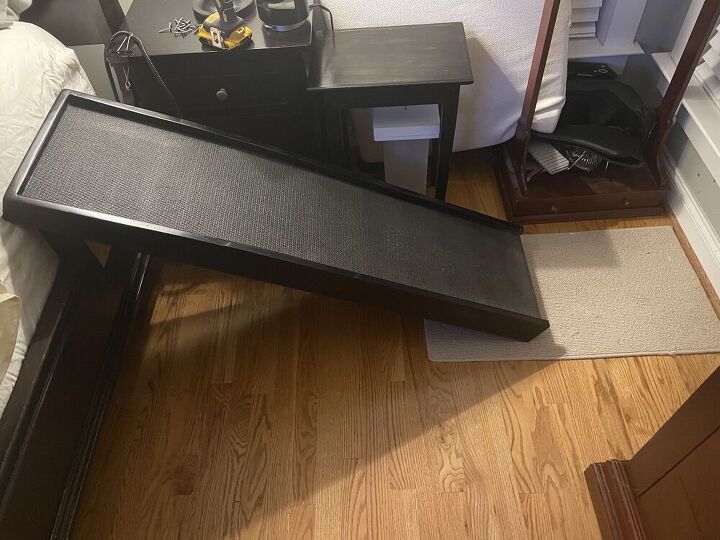
I put a little angled cut on the bottom and lowered the support... now it works great!
Success!
Dog loves it and uses it without any issues now.
Comments
Join the conversation
-
Boy I need one bad....for my pup


Frequently asked questions
Have a question about this project?