


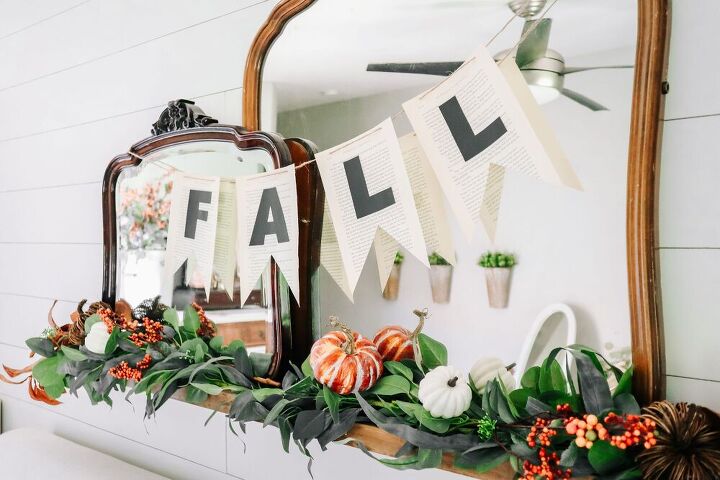
10 Minute Fall Banner
It’s time to get our Fall on – our Fall banner, that is! This DIY takes literally 10 minutes, and you likely have everything you need in your craft supplies!
So pull out the scissors and get ready to whip up this easy DIY to add to your Fall Decor this year!
While you're here, I hope you hop on over to the blog for more inspiration!
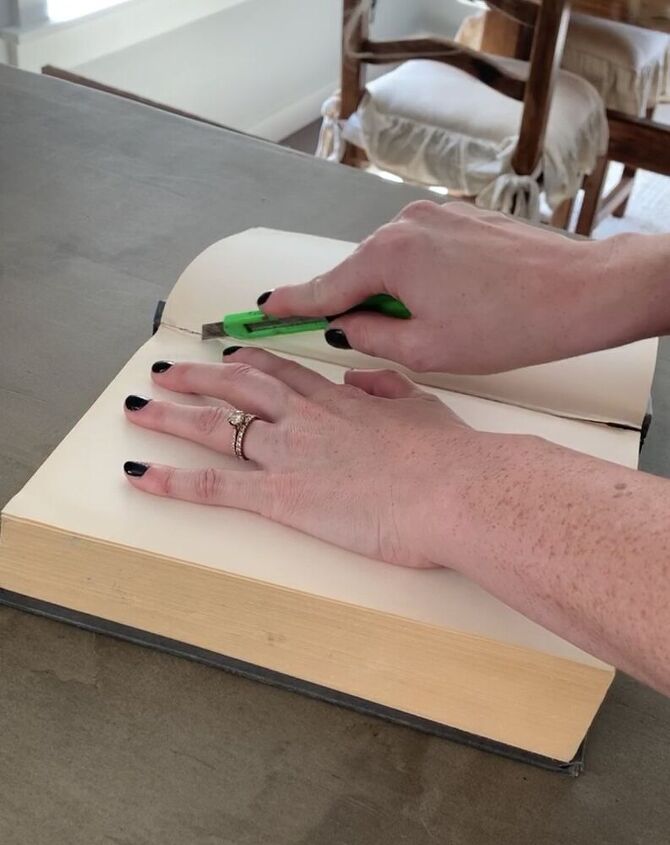
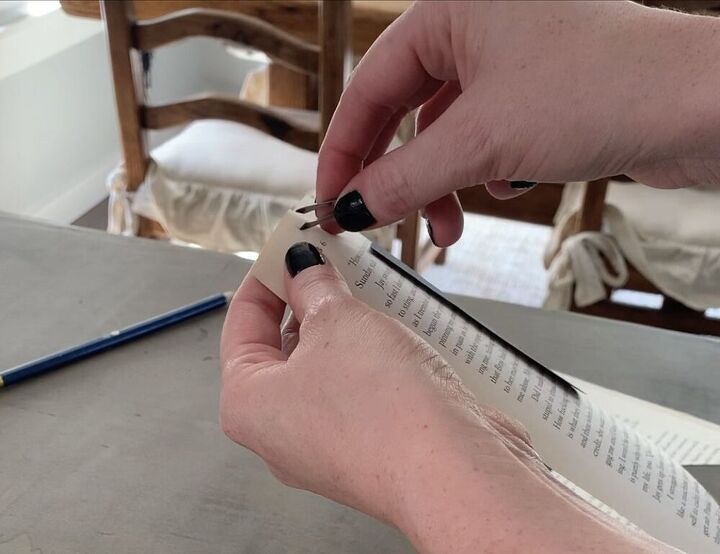
Step 1: First, find and old book you don’t mind cutting a few pages out of. I have old books I use for decor, so I just snagged a few out of one of them. You could also head to Goodwill and grab a book for less than a dollar if needed. Use your utility knife to carefully remove 4 pages (or more if you want your fall banner to say more than just “FALL”).
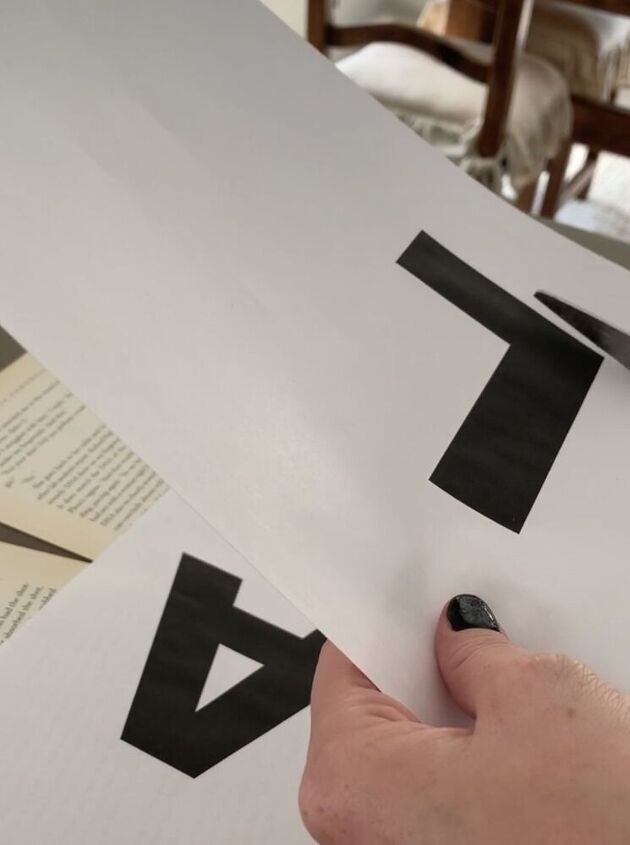
Step 2: Open up Microsoft Word and choose a bold block style font you love (it’s easier than a script font). Size your FALL letters accordingly based on the size of your book pages. Print and cut out with your scissors.
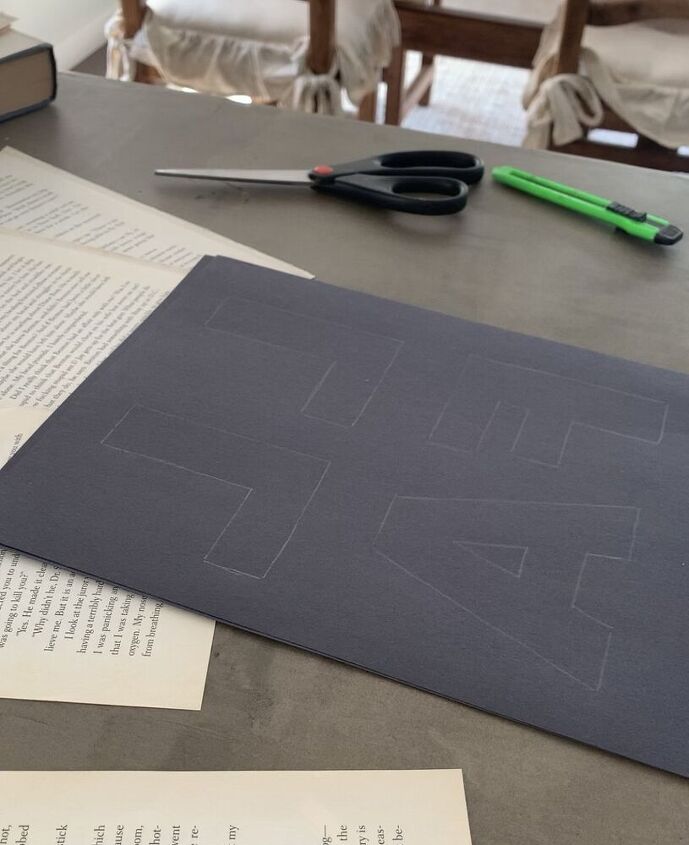
Step 3: Now, using your pencil, trace your cut out letters BACKWARDS on your black construction paper. Placing them backwards ensures that when you cut out the black construction paper letters, no pencil marks will show. Next, cut these letters out using your scissors.
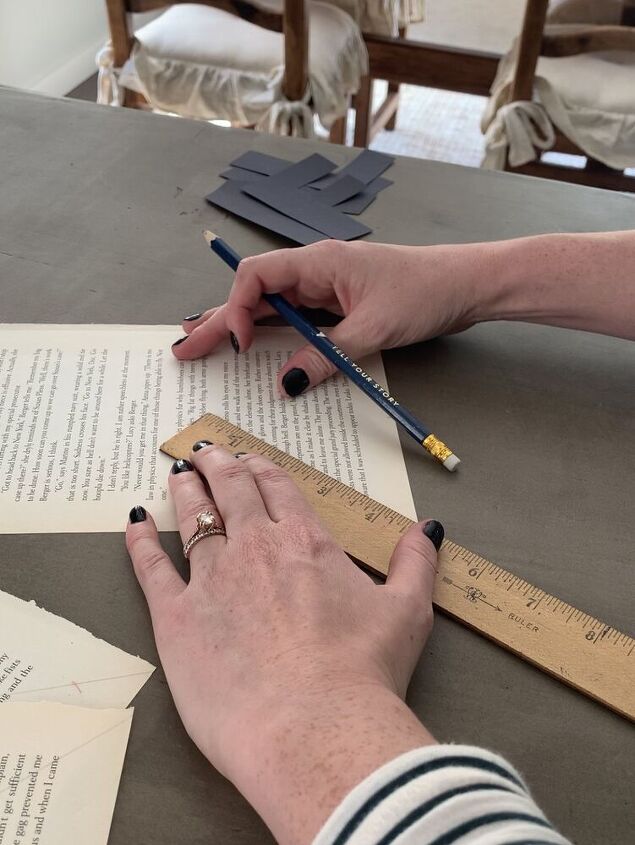
Step 4: Set your letters aside. Using your ruler, mark about 3 inches up from the bottom of your book pages. Now mark the middle of the page, at that 3 inch mark. Use your ruler to draw from each bottom corner to that middle point, creating a triangle shape at the bottom of each page. Using your scissors, cut along these lines.
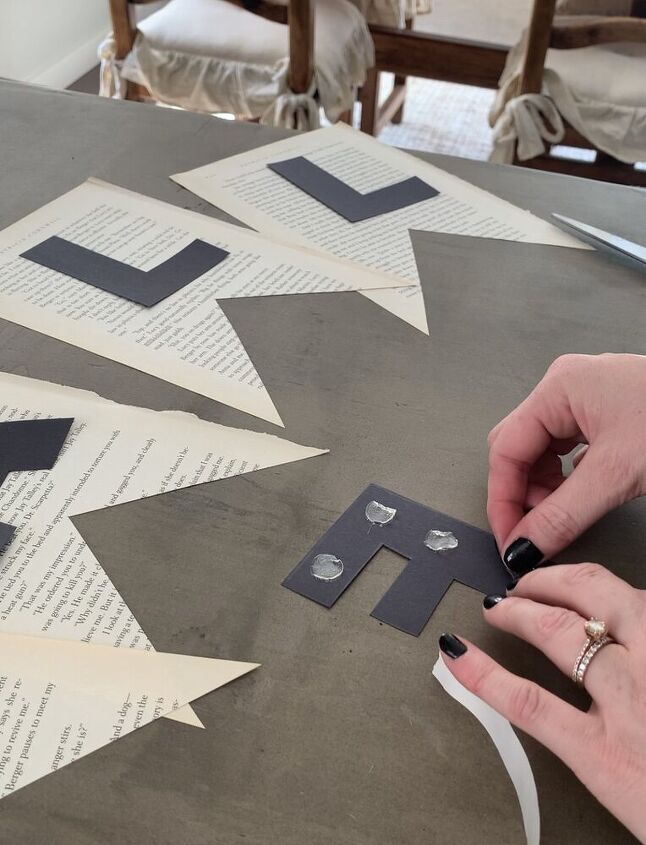
Step 5: Next, use your glue dots or glue stick to attach your FALL letters to each book page. You can measure to ensure they are centered, or just eyeball it like I did!
Step 6: Use small scissors or another small pointy object (I used the marshmallow picks that came in our s’mores kit!) to poke two holes near the top of each book page. I eyeballed this as well, but your could measure it with your ruler if you’d like. My holes are about one-half inch down and one inch in from each top corner of the pages.
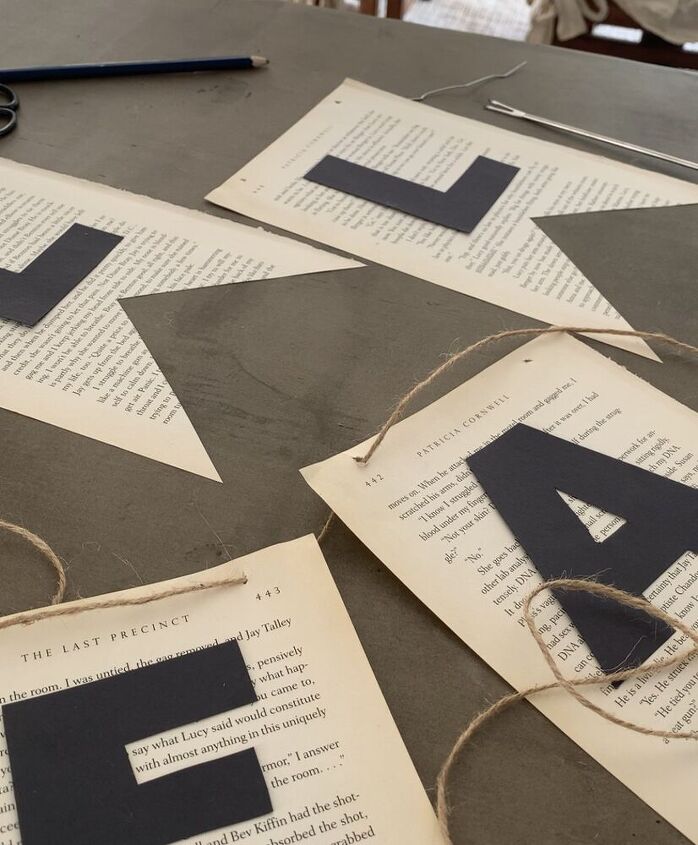
Step 7: Cut a long piece of twine and thread it through the holes you just made in your fall banner. I ran my twine over the front of each book page, but you could also hide it behind each page if you prefer.
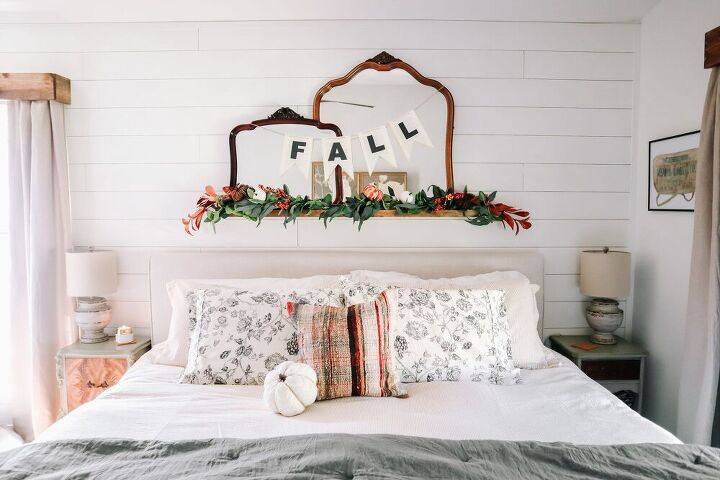
Step 8: Hang and enjoy! This Fall banner works great anywhere! It can hang on a mantel, over a kitchen sink, of above your bed, like I have here!
If you decide to make this fall banner, let me know in the comments! It’s a great project to get your kiddos involved in, too! It’s simple, fun, and it can be hung just about anywhere!There’s more fun fall DIY projects coming your way soon! But in the meantime, you can check out more Fall crafts on my blog!


Comments
Join the conversation
-
Simple and cute! Will save this one ... maybe make it for this fall.
-
Very cute idea and display over your bed.


Frequently asked questions
Have a question about this project?