


5 Simple Steps to Enchanting Pumpkin Topiaries!
In this project, I am going to show you how to make the most lovely pumpkin topiaries with almost all Dollar Store products!
They look great in so many places such as on a dining room credenza, on a shelf in your kitchen or as a tablescape. They are also a refreshing alternative color scheme for fall and Thanksgiving!
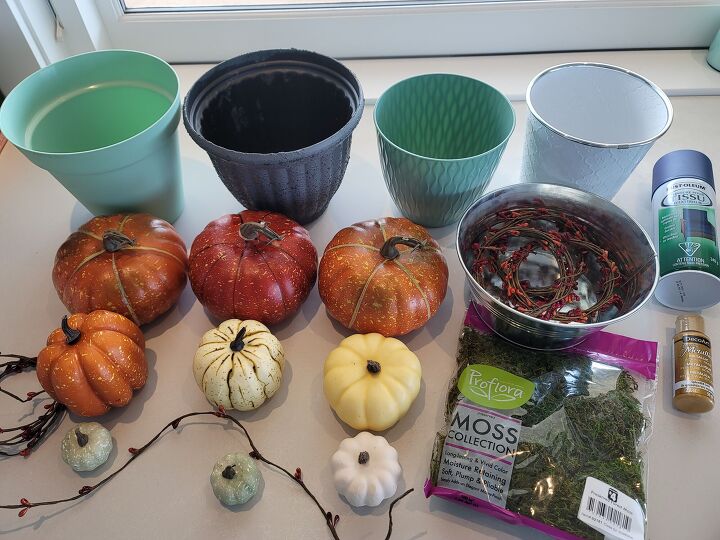
As I said, I got all of the products at the Dollar Store except for my glue gun and the paint, so you can see why this project is inexpensive. Let's jump into the project.
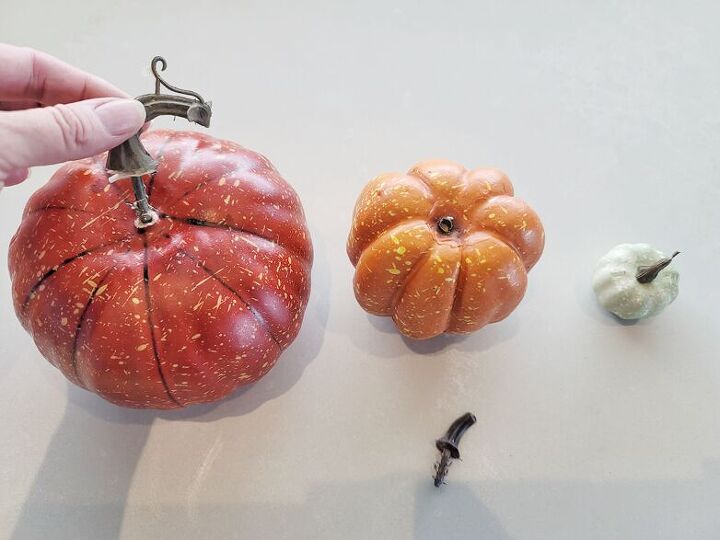
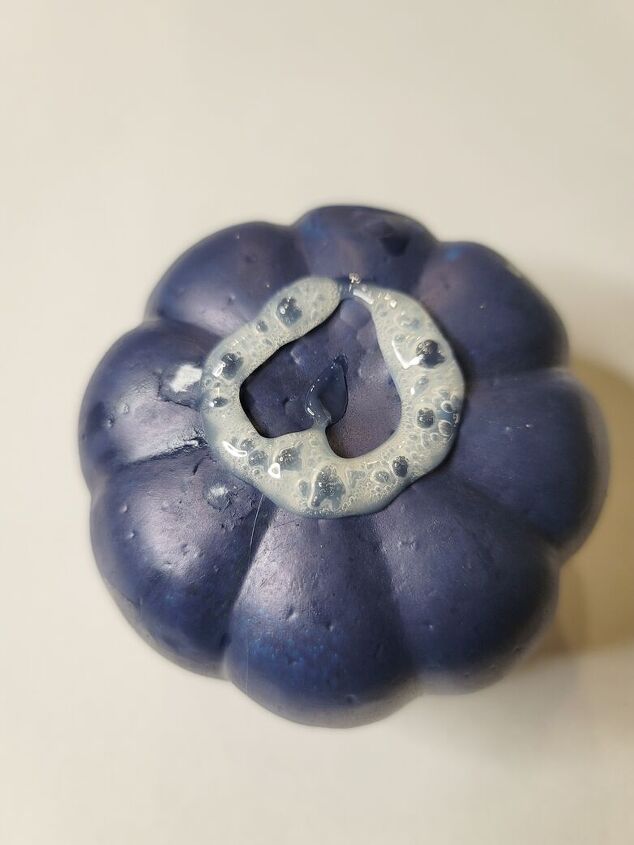
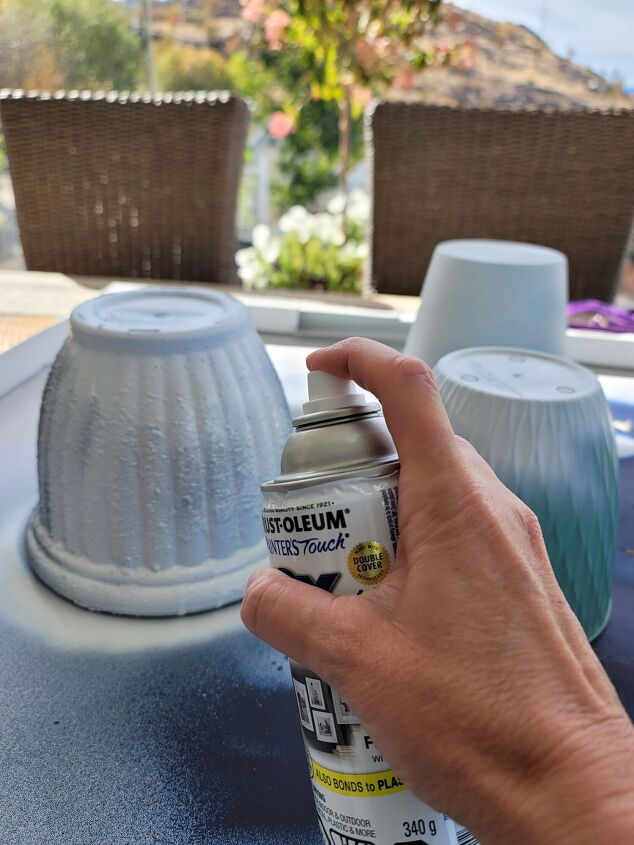
Remove the stems of the largest and medium sized pumpkins so that you can stack them on top of each other. Then sand them so that the paint will adhere.
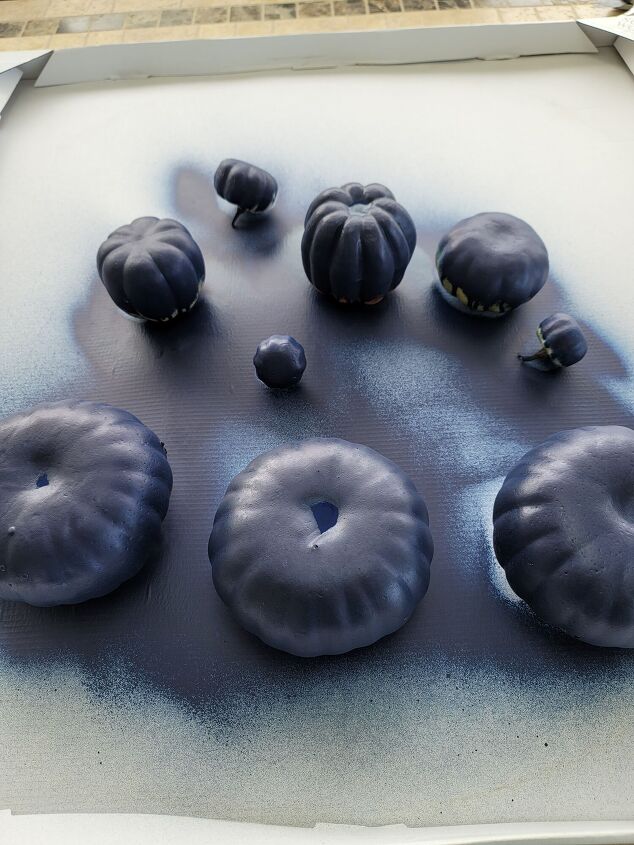
Starting with the bottom of the pumpkins, spray light layers of navy spray paint so that it does not run. If by chance it does run, quickly wipe up the runs with paper towel. Let dry. Once dry flip the pumpkins over and lightly spray the tops until fully covered.
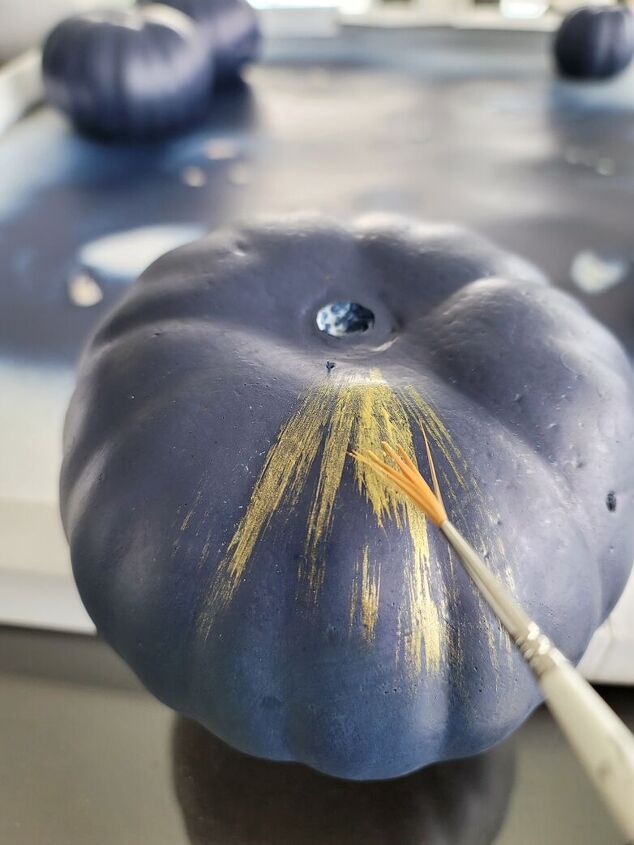
Once the base coat is dry, it is now time to lightly dry brush the gold accents. Dry brush means to lightly dab a sparse paint brush into the gold paint, then dab off the excess paint on a paper town. I chose one of my worst paint brushes where the bristles are spread out and separated. Lightly drag the paint brush over the pumpkin to highlight areas and to create interest.
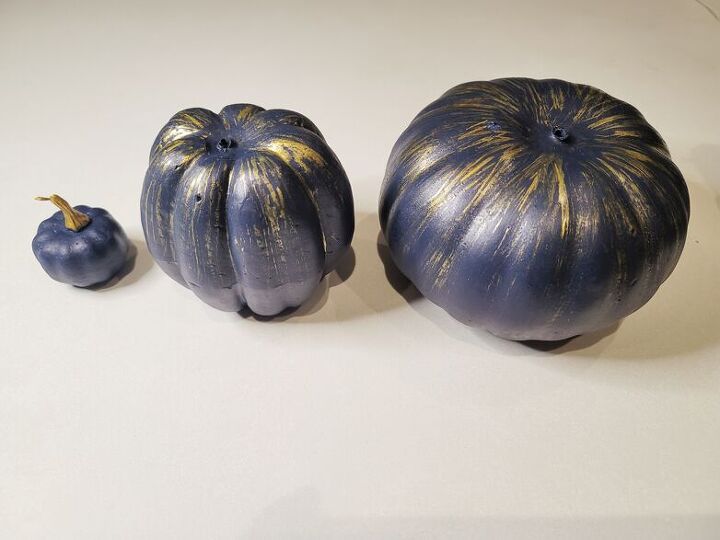
I did the dry brushing of gold on the biggest and medium pumpkins and then painted the stem of the smallest (top) pumpkin solid gold. Let your creativity go though and change it up. You could put polka dots on one, stripes on another and paint another one solid gold - it is up to you so have fun!
Place a good amount of hot glue on the top of the largest sized pumpkin and then place the medium pumpkin on top and hold until they are attached.
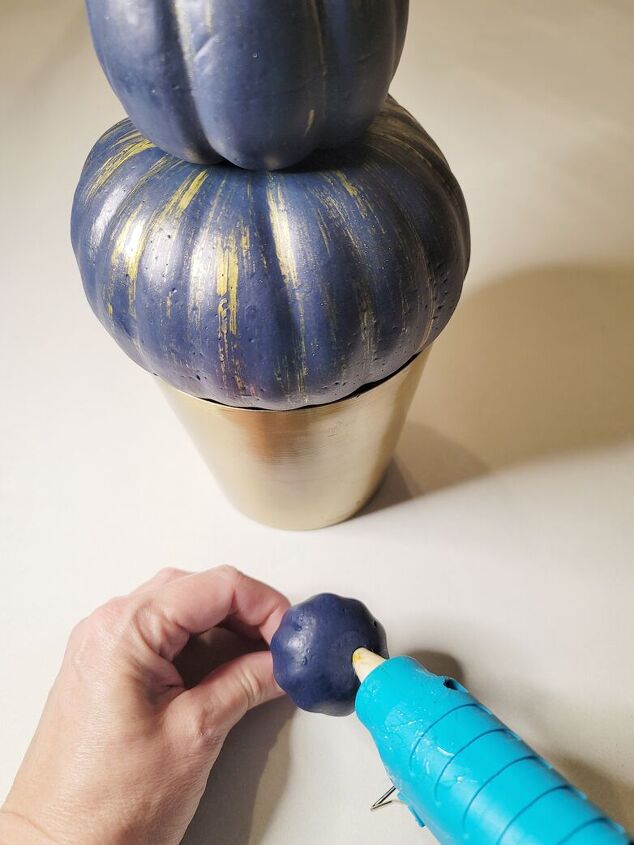
Next place glue on the top of the medium pumpkin and then place the smallest pumpkin into the glue. Make sure that they are straight and not sloping off to one side.
I am going to show you two options for the bases. First is a variety of pots that were a mish mash of different colors and sizes that I got at the dollar store. I spray painted them all a matte vintage white and brushed gold here and there on the rims.

As some of them were wider than the pumpkins I stuffed moss into the pots to give it an organic look and a base for the pumpkin topiary to sit on.
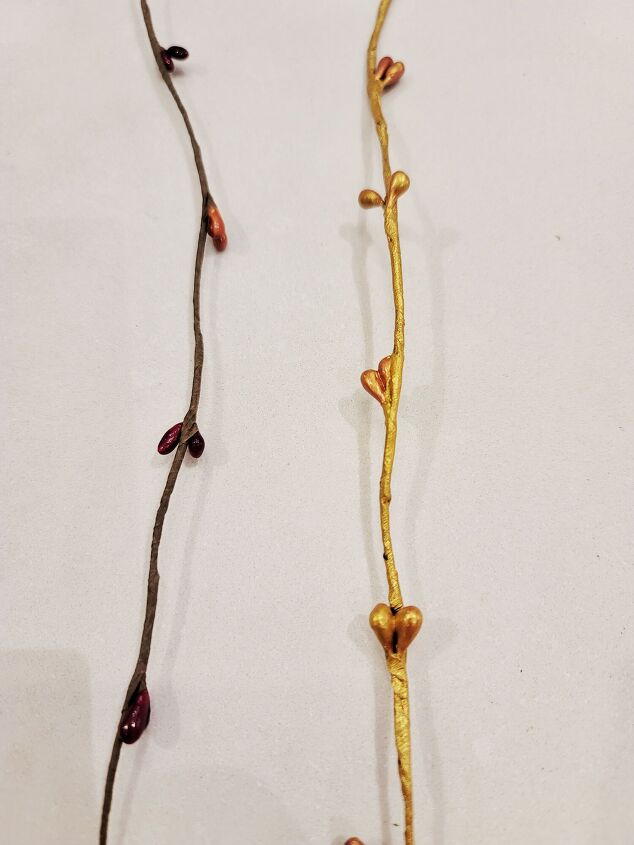
Next, I took the natural berry garland and painted it gold. I let some of the deep red show through as I thought it was pretty and more interesting. This is a photo of the garland before and after being painted gold.
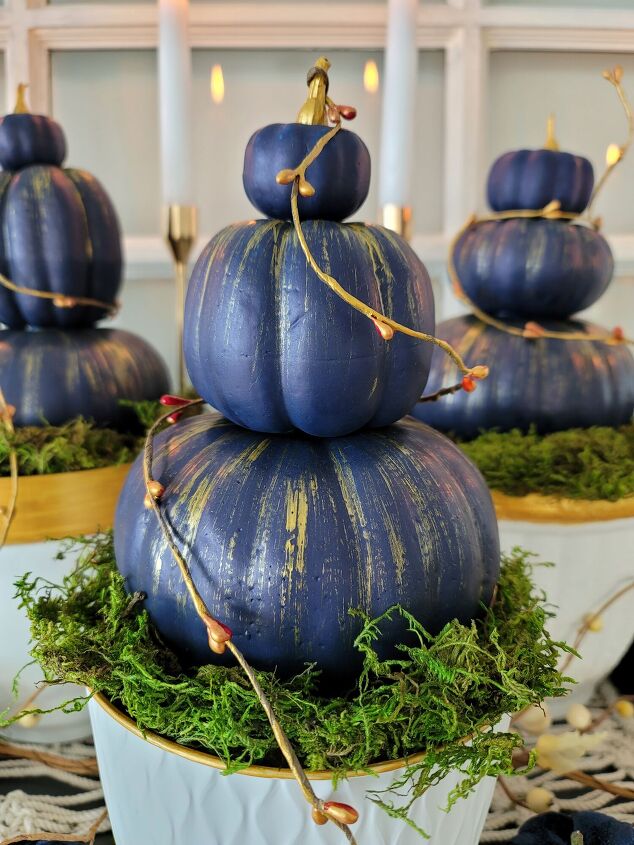
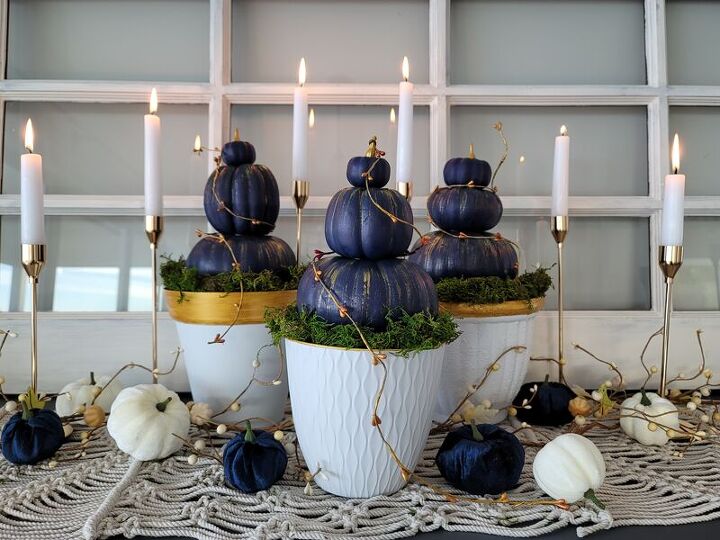
Place the topiaries on the pots with moss and then carefully wrap the pieces of the gold berry garland around the topiaries. Look how sweet it turned out!!!
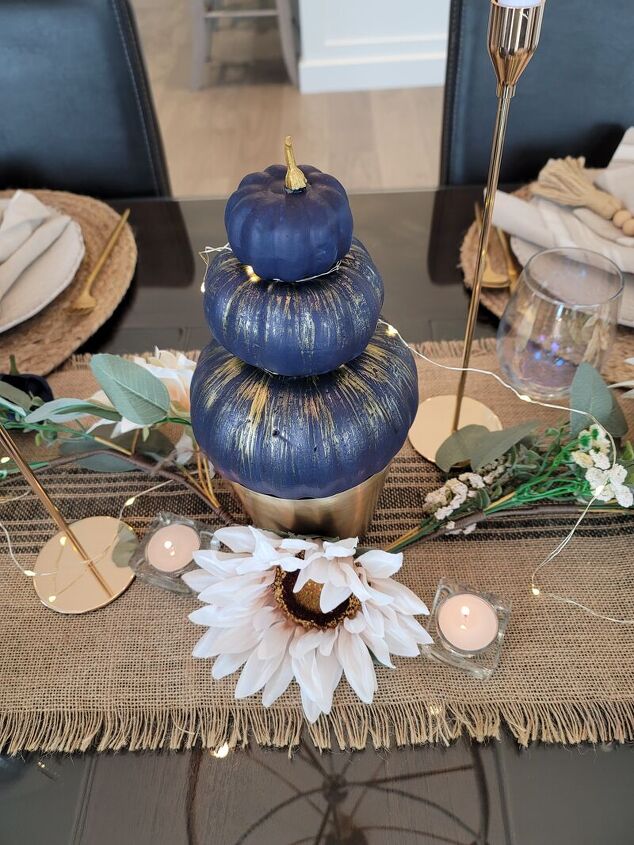
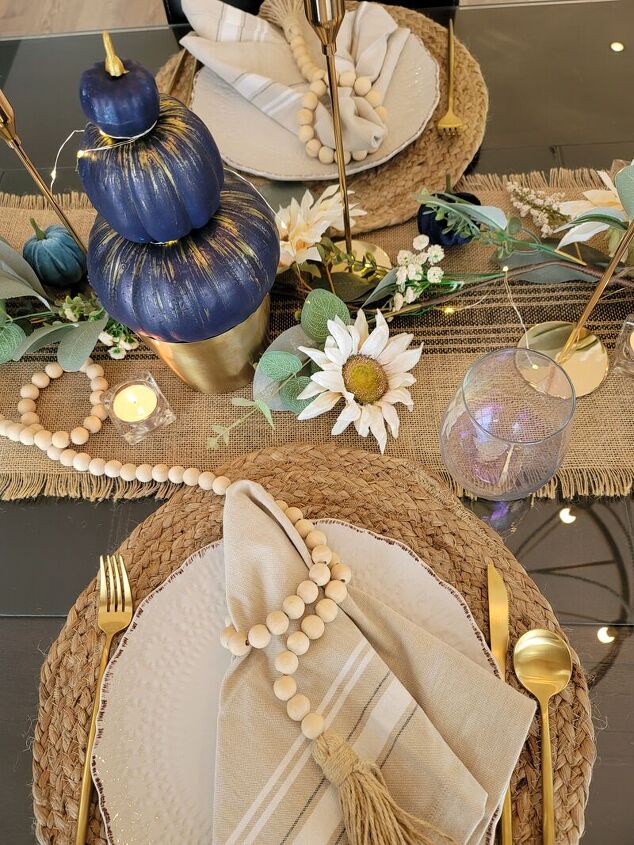
For a different option, I wrapped fairy lights around the topiaries and placed them on gold pots. I hid the battery base for the fairy lights in the base. I then set up them up down the center of our dining room table with a sunflower garland and thin gold candlesticks.
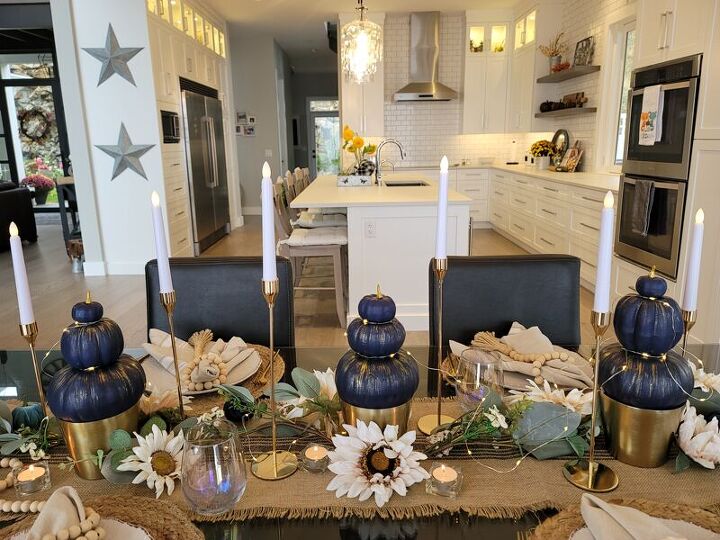
I really was pleased with the navy and gold color scheme. It felt fresh and sophisiticated.
Well, I hope you liked this project and will give it a try!
I am brand new here on Hometalk and thrilled that you have stopped by. I am an artist, crafter and designer and over on my blog I share all about our life as a family on Sweet Valley Acres. Please come check us out!

Comments
Join the conversation
-
Amazing
- project
- table
- kitchen!
-
Beautifully decorated! TFS 💙


Frequently asked questions
Have a question about this project?