


Beach Inspired Sand Pumpkins
6 Materials
$2
1 Hour
Easy
Our home is decorated in mostly beachy colors - mostly shades of teal, gray and white so when the fall holidays roll around I have a hard time decorate with reds, oranges and browns because nothing blends at all. And pumpkins are the worst....that bright orange just doesn't blend in well.
Until now! :) The best part is I can decorate for fall and halloween with this DIY .
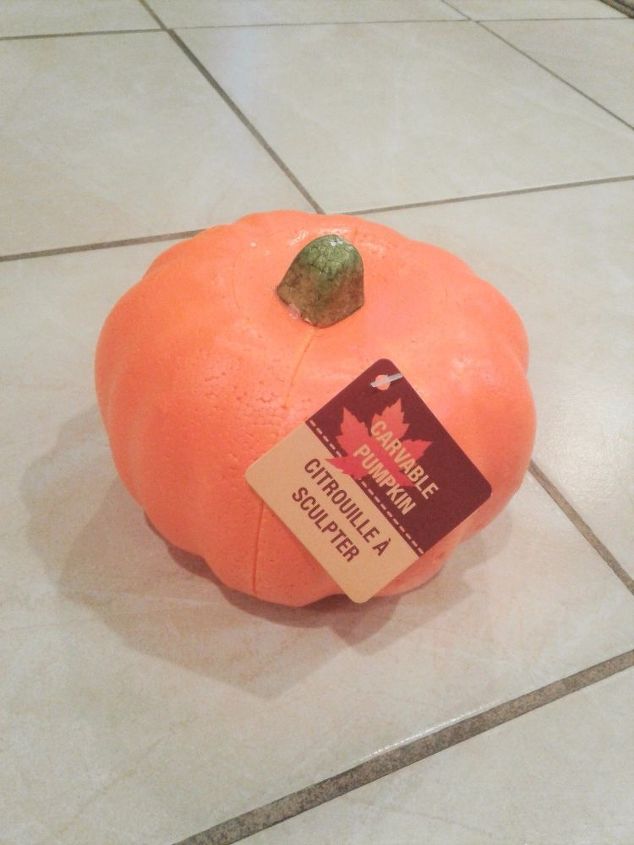
Start by getting some carveable pumpkins. I found these smaller ones at the dollar store, but they are available at most craft stores.
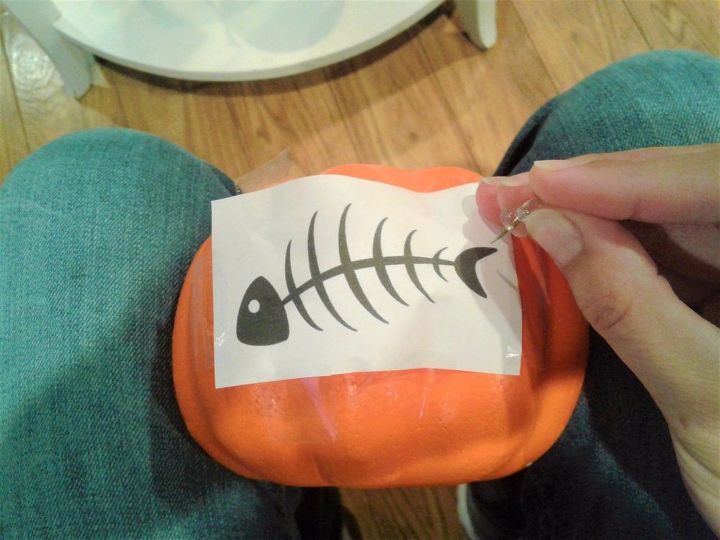
Use your printer to print off an image or draw out an image you would like to carve into your pumpkin. Tape your image to your pumpkin, and using a thumb tack (or needle, pin or nail), poke a hole around the outline of your image so that you can transfer your image to your pumpkin.
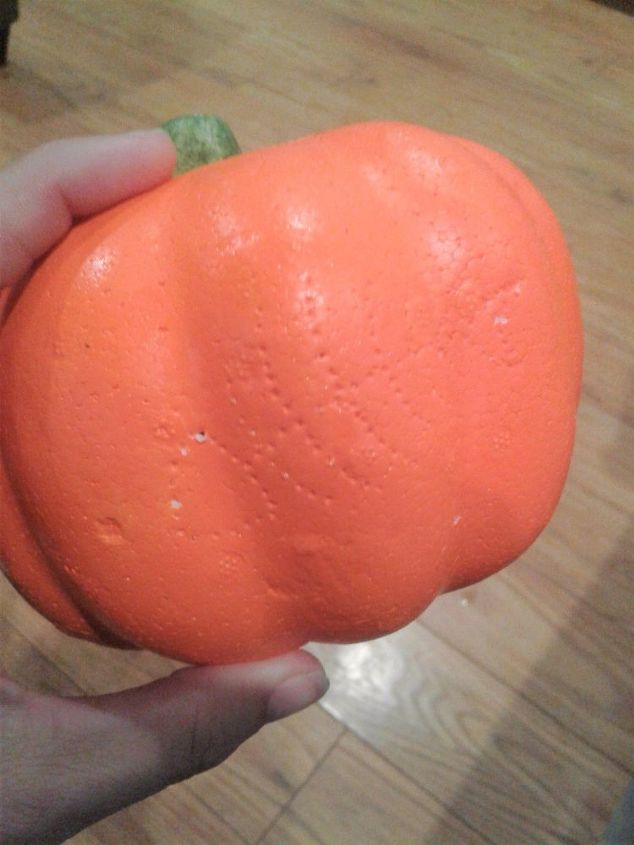
Here you can see all the little holes of my image so that you know exactly where to carve.
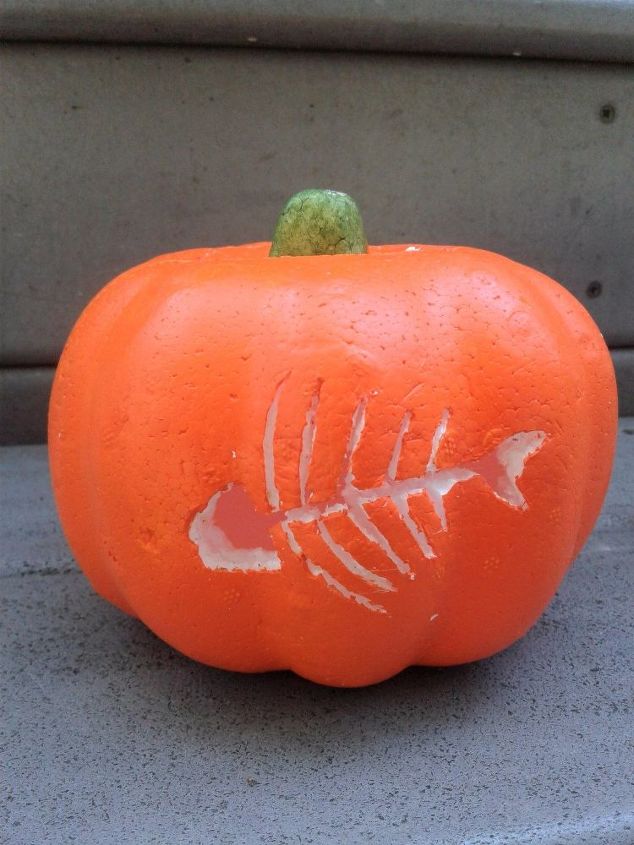
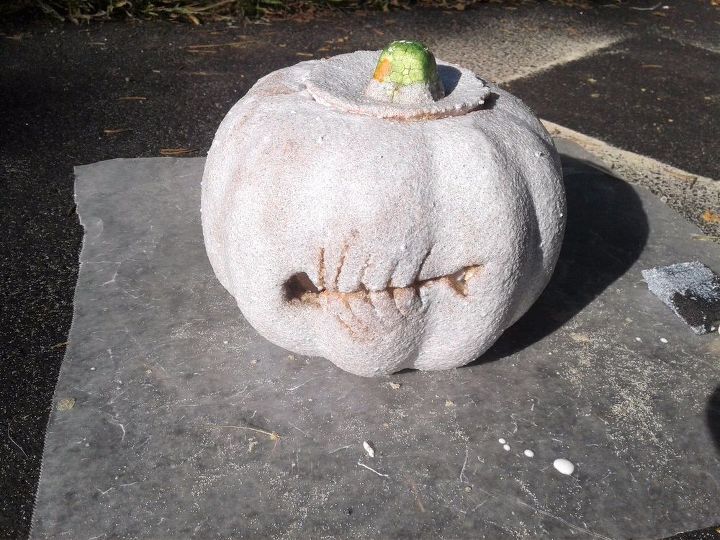
Now it's time to carve your image. I used an old steak knife turned craft knife, but you can also use a creative versa tool . I started out using my tool, but since my lines were so thin, I decided to use my knife instead. The creative tool though, goes much faster and with much less mess. ;)
Don't forget to carve out the top part of your pumpkin so that you can add a candle later on.
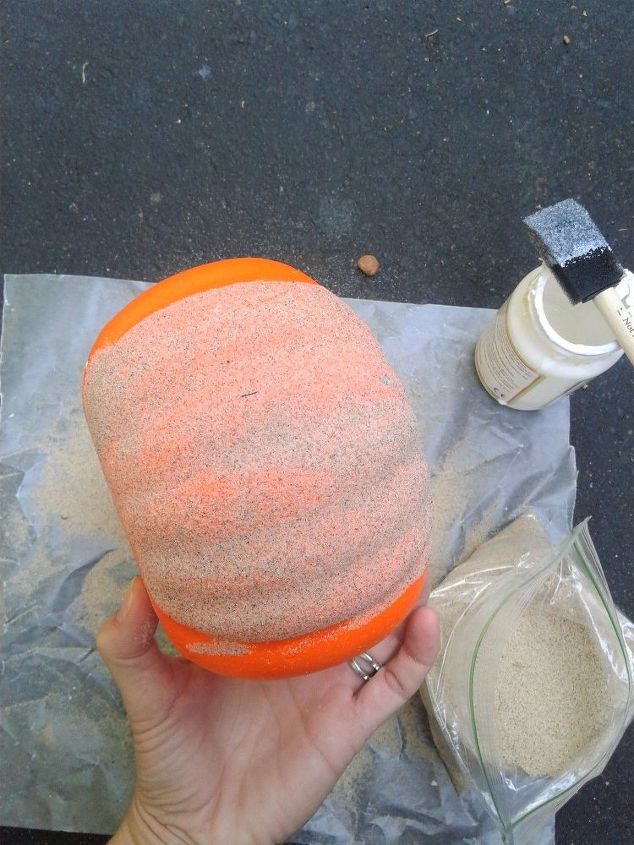
When you are done carving, it's time to apply mod podge and sand to your pumpkin. Apply a thin layer of your mod podge and then sprinkle on the sand. Once that has mostly dried, repeat with another layer of mod podge and sand. I applied 3 complete layers of mod podge and sand to make sure my pumpkin was completely covered in the sand.
When you are happy with the finish of your pumpkin, apply another layer of mod podge over top of the sand to seal it all in good. This will prevent the sand from falling off every time you handle the pumpkin.
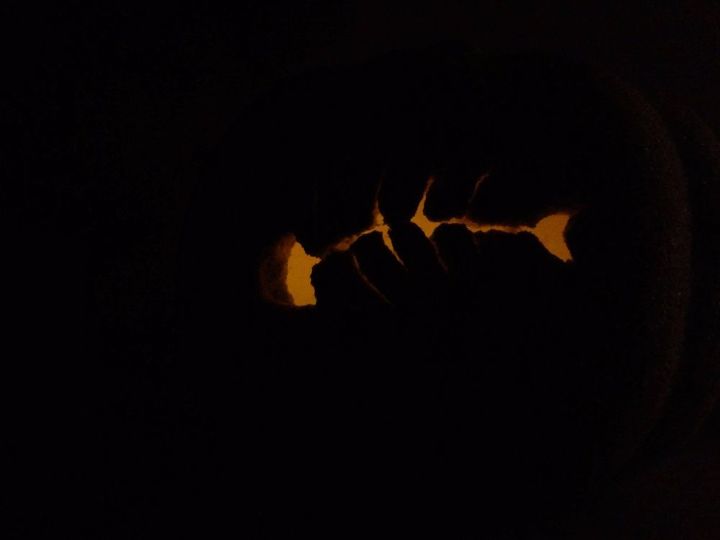
Let that dry completely and then you are ready to display it. Don't forget to add a battery operated tea light to the inside!
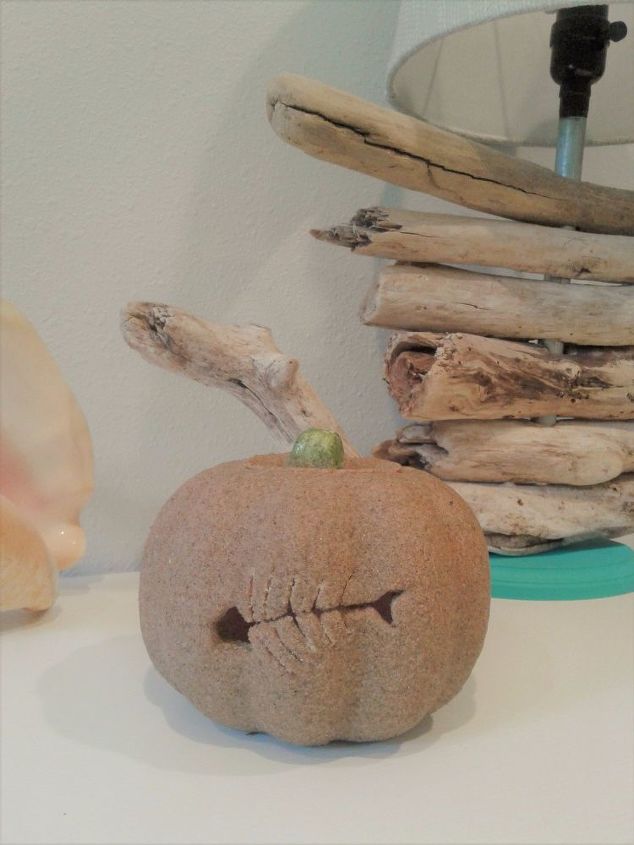
This little pumpkin looks great during the day........

Want more details about this and other DIY projects? Check out my blog post!
Comments
Join the conversation
2 of 9 comments
-
Cut the hole in BOTTOM of pumpkin instead of top. If using real candles, you avoid burning yourself. If using electric tea lights, it is magical because you don't immediately see how the light got inside! Also keeps top of pumpkin prettier!
-
Hummmm


Frequently asked questions
Have a question about this project?