


Blooming Spring Wreath & Easy Technique to Make a Multi-Ribbon Bow
Create a blooming wreath to welcome spring along with an easy technique to make a multi-ribbon bow, no bow-tying skills required!
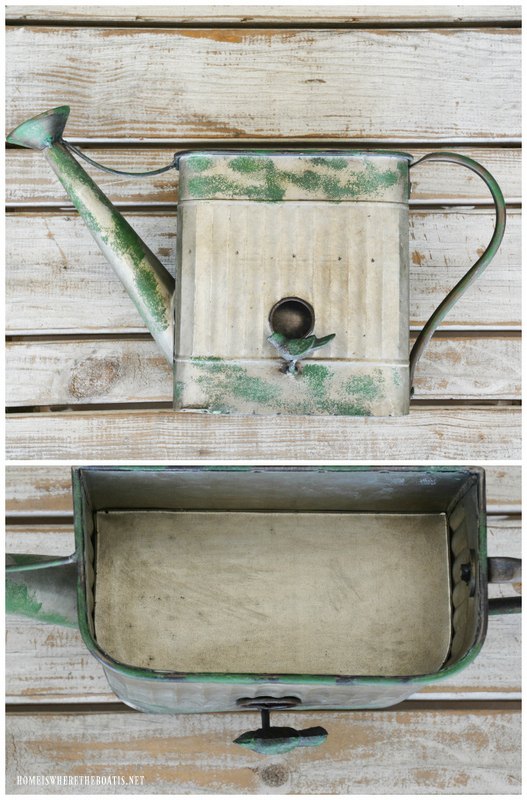
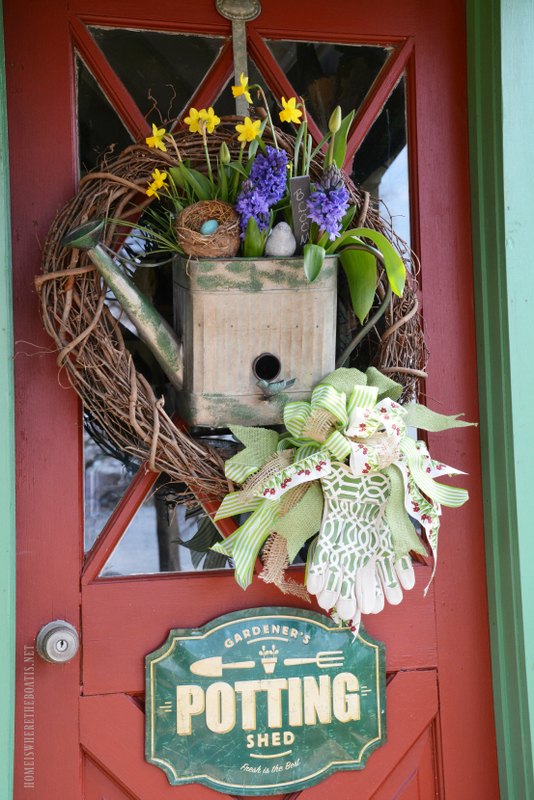
This faux watering can is designed as a hanging planter. It also serves as birdhouse ~ a winning trifecta for me! I didn't know how I would use it initially when I found it back in January, and decided to use it as a wreath for the Potting Shed door.
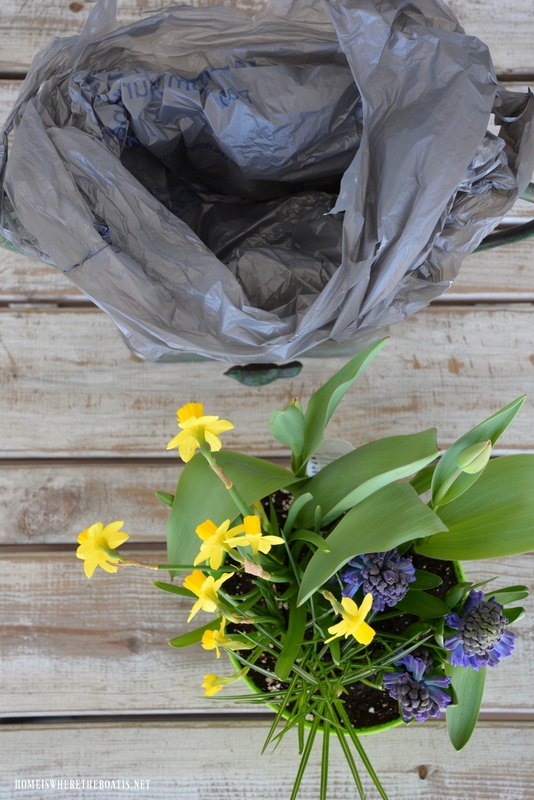
I love to shop in early spring at the garden center at Walmart for blooming bulbs, where I found this mixed container of spring bulbs for $8. The bulbs can be planted in the garden to enjoy next year after the blooms fade.
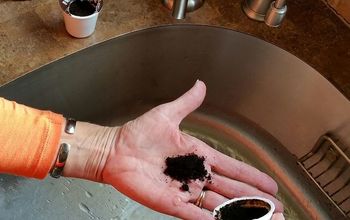
I lined the planter part of the watering can with some plastic bags, watered the bulbs well, then transplanted the bulbs into the top of watering can.
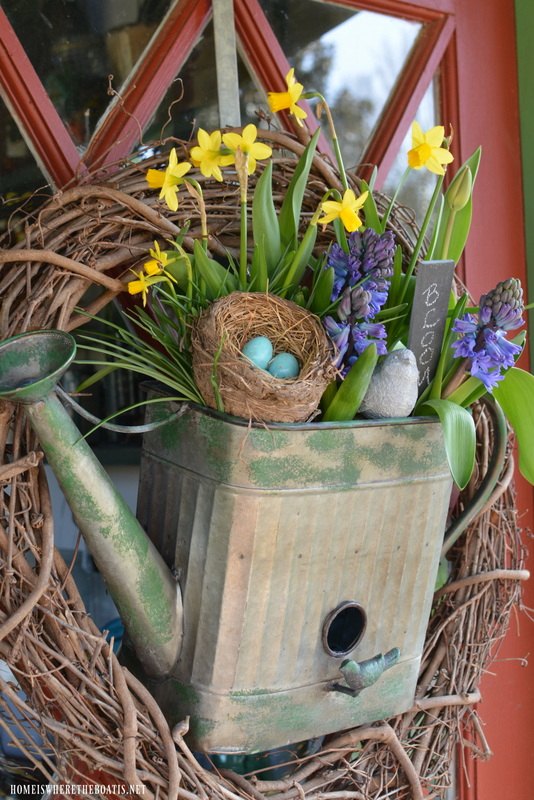
I used a grapevine wreath I had to hang on a wreath hanger, which the watering can planter also hangs from. The grapevine wreath frames the watering can planter and helps to fill in the space of the door. I filled in the empty space among the bulbs, tucking in a little bird, bird’s nest with eggs, and garden marker chalked up with a message to ‘Bloom’ to add a little garden whimsy,
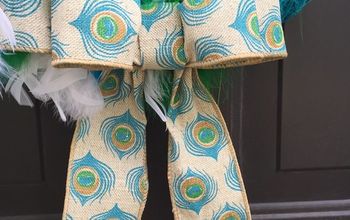
I used a favorite and easy technique to make a multi-ribbon bow, no bow-tying skills required! This is a great bow-making technique if you have odds and ends of ribbon with just a little left on the spool, as you only need a yard or less per ribbon-loop.
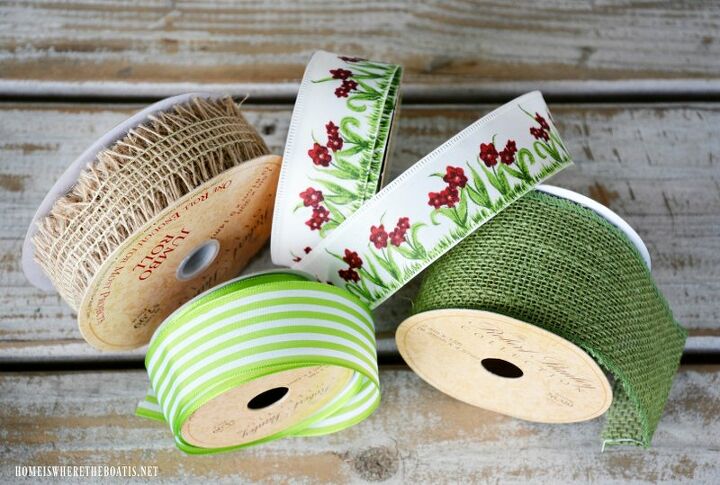
Ribbon was 50% off at Hobby Lobby last week, and I picked up some green to blend with the watering can and to go with some burlap ribbon I already had. You want wire-edged ribbon for best results to make this easy bow.
I used four different patterns of ribbon in varying widths, ranging from 1 1/2 inches to 2 1/2 inches, but I’ve used six different patterns before with this bow-making technique for my Forsythia Bunny Wreath.
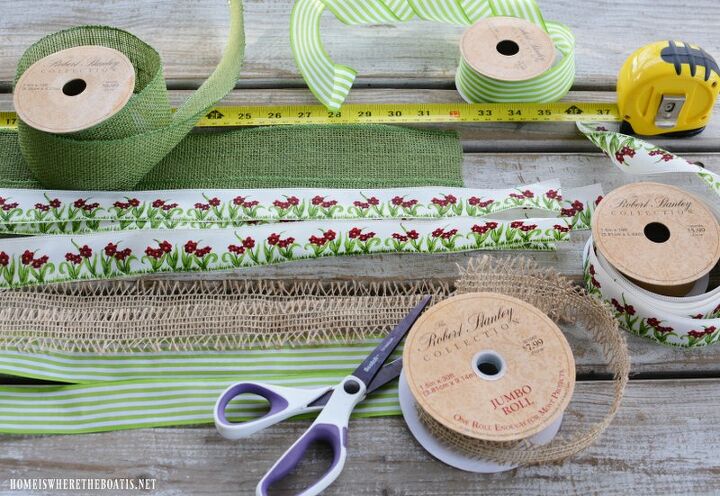
I started by cutting the ribbon into 32 inch – 36 inch lengths, but you can vary your lengths as desired. I ended up using 12 loops / lengths of ribbon, so I used approximately 12 yards of ribbon in total, but you can use less yardage by making your bow with fewer loops and shorter tails of ribbon.
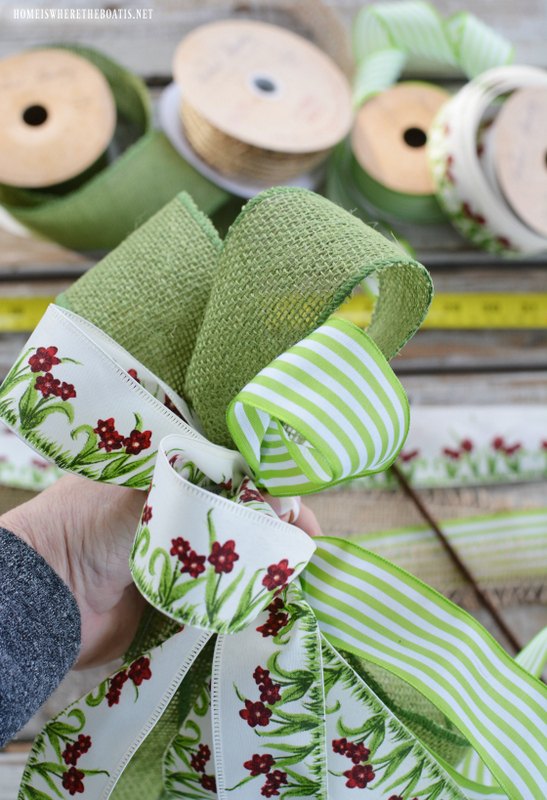
Form your loops to the size you want, pinching the ribbon loop in the middle. (My loops are about 5 – 6 inches using 10 – 12 inches of ribbon for the loop part.) If your ribbon has a pattern on just one side, twist the back tail of the ribbon around so your pattern faces to the front. Repeat the process with your ribbon holding your loops together and tie your loop off with a pipe cleaner / chenille stem or florist wire. I prefer pipe cleaners as they’re very forgiving, allowing you to adjust your loops, pulling the tail of your ribbon to adjust your bow as needed.
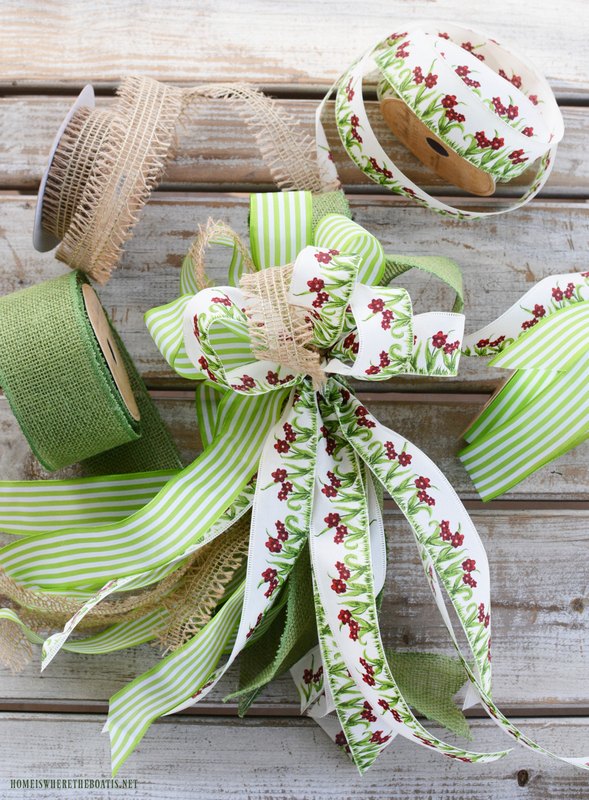
Fluff your loops to arrange your bow and tie your bow to your wreath with your pipe cleaner. Cut the ends of the ribbon on the diagonal or in a V-shape end to finish your bow off.
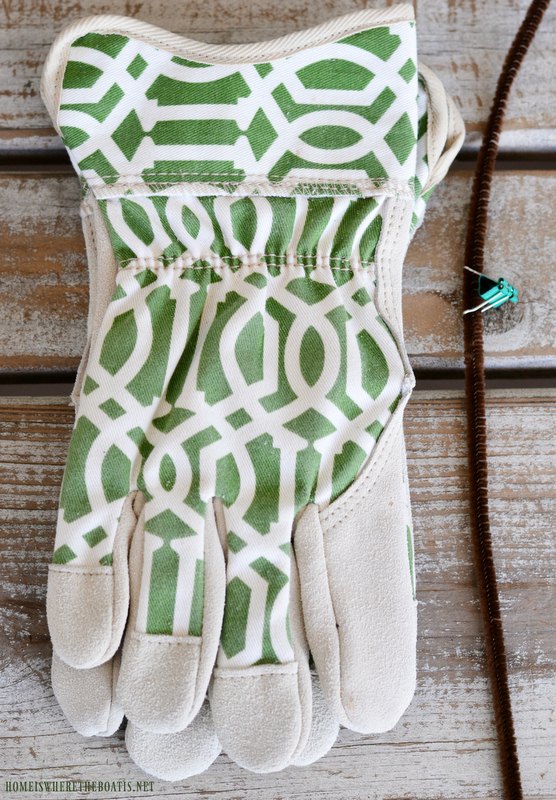
I decided to add a pair gardening gloves in anticipation of gardening season to my spring wreath.
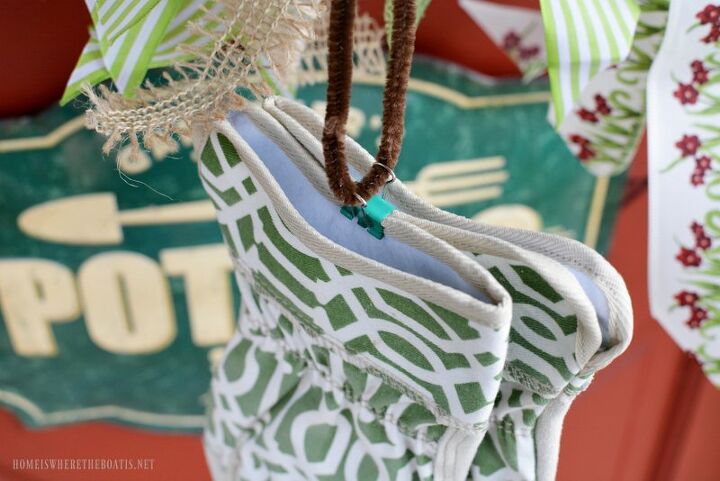
I used a binder clip and ran a chenille stem through the clip, as an easy way to temporarily attach the gloves to the wreath and to hang them below the bow.
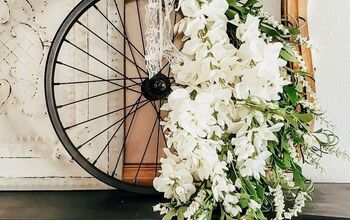
Here is the finished wreath with the garden gloves attached to the easy bow! More photos and details at the link below as well as a pair of rain boots stepping in to serve as a vase for hyacinths in bloom!
Happy Spring!
Resources for this project:
See all materials


Frequently asked questions
Have a question about this project?