


Create Beautiful Cricut Paper Flowers for a Spring Sign
If you know how to operate a Cricut machine like a master, then you can easily make some utterly beautiful signs at home!
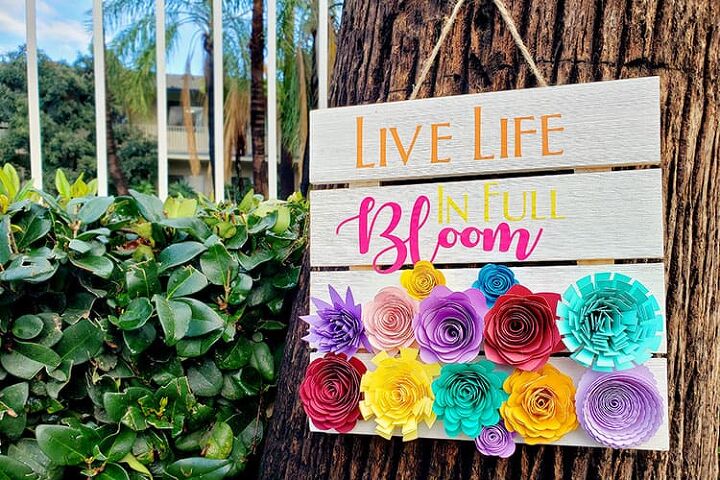
Check out this spring-themed sign that comes with Cricut paper flower embellishments and adhesive vinyl decal sayings!
Let’s hop straight into the Cricut sign tutorial for this week.
Create a Spring Sign with Paper FlowersFind below the steps to follow in order to create a colorful spring-themed sign by creating paper flower embellishments and vinyl decals. Once you have learnt how to create paper flowers with this tutorial you will be able to create other creations as well.
Supply List
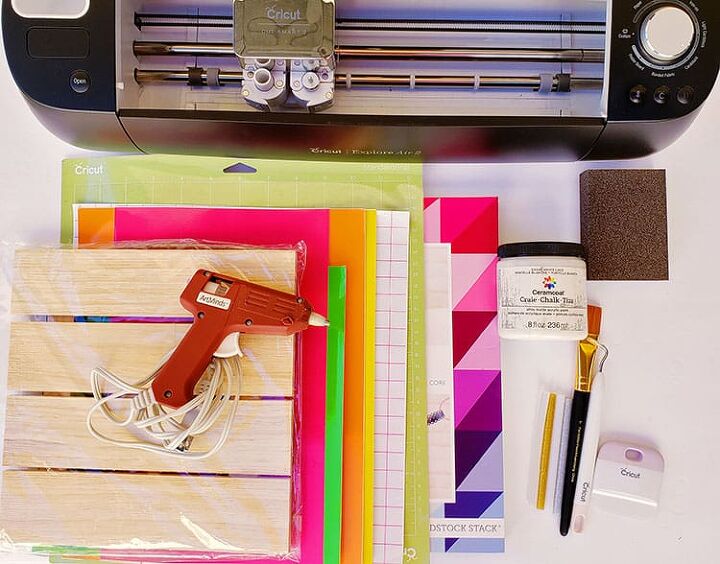
- Cricut Cutting Machine (I used the Cricut Explore Air 2 – see the review for the machine here)
- Cricut StandardGrip Cutting Mat
- Adhesive Vinyl
- Transfer Tape
- Cricut Weeder
- Cricut Scraper
- Cricut Tweezer
- Glue Gun
- Glue Sticks
- Wood Frame
- Cardstock
- Chalk Acrylic Paint
- Paintbrush
- Sanding Block
Step 1: Prepare the Wood Frame
Prior to adding the adhesive vinyl and paper flowers, you must first paint the wood pallet.
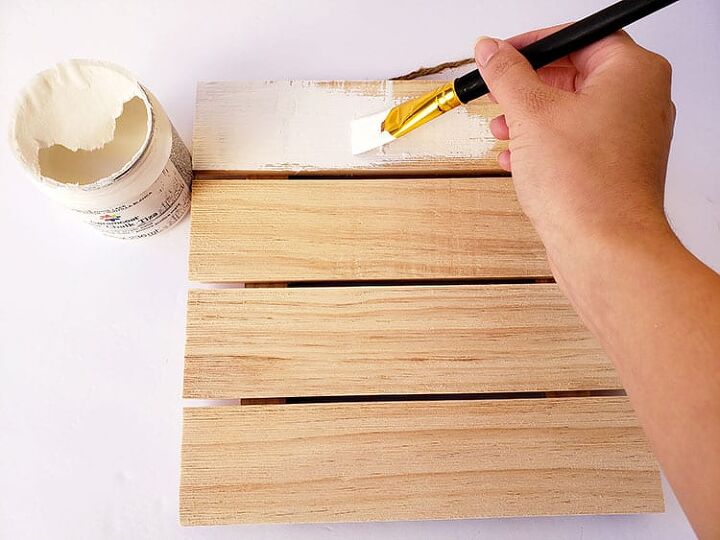
- Begin by sanding down the wood pallet. I prefer to use a sanding block rather than sandpaper.
- Place a layer of newspaper, construction paper, or table cover underneath the wood pallet as painting can get messy.
- Begin painting the wood pallet and going over it with two coats of paint. I absolutely love the look of chalk paint but acrylic paint will work as well.
- Let the paint dry for at least 30 minutes.
Step 2: Create Vinyl Text
While the wood pallet is drying you will want to create the spring text. You will need to create three separate text items. One saying “Live Life,” the second “In Full,” and the last “Bloom.”
- Once you are logged in to Cricut Design Space, open a new “Project”. Select the Text icon on the left toolbar.
- Once the text box pops up, begin typing the first message, ours will say “Live Life”.
- Next, head up to Font in the text edit bar and choose Aphasia BT as the text. Make sure the Linetype is a “Cut” Linetype, and Style “Regular.”
- Next, go ahead and choose the colors for the text. It is helpful to change the colors to the color of vinyl you plan to use.
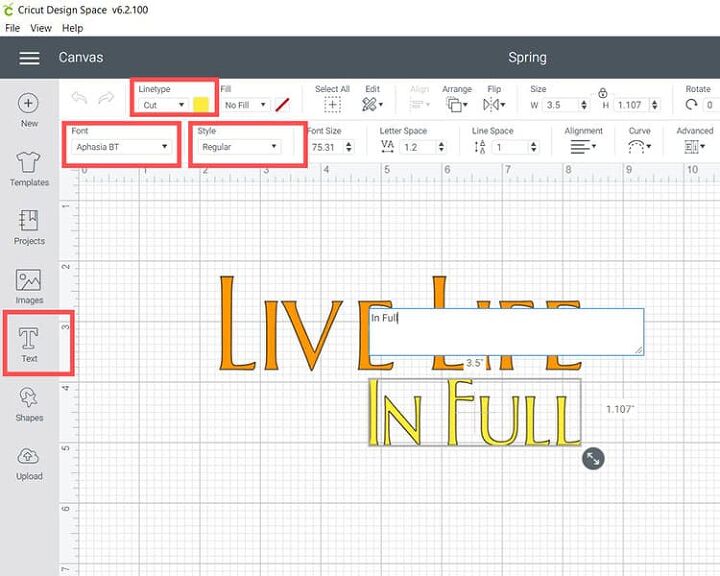
- You will repeat steps 1-3 two more times to add the two other text items. I used the “ Autumn in November” font type which I found and downloaded from Dafont.com for the word Bloom.
- Once all text items are complete rearrange them to your liking in Design Space. Ours is shown below.
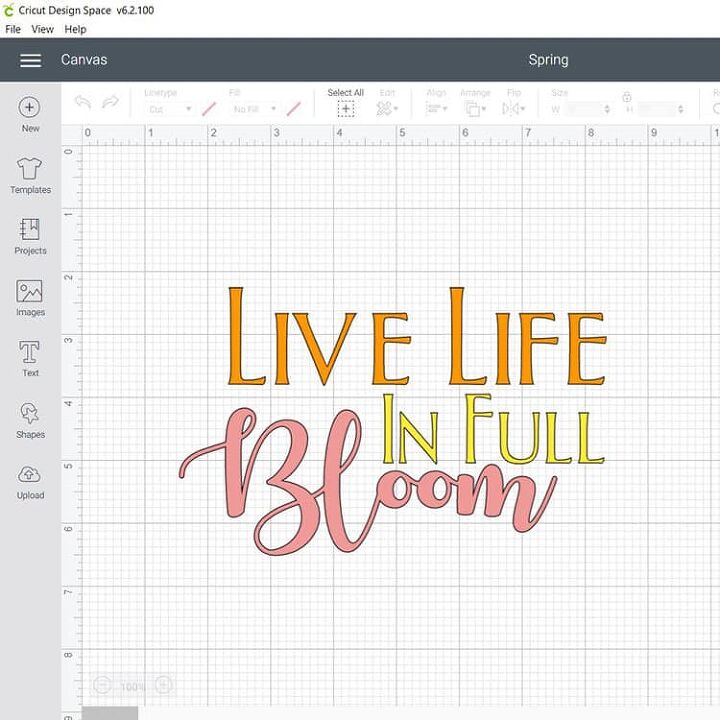
Step 3: Get Ready to Cut
Next, it is time to size your design, remember that there are gaps in the wood pallet, so make sure the design is not too big.
- When you are happy click on “Make It.”
- Select “Vinyl” as the material to cut.
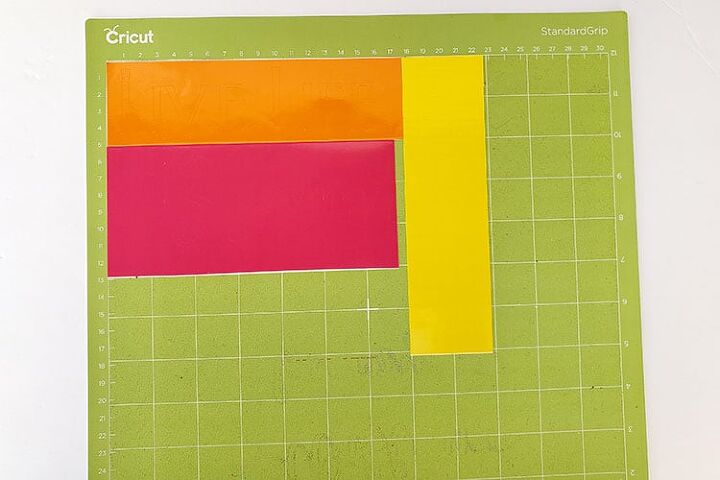
- Place your adhesive vinyl on your green cutting mat, load the mat and cut away.
Tip: You can cut all your words on one mat. Simply cut some strips of vinyl to size and place it in the correct spot when you look at the mat preview screen.
Step 4: Weed your Design
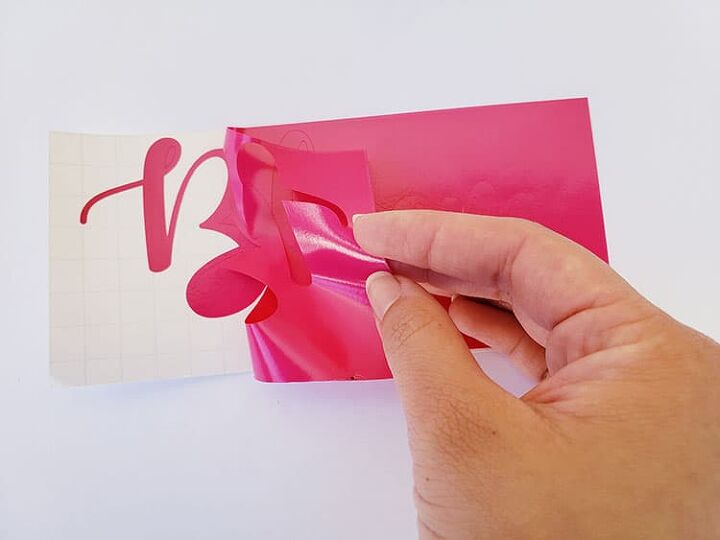
- Next, use your weeding tool and pick up the corner of the vinyl. Use your hands to peel away the excess vinyl. Go slowly around the curvy letters. Don’t forget to weed out the inside pieces.
Step 5: How to Transfer Adhesive Vinyl to Wood Frame
Before we apply the adhesive vinyl to the wood pallet, please ensure that the paint on your wood pallet is dry.
- It is much easier to use transfer tape/paper to move your design over to the wood pallet. Cut your transfer tape so that it is the same size or slightly larger than your adhesive vinyl text. (Find the best vinyl transfer paper blog post here).
- Place the transfer tape on top of the adhesive vinyl and be sure not to have any bubbles or bumps.
Tip: Use the scraper to get rid of any bubbles or imperfections
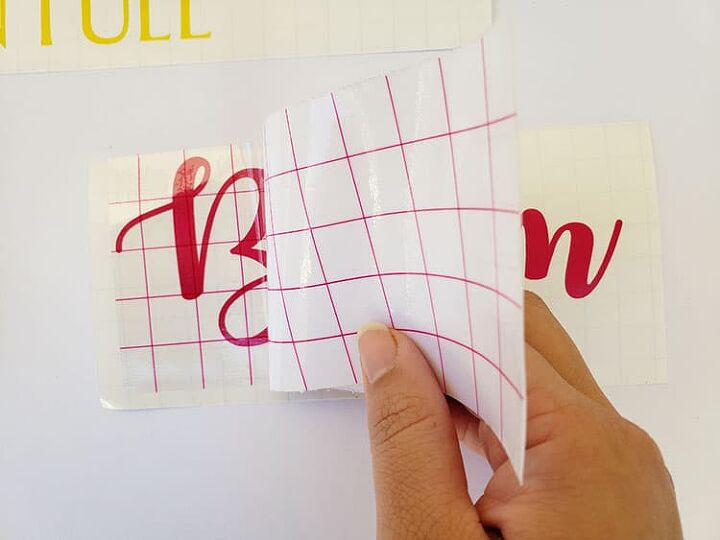
- Use your scraper to rub over both the front and the back of the design. We want the adhesive vinyl to stick to the sticky transfer tape so that it will lift up off the vinyl backing sheet.
- Slowly peel up the transfer tape and design from the top left-hand corner. Move slowly and try to work at a semi diagonal angle. If your design is not lifting up with the tape, place it back down and give it another good rub with the scraper.
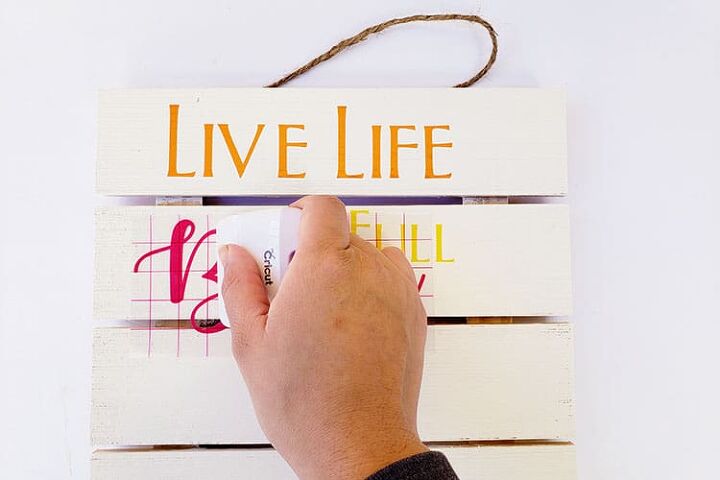
- Place the design on the pallet, making sure there are no bubbles or bumps. Try to make sure that it is in the center and that it is straight.
- Once again, use the scraper to rub over the design. This time we want it to stick to the wood pallet and to release from the transfer tape.
- Slowly peel back the transfer tape. Once again if your adhesive vinyl design lifts up, simply place the transfer tape back down and rub over the problem area again. Place your transfer tape back on the backing paper (you can reuse transfer tape so don't throw it away).
Step 6: Create Your Cricut Rolled Paper Flowers
- Click on the following link to open up the rolled flower templates on Cricut Design Space: https://design.cricut.com/landing/project-detail/601078492833530b582507d7
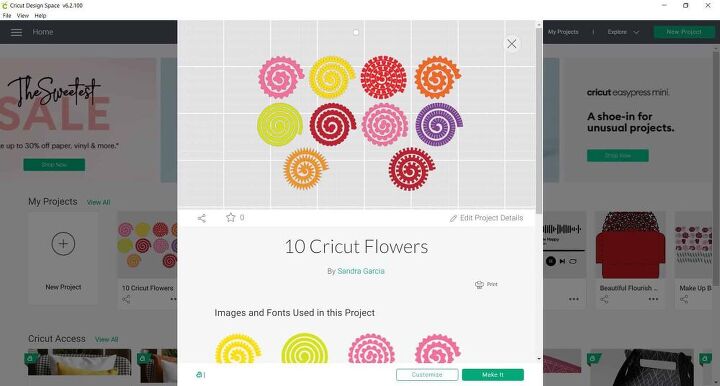
- You can either edit the design or click on “Make It.”
- Select “Cardstock” as the material to cut.
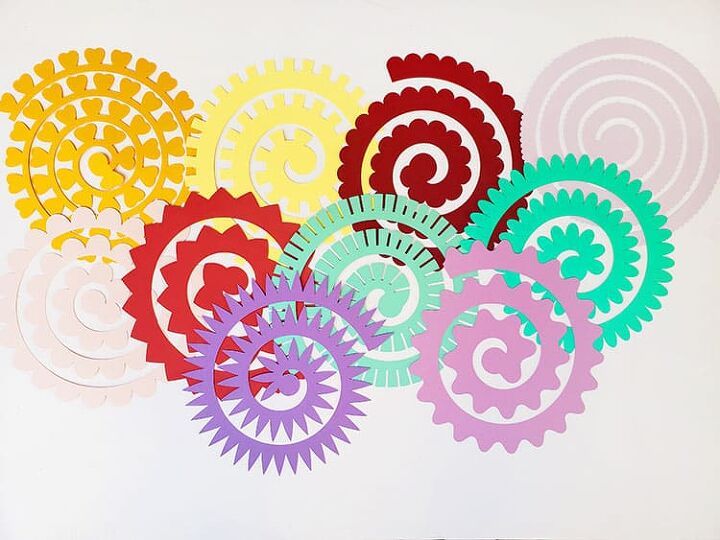
- Place your cardstock on your green cutting mat, load the mat and cut away. You may change the colors of the cardstock to the designs.
- Once the files are cut, carefully remove them from the mat – I find it easier to flip my mat upside down and to peel the mat away from the cardstock pieces.
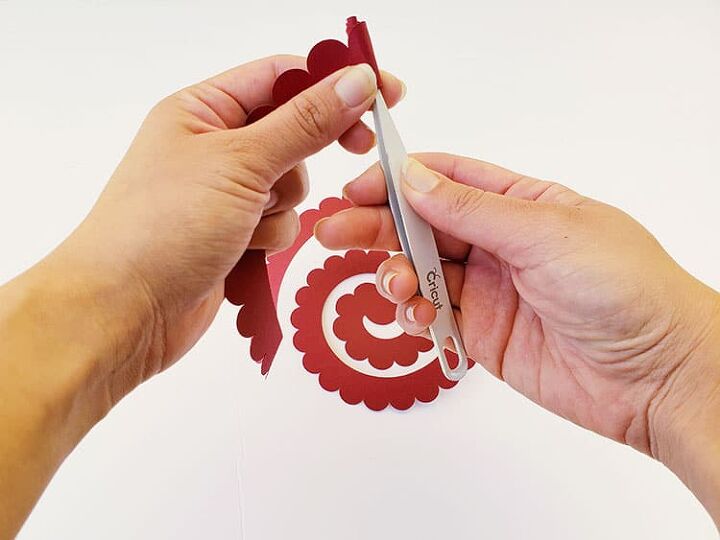
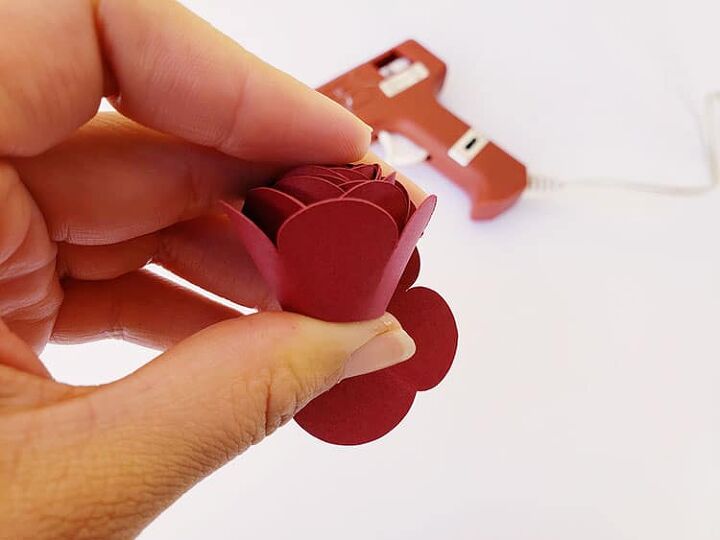
- Next, it is time to roll up your flowers. All you will need is a pair of tweezers and a glue gun.
- Grab the tweezer by the end of the paper file and begin rolling, once you have reached the end you will want to slowly let go of the design and get the flowers to your liking.
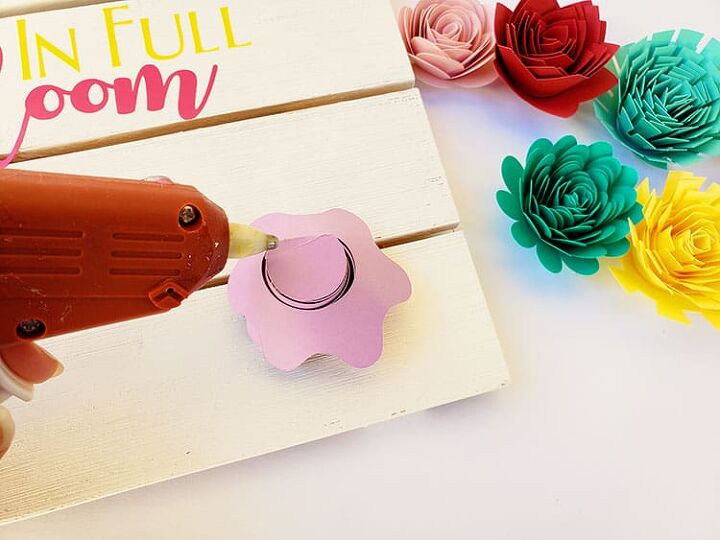
- From there use the glue gun to hold the flowers together.
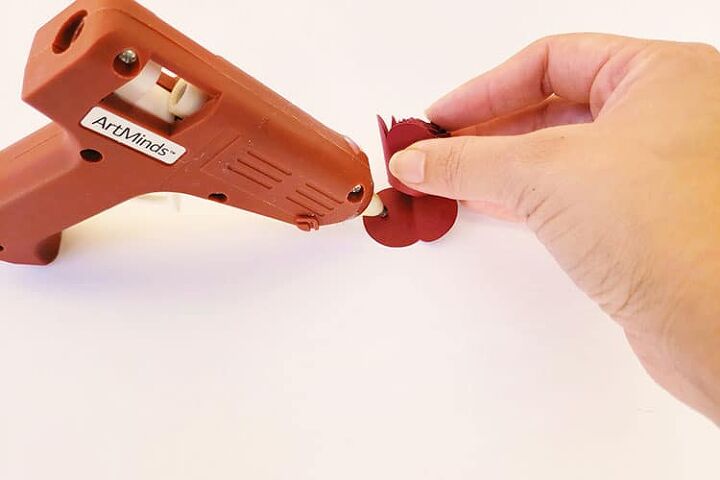
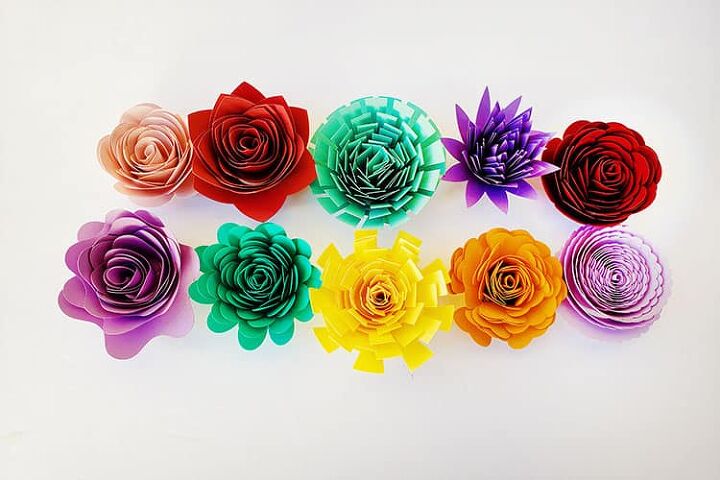
- Do this to the other nine flower arrangements.
- Finally, you will want to place the flower arrangements around your sign. I like to lay them all out in place before I start gluing them down.
Voilà, you have created a beautiful spring sign with paper flowers.
These steps can be used to create any other type of sign for any occasion.
You can even use the same steps that we used for creating paper flowers to cut and create flowers from other materials like felt or fabric!

Comments
Join the conversation
-
I will definitely add this to my list. How do you weatherproof the paper? Do you spray it with sealer before or after cutting it out? I live in Florida so the humidity is rough


Frequently asked questions
Have a question about this project?