


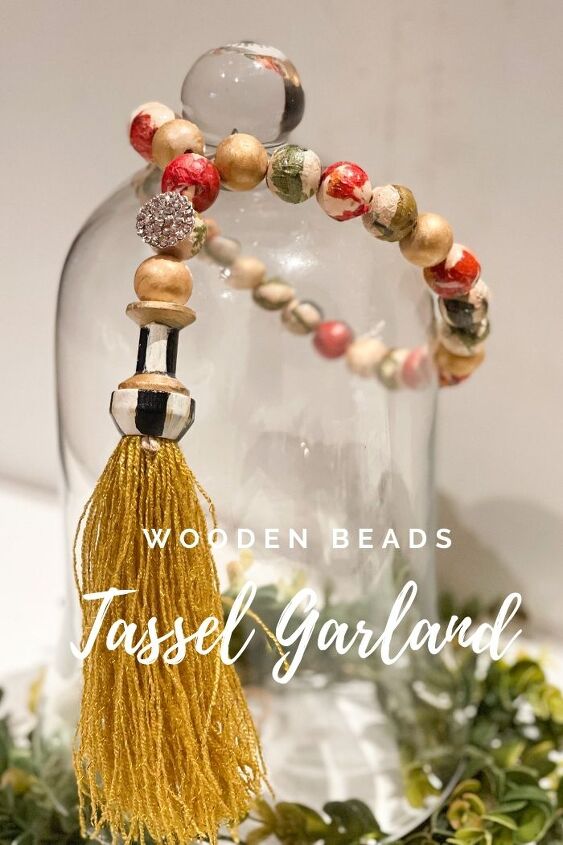
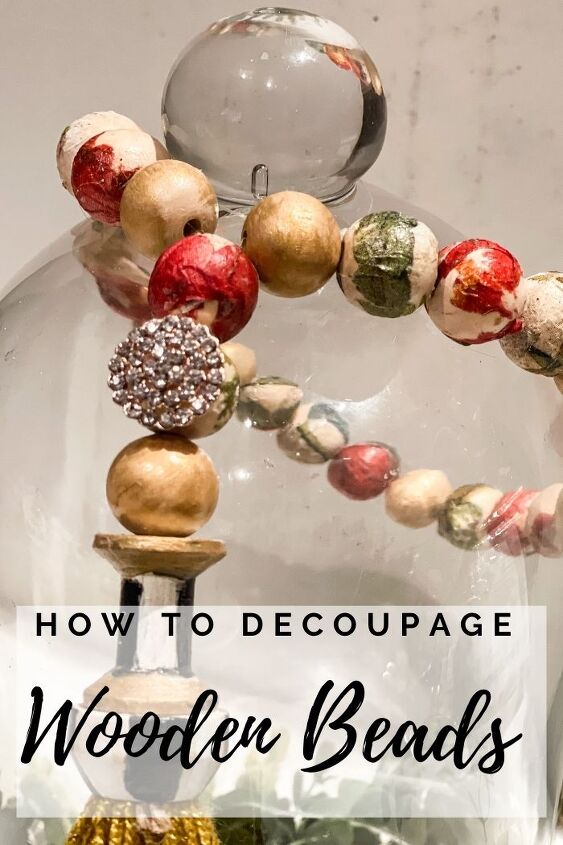
Decoupaged Wooden Bead Tassel Garland · Just That Perfect Piece
I am super excited to introduce this project to you! It seams that it is a case every time but I am super excited about all I do! Today I like to spend some time decoupaging and painting with you all. Learn how to decoupage round objects technique. Wooden beads decoupage is on my mind. Let’s create fun colorful wooden beads tassel garland shall we ? You may think what is so special about that now .. Let me re-assure you it is a project that you would love to make over and over .. It makes super cute ,elegant accessory in any style and in any place in the house. It also makes perfect gift ! Time to collect those gift ideas you all !
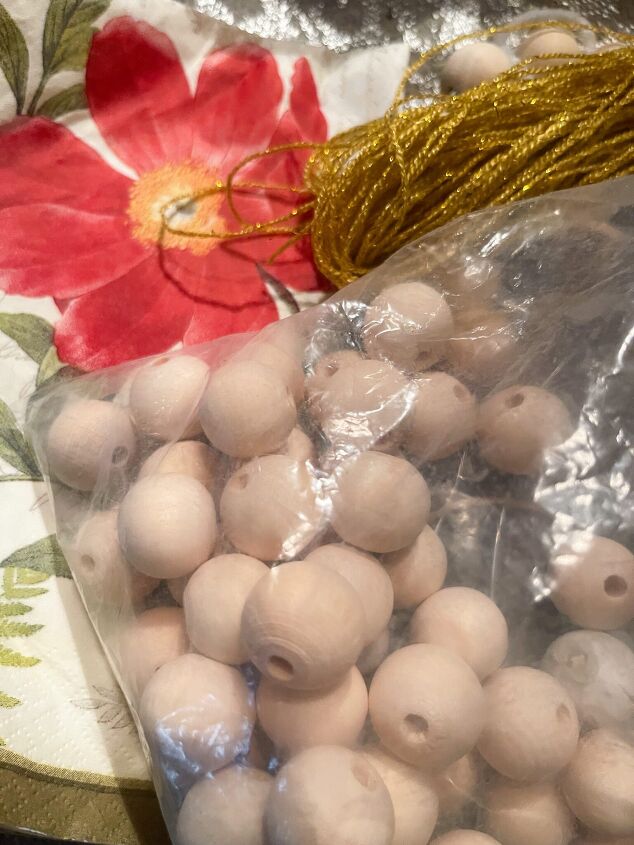
- Supplies needed to complete wooden beads tassel garland wooden beads 20 mm
- Mod Podge
- napkin of your choice
- twine
- wooden accessories .. spools
- yarn
- chippy like brush
Napkins i used in this project can be found in my STORE HERE
OK , All is collected and now it is time to go to work and make a garland! I so love to make garlands and experiment with new ways to make them better then the last one I made. Garlands are fun to decorate with and they may perfect addition to any space. Check HERE one I made out felt
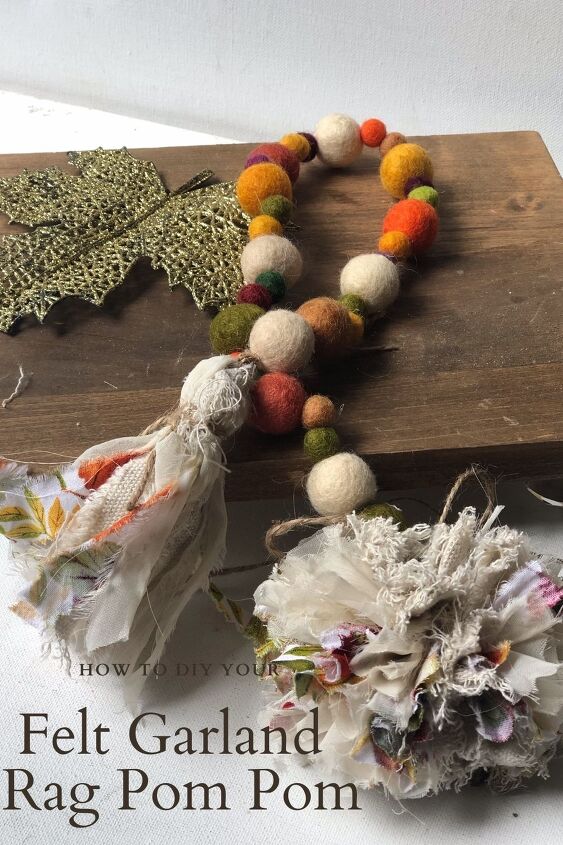
Check out his felted garland I made last year with fabric pom pom HERE
Garland that I would love to make is made out of wooden beads. My goal was not to paint them this time around it was time to decoupage some pretty napkins on it . This project is perfect for all those napkin leftovers that you may have laying around
How to decoupage on round objects
Have you ever decoupaged on round objects? There are some tips to that technique.
- use forgiving napkin
- apply Mod Podge in sections
if you never decoupaged yet you may like to see tips on how to make it happen on all different surfaces HERE . In this post we will concentrate on how to decoupage on round objects in detail. We are going to decoupage wooden beads. Have you tried yet ?
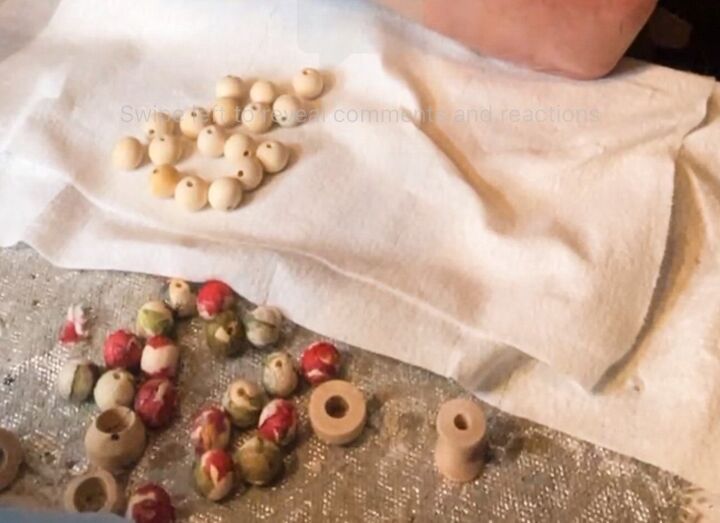
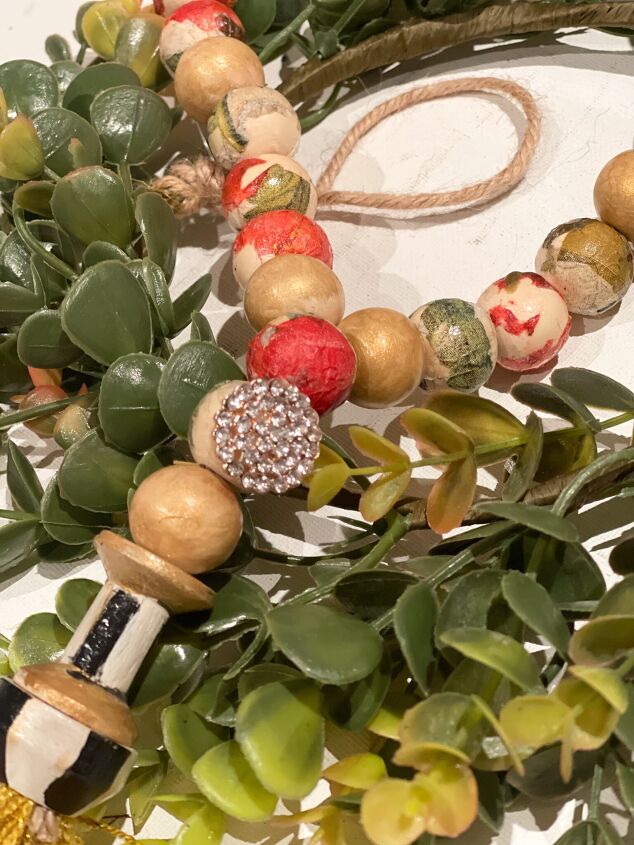
I absolutely love details on all.. and I am so amazed to see those beautiful detailed beads. My goal here is to change my 20 mm wooden beads into beauties
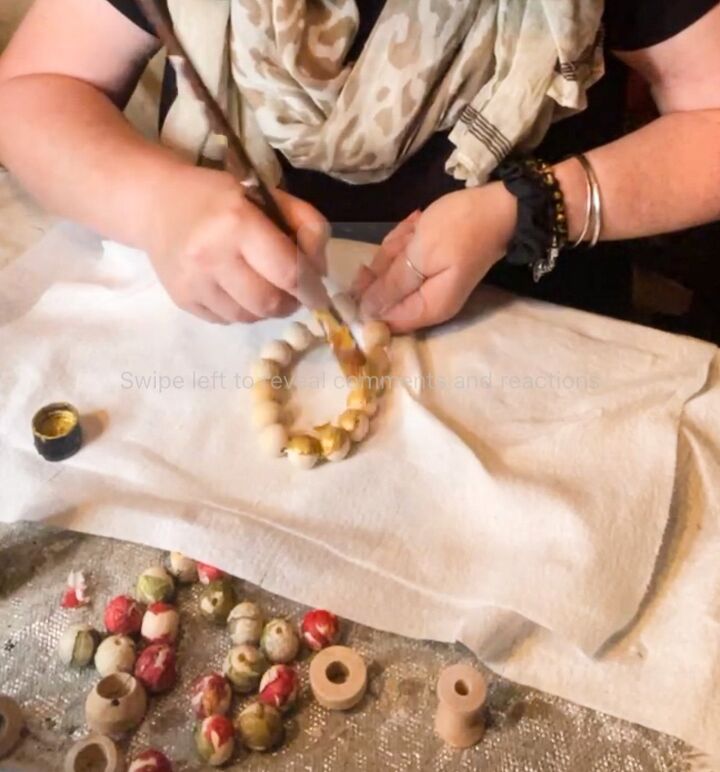
Steps to decoupage wooden beads
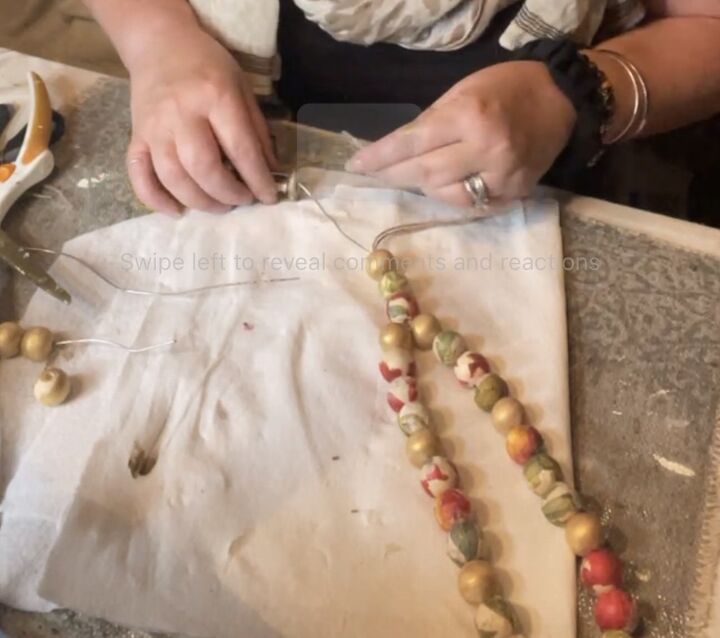
- string your beads
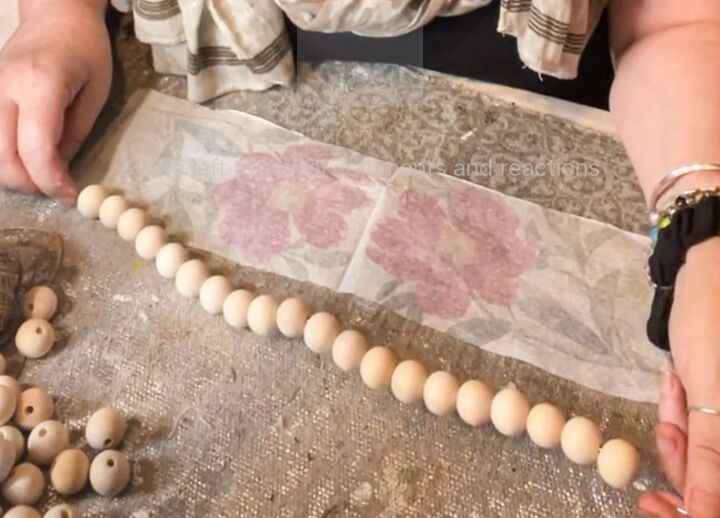
- apply thin coat of Mod Podge on one side
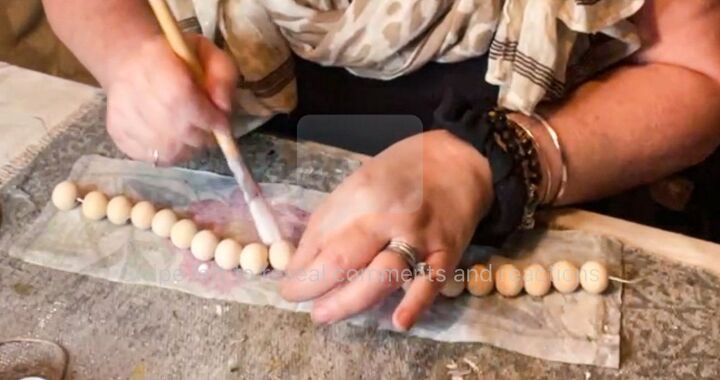
- fold your loosely strung beads on the side of napkin and wrap. Apply Mod Podge to other side of your wooden beads

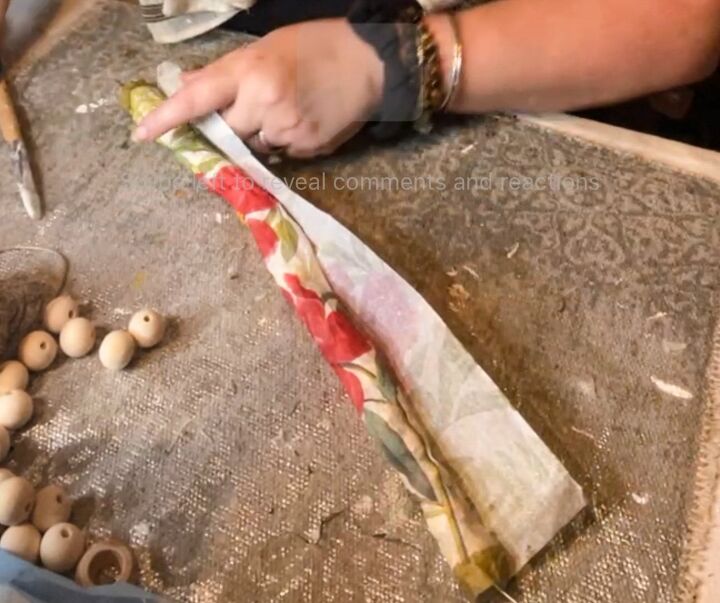
- cut with with scissors in between and begin cover all around with a help of soft brush
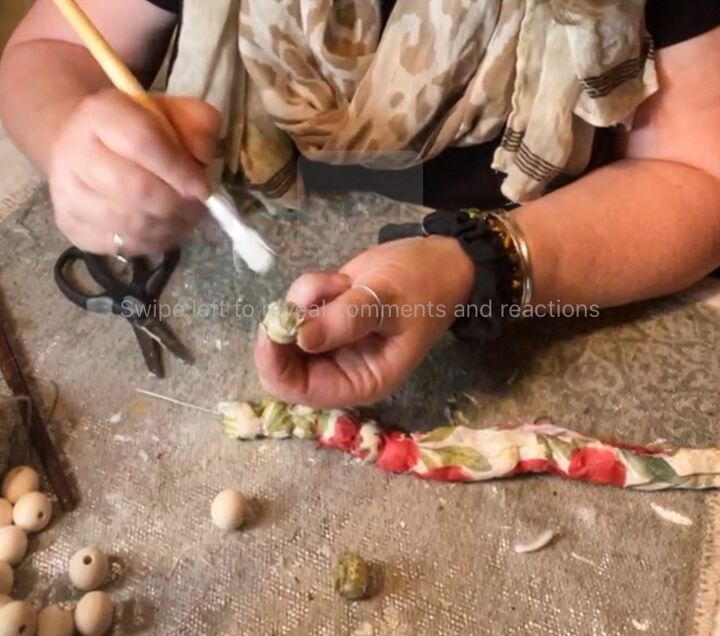
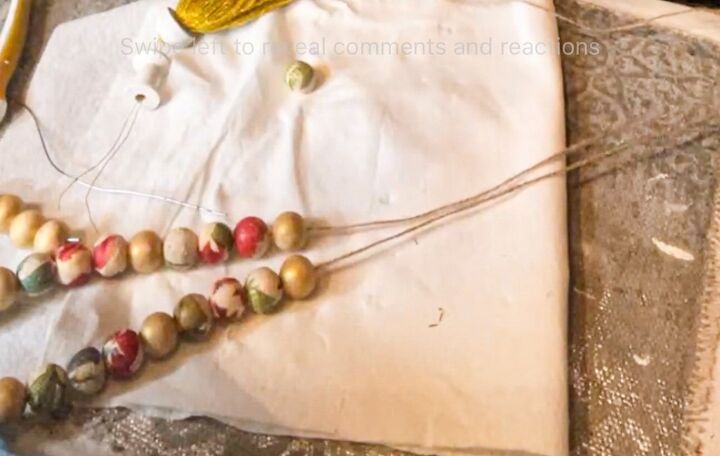
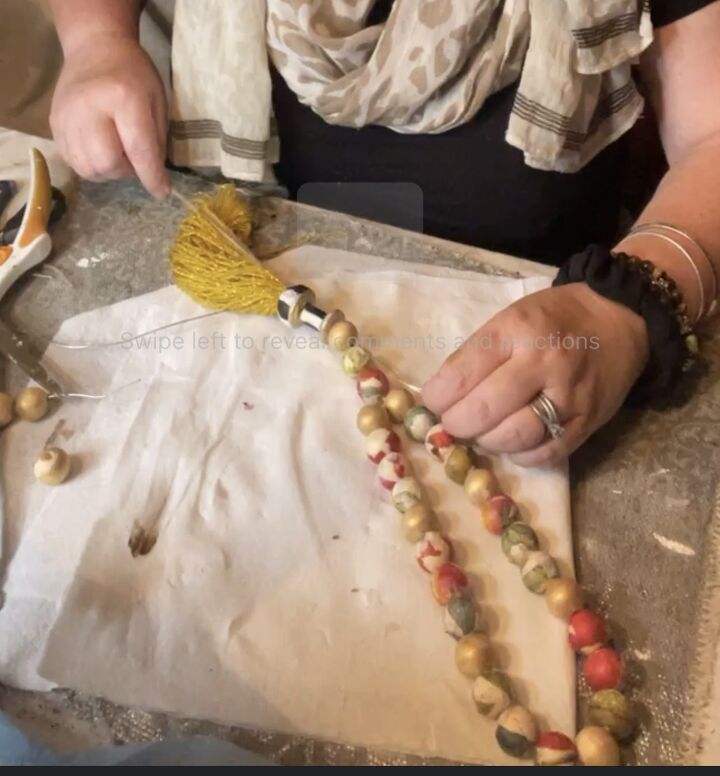
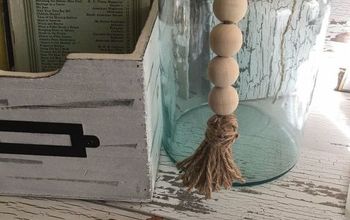
Wooden beads are decoupaged , simple not fasten tassel is made so now it is time to put it into some kind of pattern
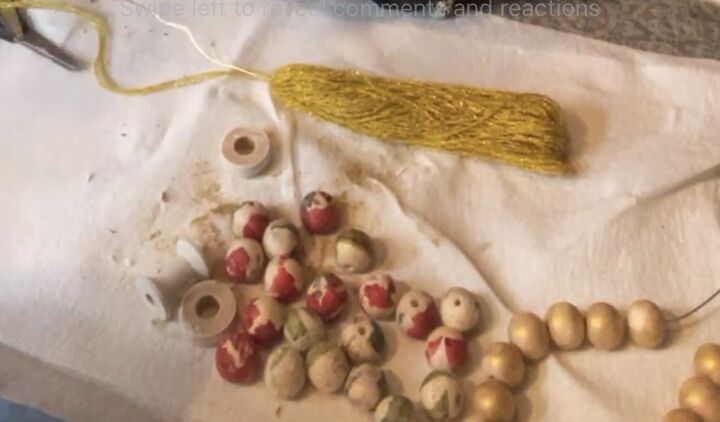
If you follow me for some time you know I will be squeezing a bit of gold here and there so I decided to put my Glorious Gold to use and paint some beads
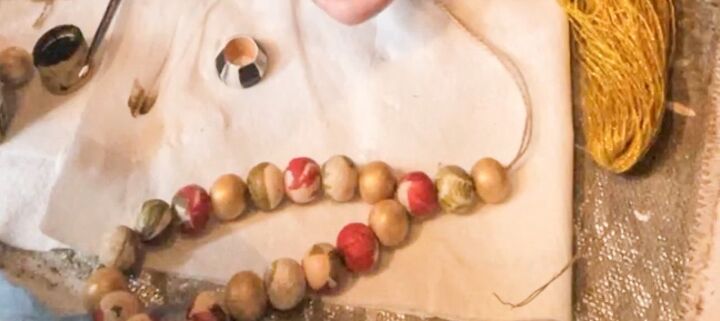
All is strung so now it is time to put it together . As you can see I connected both ends by stringing couple extra beads before I added my spool
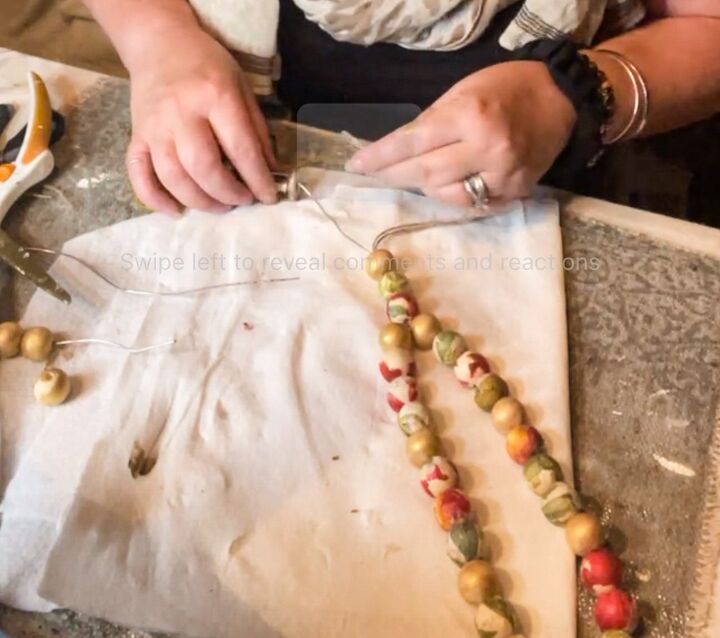
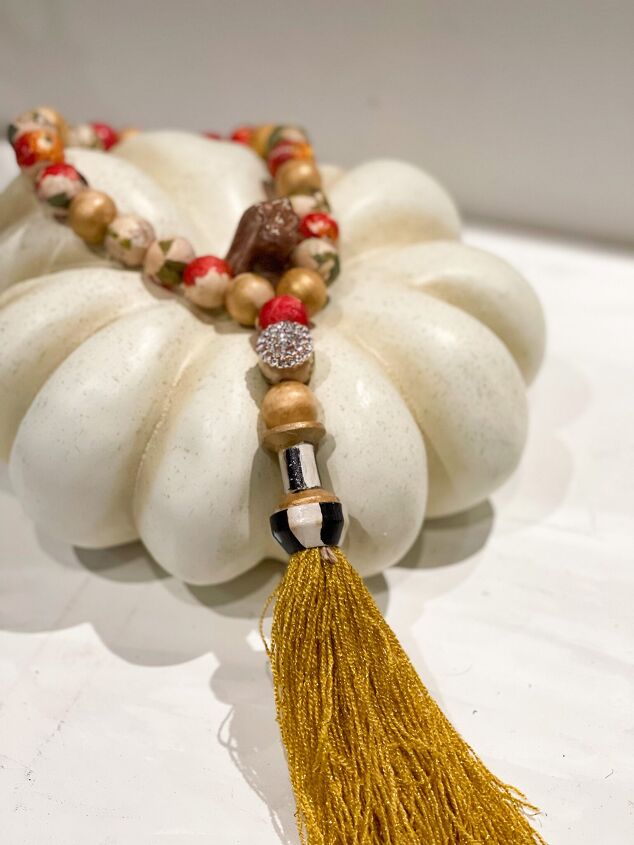
I love me some MacKenzie Childs pattern so I had squeeze that in and paint my tiny spool some stripes. CHECK SOME OF MY PATTERNED PROJECTS HERE
you can actually see this whole project made on one of my crafting lives with Facebook friends HERE
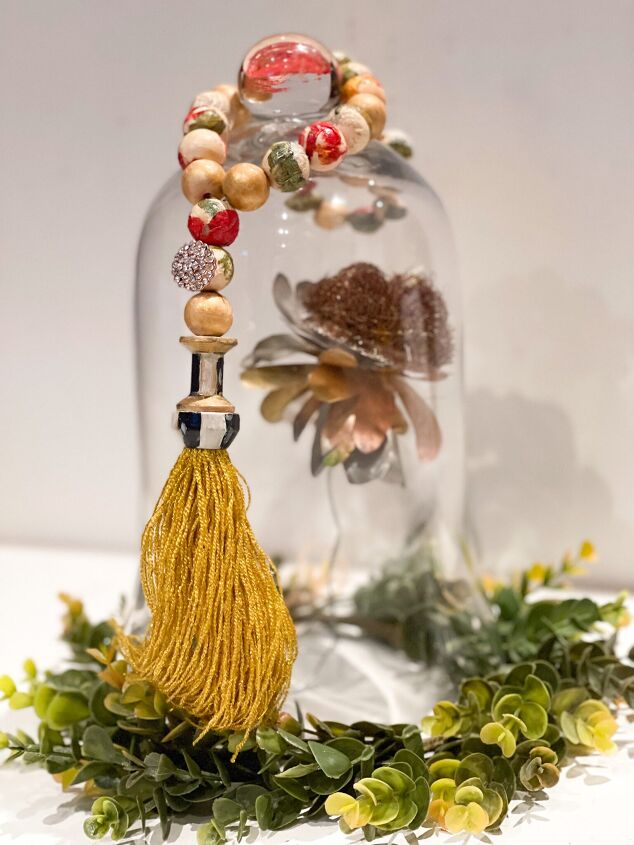
Threading all and seeing it work make me soo hapy
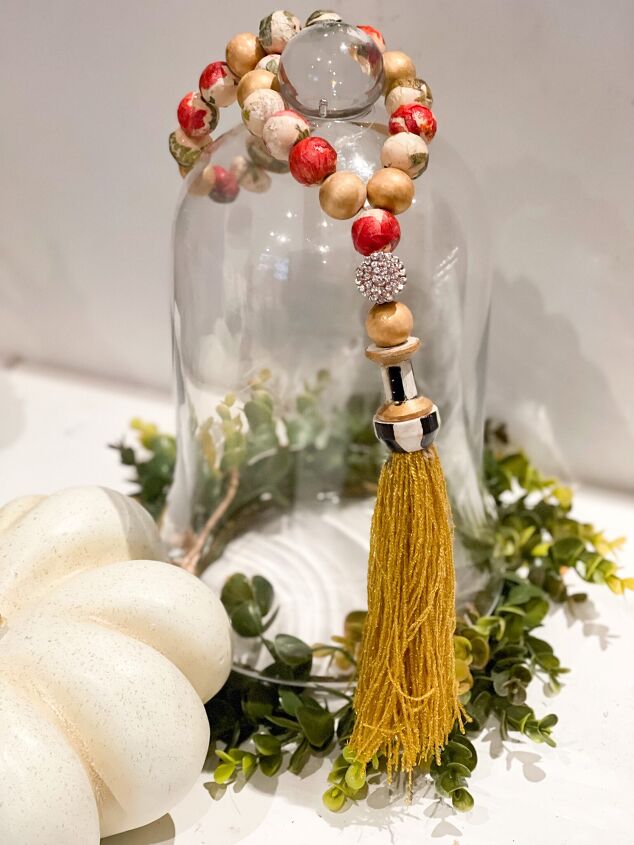
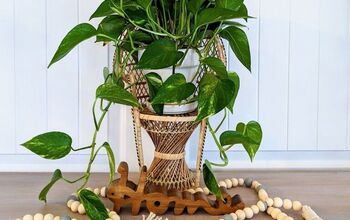
I absolutely love my wooden beads tassel garland ! As you can see I even embelished one bead with gorgeous bling . You can get yours HERE
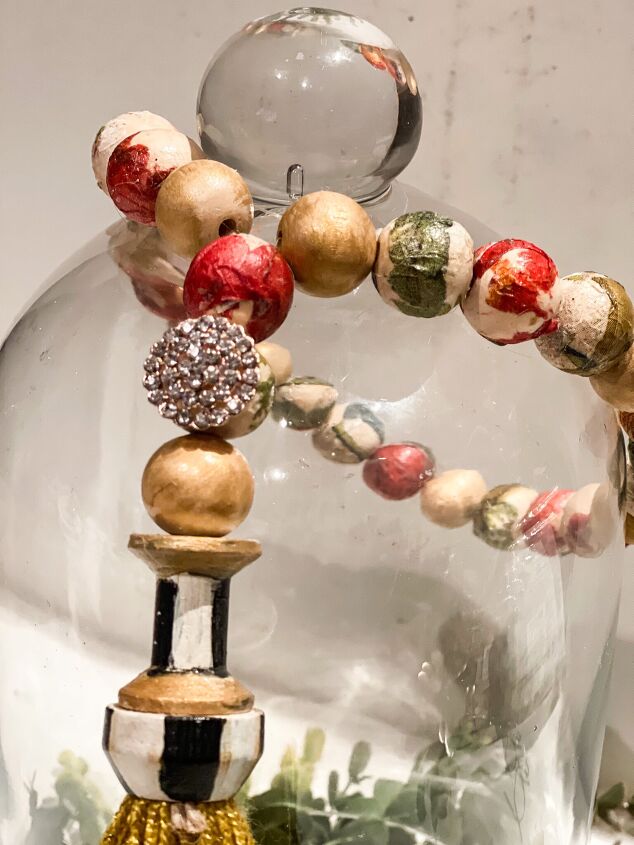
When all is dry make sure to varnish all with Triple Thick. It is easy accessible in any craft stores or on Amazon HERE
Full live video with this project BELOW
Please Save This To Pinterest or Share on Social Media
Friends, your shares are how this site grows and I am sincerely grateful. A quick share to Facebook or save to Pinterest allows me to bring more home decor projects and crafts to more home decor DIY lovers
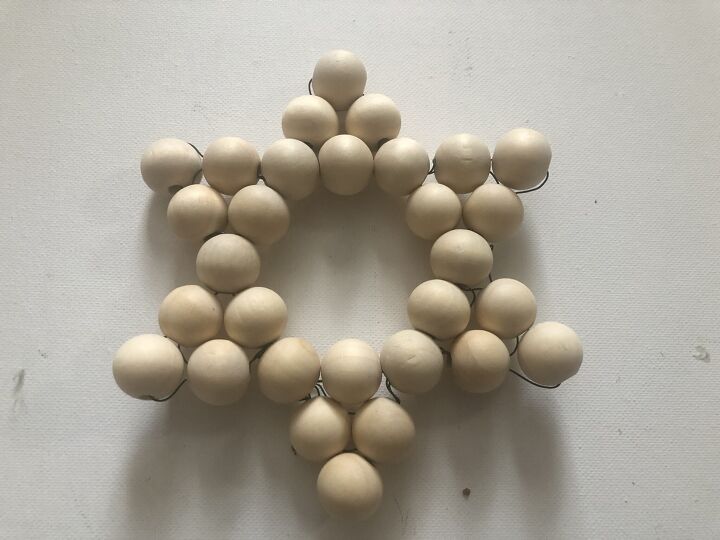
I love crafts with wooden beads. Check my easy star project HERE

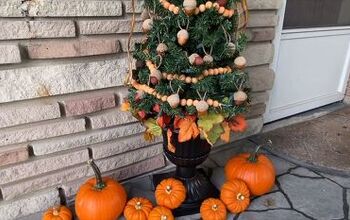
This pumpkin with decoupaged beads was so much fun to make ! Check all details HERE


Comments
Join the conversation
-
It looks so elegant🙀❤️
-
Seems like a lot of work, but payoff is beautiful!


Frequently asked questions
Have a question about this project?