


DIY $3 Dollar Tree Moss Bunny Spring Wreath
A sweet wreath to take you from winter and into spring! This adorable and very affordable moss bunny pom-pom wreath features 3 Dollar Tree finds, and only costs $3 to make. Click through for the step-by-step tutorial.
The weather has been very cold here in Texas, and I believe we are all looking for a Spring refresh so I thought it would be fun to feature a very simple craft project today with happy, Spring vibes.
On a recent trip to Dollar Tree, I found these adorable moss bunnies (affiliate link). I knew they would be the perfect start to a wreath.
Wreaths can be so expensive, so I love using dollar store items when I can.
Then I found a bamboo wreath, and I love how the natural elements play so well with the moss on the bunnies. And, to top it off I was amazed to find yarn. I have noticed that Dollar Tree has really stepped up their craft section, and I am loving it!
Follow below for all of the steps to make your own dollar store bunny wreath that is the perfect transitional wreath from winter into spring.
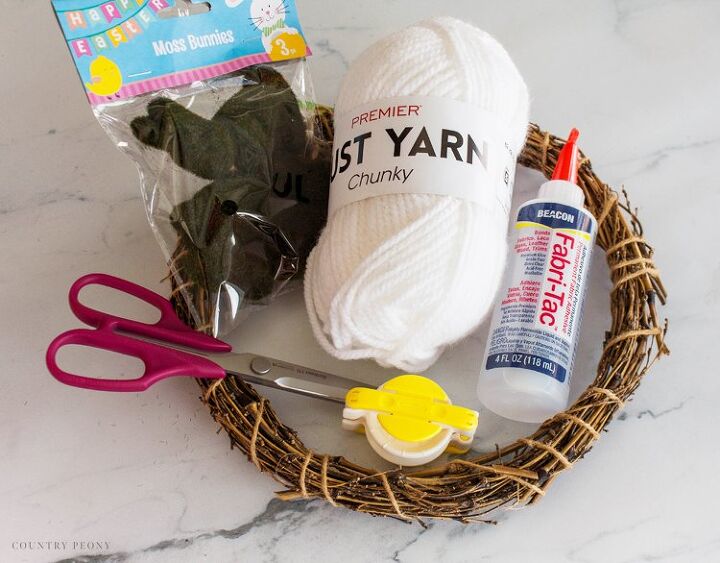
For this project, you will need:
- Dollar Tree Moss Bunnies (linked above)
- Bamboo Wreath
- Yarn
- Beacon's Fabri-Tac
- Clover's Pom-Pom Maker. I used size 35 and 45 for this project. (affiliate link)
- Scissors
Make Pom-Poms using Clover’s Pom-Pom Maker (linked above). For this project I made 6 size 45 pom-poms, and 3 size 35 pom-poms.
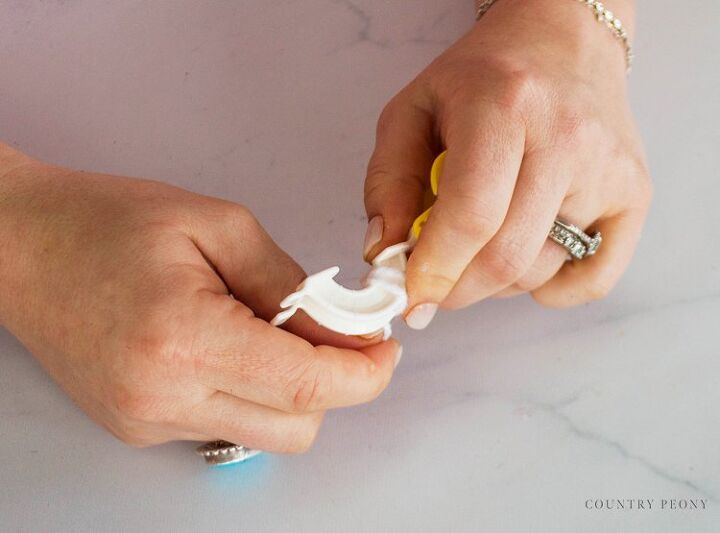
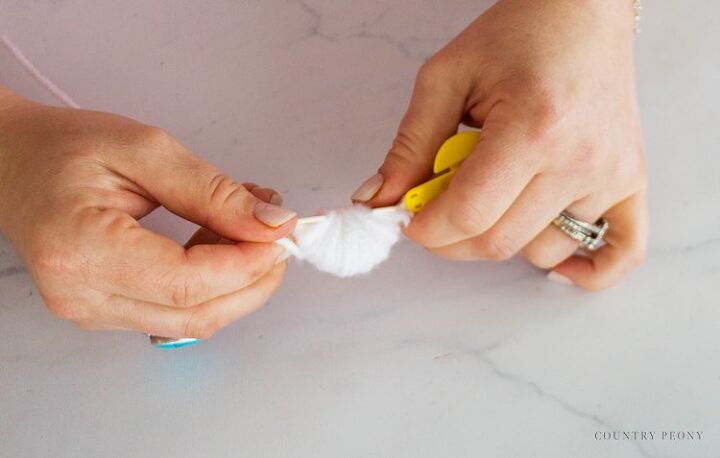
Open up the pom-pom maker. Tightly wrap the yarn around one side of the pom-pom maker arm until you have a full, consistent amount of yarn on your pom-pom arm.
Then, close the pom-pom maker arm and carry the yarn over to the other arm. Continue to wrap until you have a full, consistent amount of yarn on your other pom-pom arm.
*Keep in mind the more yarn you add to the pom-pom maker, the fluffier and more full the pom-pom will be.
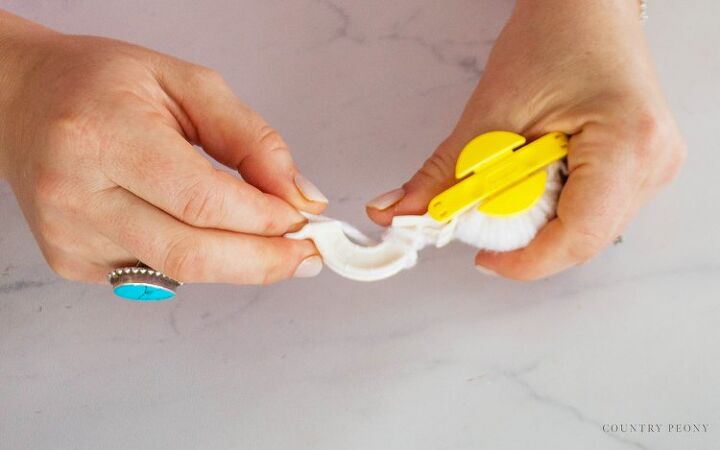
Once you have achieved the yarn fullness you are after close the arm on the other side. Snip the excess yarn.
Cut a separate piece of yarn and set it aside.
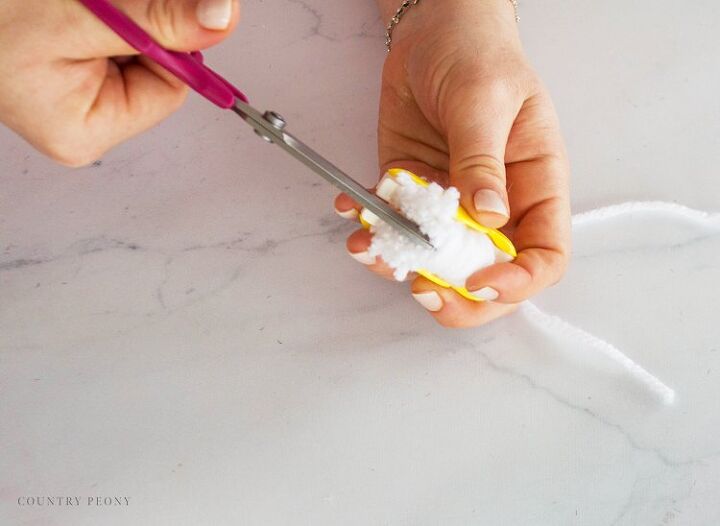
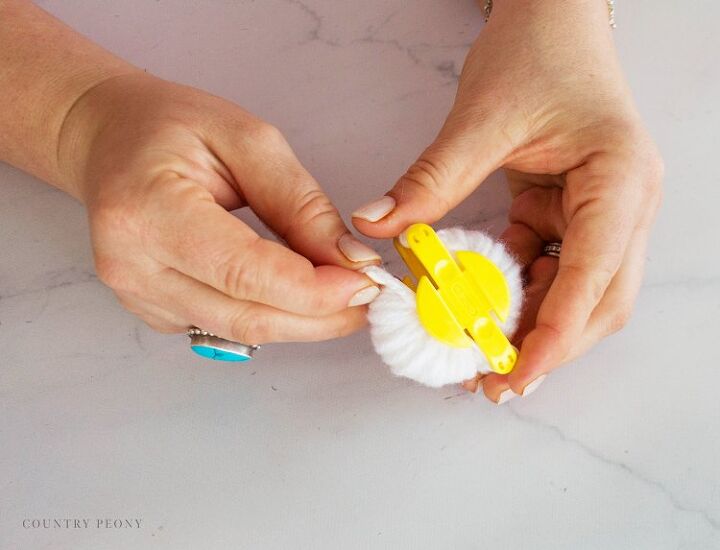
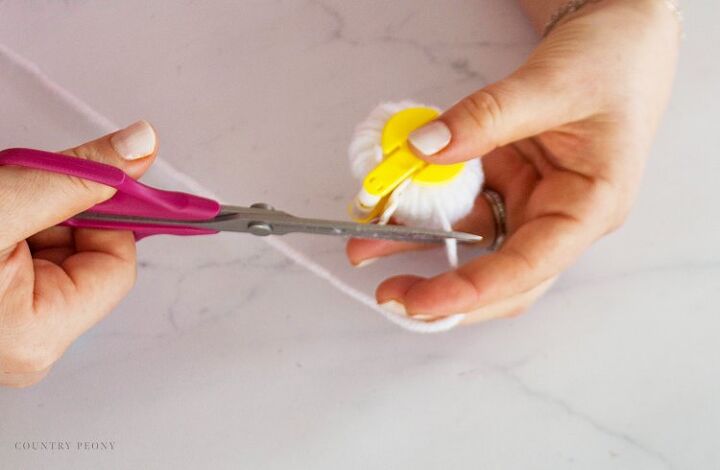
Ensure that both pom-pom arms are closed and snug, then follow the pom-pom maker guideline in between and start to cut the yarn.
Once you cut the yarn all the way around the pom-pom maker, double knot the extra piece of yarn around the pom-pom.
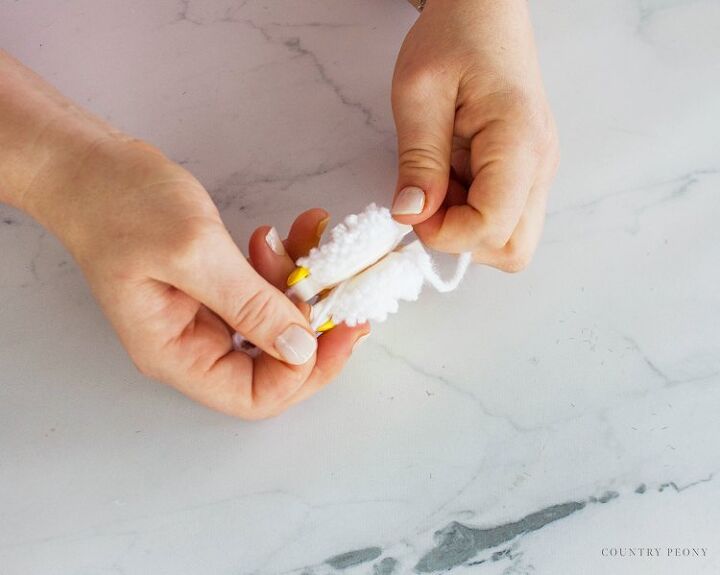
Now for my favorite part: open the pom-pom maker arms, then slowly pull the pom-pom maker apart, revealing the cutest pom-pom ever!
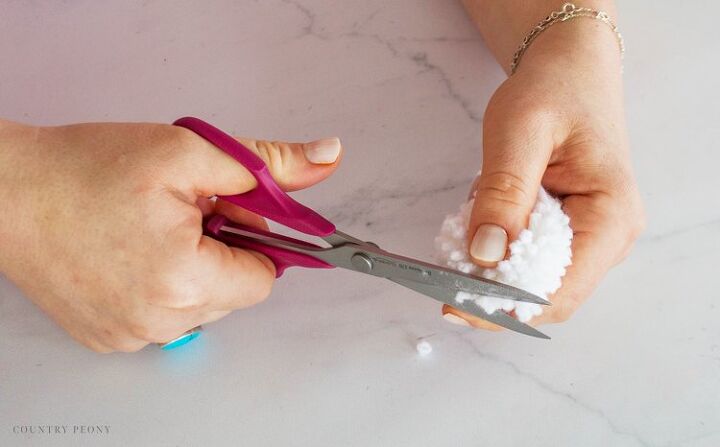
Now it is time to fine tune and give your pom-pom a little trim. Cut off any excess yarn around the pom-pom to give it a full and consistent look.
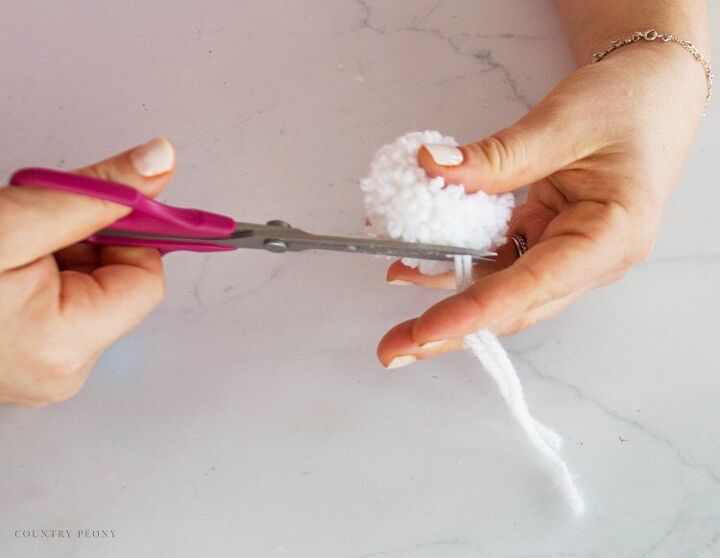
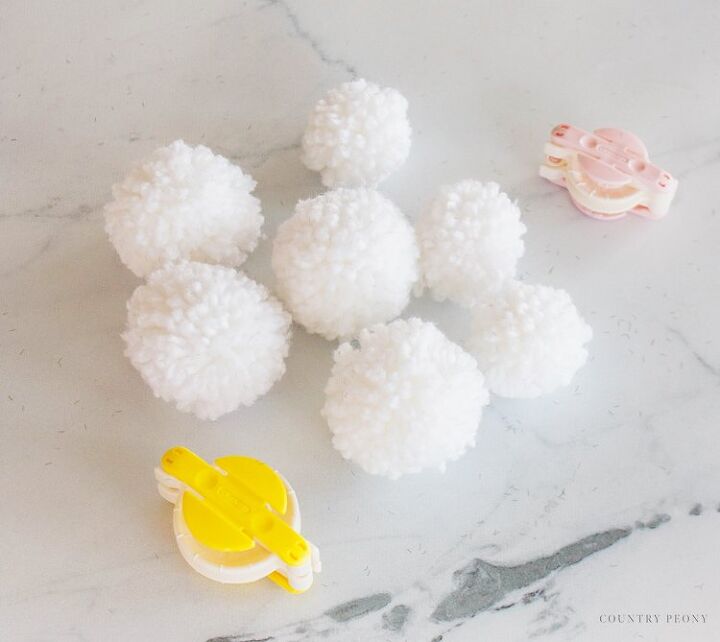
Make enough pom-poms for your wreath. As a reminder, for this project I made 6 size 45 pom-poms, and 3 size 35 pom-poms.

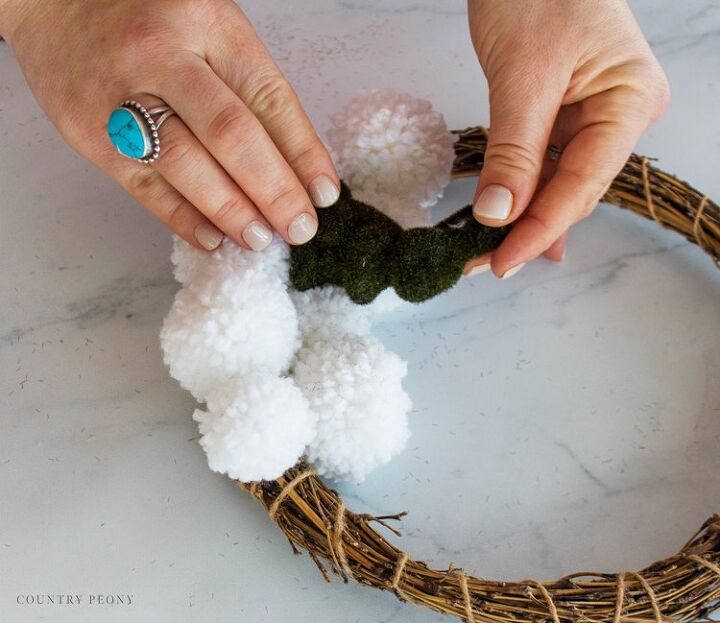
Use Beacon’s Fabri-Tac to attach the pom-poms to the bamboo wreath frame.
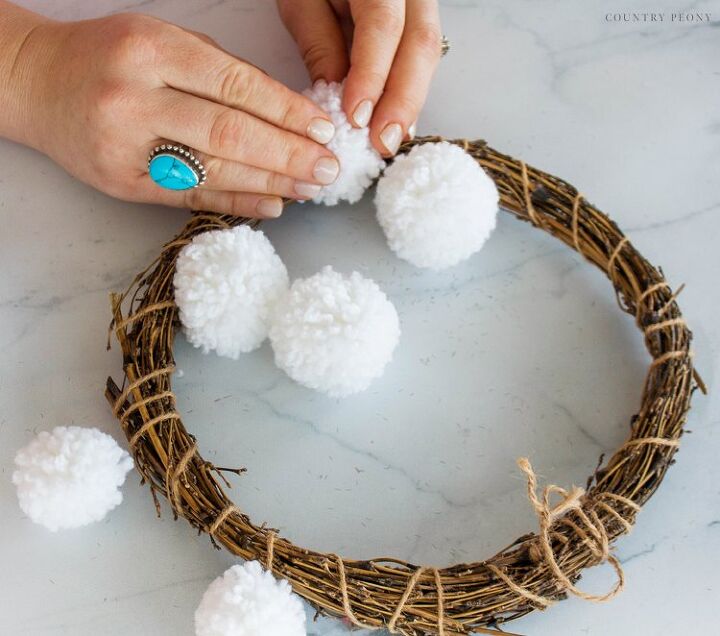
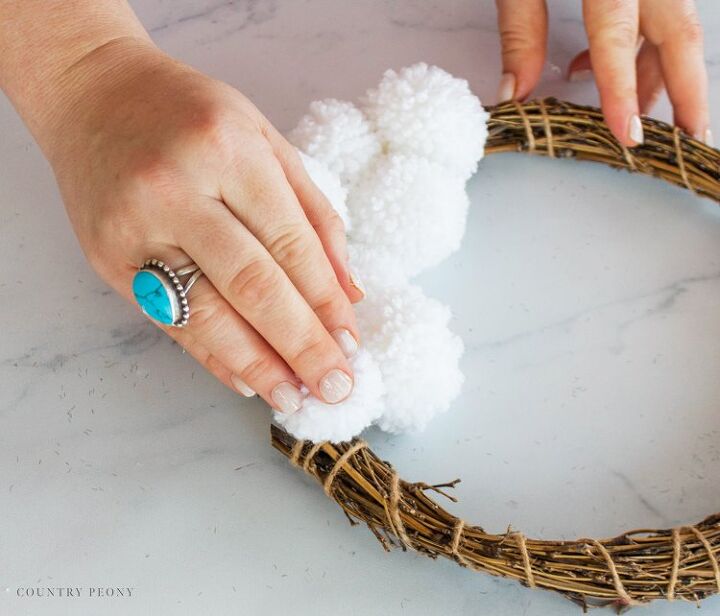
Attach the pom-poms to the wreath one at a time, and right next to each other. Placing the smaller ones next to the larger ones to create interest.
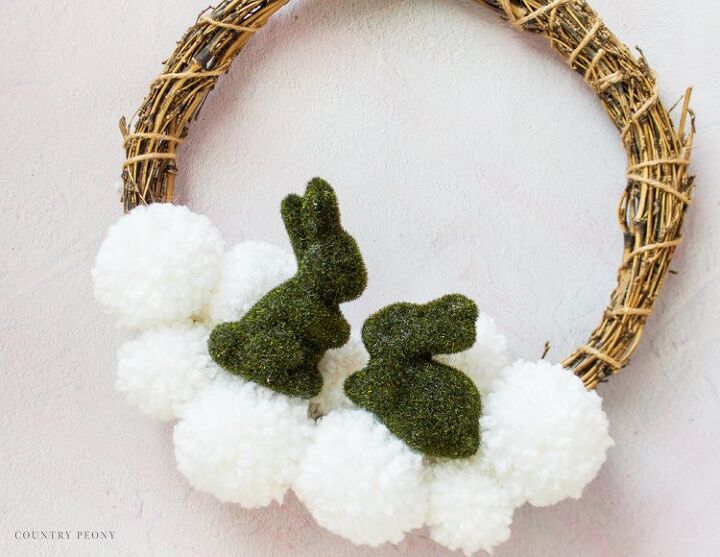
*I only applied my pom-poms to the bottom of the wreath to create a nice base for the bunnies. I also wanted to keep the bamboo wreath exposed because I loved the natural quality it brought to the wreath.
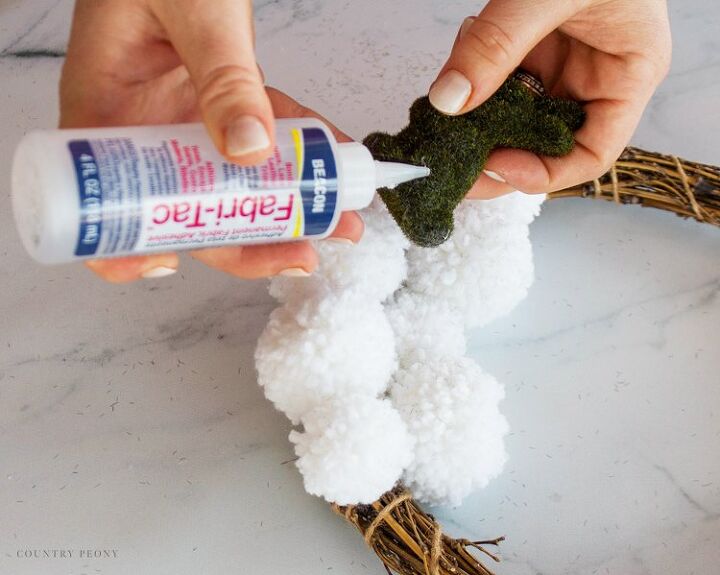
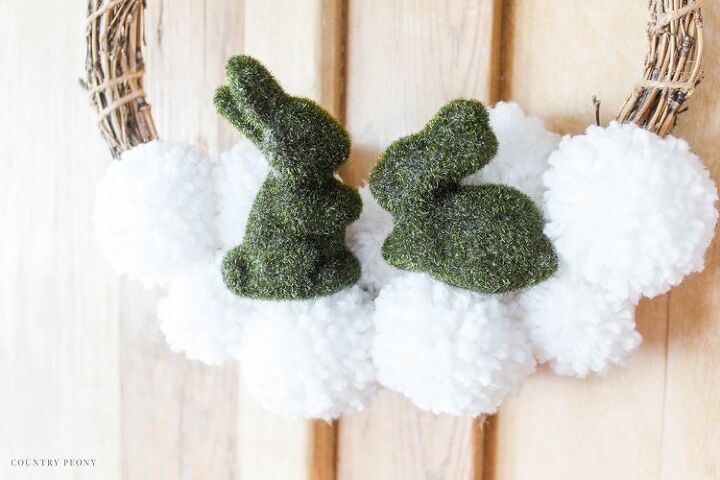
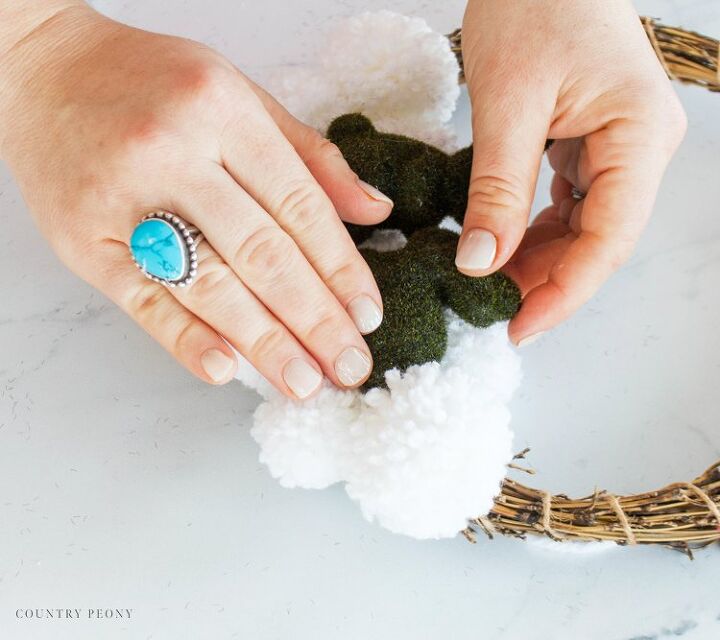
With Fabri-Tac, attach the bunnies to the pom-poms.
Nestle them into the pom-poms so they are secure.

I love how this wreath turned out. I love how it is a beautiful transition from winter into spring, and I love how inexpensive it was to make even more!

Thank you so much for allowing today. I hope you enjoy making your own Dollar Tree wreath this Spring!
Resources for this project:
See all materials


Comments
Join the conversation
-
🥰🥰🥰really cute!! I make wreathes and give them away.. May have to try one of those.....
-
Everything arrived today. Perfect for spring and due to the low cost, I can make and share with family and friends. Thanks for your idea!


Frequently asked questions
Have a question about this project?