


DIY Fall Floral Arrangement

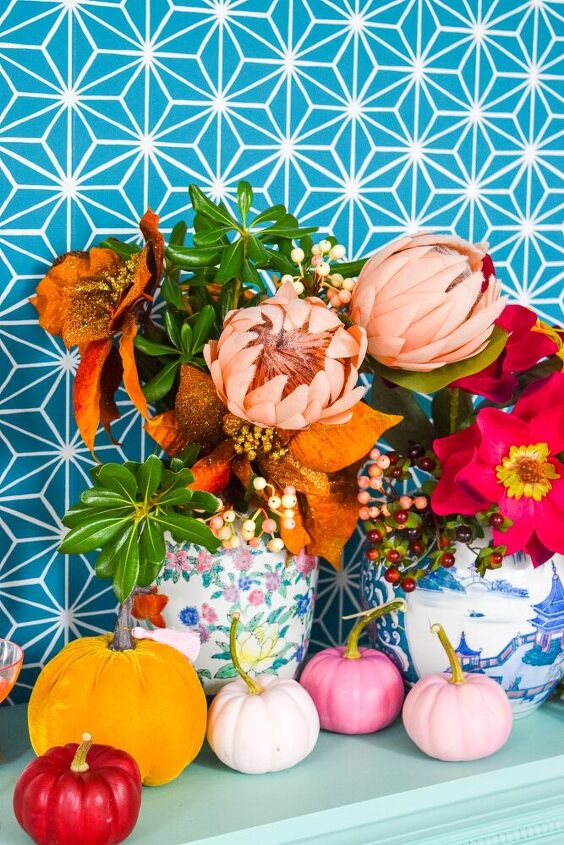
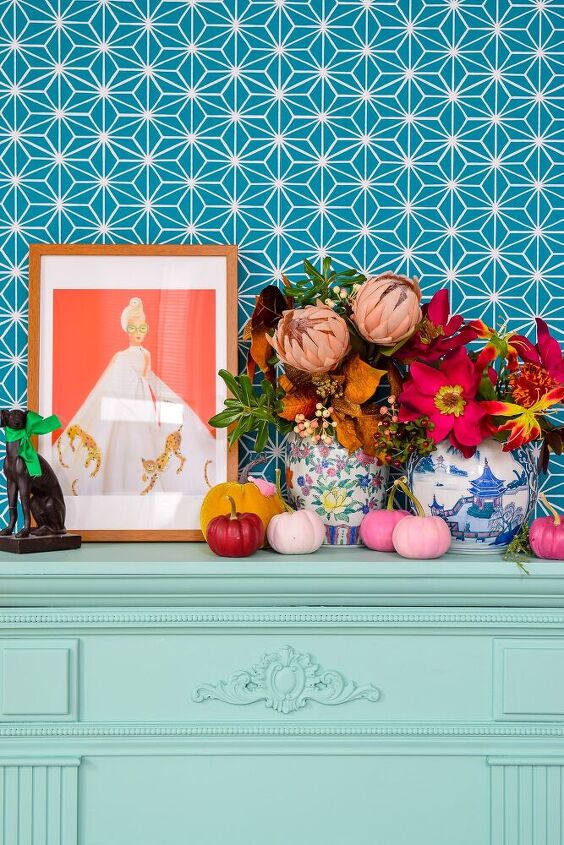
I’ve been playing with florals for as long as I’ve been playing with colors and patterns. My fall mantel in the studio was missing a little something, so I brought out my big chinoiserie vases and got to work with the Fiskars Powercut Snips. I wanted to make a colorful fall floral arrangement that could stay up until Christmas. The colors in this gorgeous vase are perfect for the fall stems I'll be using.
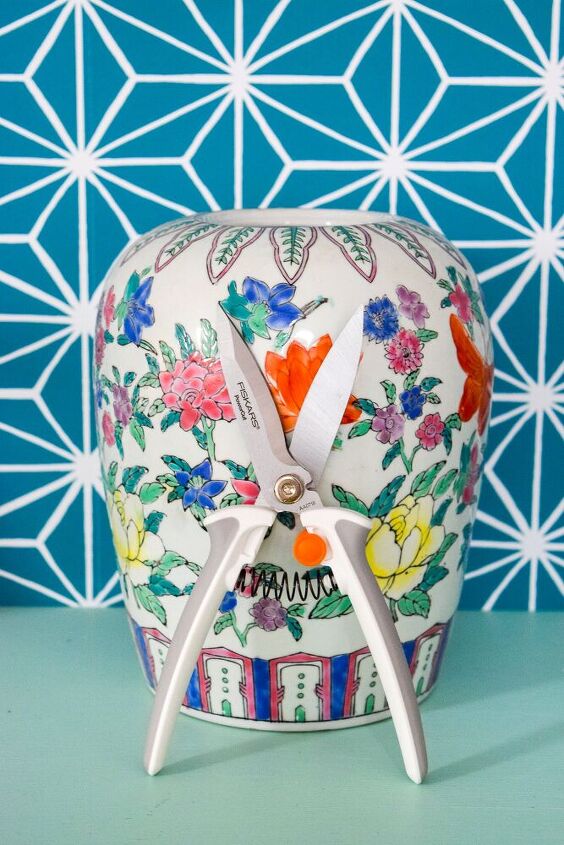
I like to place the vase in the area that it will be placed, so I can arrange the stems perfectly for that area. You will need:
Floral Stems
Power Snips
Vase
Before you start cutting your stems, measure how long they need to be for your arrangement. I usually eyeball it by sticking the stem in the vase, and then I can see how much extra there is. Easy peasy!
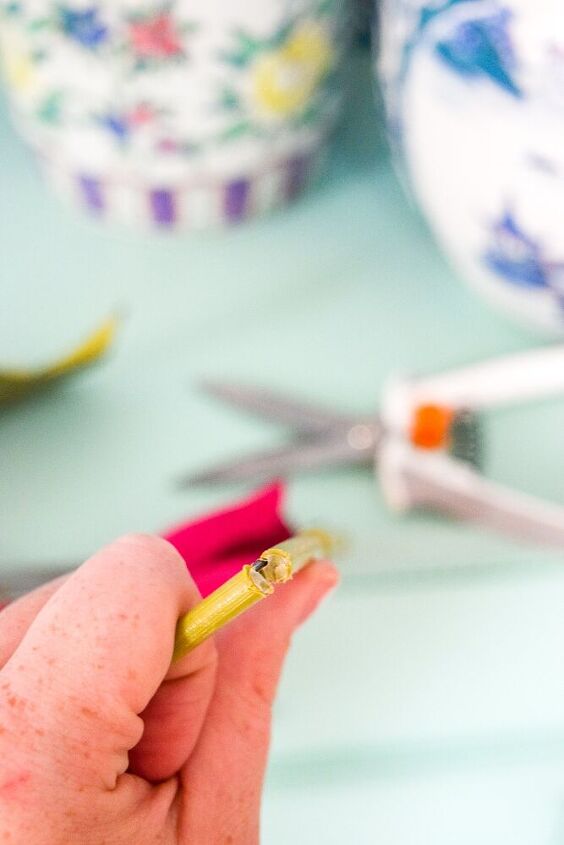
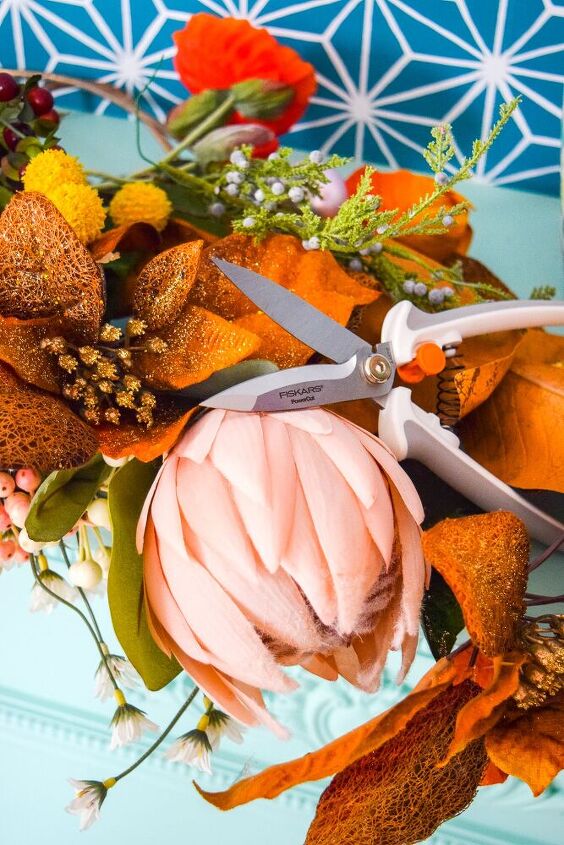
Like I said above, the Powercut Snips cut right through the stems, and even snapped the wire! I couldn’t believe it. What normally takes a minute to struggle with the wire, was over in seconds. I wouldn't recommend scissors, as it will damage the scissors.
I always place the biggest blooms first, since they take up the most space. And then I place smaller, more delicate pieces around them. Because this is fall, and we’re on the cups of winter/thanksgiving, I think some berries and poinsettias are appropriate for the arrangement.

Don’t forget to add some green! Oddly enough, I usually add real greenery. It caps off the arrangement, and makes everything look all the more real. PLUS, if you’ve got the good stuff it smells amazing, and you can’t recreate that.
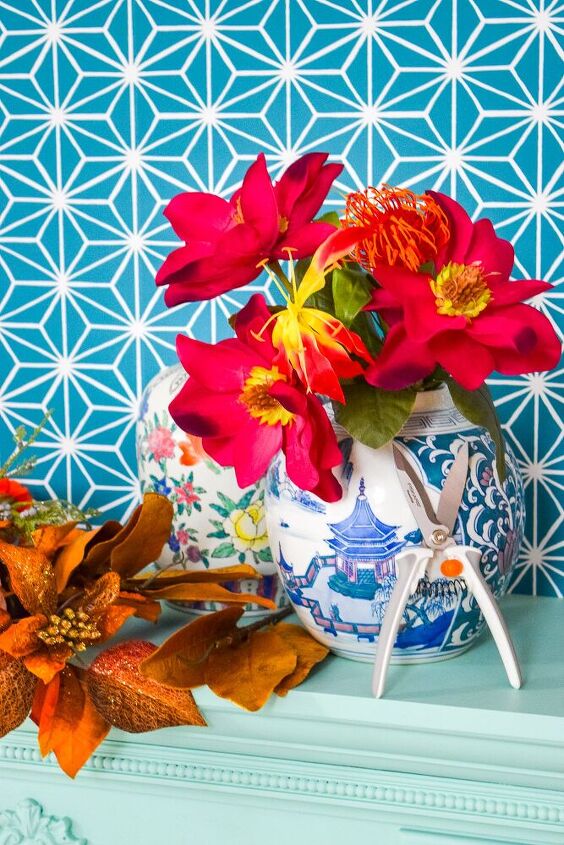
Once everything is in the vase, I start to zhuszh. I open blooms, I adjust the leaves, and bend the floral stems to get the shape, direction and movement that I want. Now just display your beautiful arrangement.


Comments
Join the conversation
-
Thank you for sharing your love of color! I’m totally inspired!


Frequently asked questions
Have a question about this project?