


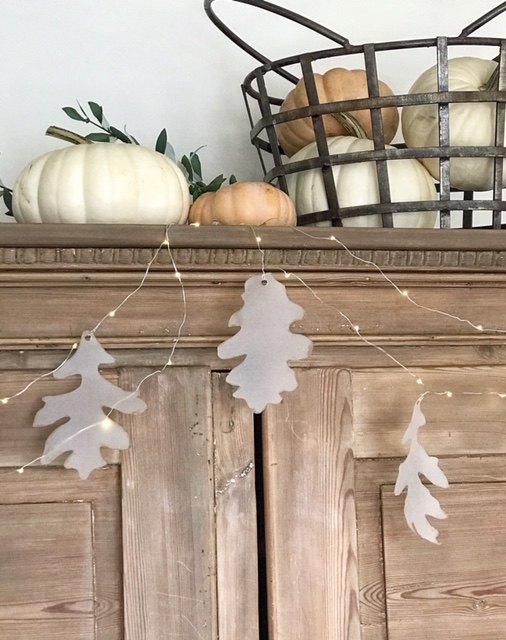
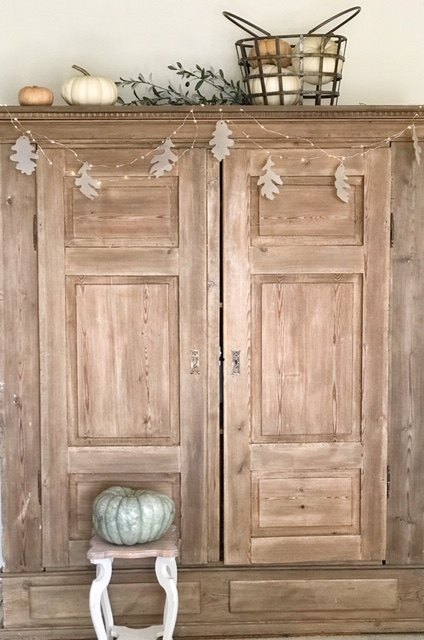
DIY Fall Paper Leaf Garland
This definitely isn’t your traditional looking fall leaf garland. It doesn’t really scream ‘FALL’ but I like the fact that it can go from September all the way through December if I want to keep it up that long.

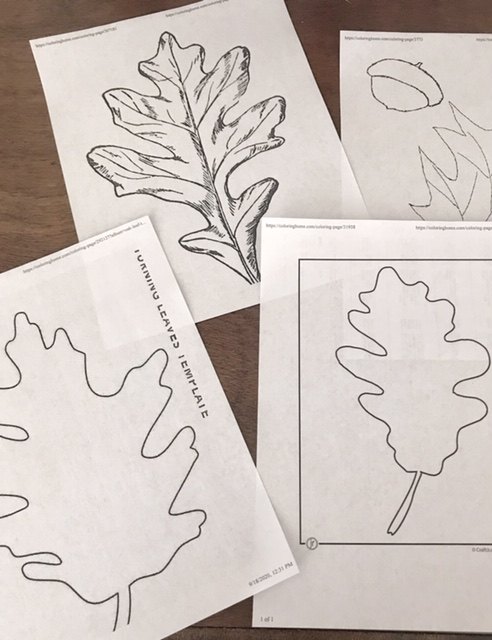
Download simple printable leaf shapes or freehand your own.

Use 29lb Vellum paper which is a thick translucent paper and trace your leaf shapes onto it with a pencil.
Then cut them all out.
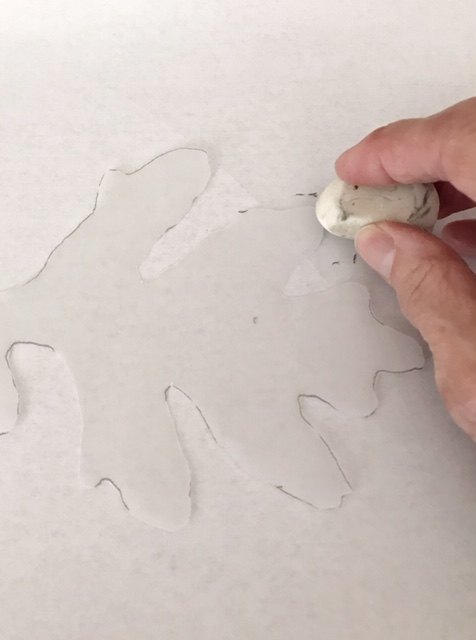
Gently erase any pencil marks off of the leaves.
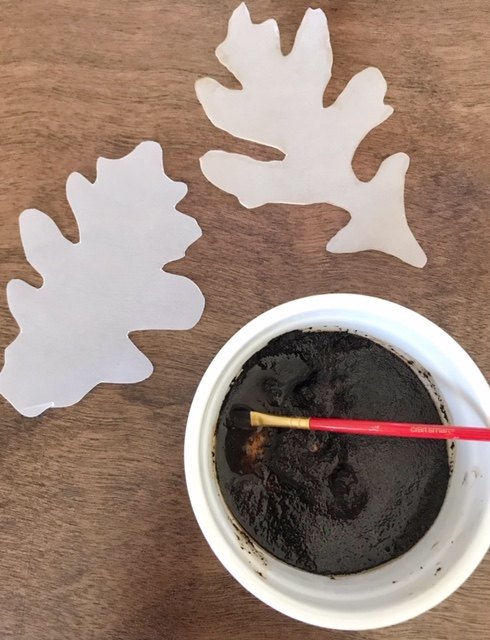
Mix up some used coffee grounds with a little water to make a dark strong coffee liquid.
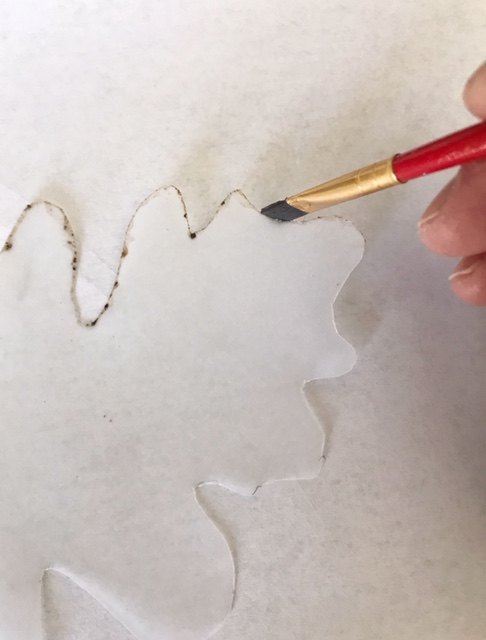
Use this dark coffee mixture to paint the edges of the leaves to make them look aged.
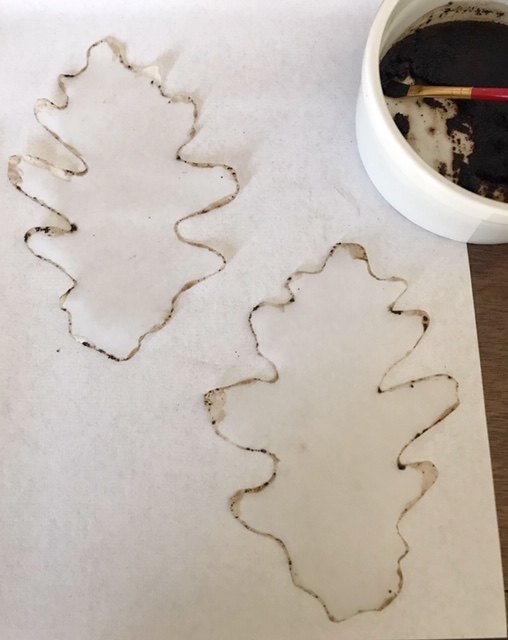
Let the coffee sit on the Vellum leaves for a few minutes. It will make the edges wrinkle a little and the leaf will curl slightly.
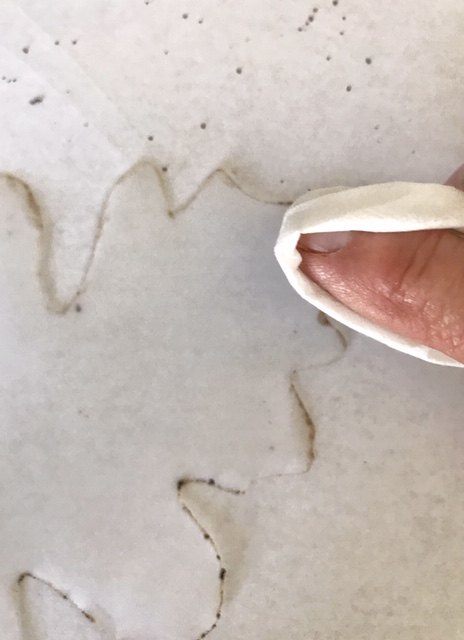
Wipe the coffee off of the leaves using a dry tissue or paper towel.
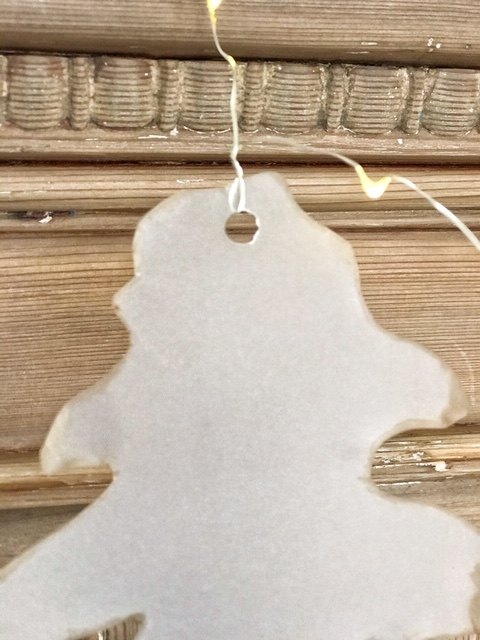
Using a 1/4 inch hole punch, punch a hole in the bottom of each leaf and string them onto a string of battery-operated fairy lights. Gently twist the wire around each leaf to keep it in place.
Resources for this project:


Frequently asked questions
Have a question about this project?