


DIY Fall Sign

I LOVE fall...the food, the weather, the decor, the clothes...all of it! It’s my favorite season! I started decorating weeks ago in hopes that it would encourage the weather to follow suite but Georgia weather had different ideas. It’s been almost 90s in Georgia but my house is fully ready for fall including this cute new outdoor sign I made!
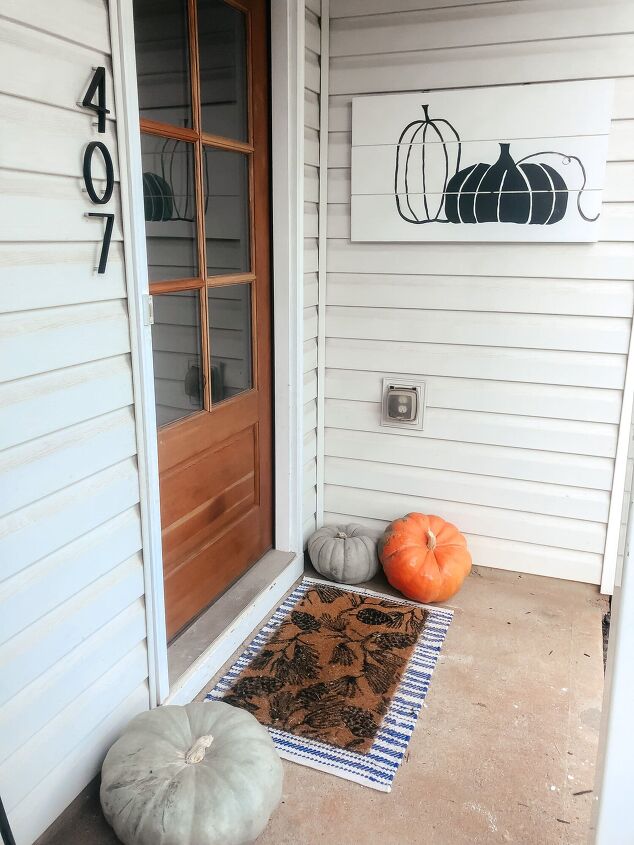
How cute is this?? And you will never believe how easy it was. It took a couple of hours and most of that time was getting popsicles for my 2 year old and taking him potty lol

I started with some spare shiplap boards I had laying around the garage. They were already cut to a size that I liked, but you could use any wood planks cut to any size you want for your sign. You could even use sheet plywood, sanded down for an even simpler design! This shiplap came primed and I liked the white background so I didn’t even paint it, but you could paint it whatever color you want! I thought about doing a dark grey background with white pumpkins but that’s a project for another day :)
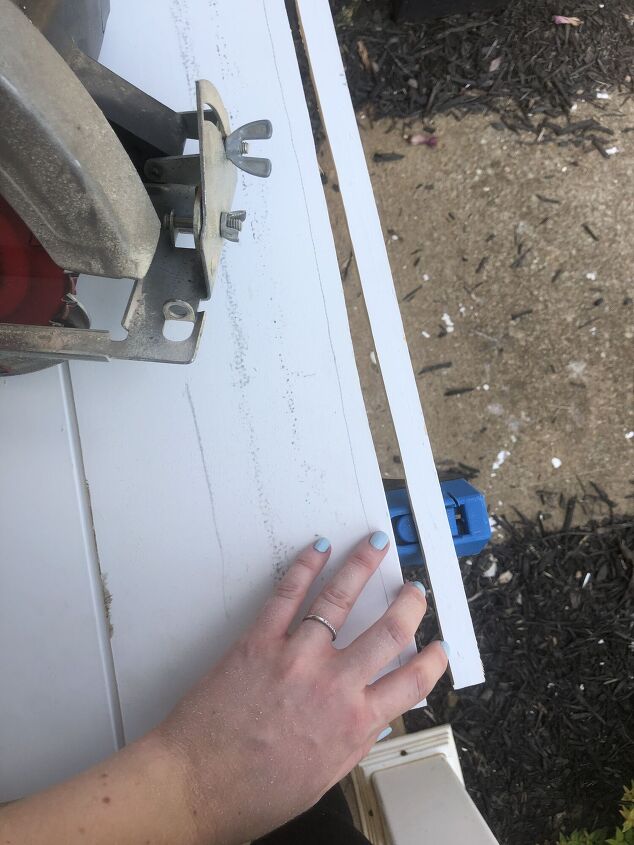
Because the shiplap was pre-notched, I had to trim off the end of one of the boards. I did this really quickly and easily with a circular saw. It would be even easier if you had a table saw!
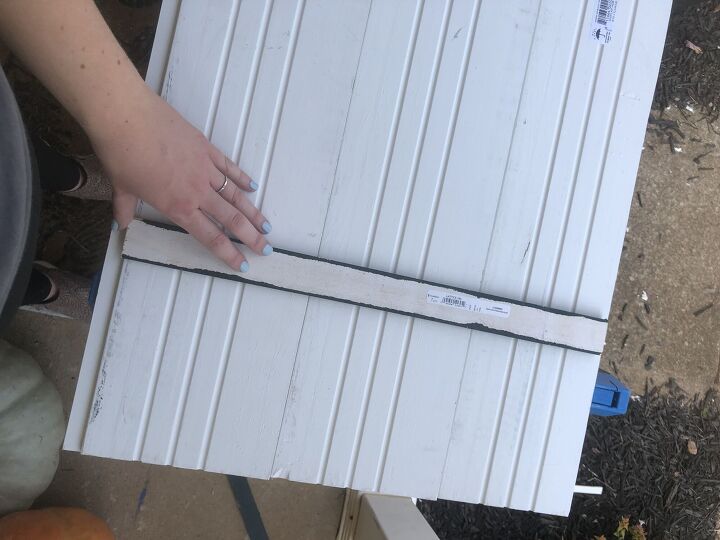
I then lined up all the boards and flipped them over so the back side was showing. I had spare lath board or lattice board so I cut that to the width of the three boards and screwed it to the back of all three boards. This will hold all three boards together and make the sign super sturdy. I did one strip on each side. Make sure that your nails or screws are not longer than the thickness of the boards. You don’t want them to accidentally poke through the front side! If you have a brad nailer, you can definitely use that to make it go a bit faster.

This is what it looks like from the back with both lattice boards attached. Super simple!
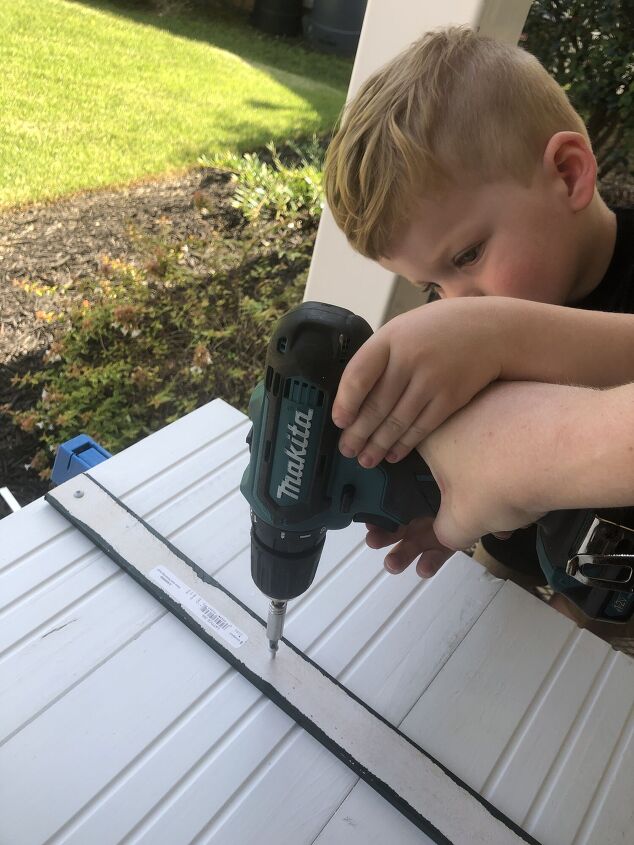
Also a great project to do with little ones if you have them :) maybe add a little time to your overall project timeline though!
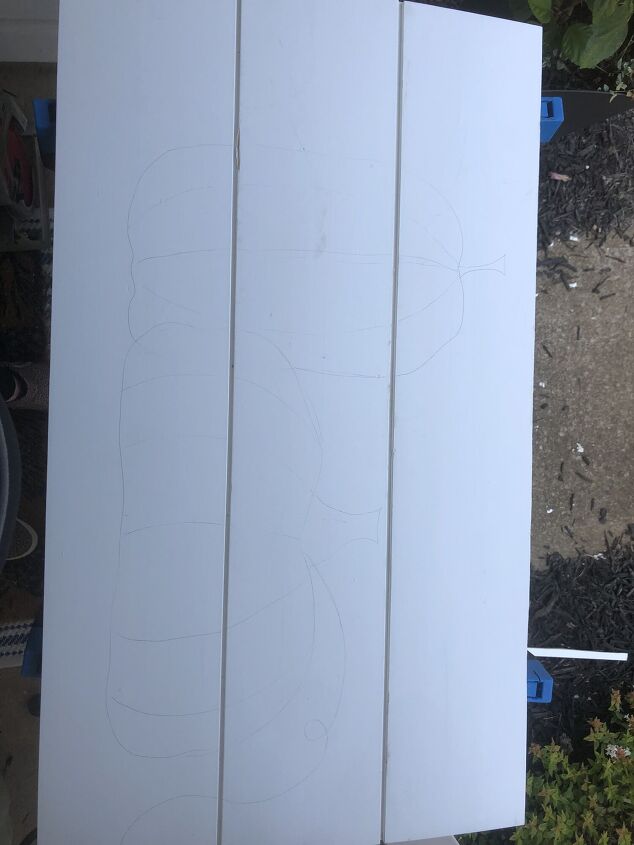
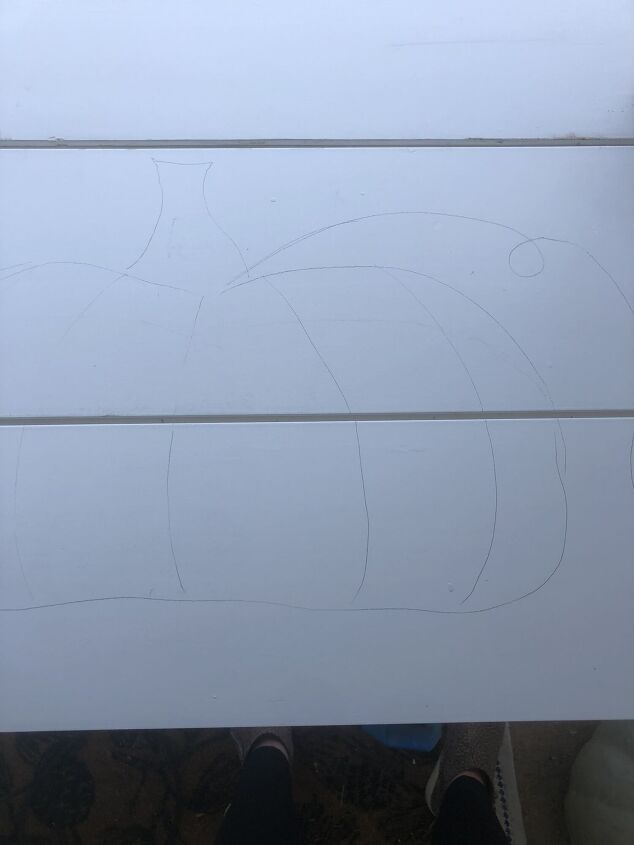
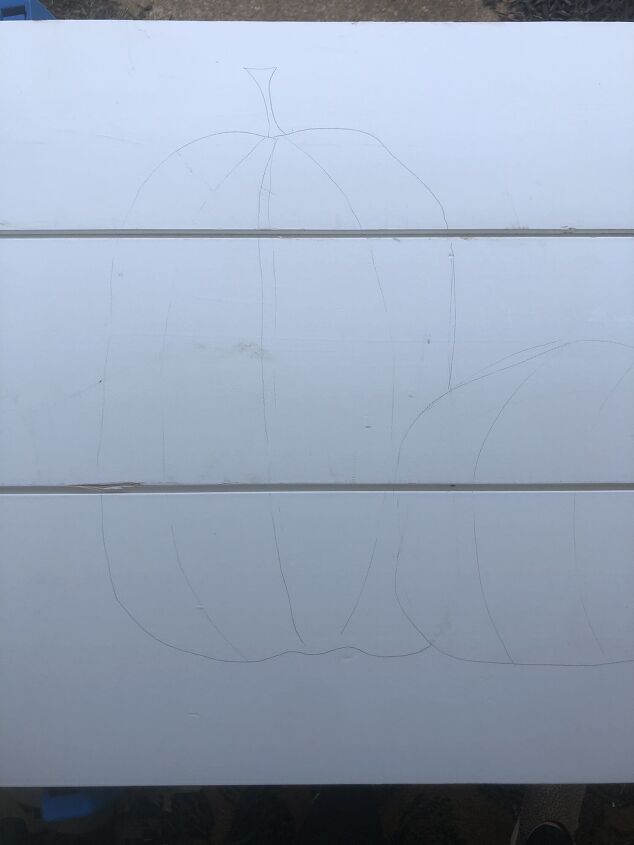
I used a pencil to sketch out my design. At this point, you can make the project whatever you want! You could do this for any season or occasion. I wanted pumpkins but anything would work. Also if you are a real artist, you can do more complicated designs...this girl needed to keep it really basic lol
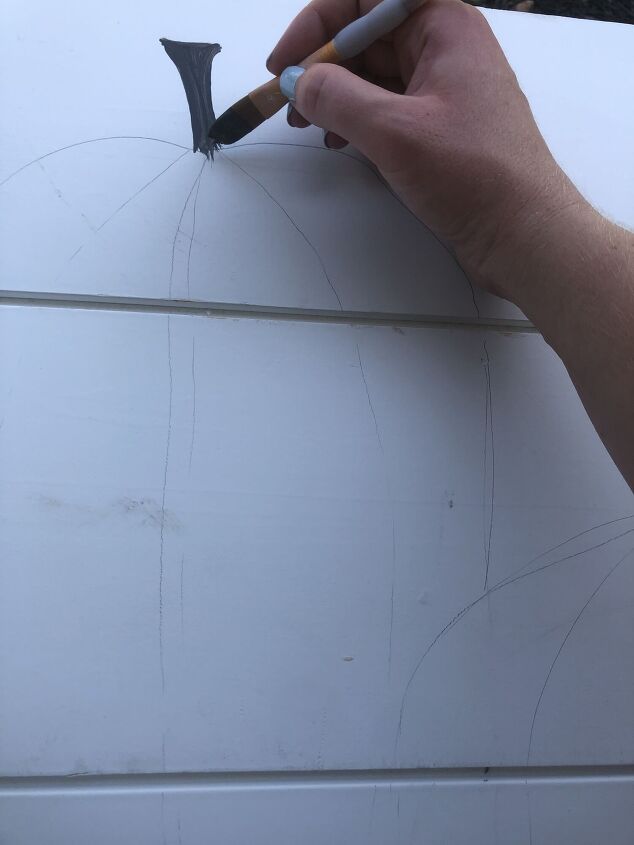
I used spare Sherwin Williams Iron Ore paint and a small paint brush to paint the pumpkins.
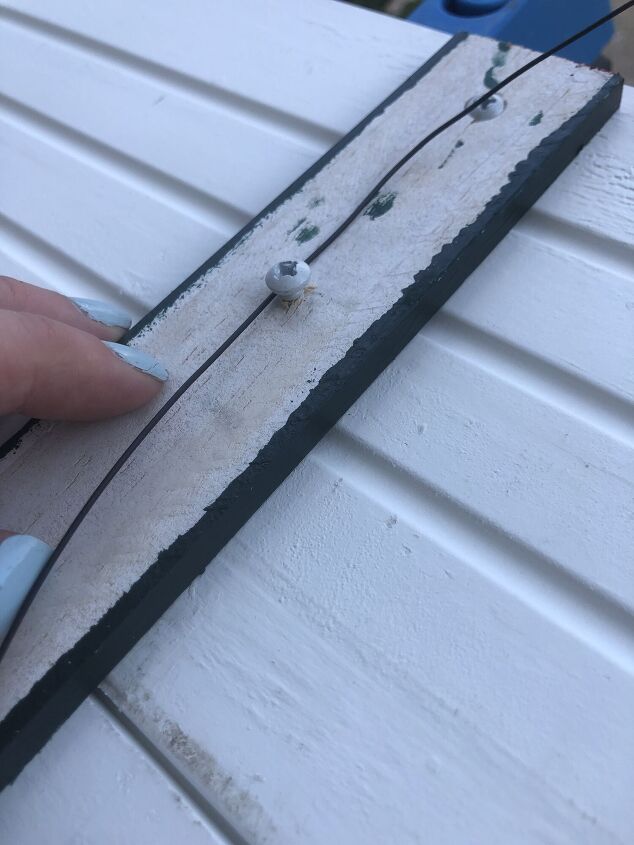
Lastly, I used picture hanging wire twisted around a screw on the lattice board to hang it up! If you are hanging it outside, you can screw it directly into wooden siding or use vinyl siding hooks found on amazon to hang from vinyl siding. They are linked on our website threefinchsisters.com
Comments
Join the conversation
-
Nice! I like your choice of black and white instead of colors!


Frequently asked questions
Have a question about this project?
Where is the finished product?