


DIY Framed Bird Art
9 Materials
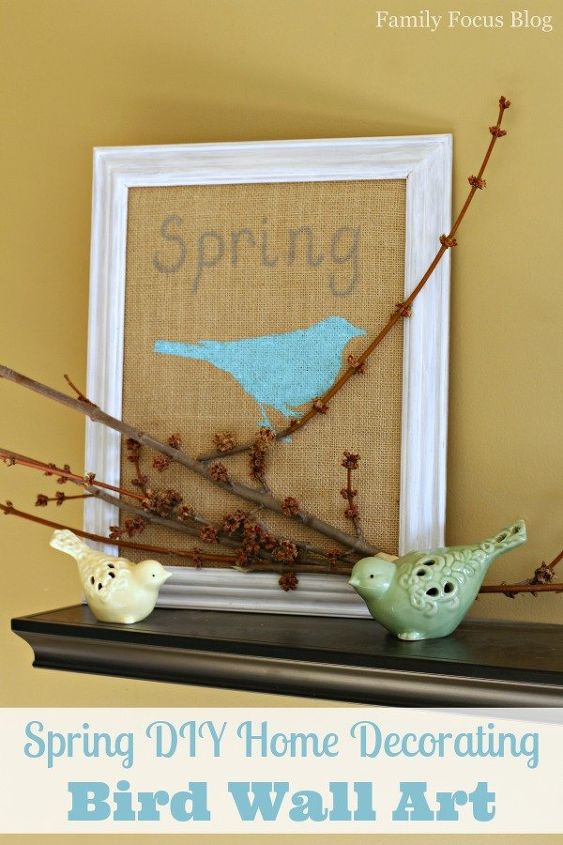
This DIY framed bird art is a fun way to welcome spring into your home. You just need a few supplies that you may already have around your home. It is also a great way to reuse an old picture frame that needs a new coat of paint.
This works well on your mantle or on your entrance wall.
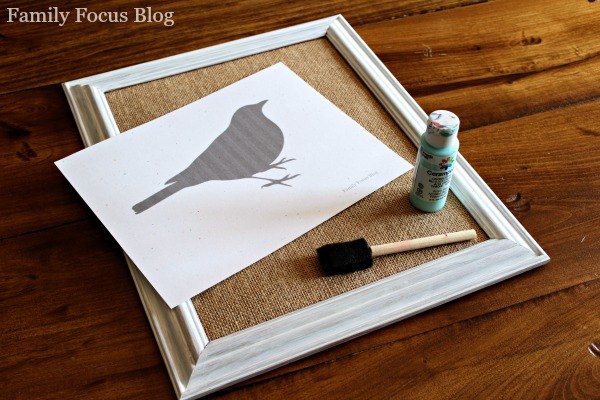
Begin by gathering your supplies and covering your work space with newspaper. Then cover the cardboard with burlap and secure it with hot glue. You can print a bird silhouette stencil at Family Focus Blog.
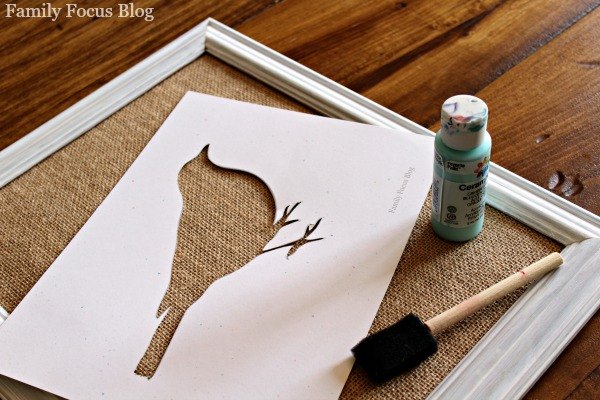
Use an X-Acto Knife to carefully cut the bird out leaving you with a stencil for painting. Position the stencil on the burlap and use the foam brush to carefully paint the bird onto the burlap.
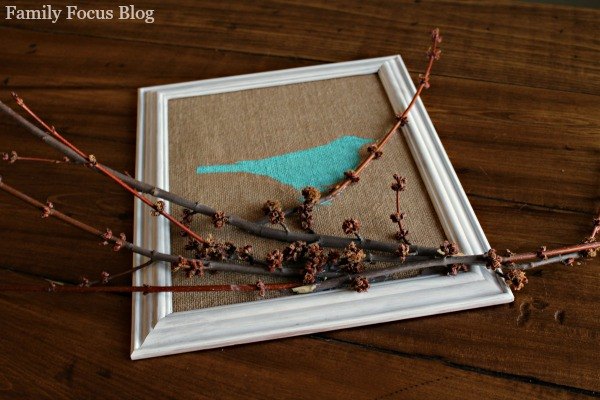
Once the paint is dry, use hot glue to attach twigs to the burlap and frame. Use fresh twigs with new sprouts on them to capture the feel of spring. Attach several along the bottom and then add one to look as though the bird is sitting on it. Then use a paint pen to add the word “Spring” across the top.
This is such a fun, easy spring craft and it makes great spring home decor. I hope you enjoy it and follow on Family Focus Blog on Pinterest for more fun crafts.

Want more details about this and other DIY projects? Check out my blog post!


Frequently asked questions
Have a question about this project?