


DIY SNOW-COVERED BRANCHES
I think everyone in Colorado is dreaming of a white Christmas. Denver has had no measurable snow in over 225 days. This might explain why I am obsessed with my can of Santa snow spray this season. This is a super easy craft and you only need three items and one of them is free. I included a video too on how to make these inexpensive branches! You got this!

HOW TO MAKE SNOW COVERED BRANCHES
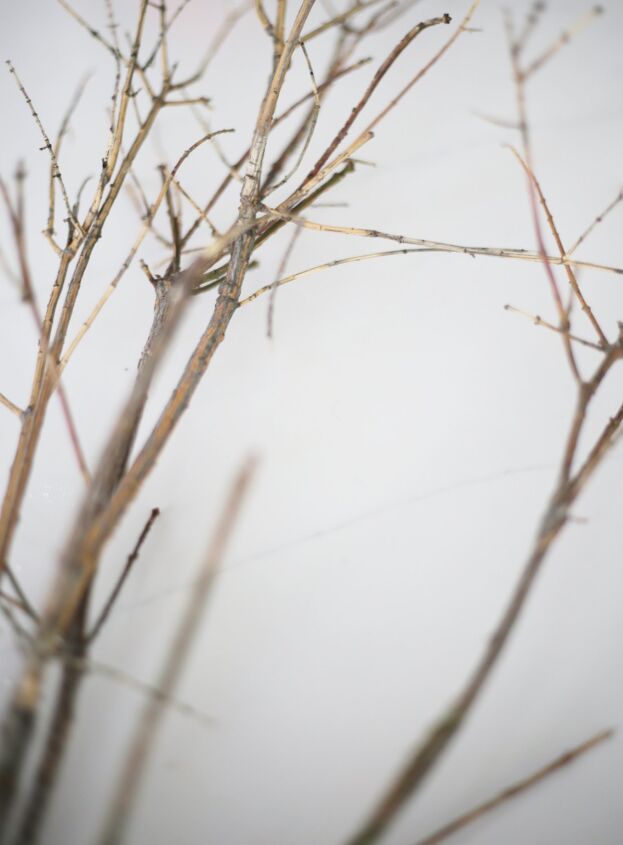
Looking out the window of my Colorado home all I see is brown. How do people in other parts of the country live without snow? Thank goodness for Christmas lights to light up the yards and front porches. I walked my yard the other day to water a few shrubs and bushes. I ended up trimming a few branches because dry (dead) branches are a crafter’s dream.
And if you are a frequent visitor to Everyday Edits you know I love to repurpose branches and greenery like this project and this one.
So I grabbed a few branches from my Christmas home office post and got to work on creating snowy branches for my holiday decor. At least my home’s interiors will have a little dusting of snow.
Sidenote: Secretly I hope that every time I mention snowy branches the snow angels will make some of the real stuff.
ITEMS NEEDED
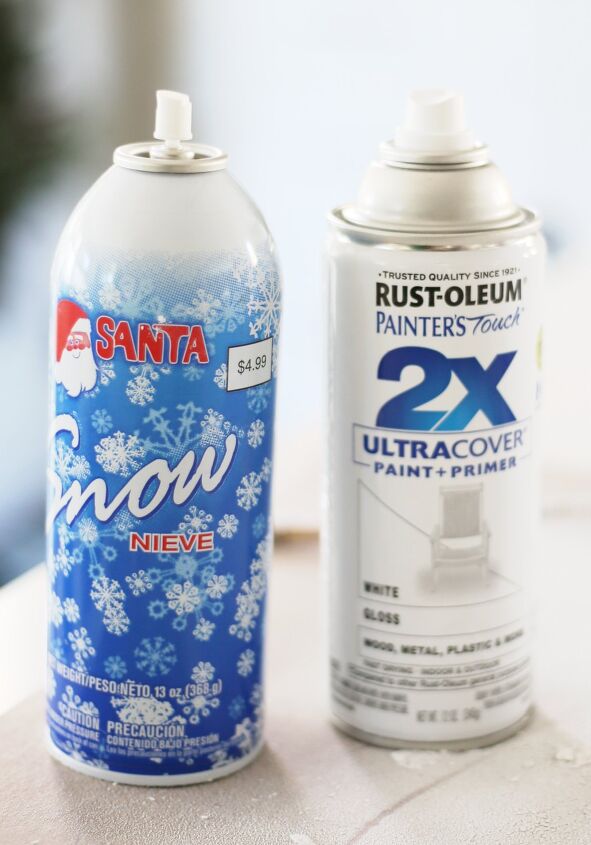
The best part of this craft is you only need 3 items! That’s it and the first item you should be able to round up in your yard or maybe your parents’ yard or a friend who successfully found a house in2021 (my REALTOR® life).
- branches
- primer+ paint spray paint
- Santa spray snow
- cardboard or paint tarp to spray branches
This is such an easy craft and the time involved is the drying time of the paint and spray snow.
STEPS
- Place branches on cardboard or paint tarp
- Spray front of branches with primer+paint spray. Let dry.
- Flip branches over and spray the othe rside. Let dry.
- Repeat these two steps with the Santa snow spray.
- The snow spray takes longer to dry***
- For a more textured look repeat the snow spray a couple of times.
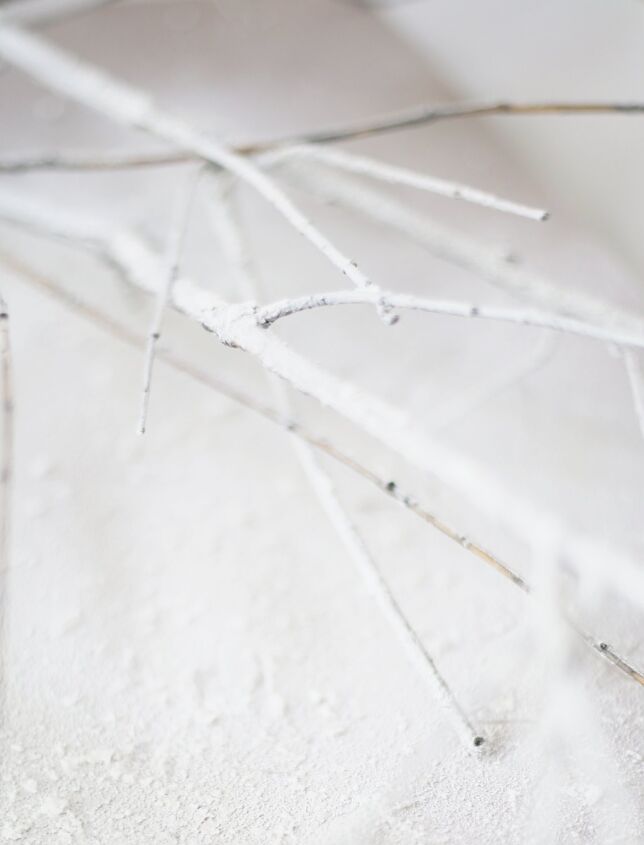
That’s it! Don’t worry if you miss a few spots on the branches. It will look amazing!

DIY TUTORIAL VIDEO
Here is the video I m ade for this DIY. This is a low-budget production so be kind! I would love it if you subscribed to my youtube channel.
You guys this is all there is to this super easy craft. I ended up putting my snowy branches in my office. It looks striking in front of the Hale Navy walls. I added a strand of berries because I love the look against the branches.

There are so many ways to incorporate snow-covered twigs and stems into the decor this time of year.
IDEAS
- TABLESCAPES
- TUCKED INTO FRESH (OR FAUX) EVERGREENS
- ADD HEIGHT TO PLANTERS ON PORCH
- USE AS FLORAL ARRANGEMENTS
- CREATE A PETITE ADVENT TREE
The bucket is a repurposed cylinder box from a retailer. Any guesses what was stored in this cylinder before I used it as a last-minute bucket?

If you are new to Everyday Edits and would like to receive a once-a-week newsletter from me (called the Weekend Edit) please sign up here.
You can read it over coffee or tea and email me your thoughts! I respond to all emails and comments!
.


Comments
Join the conversation
-
This is a great idea. Most winters, lately, we have not gotten any snow. This year is an exemption, lots,. But I love the idea for indoors. Thank you for sharing.
-
I had to laugh at your everything brown comment. I'm from FL. When my older brother returned from living in Col for a while, I asked him his opinion and his reply was too much brown.


Frequently asked questions
Have a question about this project?
What was previously in the bucket??