


DIY Spring Tulip Wreath For a Great First Impression
I love Spring. The bright colors and fresh flowers are wonderful. I’ve been wanting a bright springy tulip wreath, and I finally decided to figure out how to make one.
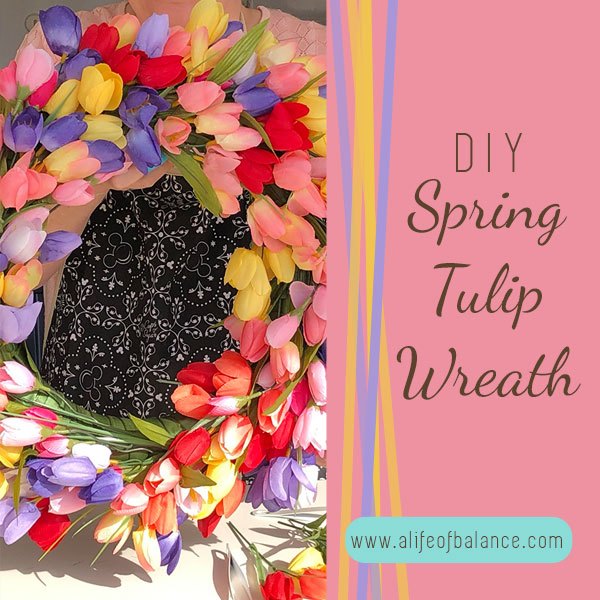
The best thing about this wreath is that it is easy to adapt to your exact needs and likes. I made mine with lots of colors, but you could easily make it with only shades of a single color, and it would be just as beautiful.
You can get all the details including links for the supplies in the full blog post here.
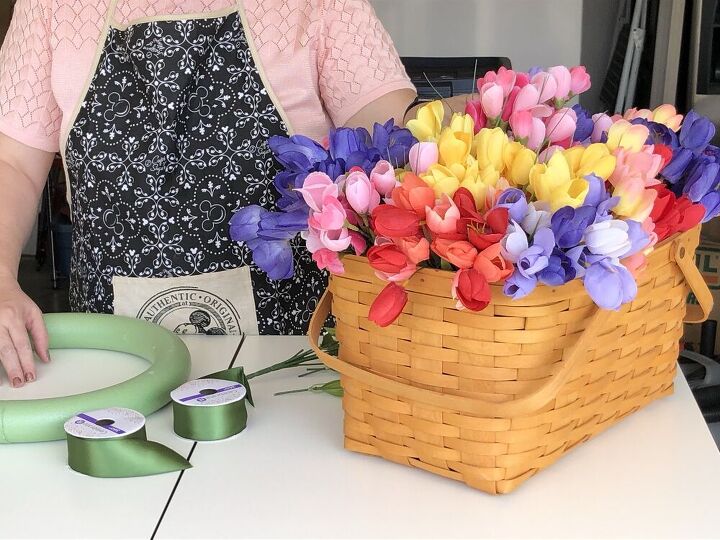
Supplies Needed to Make a Tulip Wreath
- Tulips – 10-14 bushes of mini tulips
- Foam wreath form (I used a 13.8 inch)
- 1.5” satin ribbon (I used 2 rolls)
- Hot glue gun with refill sticks
- Twine or string
- Satin ribbon of your choice for bow
Instructions
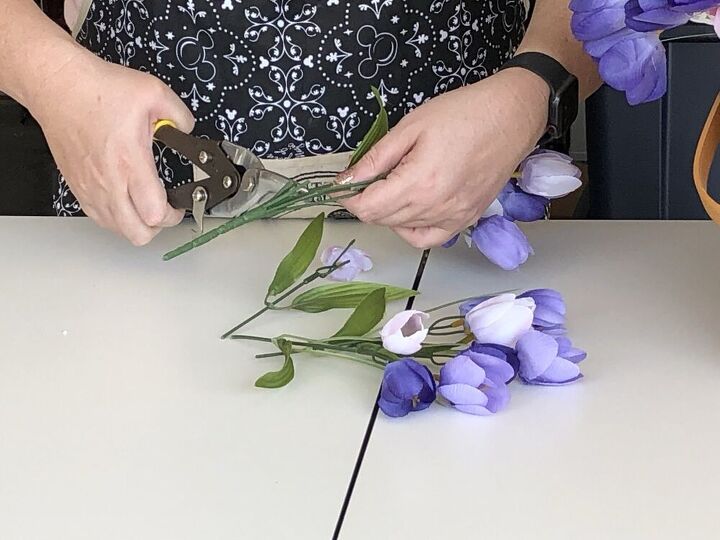
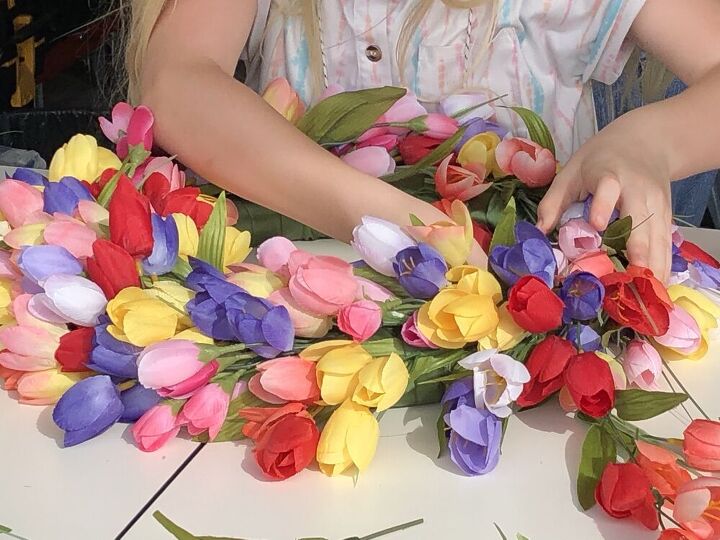
Step 1 – Snip the large stems from each bush.
Each bush has about 8 stems with 2-3 blooms on each stem. Using wire cutters, cut each stem a few inches away from the base of the bush. Move all the leaves and greenery up to the base of the blooms. I like the leaves, but you don’t want them, you can take them off by slipping them off the cut end.
Step 2 – Secure the ribbon to the wreath.
Fold over the end of your ribbon and use hot glue to seal it down. This will keep your ribbon from fraying over time.
Use hot glue to attach the ribbon to the wreath form. I did mine with the ribbon coming from the center, under the wreath form, around the outer edge, and then back down into the center. I start on the left side of the wreath at about the 10:00 point and work my way counterclockwise.
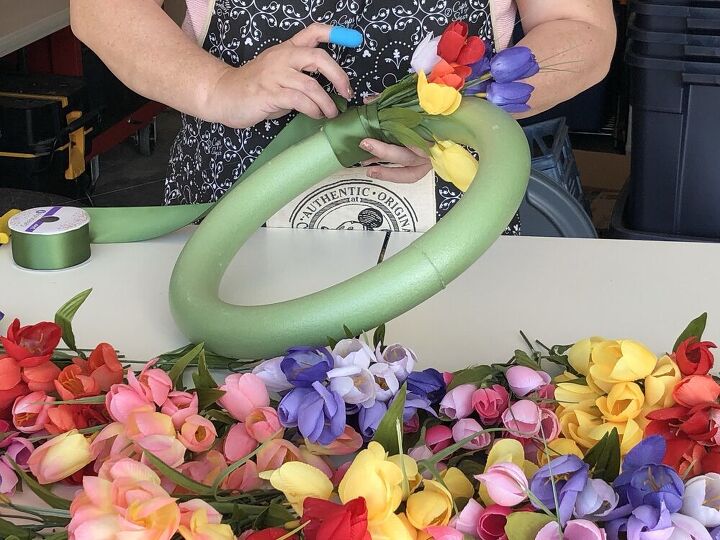
Step 3 – Start wrapping the ribbon and tucking the tulips in as you go.
Put one or two stems in each row of ribbon and try to alternate so they fill the space nicely. The closer the ribbon is to the blooms, the tighter the effect. If you like more of a random look, you can leave more of the stem exposed which will cause the tulips to flop around a bit more. Be sure to pull the ribbon nice and tight!
Step 4 – Continue wrapping and tucking around the wreath.
Your ribbon will overlap quite a bit towards the center of the wreath and should barely overlap on the outer edge. This is important to be consistent with, otherwise you may wrap the ribbon too closely and you’ll run out of ribbon or flowers or both!
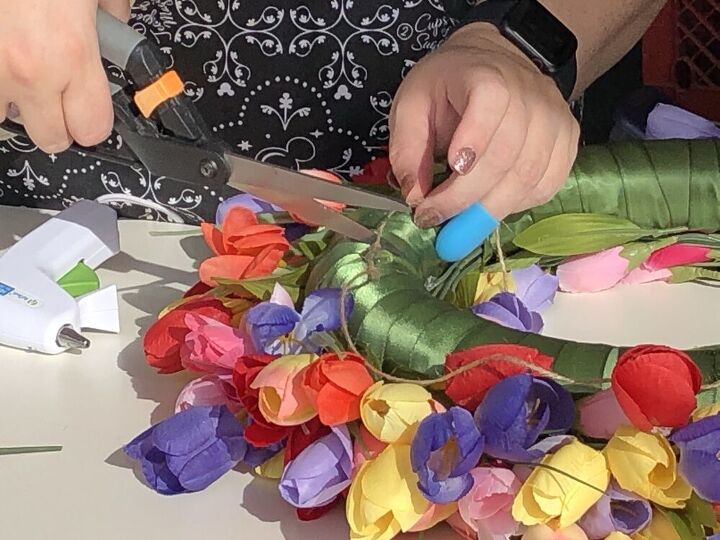
Step 5 – Finish off the wreath.
When you get back around to where the ribbon started, secure the ribbon to the wreath with hot glue. This will leave a little gap in the tulips. Fill this gap by wiggling your last few stems into the first few rows of ribbons.
It gets a little tricky to fit the tulips in, but just do your best to cover all the foam and get enough tulips in to fill the space. If you need to hot glue a few in, I won’t tell. (My friend Hannah was a lot better at this step than me).
You’ll also want to look at your wreath and see if there are any areas that need more flowers. You can easily use the same “wiggling” technique to insert more flowers where needed.
Step 6 – Add a bow and hanger.
Add a bow to the location of your choice. I chose to leave the inner part of the circle a little barer at the end to leave room for my ribbon. As you can see, I’m not the best bow maker so just do your best. Secure the bow to the wreath with hot glue and slide the tails between the tulips as you want.
Look at your wreath and decide where you want the top to be. Add a piece of twine (attached with hot glue) to the top as a hanger. To help hold the end of my twine, I added a piece of ribbon over the twine with a lot of hot glue. Make sure your twine is a little over twice the length of the drop you want your wreath to have.
Notes
If you don’t have a wreath hanger, you can use a pretty outdoor Command hook (like I’ve used), or you can string a long loop through the wreath and over the top of your door and secure it with a smaller upside-down Command hook on the back of your door, near the top.

Check out the results of my tulip wreath project on my front door. Isn’t it just beautiful!?
Send me a photo ( janet@alifeofbalance.com) if you decide to try this wreath.
For another simple wreath project, check out Simple Patriotic Wreath
For another spring project, check out Adding Seasonal Color to Your Landscape
Resources for this project:
See all materials


Comments
Join the conversation
-
Bgray, Janet and Dee, those are not real tulips she used "silk" flowers which will not die or wilt or do anything that real flowers will.
-
Love it.


Frequently asked questions
Have a question about this project?