


DIY Spring Wreath
3 Materials
$25.00
1 Hour
Easy
Now that Spring is here (although the weather refuses to admit it since it is still cold and rainy...), I decided to create a new Spring wreath to add some pops of Spring colors to my front door (and to hopefully let the weather know that it is time to get sunny and warm, we are SO over the wet stuff!)

Here is an abbreviated version of how I made the wreath, for full details please visit my blog at the link at the bottom of this post.
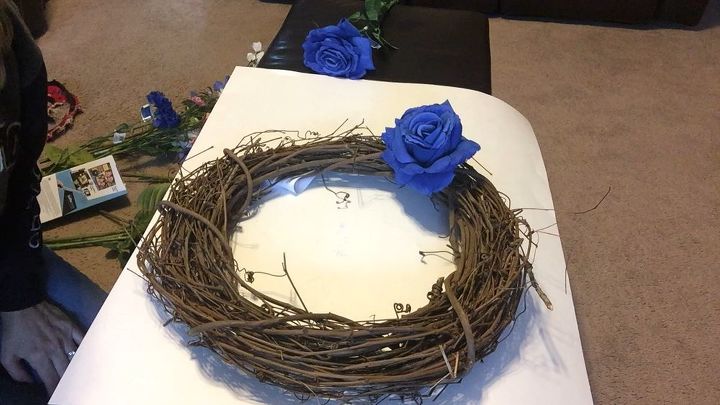
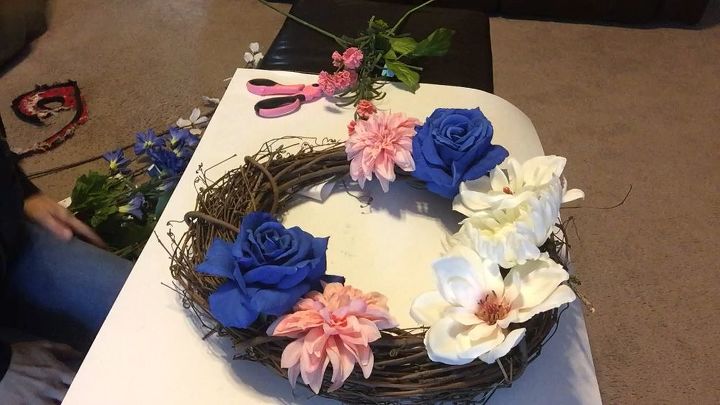
I purchased the wreath form and all faux flower stems at the craft store, in addition to many, many sticks of hot glue.

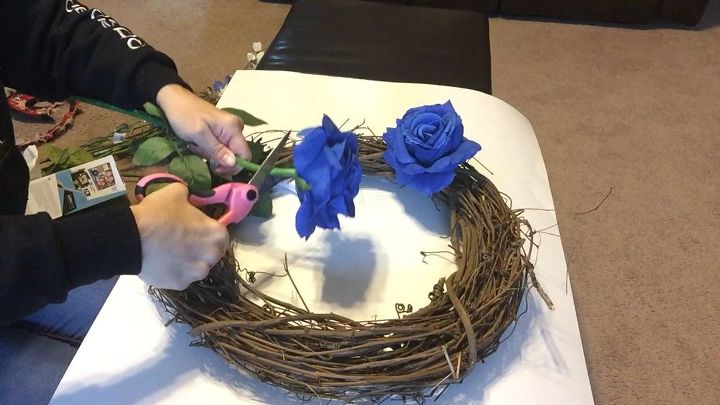
I cut the stems off of the flowers and began adding them to the wreath form. (I didn't glue the flowers onto the wreath until I had all flowers placed in the spot I thought they looked best).
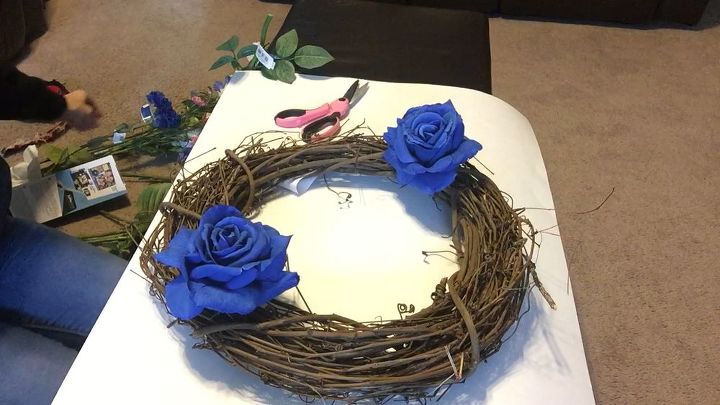
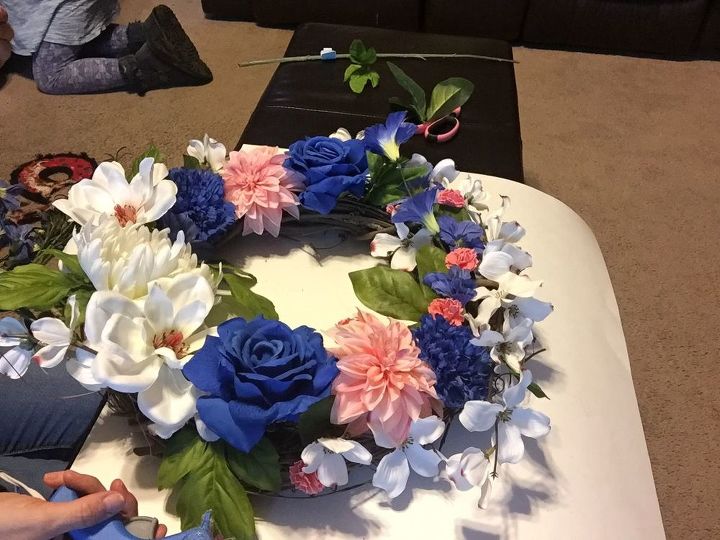
I continued cutting off stems and adding the different Spring colored flowers to the wreath until it was completely covered in flowers.
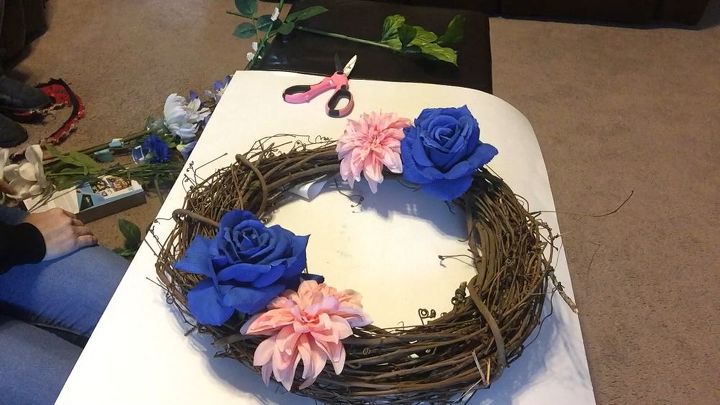

Once the wreath form was covered in flowers, I began adding green leaves to different sections of the wreath.

Once I had all the flowers and leaves in a position I liked, I went back through with the hot glue gun and glued each flower and leaf to the wreath and made sure all were securely fixed to the wreath form.

I then hung the wreath on my front door. It adds a nice burst of Spring color to my porch!


Want more details about this and other DIY projects? Check out my blog post!
Comments
Join the conversation
4 comments
-
Lovely wreath. Love the blue flowers.
-
Stunning!!


Frequently asked questions
Have a question about this project?