


DIY Spring Wreath - The Antiqued Journey
DIY Spring Wreath
It’s almost spring! The days are getting longer, the birds are singing again, and the sunshine feels warmer.
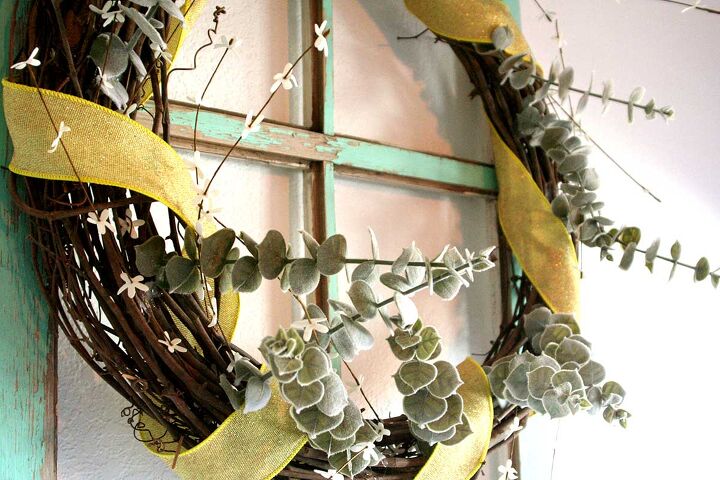
At this time of year, I begin to transition my home decor from winter to spring. Today’s project is a DIY Spring Wreath is in conjunction with the DIY Winter Wreath that I made a few months ago. You can find that post here and will be helpful to read if you haven’t yet because today I am showing you how to turn that same winter wreath into a pretty spring wreath for your home! Get your crafting supplies ready and be inspired!
This post contains affiliate links. That simply means I make a small commission at no extra cost to you. As an Amazon Associate I earn on qualifying purchases.
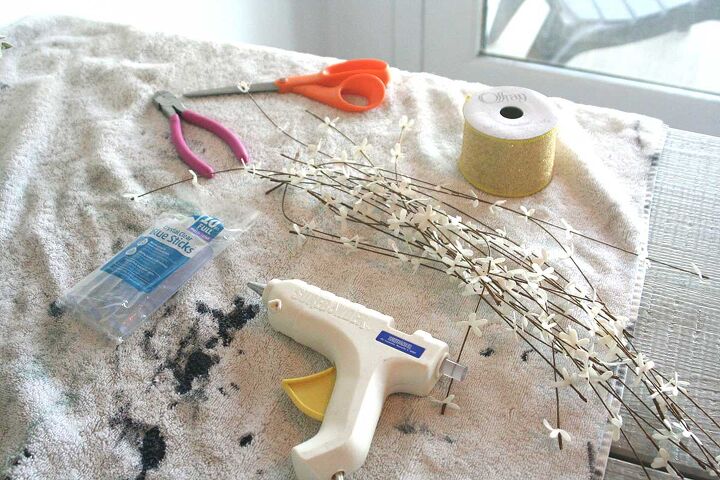
Materials:
- 1 grapevine wreath
- 3 faux eucalyptus stems
- 1 spool of spring colored ribbon (think yellow or pink)
- 3 stems of small white faux flowers
- scissors
- floral cutters
- hot glue gun
- glue gun sticks
- a workspace cover
Building your Spring Wreath
Step 1: (If you built the winter wreath) Slowly unwrap the winter ribbon from the wreath. The glue should just pull right up from both ends.
Step 2: Cut the flower branches off of the long stem.
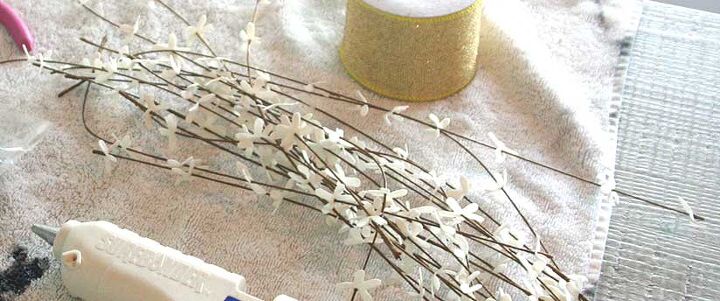
Plug in your hot glue gun and let it heat up. The white flowers you see on mine are a few years old and so have already been cut from the stem, but just use floral cutters to detach them. Set those aside for now.
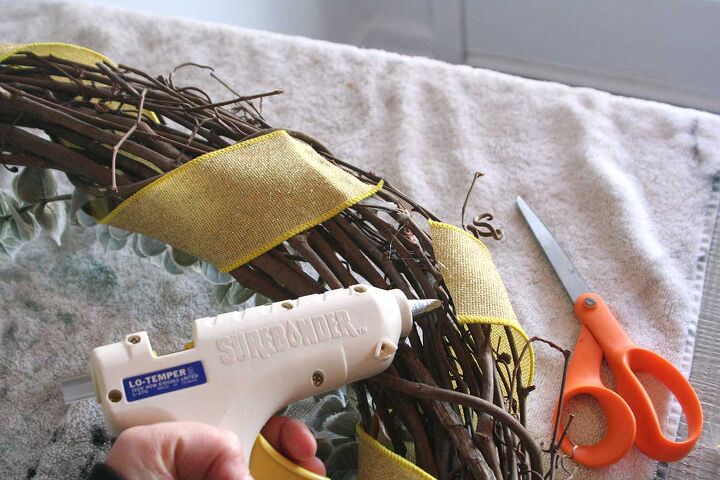
Step 3: Wrap your spring ribbon.
Squeeze a small line of hot glue on the back of the wreath near the top, and, without unrolling the ribbon, adhere the first end to the glue. Apply pressure to the ribbon for 30 seconds.
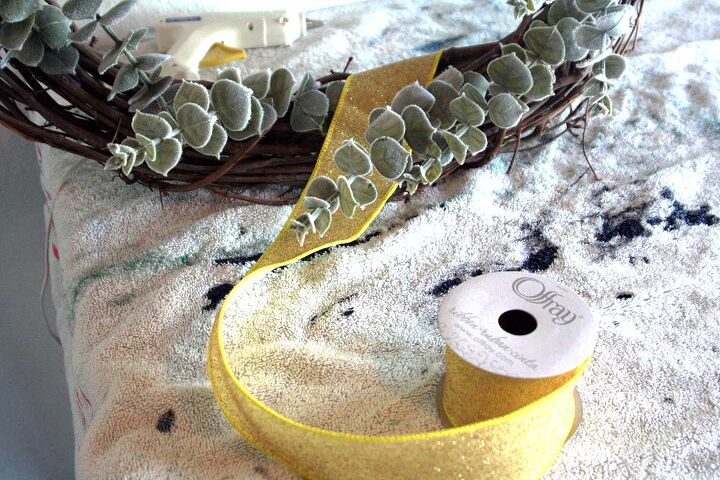
Now start wrapping, skipping every 2 eucalyptus stems, then wrap again. Continue your wraps until you get to the end, then, once again, squeeze a small amount of hot glue on the back of the wreath to adhere the end of the ribbon. Hold the ribbon in place for 30 seconds.
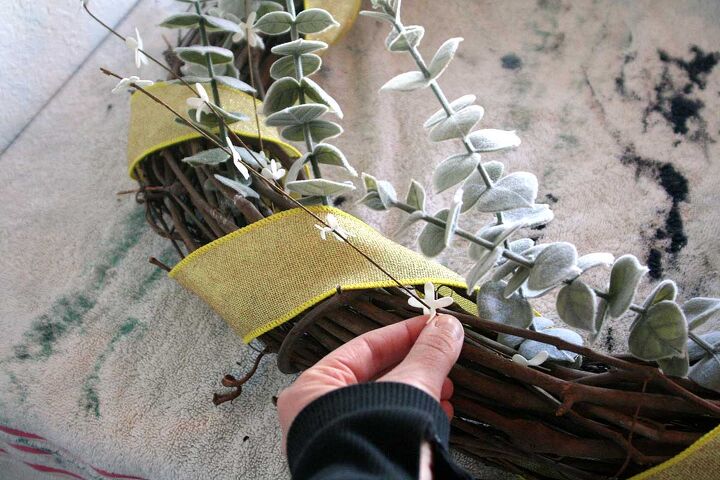
Step 4: Arrange the white flower stems.
I didn’t glue mine in as they are pretty lightweight, so I just stuck them into the grapevine wreath itself in a way that looked pretty to me. If you would like to glue your white stems in, you can! There is no real right or wrong way to arrange the flower stems; just let your creativity lead you!
Step 5: Let it sit.
Let the hot glue dry really well then go back and pull off any hot glue strings that may be lingering. Step back and look at your wreath to see if all your stems are where you would like them to be.
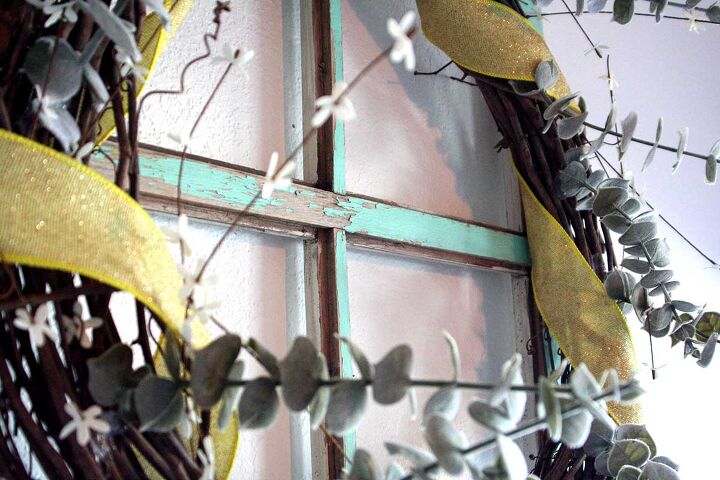
Step 6: Display your DIY Spring Wreath!
Here are some ideas:
- over a kitchen window
- displayed on your front or back door
- put it on a fireplace mantel or chimney
- on a covered porch or patio
There you have it! A simple yet beautiful wreath for a new season. This spring wreath will help bring color and texture to your home while adding a touch of farmhouse charm. I hope this tutorial encourages you to create a spring wreath for your home and let it bring you joy, just like the warm spring sunshine.


Frequently asked questions
Have a question about this project?