


DIY Wooden Signs

Feeling crafty and want to do a quick and easy DIY project with a little wood and some paint? Then check out this fun and crafty DIY project!
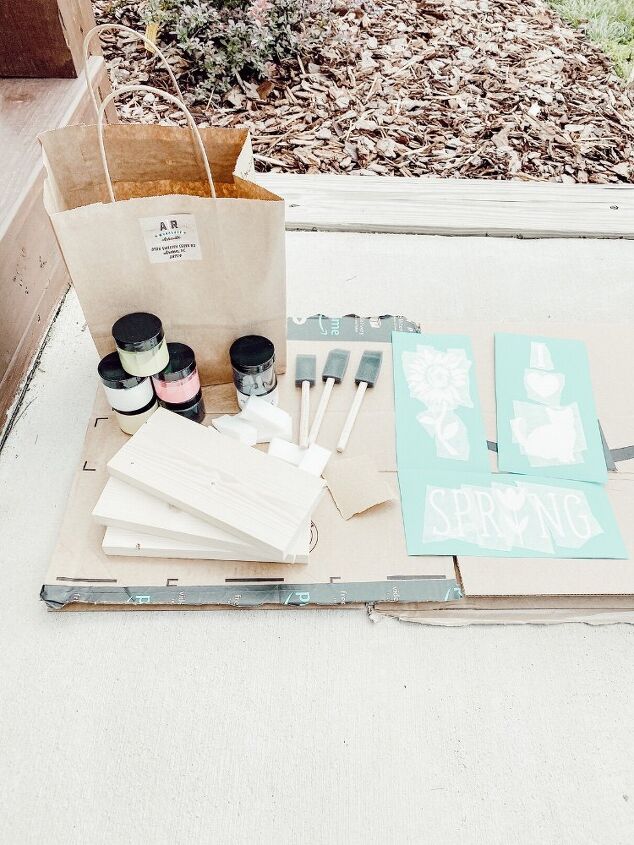
- Wooden blocks to make the signs withStainVarious paint colorsPre-cut stencilsFoam brushes and spongesPrimer
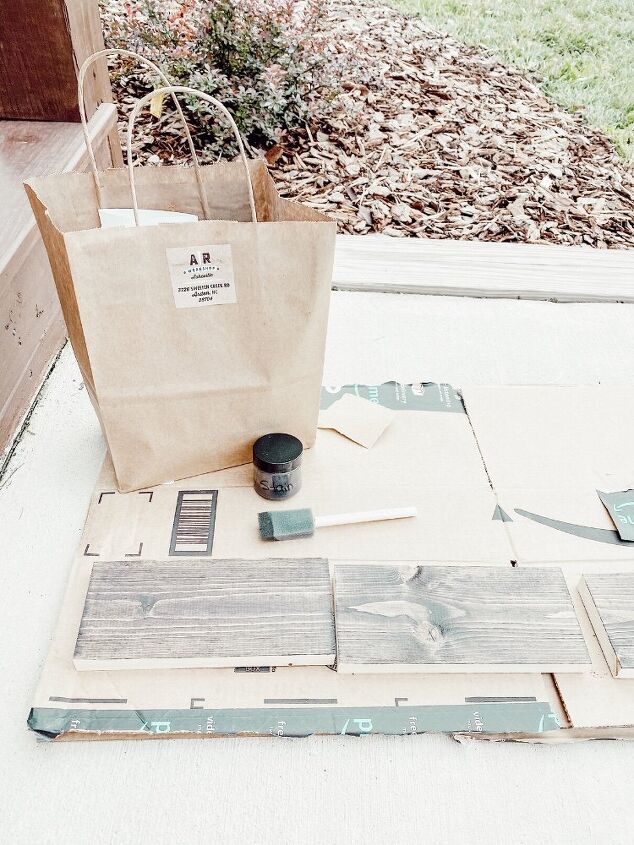
So the first thing you need to is stain the wood to whatever color of stain you prefer. I did a couple of coats on my wood pieces and let them throughly dry in between. I used a foam brush to apply the stain. And you could also just paint the wooden signs too if you would prefer a white or black background compared to a stained one.
After the wooden signs are completely dry, now is the time to apply the stencils! Like I stated above, these stencils were pre cut in my DIY kit I got. But you could easily make your own and/or purchase some online through retailers like Etsy!
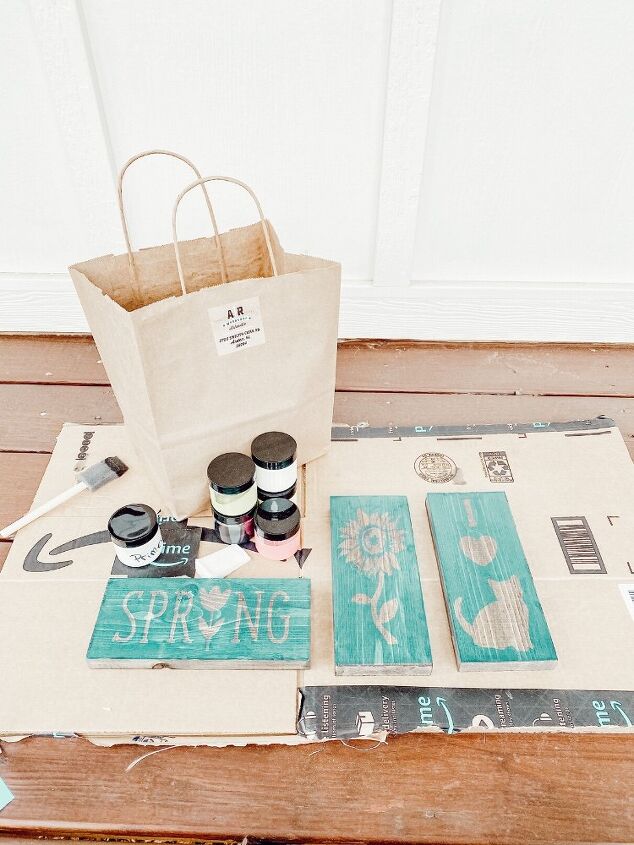
After you've applied your stencils, now is the time to paint! I just used some foam brushes again and applied the paint with them. I just "dabbed" the paint around the stencil to prevent bleeding. You could definitely use a stencil brush too, but I didn't have one on hand and the foam brush worked just fine. I did have to apply multiple coats of paint since the stain in the background was a little dark.

After you have painted your signs, now you need to peel off the stencils. My tips for peeling off the stencils are to peel against the grain of the wood to prevent splinters and to use a toothpick to help lift areas of the stencil that are small and intricate.
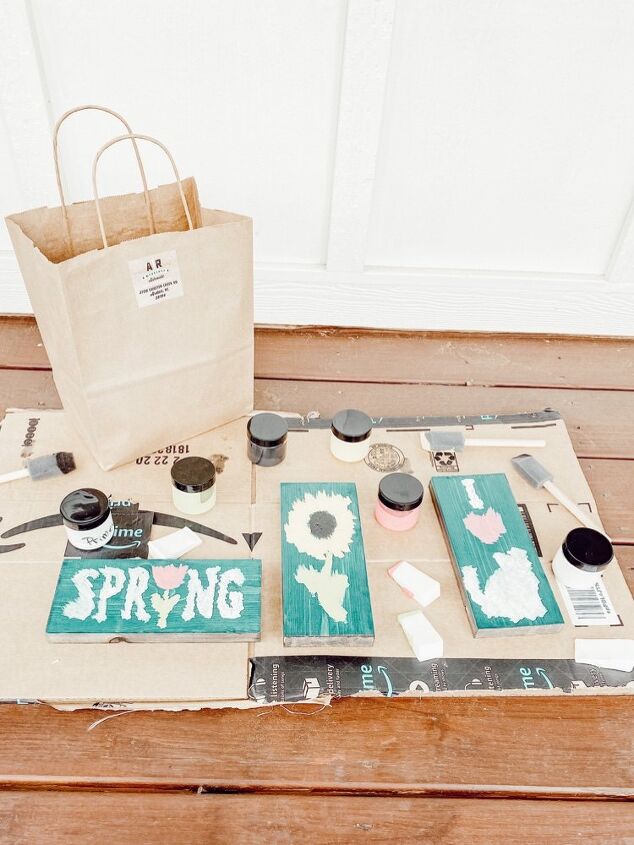
The last step is to prime your signs! I just used very thin strokes with the foam brush to apply the primer to seal it all up. So now they are all done and protected!
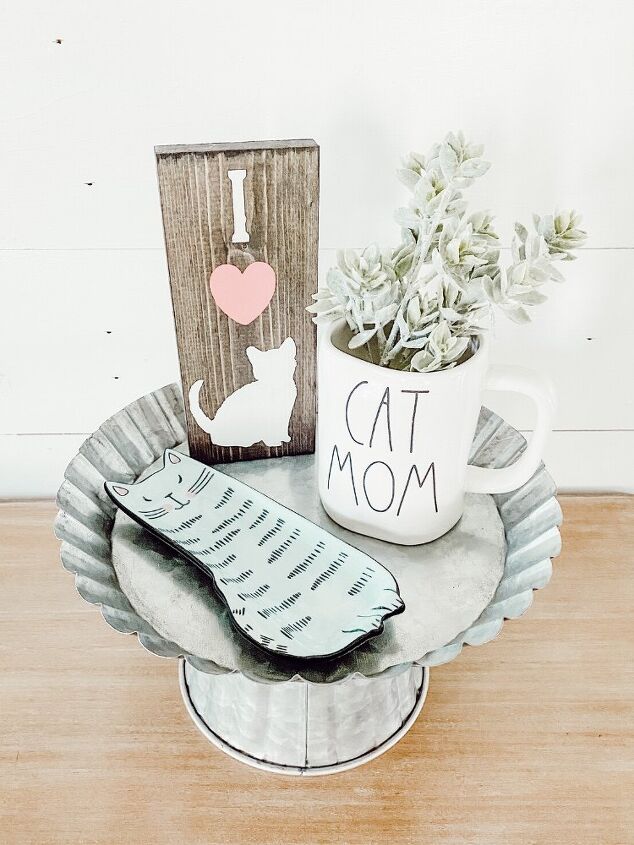
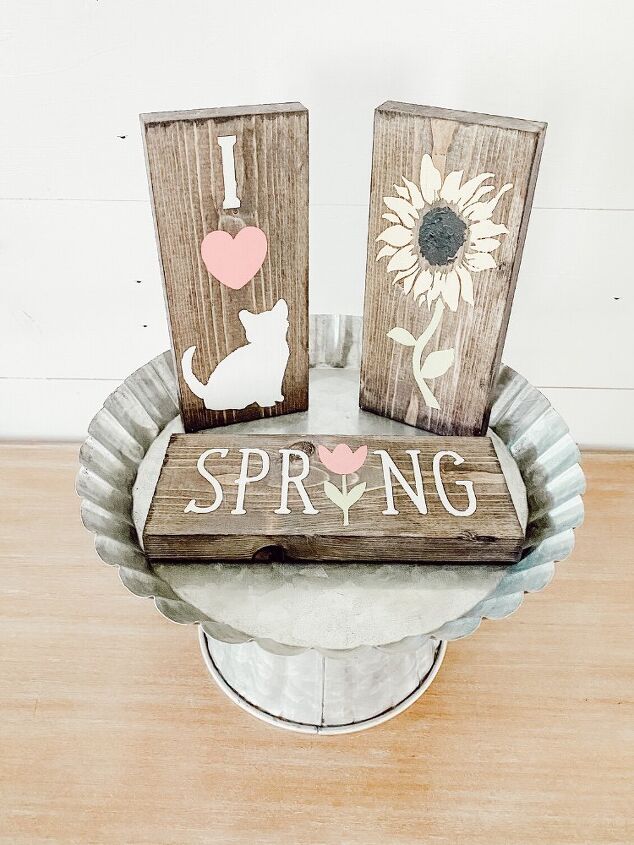
Now that the signs are all done, you can style them wherever you want! I love the size of these because they are just perfect for a tiered tray or stand, or to even place them on some open shelving. This was such a fun and easy DIY project to do and I love the final results!


Frequently asked questions
Have a question about this project?