


DIY Wreath Ideas for Spring and Summer
Spring is in the air! Most days, that is. When it’s not snowing, because this is Alberta. I try not to get ahead of myself decorating for spring when the weather is still this unpredictable, but I think it is time.

Maybe a few wreath ideas for spring and summer will make spring feel welcome and move in? I think it is worth a try!
Two wreaths in one afternoon
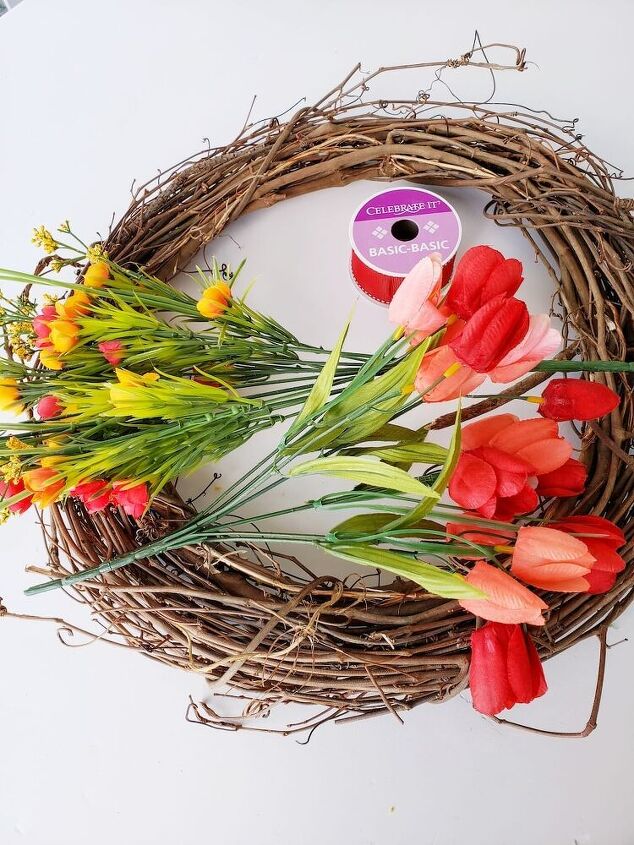
Making these wreaths must have been the quickest and easiest craft I have ever done. The grapevine wreaths, faux florals, and ribbon that I used are all from Michael’s because that is all we have in town.
At first, I thought I would use my glue gun to attach every piece, but no need for that. I used pliers to cut the individual flower stems from the main stem and I stuck them, piece by piece, into the grapevine wreath.
The vines are braided together so densely, that sticking the wire stems in between them, keeps them securely in place. Make sure to cut the wire stems as long as possible for this reason.
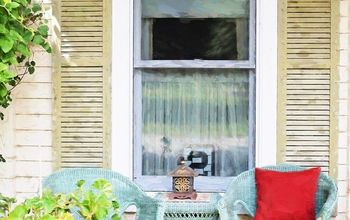
Front door wreath

For this one, I chose mainly red with a bit of yellow and pink. It matches my red front door perfectly. That is while the door is still red. But that is a discussion on its own that’s been going on in my head since last spring. I like it red… but I also want it white… or maybe black…

I love the look of my first-ever spring wreath. Isn’t this giving all the spring vibes? I am so here for it!
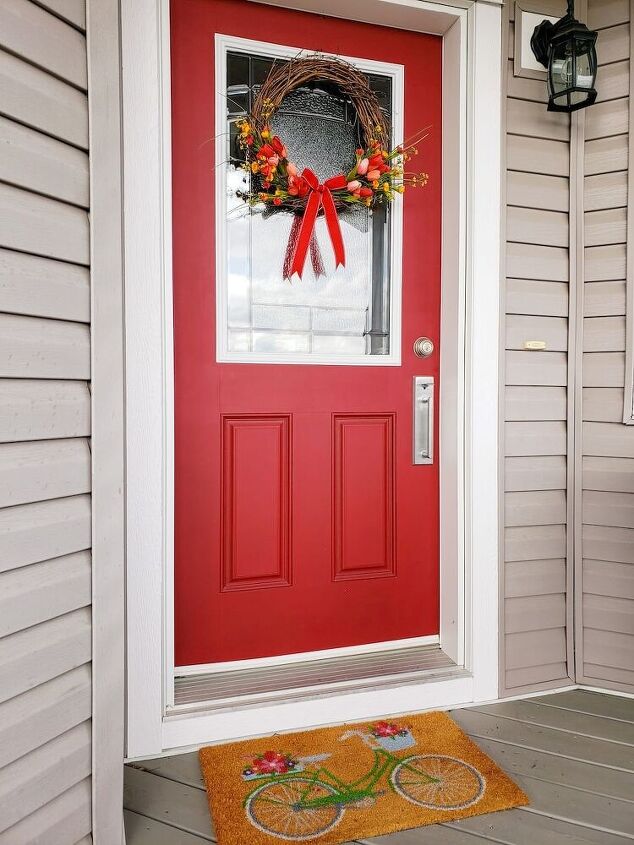
The porch still lacks fresh flowers and greenery but that will have to wait until the end of May in order to survive our unpredictable weather.
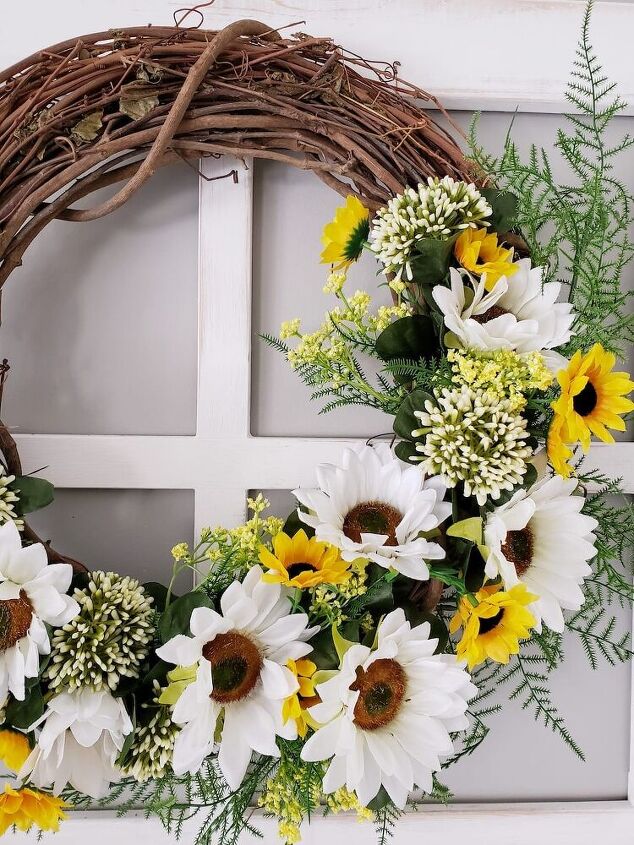
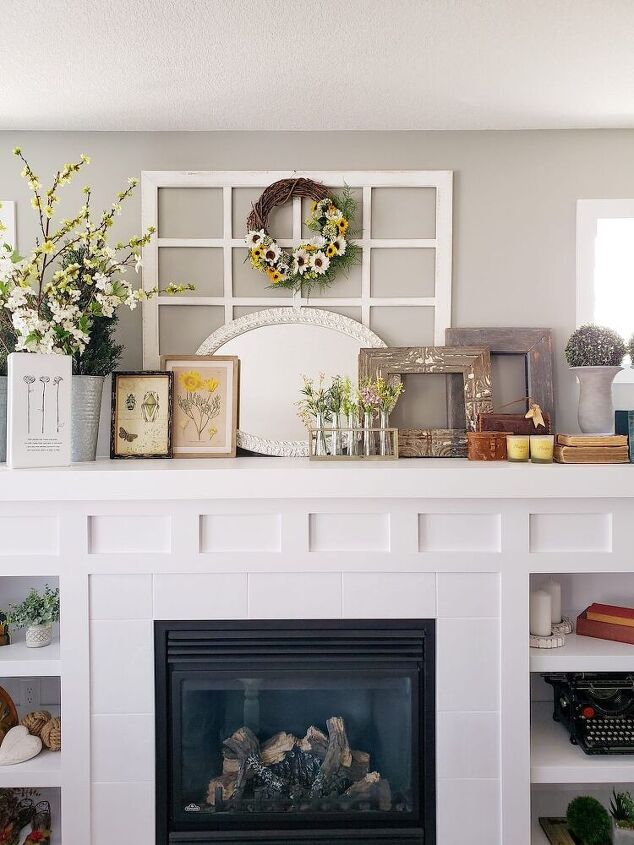
Above the mantle wreath
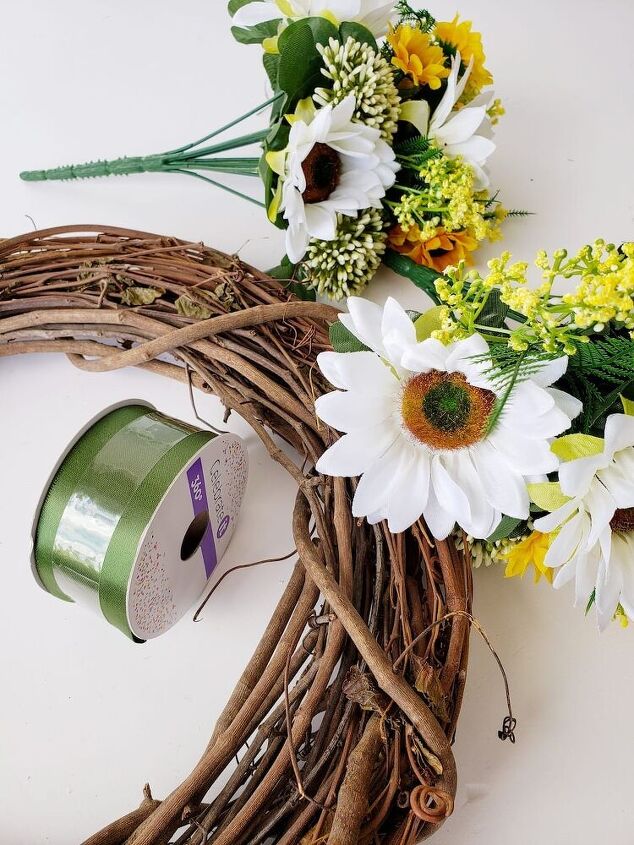
For this wreath I chose a white, yellow and green palette. Fresh and springy.
If you prefer a natural colour palette, you would love this spring craft.
I would never have guessed that I would enjoy making wreaths this much. More assembling than making, but still.
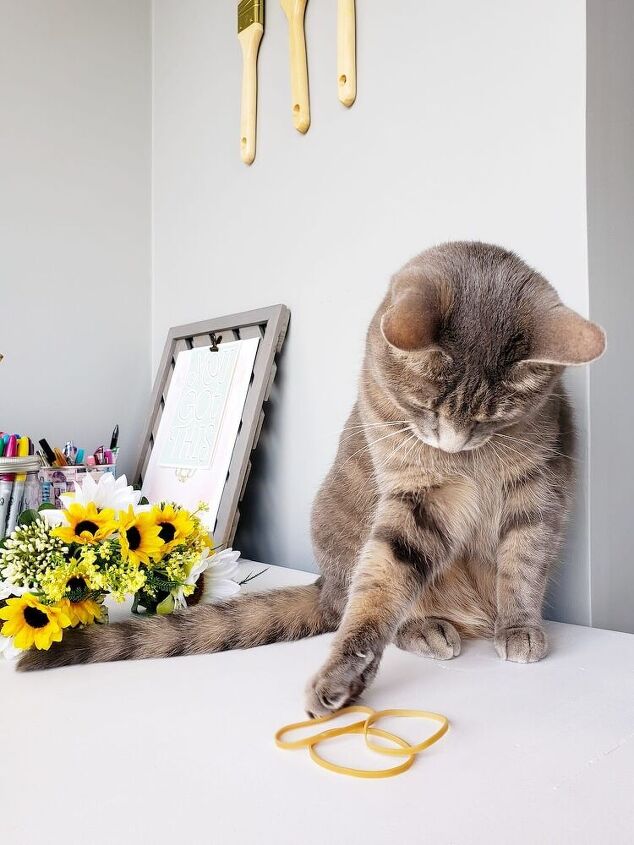
Who wouldn’t enjoy crafting with such a cute little helper?
Spring ready? I would say!
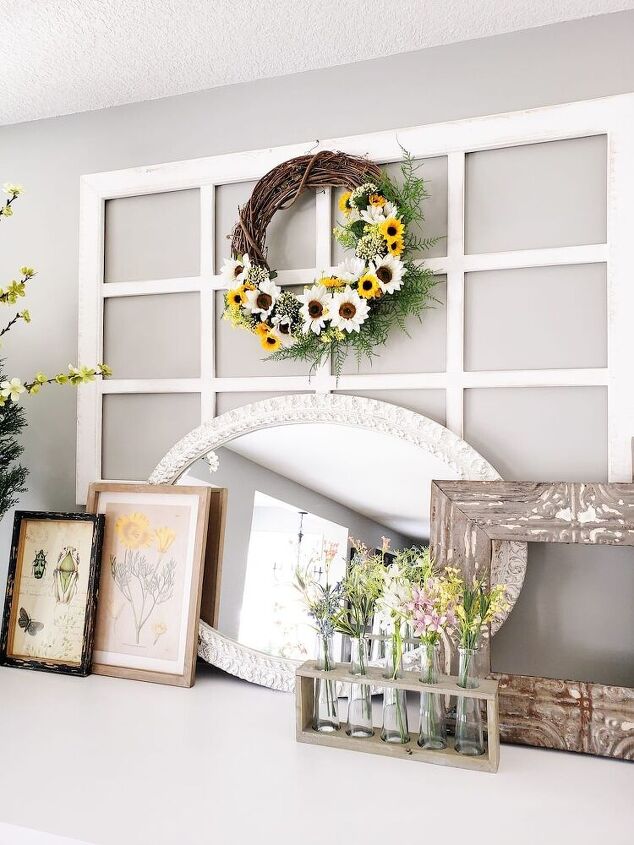
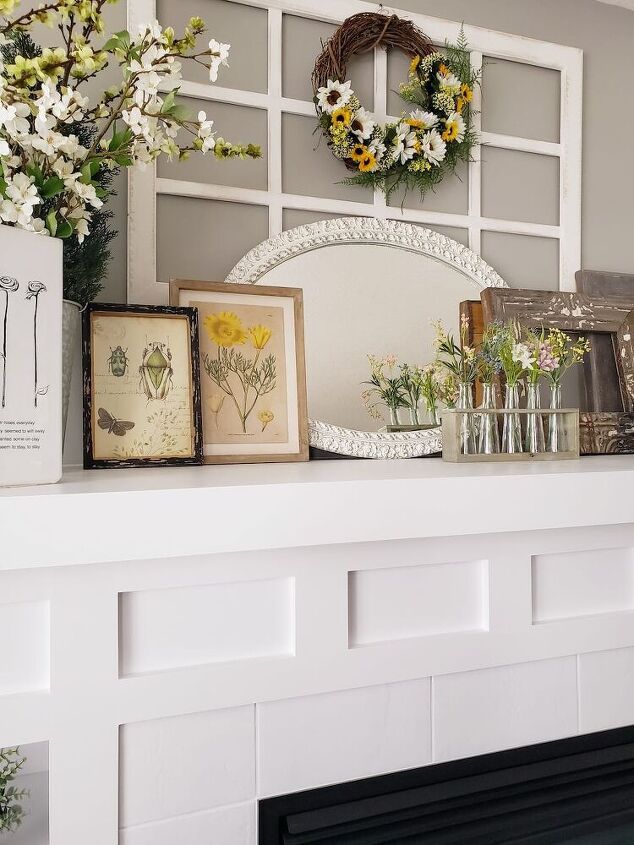
I love all the florals on my mantel. Even if they aren’t fresh.
For more crafts and home improvement inspiration, hop over to my blog, Home with Marieza, and subscribe for weekly new projects.
Please feel free to leave a comment below and let me know if this post gave you a bit of inspiration.
Until next time, happy crafting, renovating, baking, or whatever gives you joy this week!


Comments
Join the conversation
-
Hi Marieza, Both your wreaths are lovely. Thank you for sharing your ideas :)
-
They are lovely! Last year I made wreaths like this and then decided to spray paint some of the grapevine wreaths - before adding flowers, of course. They all look wonderful! This year I put some on shepherd's hooks at the cemetery for my former in-laws (M/F, Bro., uncles) as they were family at one time. No one else ever decorated them. The shepherd's hooks did not want to stay up so this year I dug a hole about 8 inches deep, put a shepherd's hook in the hole, and added Kwik Crete to it. So far they are still there! The wreaths were cable tied to each hook as we have a lot of wind in our area of SW Wisconsin. Other spring/summer ones are on my windows outside, again, cable tied to a Command Hook. Lots of winter grapevine wreaths are stored. Like you said, it was fun and really not that expensive. Best wishes with all the wreaths you make 😊.


Frequently asked questions
Have a question about this project?