


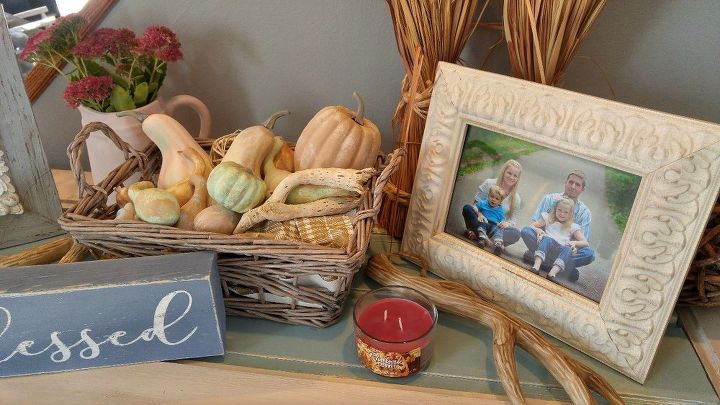
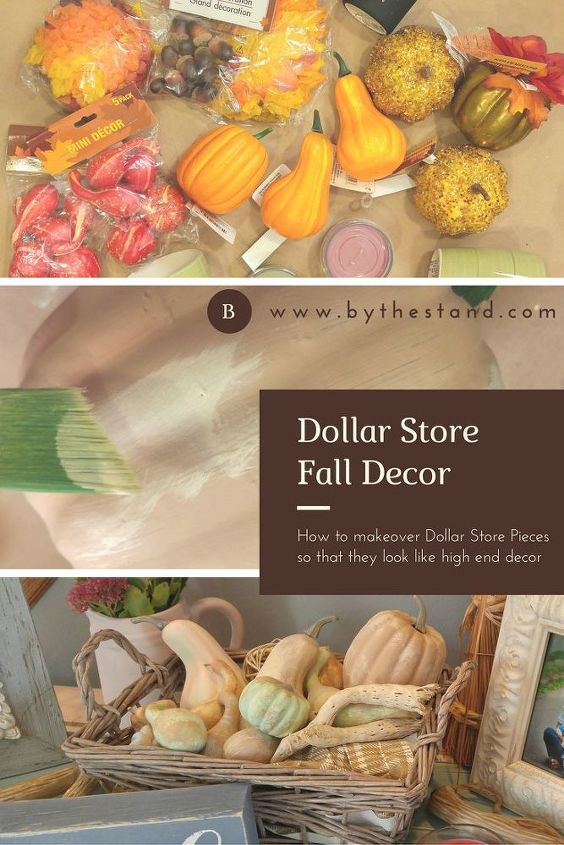
Dollar Store Makeover — Fall Centerpiece

 Yippee!
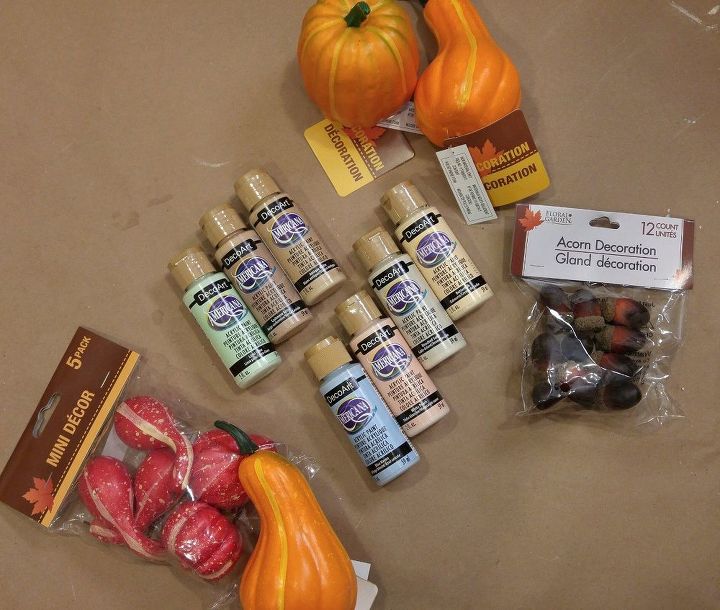
- Light Lime
- Cashmere Beige
- Antique White
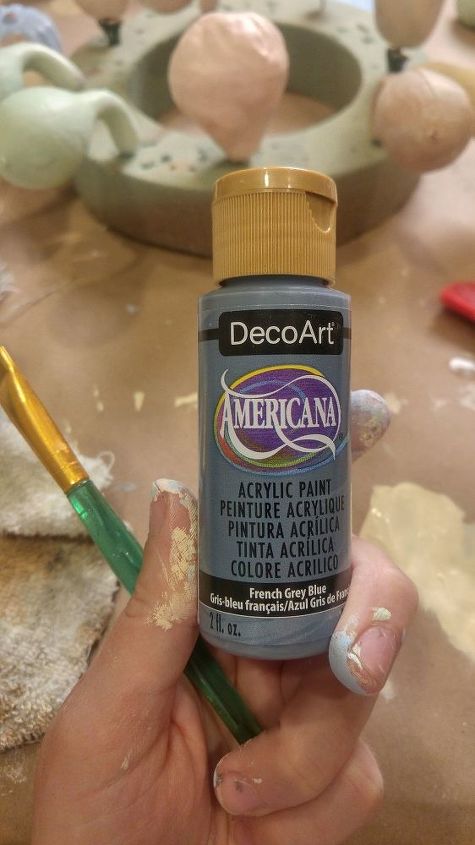
- Haven Blue
- White Peach
- Bleached Sand
- Buttermilk
Comments
Join the conversation
-
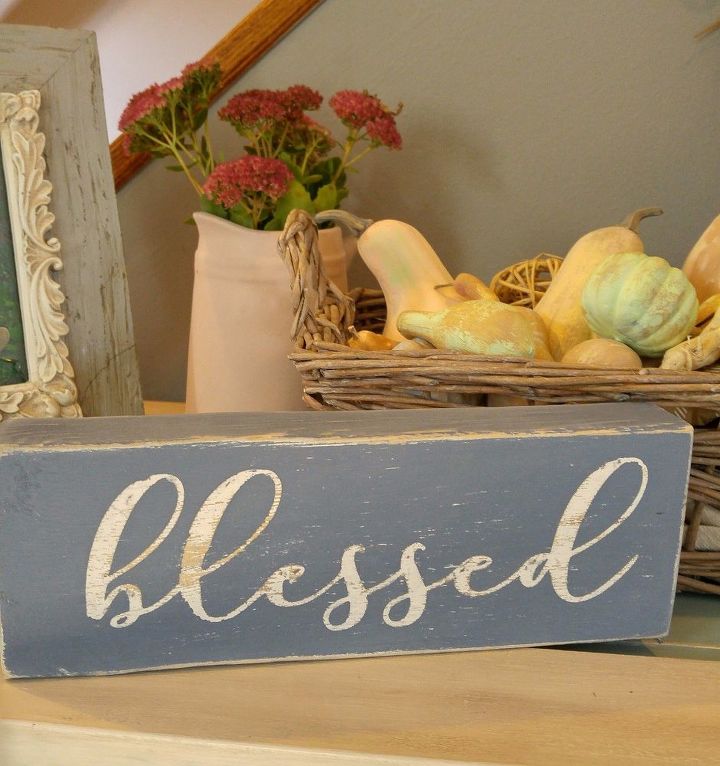
This is so sweet! I love the Blessed sign too. That would be cute on a dining room table too.
-
In your post where you said a Dollar Store/Tree might not have the right pastel colors. My fix would be. Make your Own! Keep extra white paint on hand! Then put a small amt of white then add a green for instance, just a drop at a time to get the color depth you want. 😉 Little paper cups are great to mix little dabs of paint in. From Dollar Tree/Store. Also if you want to keep some premixed color, put in a small bowl with lid. There are All different sizes at Dollar/Tree/Store.
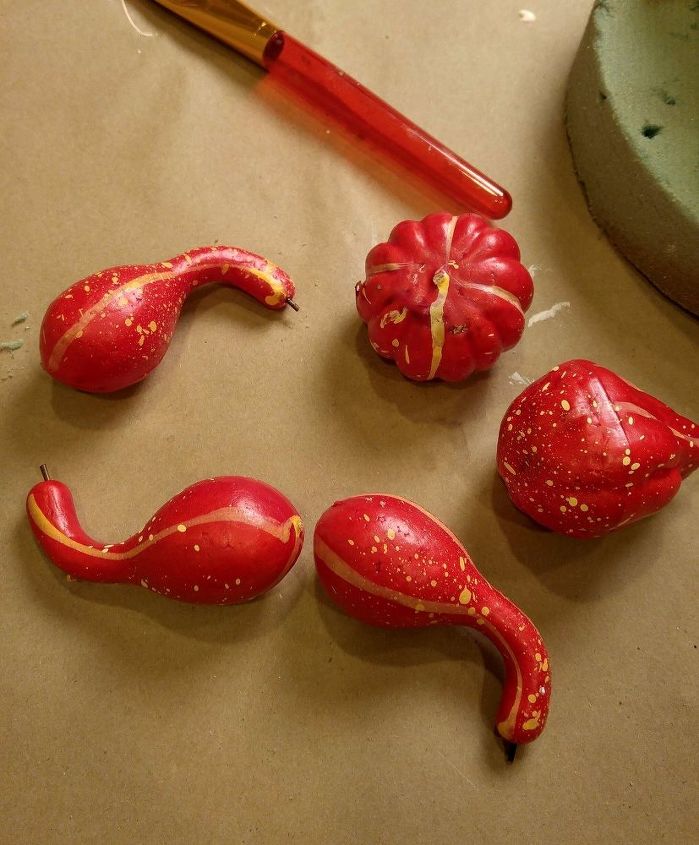
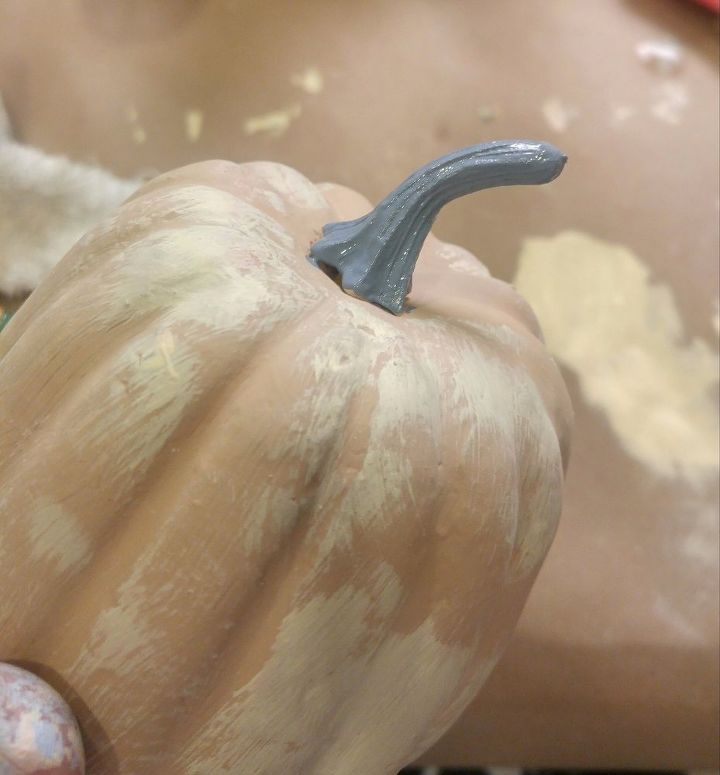
I Love the pastels!!! Didn't exactly like some of the colors of pumpkins I had last year, pastels would be So much better!!! Might even paint the stems gold or silver, with a few luminescent spots too. Gold flecked leaves, Copper!!! So many options with Paint!!!


Frequently asked questions
Have a question about this project?
I really like your tutorials and I would like to see a lot more! My problem is I am not great with the computer so I’m not sure how to subscribe to get your tutorials sent to me. If you could please let me know how then I would like to join. Thanks
Marilyn